
I call this one the "Beach Day Whimsy" anklet, and it has quite the story behind it. About three years ago, I was flipping through an old sketchbook and found a drawing I made during a vacation in Mexico. I had sketched this wild idea for a beaded anklet with little animals dangling from it, something that captured the bright colors of the market stalls and the playful spirit of the trip. The sketch sat there collecting dust until last summer when I finally decided to bring it to life. What started as a nostalgic doodle became one of my favorite pieces of wearable crochet jewelry.
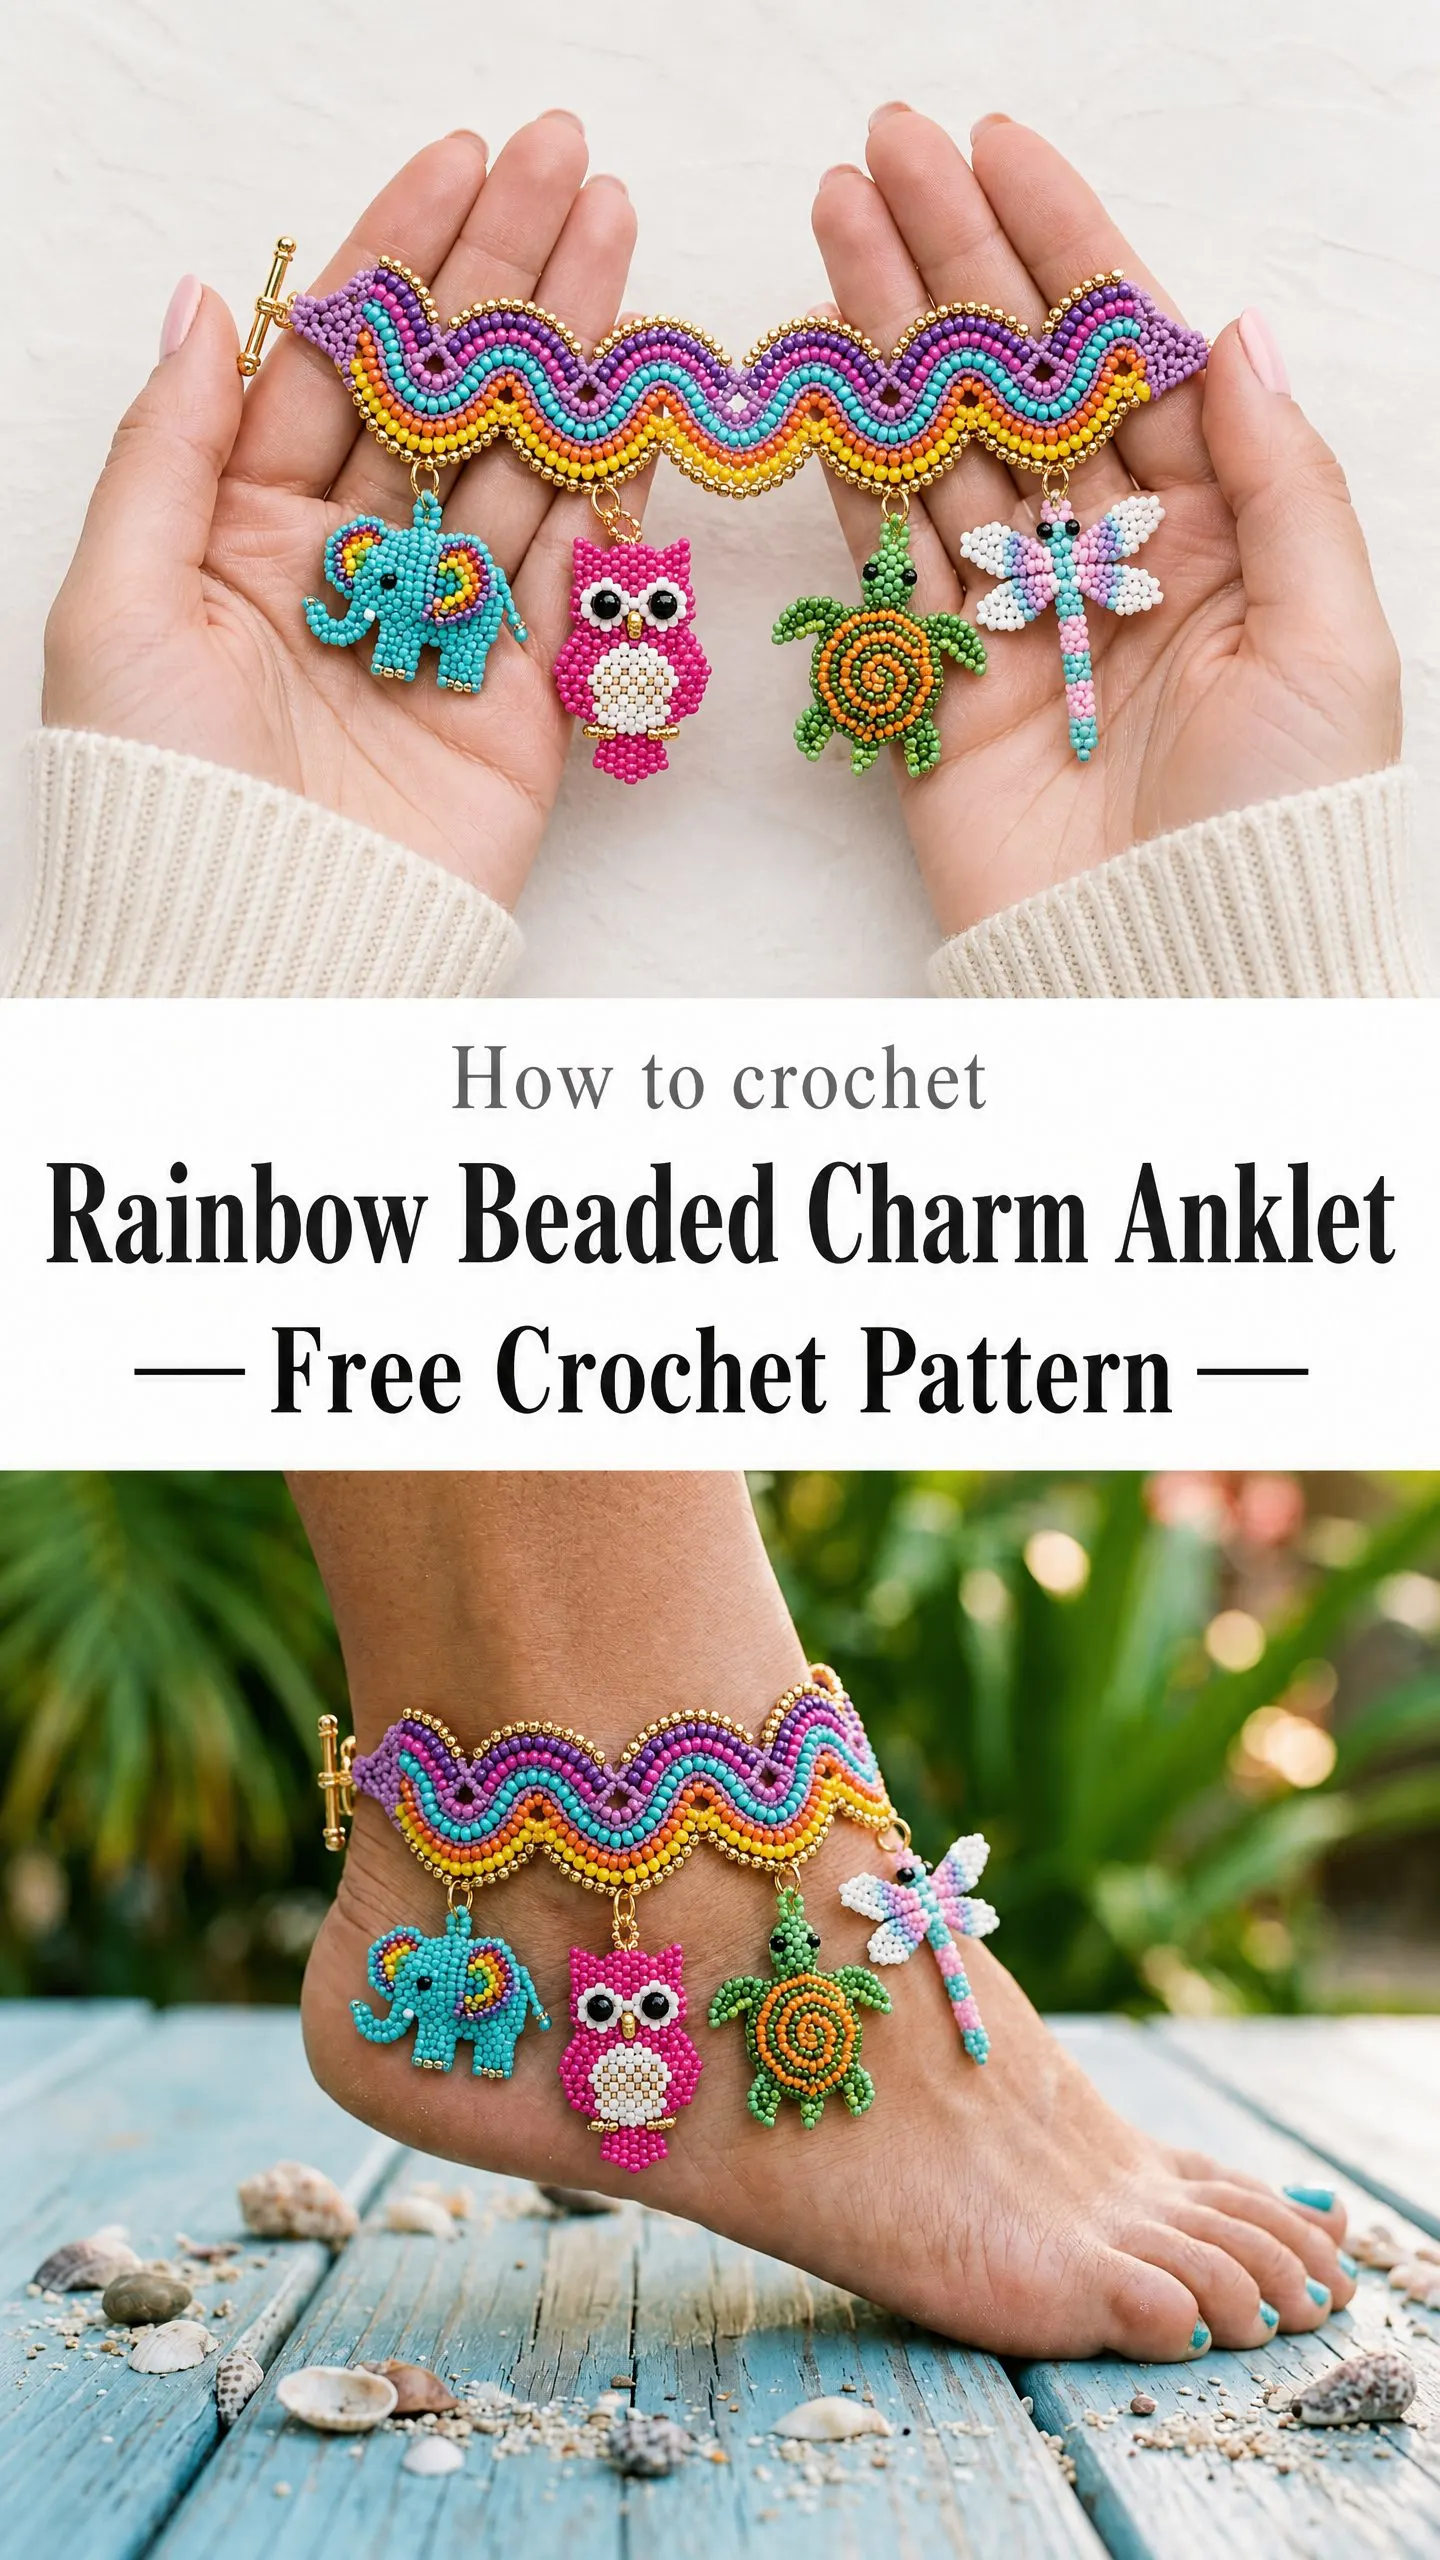
This rainbow beaded charm anklet combines two techniques I absolutely love: bead crochet and amigurumi. The main band features an undulating wave design worked in six rainbow colors using tiny seed beads, while four adorable animal charms (an elephant, owl, turtle, and dragonfly) dangle from the scalloped edge. It looks incredibly intricate, but I promise the construction is more methodical than difficult.
If you have experience with thread crochet and have made at least one small amigurumi project, you are ready for this. The key is patience, especially when stringing those 720 beads before you even pick up your hook. Trust me though, that meditative bead stringing session is worth every minute when you see the finished piece sparkling on your ankle.
Project Overview and Skill Level
This anklet pattern sits firmly in the intermediate to advanced category. You will need comfort with several specialized techniques: bead crochet (placing beads within your stitches), tight tension control on fine thread, reading color sequences, working amigurumi in the round with small stitch counts, and basic jewelry assembly with jump rings and pliers.
The construction order is straightforward once you understand the flow. First, you string all your beads onto the thread in a specific sequence. Then you work the wave band flat from end to end. Next, you crochet each of the four charms separately, stuffing them lightly as you go. Finally, you assemble everything together and attach the clasp hardware. The whole project takes approximately 13 to 19 hours spread across multiple sessions.
A complete beginner who has only worked with yarn will find this project challenging. However, if you have tackled lace or thread crochet before and completed at least one amigurumi creature, you will manage it beautifully.
Finished Measurements
Understanding the final dimensions helps you plan and check your work as you go.
Band length (end to end, excluding clasp hardware): 9 inches / 23 cm
Band width at widest wave point: 1.25 inches / 3.2 cm
Band width at narrowest wave point: 0.6 inches / 1.5 cm
Charm drop: Charms hang approximately 1 inch / 2.5 cm below the lower band edge
This size fits an average adult ankle of approximately 9 inches / 23 cm circumference. I have included size customization tips at the end if you need to adjust.
Materials for the Rainbow Beaded Anklet Crochet Pattern
Gathering your materials before starting makes the process so much smoother. Here is everything you need.
Thread
Size 10 crochet cotton thread in these colors:
For the band:
For the charms:
Beads
For the band:
For charms:
Notions
Recommended Thread Brands
Aunt Lydia’s Classic Crochet Thread, Size 10 is widely available with an excellent color range and consistent twist. Use Parakeet for teal, Bridal White for white, Hot Orange for coral, Goldenrod for yellow, Purple for purple, Soft Violet for periwinkle, Hot Pink for magenta, and Forest Green for green.
Lizbeth Crochet Thread, Size 10 by Handy Hands has a tighter twist that helps seed beads seat more evenly. The color range is exceptional for this rainbow palette.
DMC Cebelia Crochet Thread, Size 10 is mercerized cotton with a smooth finish. It is slightly finer and stiffer when finished, which gives charms good structure.
Important: Do not substitute fingering weight yarn. It is too thick for size 11/0 seed beads and will prevent proper bead placement.
Gauge
Getting gauge right is critical for the band width to match the finished size.
Band gauge (with beads, worked flat in beaded single crochet):
10 beaded single crochet stitches = 1 inch / 2.54 cm
8 rows of beaded single crochet = 1 inch / 2.54 cm
Charm gauge (worked in the round in tight single crochet without beads):
9 sc = 1 inch / 2.54 cm
9 rounds = 1 inch / 2.54 cm
Measure gauge on a small swatch of beaded single crochet before beginning. Adjust hook size up or down by half sizes until gauge is met. This step takes only a few minutes and saves hours of frustration later.
Abbreviations and Stitch Definitions
Let me walk you through every stitch you will need.
approx: approximately
bch: bead chain. This means sliding one bead up against the hook before completing the chain stitch, enclosing the bead inside the chain link.
bsc: beaded single crochet. Slide one bead up snug to the work, insert hook, pull up loop, yarn over, draw through both loops. The bead is trapped on the right side of your fabric.
ch: chain. Yarn over and draw through the loop on your hook.
ch-sp: chain space. The gap created by a chain stitch.
dec: decrease. For amigurumi, use the invisible decrease: insert hook in front loop only of next stitch, then front loop only of following stitch, yarn over, draw through both loops, yarn over, draw through remaining 2 loops.
inc: increase. Work 2 single crochet stitches in the same stitch.
rem: remaining
rep: repeat
rnd: round
RS: right side
sc: single crochet. Insert hook in stitch, yarn over, pull up a loop (2 loops on hook), yarn over, draw through both loops.
sc2tog: single crochet two together. Insert hook in next stitch, pull up loop, insert hook in next stitch, pull up loop, yarn over, draw through all 3 loops.
sk: skip
sl st: slip stitch. Insert hook, yarn over, draw through stitch and loop on hook in one motion.
sp: space
st: stitch
sts: stitches
t-ch: turning chain
WS: wrong side
yo: yarn over
Special Stitches for the Rainbow Beaded Anklet
Beaded Single Crochet (bsc)
Before beginning, string all required beads onto the thread in reverse color order. The first bead you want to appear is the last one strung. Use a beading needle to load beads onto the ball of thread.
When the pattern calls for a bsc:
1. Slide one bead up along the thread until it sits snug against the right side of the work, between the hook and the last completed stitch.
2. Insert the hook into the designated stitch or chain space.
3. Yarn over and pull up a loop. You now have 2 loops on the hook and one bead trapped against the far side of the fabric (the RS).
4. Yarn over and draw through both loops on the hook.
5. The bead is now permanently encased on the RS of the fabric. Do not slide another bead until the next bsc is called for.
Bead Chain (bch)
1. Slide one bead up against the hook.
2. Yarn over and draw through the loop on the hook in the normal chain motion.
3. The bead sits within the chain link. This is used for the top ridge accent row.
Wave Increase Point (WIP)
Work 3 bsc in the same stitch. This creates the outward peak of each wave.
Wave Decrease Point (WDP)
Work sc2tog over the next 2 stitches without placing beads in those two stitches. This creates the inward valley of each wave. The valley reads as a clean dip between bead ridges.
Pattern Notes Before You Begin
Note 1: The band is worked flat (back and forth in rows), not in the round. The right side faces you on odd-numbered rows. Beads are placed only on right-side rows because they must be pushed to the RS. On wrong-side rows, work plain sc without beads.
Note 2: The wave pattern has a repeat of 10 stitches. The band foundation of 90 stitches accommodates 9 complete wave repeats. Do not change the stitch count at the foundation or the waves will not align.
Note 3: String beads for the band before you begin. The color sequence from bottom to top is: Color F (periwinkle), Color E (teal), Color D (yellow), Color C (coral), Color B (magenta), Color A (purple), then metallic gold for the upper ridge accent.
Note 4: All charms are worked amigurumi style in a continuous spiral. Do not join rounds with a slip stitch and do not make a turning chain. Place a stitch marker in the first stitch of each round and move it up as work progresses.
Note 5: The toggle clasp attaches to the short ends of the band using jump rings after the band is complete.
Bead Stringing Chart for the Band
The band is 90 stitches wide with 6 beaded RS rows plus one gold accent row. On each RS row, all 90 stitches receive a bead.
String order on the thread (first strung = last used):
Gold x 90, then Color A x 90, then Color B x 90, then Color C x 90, then Color D x 90, then Color E x 90, then Color F x 90.
Total beads strung for band: 630 seed beads plus 90 gold = 720 beads.
Take your time with this step. Put on a podcast, settle into a comfortable chair, and enjoy the rhythmic process of stringing.
Instructions: The Wave Band
Foundation Chain
Using Color F thread (no beads yet), ch 92. This gives 90 working stitches plus 2 for turning margin. The foundation chain is not beaded.
Row 1 (WS, setup, no beads): Sc in second ch from hook and in each ch across. Turn. (90 sc)
Checkpoint: You have 90 sc. Count carefully. This is the foundation and all wave math depends on it.
The Wave Pattern
Row 2 (RS, Color F beads): This is the first beaded row. Ch 1, turn to RS.
The wave stitch pattern over 90 sts is worked as follows over a 10-stitch repeat. You have 9 repeats.
Wave repeat (10 sts): Bsc in next 4 sts, WIP in next st (3 bsc in same st), bsc in next 3 sts, WDP over next 2 sts (sc2tog without bead).
Work the 10-stitch wave repeat 9 times across the row. (90 bsc/sts)
Row 3 (WS, no beads): Ch 1, turn. Sc in each st across. Do not place beads. (90 sc)
Row 4 (RS, Color E beads): Ch 1, turn. Work the 10-stitch wave repeat 9 times across, placing one Color E bead per bsc. (90 sts)
Row 5 (WS, no beads): Ch 1, turn. Sc in each st across. (90 sc)
Row 6 (RS, Color D beads): Ch 1, turn. Work the 10-stitch wave repeat 9 times across with Color D beads. (90 sts)
Row 7 (WS, no beads): Ch 1, turn. Sc in each st across. (90 sc)
Row 8 (RS, Color C beads): Ch 1, turn. Work the 10-stitch wave repeat 9 times across with Color C beads. (90 sts)
Row 9 (WS, no beads): Ch 1, turn. Sc in each st across. (90 sc)
Row 10 (RS, Color B beads): Ch 1, turn. Work the 10-stitch wave repeat 9 times across with Color B beads. (90 sts)
Row 11 (WS, no beads): Ch 1, turn. Sc in each st across. (90 sc)
Row 12 (RS, Color A beads): Ch 1, turn. Work the 10-stitch wave repeat 9 times across with Color A beads. (90 sts)
Row 13 (WS, no beads): Ch 1, turn. Sc in each st across. (90 sc)
Row 14 (RS, Gold accent beads): Ch 1, turn. This row creates the gold scalloped top edge. Work the 10-stitch wave repeat 9 times across with gold metallic beads. (90 sts)
Do not fasten off after Row 14.
Top and Bottom Edging
With gold thread and no beads, work 1 sl st in each st across the top edge (Row 14 edge), then work 1 sl st evenly into each row-end along the short right side (approximately 14 sl sts), then 1 sl st in each st across the bottom (foundation chain edge, 90 sts), then 1 sl st up the short left side (approximately 14 sl sts). Join with sl st to the first sl st. Fasten off and weave in ends.
Checkpoint: The completed band should measure approximately 9 inches / 23 cm long and 1.25 inches / 3.2 cm at its widest wave peak.
Charm Attachment Loops
Using Color A thread, identify the lowest points (valleys) of the wave along the bottom edge. There are 9 valleys. The 4 charms will hang from valleys 2, 4, 6, and 8 (evenly spaced). At each of those 4 valleys, attach a 5 mm gold jump ring by threading it through the sc stitch at the valley bottom. Use jewelry pliers to close the ring securely. Set the band aside.
Instructions: Elephant Charm
The elephant is worked in teal thread with a small rainbow-striped blanket detail.
Body
Rnd 1: Magic ring, 6 sc into ring. (6 sc)
Rnd 2: Inc in each st around. (12 sc)
Rnd 3: (Sc in next st, inc in next st) 6 times. (18 sc)
Rnd 4: (Sc in next 2 sts, inc in next st) 6 times. (24 sc)
Rnd 5: (Sc in next 3 sts, inc in next st) 6 times. (30 sc)
Rnd 6: (Sc in next 4 sts, inc in next st) 6 times. (36 sc)
Rnds 7 through 12: Sc in each st around. (36 sc each round)
Rnd 13: (Sc in next 4 sts, dec) 6 times. (30 sc)
Rnd 14: (Sc in next 3 sts, dec) 6 times. (24 sc)
Begin stuffing with fiberfill at this point.
Rnd 15: (Sc in next 2 sts, dec) 6 times. (18 sc)
Rnd 16: (Sc in next st, dec) 6 times. (12 sc)
Rnd 17: Dec 6 times. (6 sc)
Fasten off, leaving a 6-inch / 15.2 cm tail. Thread tail through remaining 6 sts and pull closed.
Head
Rnd 1: Magic ring, 6 sc. (6 sc)
Rnd 2: Inc in each st. (12 sc)
Rnd 3: (Sc, inc) 6 times. (18 sc)
Rnd 4: (Sc in next 2, inc) 6 times. (24 sc)
Rnds 5 through 8: Sc in each st around. (24 sc each round)
Rnd 9: (Sc in next 2, dec) 6 times. (18 sc)
Stuff head.
Rnd 10: (Sc, dec) 6 times. (12 sc)
Rnd 11: Dec 6 times. (6 sc)
Close and fasten off.
Trunk
Ch 10. Sc in second ch from hook and in each ch to end. Fasten off. (9 sc)
This creates a simple flat trunk. Curl the tip slightly and tack with a small knot.
Ears (make 2)
Rnd 1: Magic ring, 6 sc. (6 sc)
Rnd 2: Inc in each st. (12 sc)
Rnd 3: (Sc, inc) 6 times. (18 sc)
Sl st to close. Fasten off leaving a sewing tail. Leave flat, do not stuff.
Legs (make 4)
Rnd 1: Magic ring, 6 sc. (6 sc)
Rnd 2: Inc in each st. (12 sc)
Rnd 3: Sc in each st. (12 sc)
Rnd 4: Sc in each st. (12 sc)
Fasten off leaving sewing tail. Stuff lightly.
Tail
Cut 3 strands of teal thread each 3 inches / 7.6 cm long. Fold in half and knot at the fold. Braid or twist. Knot the end.
Rainbow Blanket Detail
Using color A thread, ch 7.
Row 1: Sc in second ch from hook and across. (6 sc)
Rows 2 through 6: Ch 1, turn, sc across, changing color at the end of each row in this order: A, B, C, D, E, F. (6 sc per row)
Fasten off. Drape over the elephant’s back and tack at corners.
Elephant Assembly
Sew head to body. Sew ears to sides of head. Attach trunk to center front of face below the head. Sew legs to underside of body in pairs. Attach tail to back. Add two small black seed beads for eyes using a sewing needle and strong thread, knotting securely at each side of the face. Secure a jump ring through a reinforced loop of thread at the very top of the head.
Instructions: Owl Charm
The owl is worked in hot pink with a white belly.
Body
Rnd 1: Magic ring, 6 sc. (6 sc)
Rnd 2: Inc in each st. (12 sc)
Rnd 3: (Sc, inc) 6 times. (18 sc)
Rnd 4: (Sc in next 2, inc) 6 times. (24 sc)
Rnds 5 through 9: Sc in each st around. (24 sc each round)
Rnd 10: Change to white. (Sc in next 2, dec) 6 times. (18 sc)
Rnd 11: (Sc, dec) 6 times. (12 sc)
Stuff body.
Rnd 12: Dec 6 times. (6 sc)
Close and fasten off.
White Belly Panel
Rnd 1: Magic ring, 6 sc. (6 sc)
Rnd 2: Inc in each st. (12 sc)
Rnd 3: (Sc, inc) 6 times. (18 sc)
Sl st to close. Fasten off. This creates an oval belly disk. Sew onto front of body, centered, with the flat side down.
Head
Rnd 1: Magic ring, 6 sc. (6 sc)
Rnd 2: Inc in each st. (12 sc)
Rnd 3: (Sc, inc) 6 times. (18 sc)
Rnd 4: Sc in each st around. (18 sc)
Rnd 5: (Sc in next 4, inc) 3 times, sc in next 3. (21 sc)
This extra increase creates the slightly wide, round owl head silhouette.
Rnds 6 through 8: Sc in each st around. (21 sc each round)
Rnd 9: (Sc in next 5, dec) 3 times. (18 sc)
Stuff head.
Rnd 10: (Sc, dec) 6 times. (12 sc)
Rnd 11: Dec 6 times. (6 sc)
Close and fasten off.
Ear Tufts (make 2)
Ch 4. Sl st in second ch from hook and each ch across. (3 sl sts) Fasten off leaving a sewing tail.
Wings (make 2)
Rnd 1: Magic ring, 4 sc. (4 sc)
Rnd 2: Inc in each st. (8 sc)
Rnd 3: Sc in each st. (8 sc)
Rnd 4: (Sc, dec, sc) twice. (6 sc)
Fasten off leaving sewing tail. Do not stuff. Flatten.
Eyes and Beak
Use 2 large black seed beads or 4 mm safety eyes. Position on center front of head, approximately 2 stitches apart. Secure with strong thread.
For the beak, cut a tiny triangle of yellow felt or work a chain of 3 sts, turn, sl st across all 3, creating a small nub. Sew to face center between eyes.
Owl Assembly
Sew head to body. Attach ear tufts at top corners of head. Sew wings to sides of body. Attach jump ring through reinforced loop at top of head.
Instructions: Turtle Charm
The turtle has a green base body and a concentric-circle shell in orange and olive.
Shell (worked flat, then attached)
Rnd 1: Magic ring, 6 sc in green. (6 sc)
Rnd 2: Inc in each st in orange. (12 sc)
Rnd 3: (Sc, inc) 6 times in olive. (18 sc)
Rnd 4: (Sc in next 2, inc) 6 times in orange. (24 sc)
Rnd 5: (Sc in next 3, inc) 6 times in green. (30 sc)
Rnd 6: Sl st in each st around the perimeter for a finished edge, in green. (30 sl sts)
Fasten off. The shell is a flat disk with concentric color rings.
Body
Rnd 1: Magic ring, 6 sc in green. (6 sc)
Rnd 2: Inc in each st. (12 sc)
Rnd 3: (Sc, inc) 6 times. (18 sc)
Rnd 4: (Sc in next 2, inc) 6 times. (24 sc)
Rnds 5 through 7: Sc in each st. (24 sc each round)
Rnd 8: (Sc in next 2, dec) 6 times. (18 sc)
Stuff.
Rnd 9: (Sc, dec) 6 times. (12 sc)
Rnd 10: Dec 6 times. (6 sc)
Close and fasten off.
Head
Rnd 1: Magic ring, 6 sc. (6 sc)
Rnd 2: Inc in each st. (12 sc)
Rnd 3: Sc in each st. (12 sc)
Rnd 4: (Sc, dec) 4 times. (8 sc)
Stuff lightly.
Rnd 5: Dec 4 times. (4 sc)
Close and fasten off.
Flippers (make 4)
Magic ring, 6 sc. Sl st to close. Do not stuff. Fasten off leaving sewing tail. Flatten.
Tail
Ch 5. Sc in second ch from hook and across. (4 sc) Fasten off.
Turtle Assembly
Sew head to front of body. Sew 4 flippers to sides and back of body in flipper positions. Attach tail at back. Sew shell disk to top of body. Add 2 small black seed beads for eyes. Attach jump ring through loop at top center of shell.
Instructions: Dragonfly Charm
The dragonfly body is green with white wings.
Body
Rnd 1: Magic ring, 4 sc in green. (4 sc)
Rnd 2: Inc in each st. (8 sc)
Rnd 3: Sc in each st. (8 sc)
Rnd 4: (Sc in next 2, dec) twice. (6 sc)
Rnd 5: Sc in each st. (6 sc)
Rnd 6: (Sc, dec) twice. (4 sc)
Rnd 7: Sc in each st. (4 sc)
Stuff lightly.
Rnd 8: Dec twice. (2 sc)
Sl st to close and fasten off. The body tapers from a wide thorax to a thin abdomen.
Head
Rnd 1: Magic ring, 6 sc. (6 sc)
Rnd 2: Inc in each st. (12 sc)
Rnd 3: Sc in each st. (12 sc)
Rnd 4: Dec 6 times. (6 sc)
Stuff lightly. Close and fasten off.
Wings (make 4)
These wings are worked flat in white thread.
Ch 8.
Row 1: Sc in second ch from hook, sc in next 5 ch, 3 sc in last ch (tip of wing), working back along the other side of the foundation chain: sc in next 5 ch, sc in last ch. (15 sc total, including the 3 at the tip)
Fasten off leaving sewing tail.
Optional wing bead detail: With a beading needle and white thread, string 5 white seed beads and 5 light blue/lavender seed beads and tack them along each wing for the multicolor tint.
Dragonfly Assembly
Sew head to wide end of body. Attach 2 wings to each side of the thorax (wide section), positioning upper wings slightly above lower wings at a slight outward angle. Add 2 small black seed beads for eyes. Attach jump ring through a reinforced thread loop at the top of the head.
Final Assembly
Step 1: Lay the completed band flat on a table, RS facing up, with the wave peaks pointing upward and the clasp ends at left and right.
Step 2: Identify the 4 pre-attached jump rings at valleys 2, 4, 6, and 8 along the lower edge.
Step 3: From left to right, attach charms in this order: elephant (valley 2), owl (valley 4), turtle (valley 6), dragonfly (valley 8). Open each charm’s jump ring with jewelry pliers, loop it through the corresponding band jump ring, and close securely.
Step 4: At the left end of the band, open a 4 mm jump ring, thread it through the end chain loop of the band, and close it around the ring portion of the toggle clasp.
Step 5: At the right end of the band, open a 4 mm jump ring, thread it through the end chain loop, and close it around the bar portion of the toggle clasp.
Step 6: Check that all jump rings are fully closed with no gap. Apply a small drop of clear jewelry glue to each jump ring closure if desired for added security. Allow to dry fully before wearing.
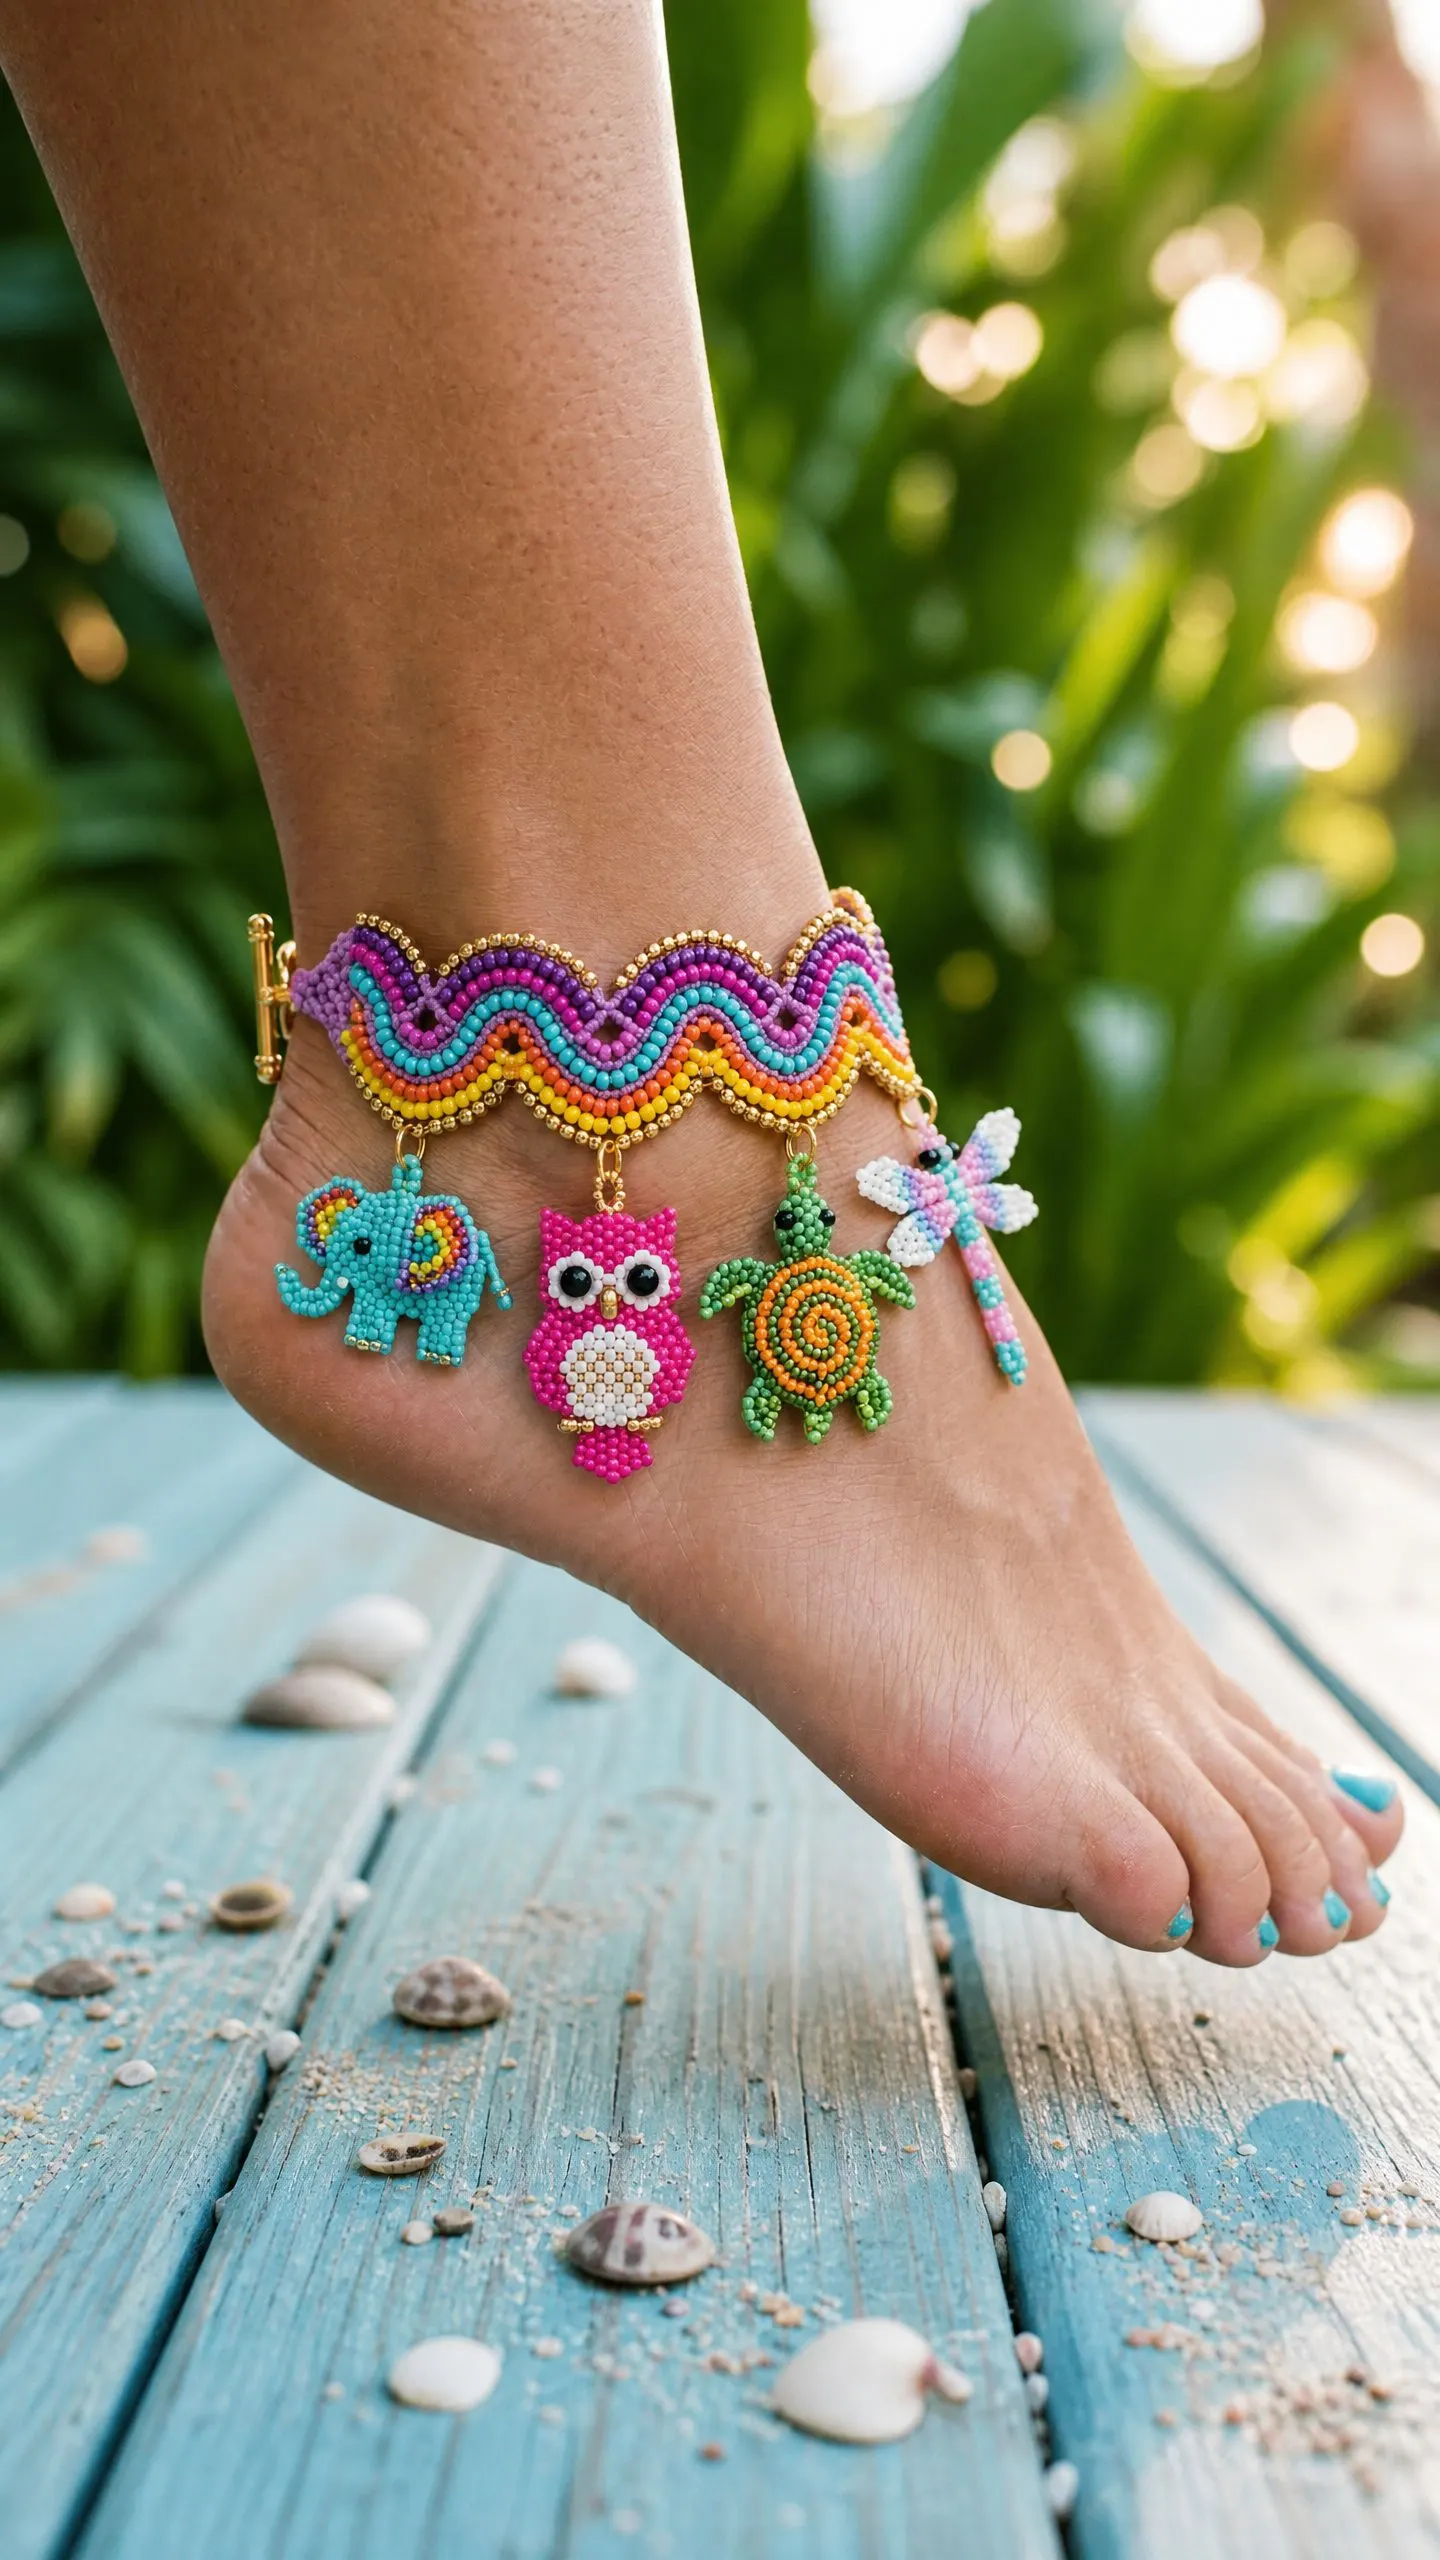
Final Checkpoint: The finished anklet should measure 9 inches / 23 cm from toggle ring to toggle bar end, with 4 charms hanging from the lower wave valleys and the rainbow color bands running horizontally across the band.
Size Customization Tips
To lengthen the band: Add one complete 10-stitch wave repeat to the foundation chain (ch 102 instead of 92) for each additional repeat desired. Each full 10-stitch repeat at gauge adds approximately 1 inch / 2.54 cm to the length. String 90 additional beads per color for each additional repeat.
To shorten the band: Remove one full 10-stitch repeat from the foundation (ch 82) per inch of reduction desired.
You Did It!
Thank you so much for choosing this pattern and sticking with me through all those tiny beads and itty bitty amigurumi limbs. This project is a labor of love, and I hope you are as proud of your finished anklet as I am of mine. Every time I wear my "Beach Day Whimsy" anklet, it brings me right back to that sunny vacation and reminds me why
