
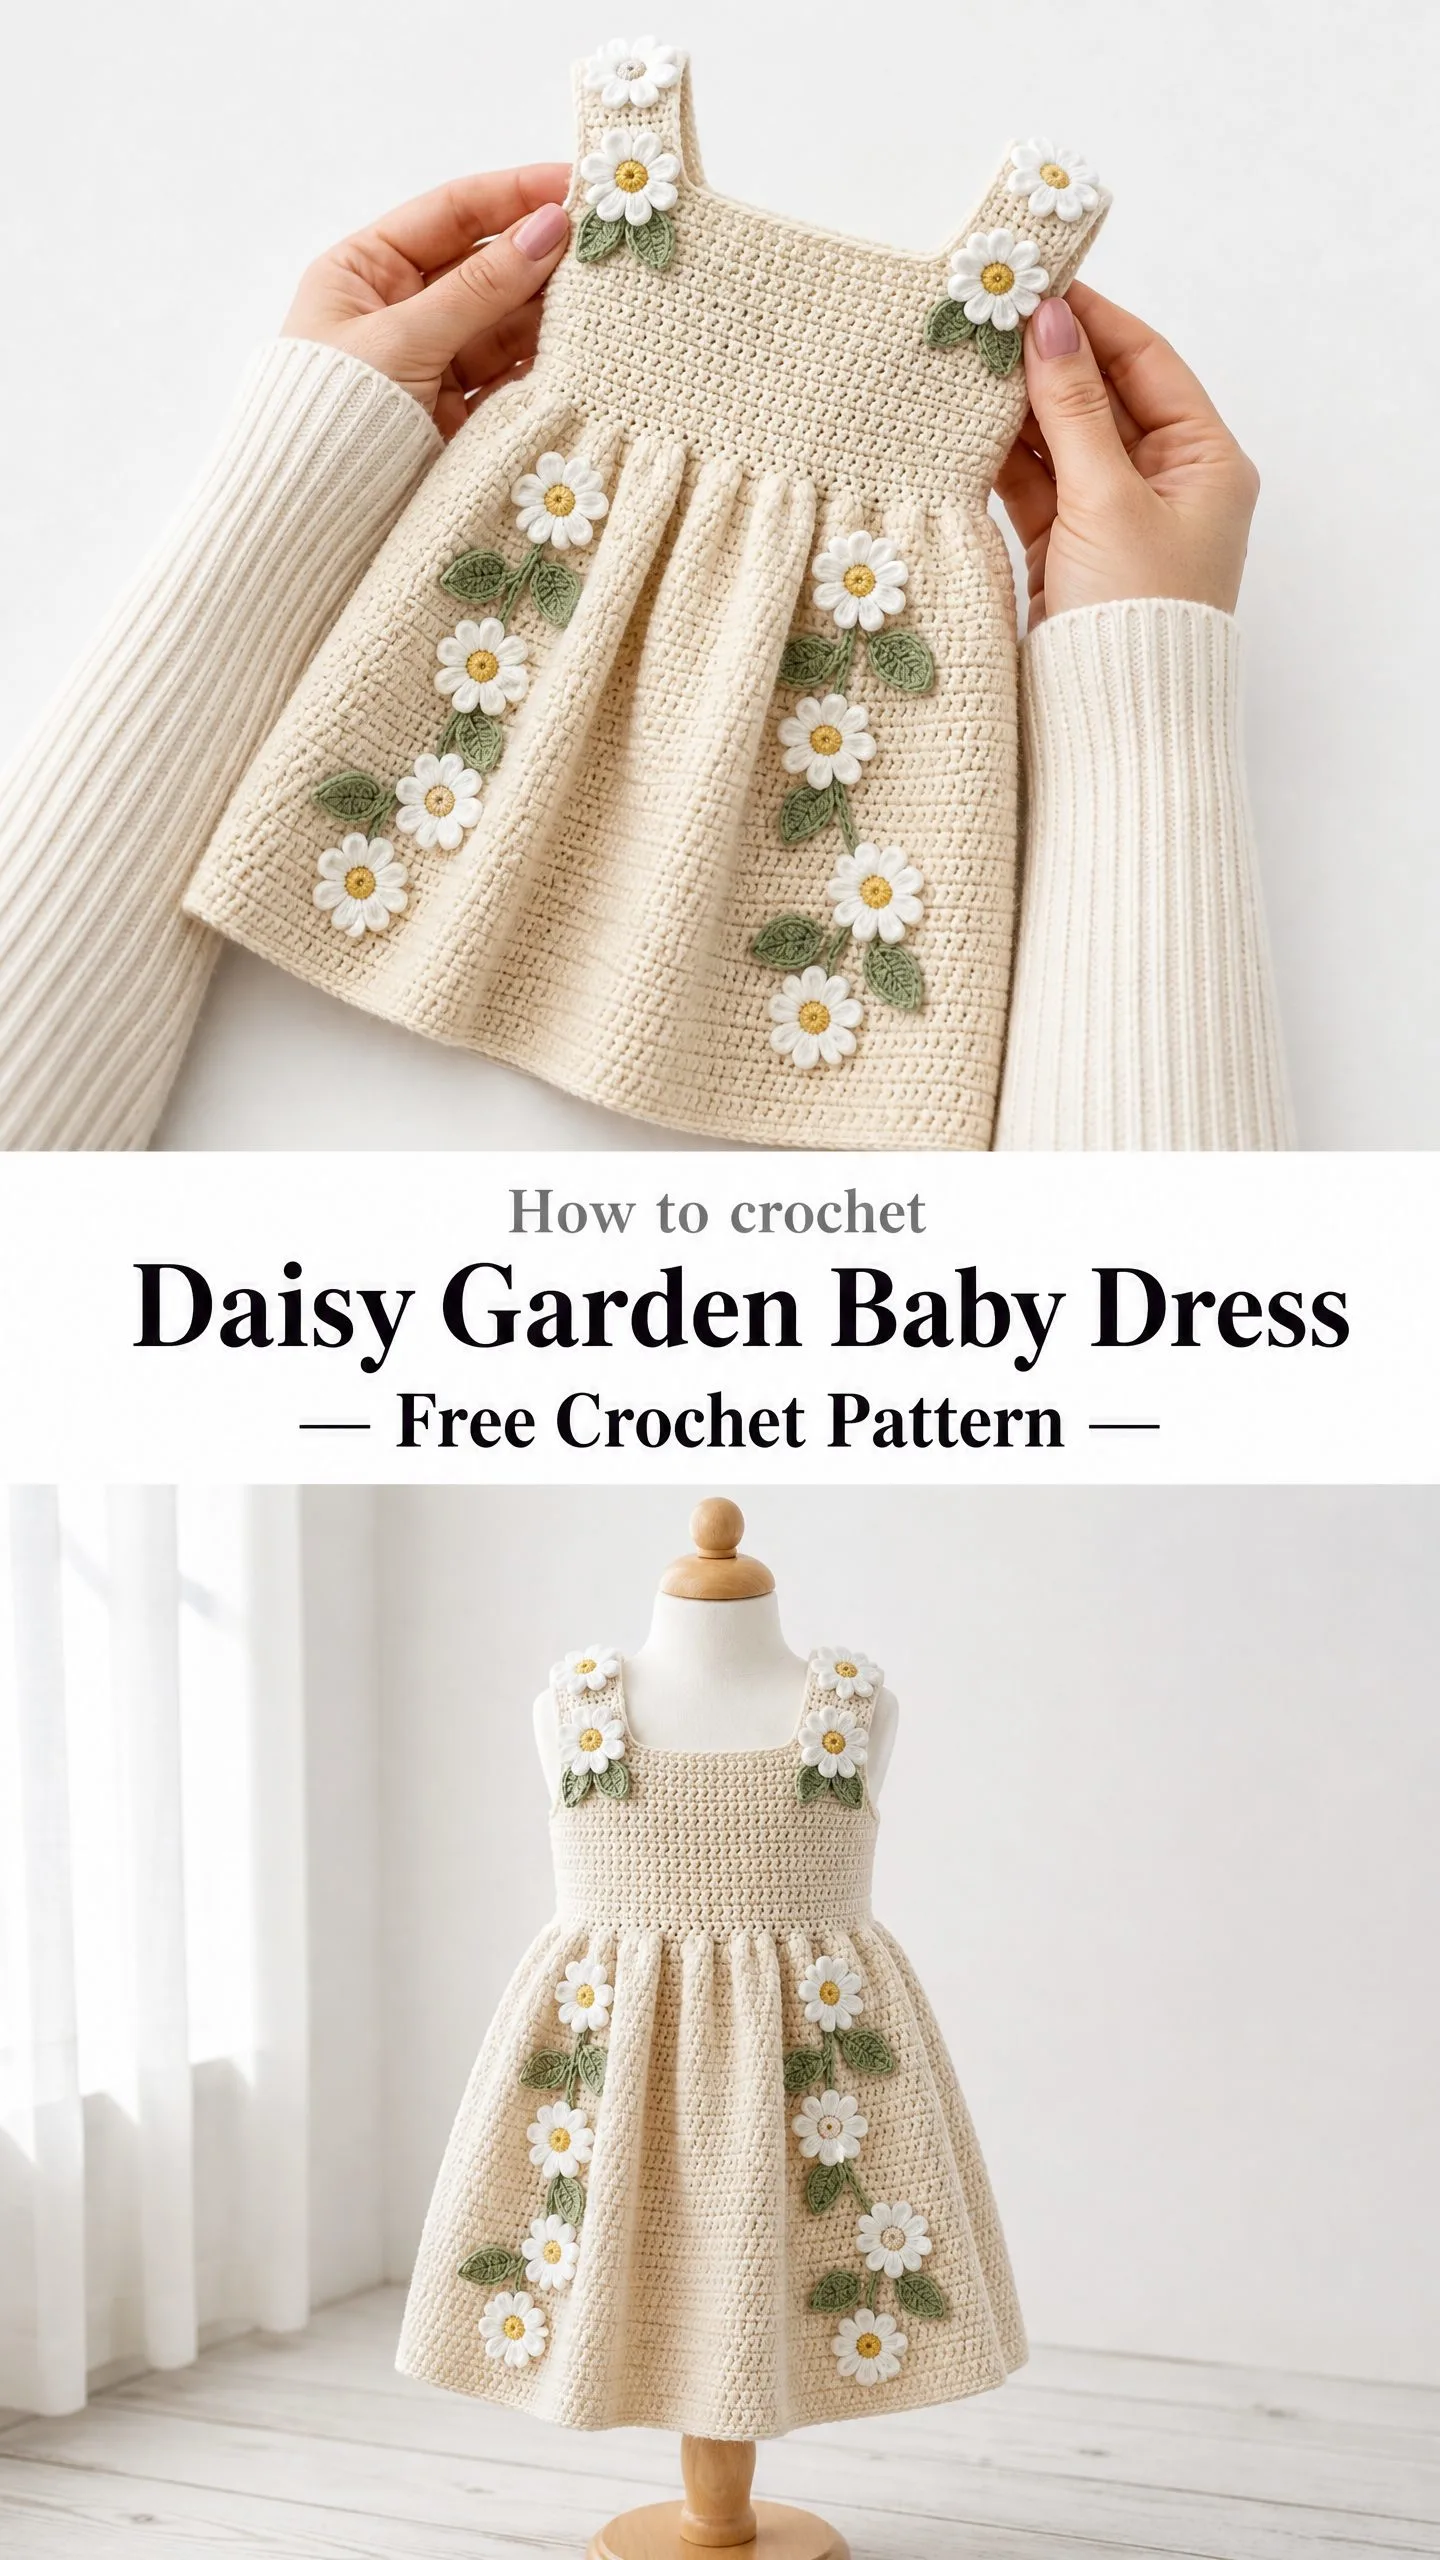
THIS DRESS. I cannot even tell you how excited I am to share this one with you! If you have been searching for a show-stopping baby dress that looks like it belongs in a boutique, you just found it. The best part? It is way more achievable than it looks.
Seriously, the main body uses only single crochet. That is it. The magic comes from the construction method and those adorable 3D daisy appliques that you make separately and sew on at the end. So even if you have never tackled a garment before, you can absolutely do this.
The Daisy Garden Baby Dress features a fitted bodice with a sweet square neckline, wide straps decorated with crocheted daisies, and a beautifully gathered skirt with cascading floral vines down the front. It works up in about 14 to 18 hours total, and it makes the most incredible gift for baby showers, first birthdays, or just because. Let me walk you through every single step.
What Makes This Crochet Baby Dress Pattern Special
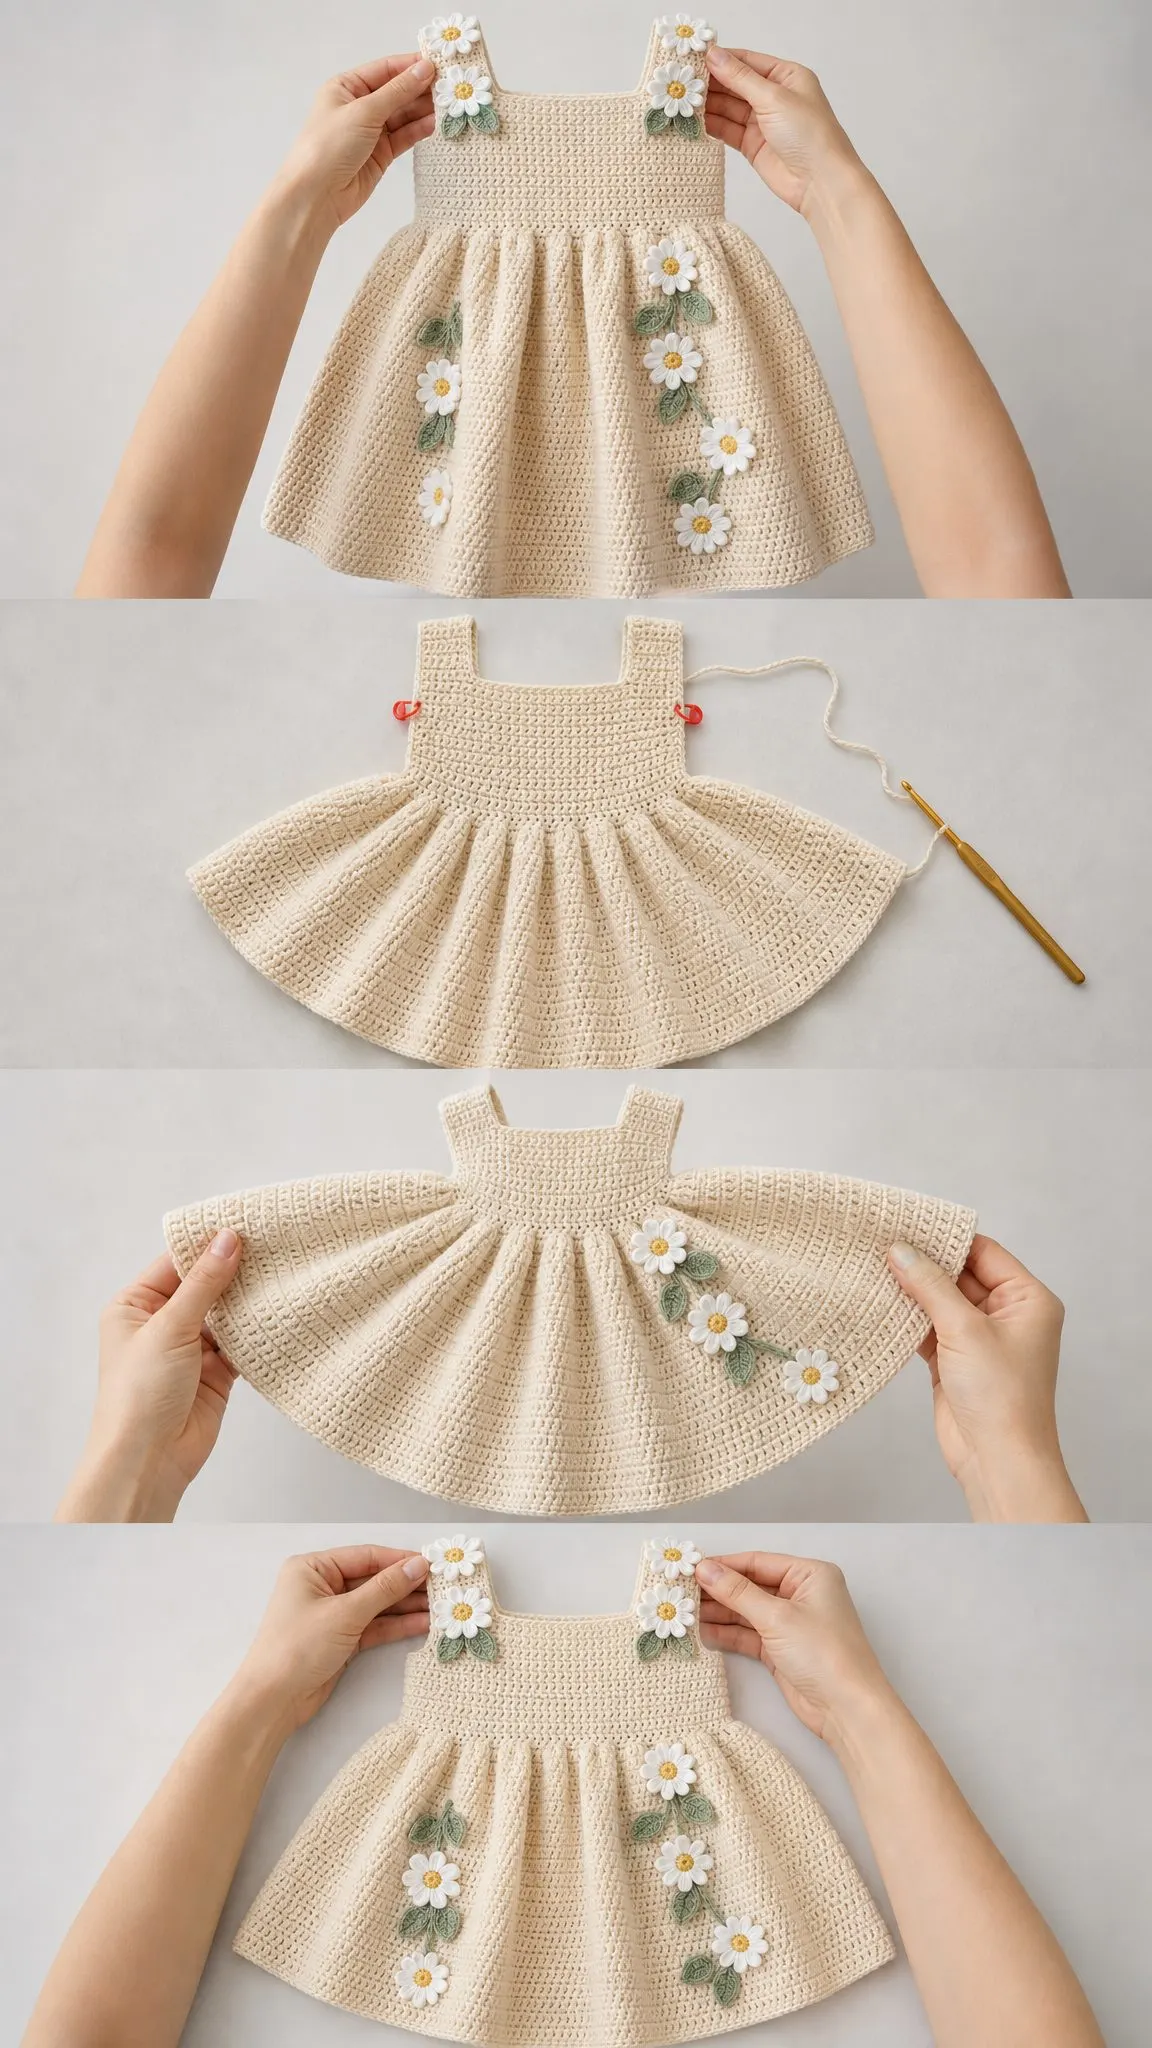
This is not your typical baby dress pattern. The silhouette has real structure to it. The bodice fits snugly while the skirt flares out with gorgeous fullness thanks to a clever gather row at the waist. The back features a slight opening between the straps, which adds a delicate detail and makes it easier to dress a wiggly baby.
The 3D daisy appliques are what really set this dress apart. You will crochet each flower separately with puffy layered petals, then arrange them in diagonal vine patterns along the skirt front. The effect is absolutely stunning, like a little garden growing right on the dress.
Skill level: Intermediate. If you can work single crochet confidently and are comfortable joining pieces, you are ready for this project. The appliques require working in the round with some shaping, but I will walk you through every step.
Finished Measurements
This pattern fits babies aged 12 to 18 months. Here are the finished dimensions after blocking:
I have included size customization tips at the end if you need to adjust for a smaller or larger baby.
Materials You Will Need
Yarn:
Recommended yarns: Lion Brand Pound of Love in Antique White works beautifully for the main color. It has excellent stitch definition, a soft hand, and it is machine washable, which is essential for baby items. Paintbox Yarns Simply DK or WeCrochet Dishie in Cream are also wonderful choices if you prefer cotton.
Hook: US size G-6 / 4.0 mm
Notions:
Gauge (This is Mandatory)
18 single crochet stitches by 22 rows equals 4 inches (10 cm), measured in single crochet worked in the round or back and forth, blocked.
I cannot stress this enough. Gauge matters here. A difference of even one stitch per four inches will make the bodice too tight or too loose. Please make a swatch at least 5 inches square, block it, and count carefully before you start the dress.
Abbreviations and Stitch Definitions
Let me walk you through every stitch and term used in this pattern:
Special Stitches Explained
Single Crochet Two Together (sc2tog)
This is a decrease stitch that turns two stitches into one. Insert your hook into the next stitch, yarn over, pull up a loop. You now have 2 loops on your hook. Insert your hook into the following stitch, yarn over, pull up a loop. You now have 3 loops on your hook. Yarn over and draw through all 3 loops at once. Done! You have decreased by one stitch.
Invisible Join
This technique gives you a seamless finish at the end of a round. After your last slip stitch, cut your yarn leaving a 6-inch tail. Thread the tail onto your yarn needle. Insert the needle from front to back under both loops of the first single crochet of the round. Bring the needle back down through the back loop only of the last single crochet you made. Pull gently to tighten. This creates a fake stitch that hides the join beautifully.
Daisy Petal
Chain 7. Single crochet in the second chain from hook. Single crochet in the next chain. Half double crochet in the next chain. Double crochet in the next chain. Half double crochet in the next chain. Single crochet in the last chain. This creates one elongated petal approximately 0.75 inches (2 cm) long.
Leaf Applique
Chain 10. Single crochet in the second chain from hook. Single crochet in the next 3 chains. Half double crochet in the next 2 chains. Single crochet in the next 2 chains. Work 3 single crochet in the last chain to create the leaf tip. Now work back along the opposite side of the foundation chain: single crochet in the next 2 chains, half double crochet in the next 2 chains, single crochet in the next 3 chains. Slip stitch to the first single crochet to close. Fasten off leaving a sewing tail. Each leaf measures approximately 1 inch (2.5 cm) long.
Pattern Instructions
Straps (Make 2)
The straps form the structural top of the dress. Each one is worked flat in rows.
With MC and G-6 hook, chain 7.
Row 1 (RS): Single crochet in second chain from hook and in each chain across. Turn. (6 sc)
Row 2: Chain 1, single crochet in each stitch across. Turn. (6 sc)
Rows 3 through 27: Repeat Row 2. (6 sc each row)
At Row 27, do not fasten off the first strap. Set it aside with the live stitches still on your hook. For the second strap, fasten off or place a stitch marker to hold the last loop.
Each strap should measure approximately 5 inches (13 cm) long and 1.25 inches (3 cm) wide.
Bodice Join Round
Now you will connect both straps to form the bodice. This creates the square neckline at the front and the open back between the straps.
Step 1: Lay both straps parallel with right sides facing up. Space them approximately 4 inches (10 cm) apart. This gap becomes the front neckline width.
Step 2: With MC, begin at the bottom left corner of the left strap (this will be the front-left shoulder). Chain 1, work 6 sc across the bottom edge of the left strap. Chain 19 (this bridges the front neckline). Work 6 sc across the bottom edge of the right strap. Chain 19 (this bridges the back opening). Join with slip stitch to the first sc of the left strap to form a ring. (50 sts total: 6 + 19 + 6 + 19 = 50)
Before continuing, verify that your circuit measures approximately 18 inches (46 cm) around to match the chest circumference.
Bodice Rounds
Round 1: Chain 1, single crochet in each stitch and chain space around. Join with slip stitch to first sc. (50 sc)
Rounds 2 through 5: Chain 1, single crochet in each stitch around. Join with slip stitch to first sc. (50 sc)
Round 6: Chain 1, sc in next 11 sts, inc in next st, sc in next 24 sts, inc in next st, sc in remaining 13 sts. Join. (52 sc)
Rounds 7 and 8: Chain 1, single crochet in each stitch around. Join. (52 sc)
Round 9: Chain 1, sc in next 12 sts, inc in next st, sc in next 26 sts, inc in next st, sc in remaining 12 sts. Join. (54 sc)
Rounds 10 and 11: Chain 1, single crochet in each stitch around. Join. (54 sc)
Round 12: Chain 1, sc in next 13 sts, inc in next st, sc in next 26 sts, inc in next st, sc in remaining 13 sts. Join. (56 sc)
Rounds 13 and 14: Chain 1, single crochet in each stitch around. Join. (56 sc)
Checkpoint: Your bodice should now measure approximately 6 inches (15 cm) from the base of the straps to the bottom of Round 14. The circumference should be approximately 12.5 inches (32 cm).
Gather Transition Round
This round doubles your stitch count to create the beautiful full skirt.
Round 15 (Gather Round): Chain 1, (inc in next st, sc in next st) around. Join with slip stitch to first sc. (84 sc)
Here is how the math works: 56 stitches divided into pairs gives you 28 repeats of (inc, sc). Each repeat produces 3 stitches (2 from the increase plus 1 sc), giving you 84 total stitches.
Skirt Rounds
Rounds 16 through 18: Chain 1, single crochet in each stitch around. Join. (84 sc)
Round 19: Chain 1, (sc in next 13 sts, inc in next st) 6 times. Join. (90 sc)
Rounds 20 through 22: Chain 1, single crochet in each stitch around. Join. (90 sc)
Round 23: Chain 1, (sc in next 14 sts, inc in next st) 6 times. Join. (96 sc)
Rounds 24 through 26: Chain 1, single crochet in each stitch around. Join. (96 sc)
Round 27: Chain 1, (sc in next 15 sts, inc in next st) 6 times. Join. (102 sc)
Rounds 28 through 30: Chain 1, single crochet in each stitch around. Join. (102 sc)
Round 31: Chain 1, (sc in next 16 sts, inc in next st) 6 times. Join. (108 sc)
Rounds 32 through 34: Chain 1, single crochet in each stitch around. Join. (108 sc)
Round 35 (Final Hem Round): Chain 1, single crochet in each stitch around. Join with invisible join. Fasten off and weave in end. (108 sc)
Checkpoint: The skirt should measure approximately 7.5 inches (19 cm) from the gather row to the hem. The hem circumference should be approximately 24 inches (61 cm).
Daisy Appliques (Make 14 to 18)
Each daisy has a center circle and surrounding petals.
Center Circle (Color B)
Make a magic ring.
Round 1: Chain 1, work 6 sc into ring. Pull ring closed. Join with slip stitch to first sc. (6 sc)
Round 2: Chain 1, inc in each stitch around. Join. (12 sc)
Do not fasten off. Continue to the petal round.
Petal Round (Color A)
Join Color A with slip stitch to any stitch of the center circle. Work one Daisy Petal into the current stitch. After completing the petal, slip stitch back to the base stitch. Slip stitch into the next stitch of the center circle. Repeat for each of the 12 stitches, making 12 petals total.
For smaller daisies (great for the straps), work into every other stitch to create 8 petals instead of 12.
Fasten off Color A leaving an 8-inch sewing tail. Weave in the Color B tail from the center.
Make 8 full daisies (12 petals) for the skirt vines. Make 6 to 8 smaller daisies (8 petals) for the straps.
Leaf Appliques (Make 20 to 24)
Follow the Leaf instructions in the Special Stitches section. Fasten off leaving an 8-inch sewing tail for attaching.
Blocking Your Daisy Garden Baby Dress
Block the dress before attaching any appliques.
For cotton or natural fibers: Soak the finished dress in cool water for 15 minutes. Gently press out excess water in a clean towel without wringing. Lay flat on a blocking board. Pin the hem to the stated circumference and pin the straps to length. Allow to dry completely, about 24 hours.
For acrylic yarn: Pin the dress to measurements on a blocking board. Using a steam iron or handheld steamer, hold it approximately 1 inch above the fabric and steam each section for 10 to 15 seconds. Do not press directly onto the fabric. Allow to cool completely before unpinning.
Attaching the Daisy and Leaf Appliques
This is where the magic happens! Here is where to place everything:
Strap daisies: Place 3 to 4 small daisies evenly along the top surface of each strap, centered widthwise. Tuck a small leaf between each daisy. Pin everything in place before sewing.
Skirt front left vine: Starting at the base of the left strap where it meets the bodice, arrange 4 to 5 daisies in a diagonal line running toward the center hem. Place leaves between and slightly behind each daisy. The vine should curve gently.
Skirt front right vine: Mirror the left vine, starting at the right strap and running diagonally toward center hem. The two vines form a V-shape on the front of the skirt.
To sew each daisy, thread your Color A tail onto a yarn needle and stitch through the back loops of the center circle at multiple points (at least 4 stitches around) to secure it flat.
For leaves, stitch through the slip stitch base and through one chain at the tip to keep it flat and angled along the vine line.
Weave in all remaining ends on the wrong side.
Size Customization Tips
To size up to 2T to 3T: Increase the strap foundation chain from 7 to 9 (giving you 8 working stitches). Increase the front and back bridge chains from 19 to 22 each, starting with approximately 60 bodice stitches. Add 2 additional plain bodice rounds before the increases. Add 4 more skirt rounds before the first increase and extend by 1 to 2 increase rounds.
To size down to 6 to 12 months: Reduce the strap chain from 7 to 5 (4 working stitches). Reduce bridge chains from 19 to 16, starting with approximately 40 bodice stitches. Change the gather round to (inc in next st, sc in next 2 sts) around. Reduce total skirt rounds by 4 and omit the final increase round.
Care Instructions for Your Finished Dress
Machine wash cold on a gentle cycle inside a mesh laundry bag to protect the appliques. Lay flat to dry. Do not tumble dry, as heat will distort the shaping and appliques. Do not iron directly over the daisies. Store flat or rolled loosely. If a daisy comes loose with wear, simply reattach it using matching yarn and a yarn needle.
Final Thoughts on This Crochet Baby Dress Pattern
You did it! Or you are about to. Either way, I am so proud of you for taking on this project. The Daisy Garden Baby Dress is truly one of those pieces that looks like it took forever but is actually just clever construction and beautiful finishing touches.
The single crochet fabric gives it such a lovely, polished look. The 3D daisies add that extra something special. And the full gathered skirt? Absolutely dreamy on a little one.
I really hope you love making this as much as I loved designing it. If you want to save this pattern for later, go ahead and pin it to your favorite Pinterest board so you can find it when you are ready to start. And please, please leave a comment below if you make one. I would absolutely love to see your finished dresses and hear how the pattern worked for you!
