
I have been dreaming about designing a proper summer dress for little ones for ages. My goals were specific: a lacy yoke that looks impressive but works up logically, a fitted bodice that stays put, and a skirt with real movement and drama. The chevron hem had to have those satisfying zigzag points, and I wanted the whole thing to pull over a toddler’s head without any fussy buttons or zippers. After working through the math more times than I care to admit, I am SO pleased with how this turned out.
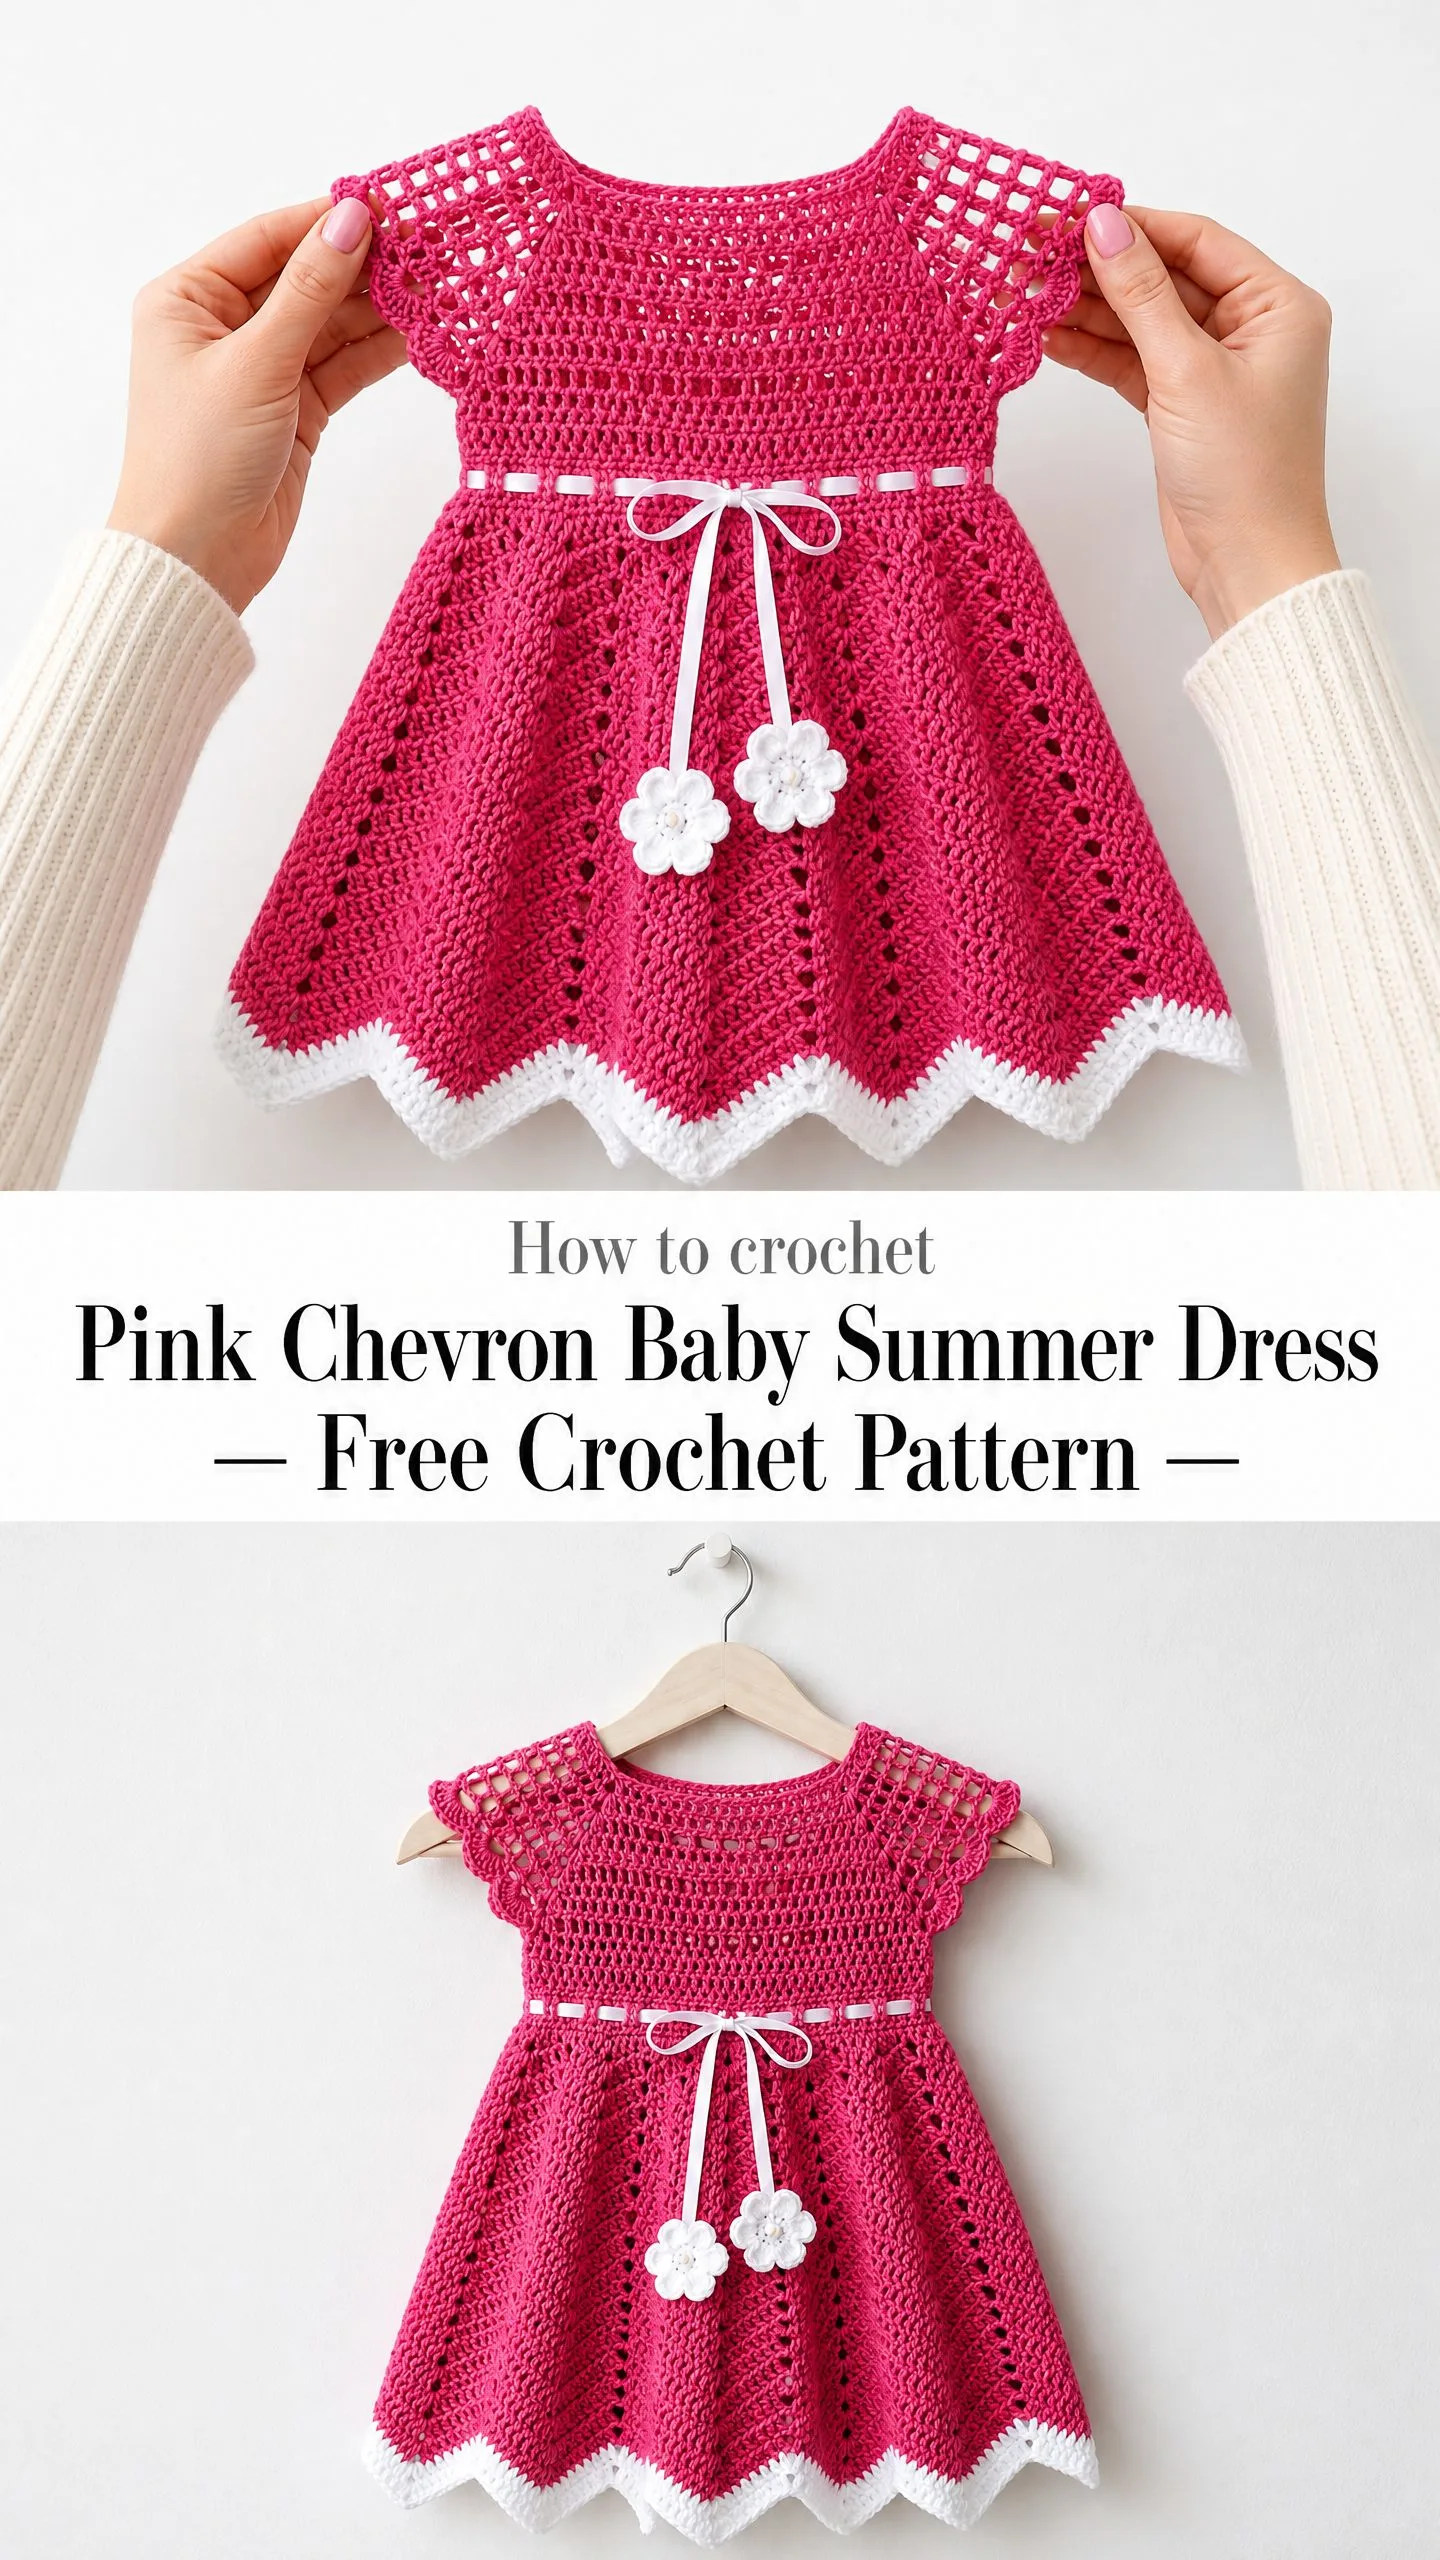
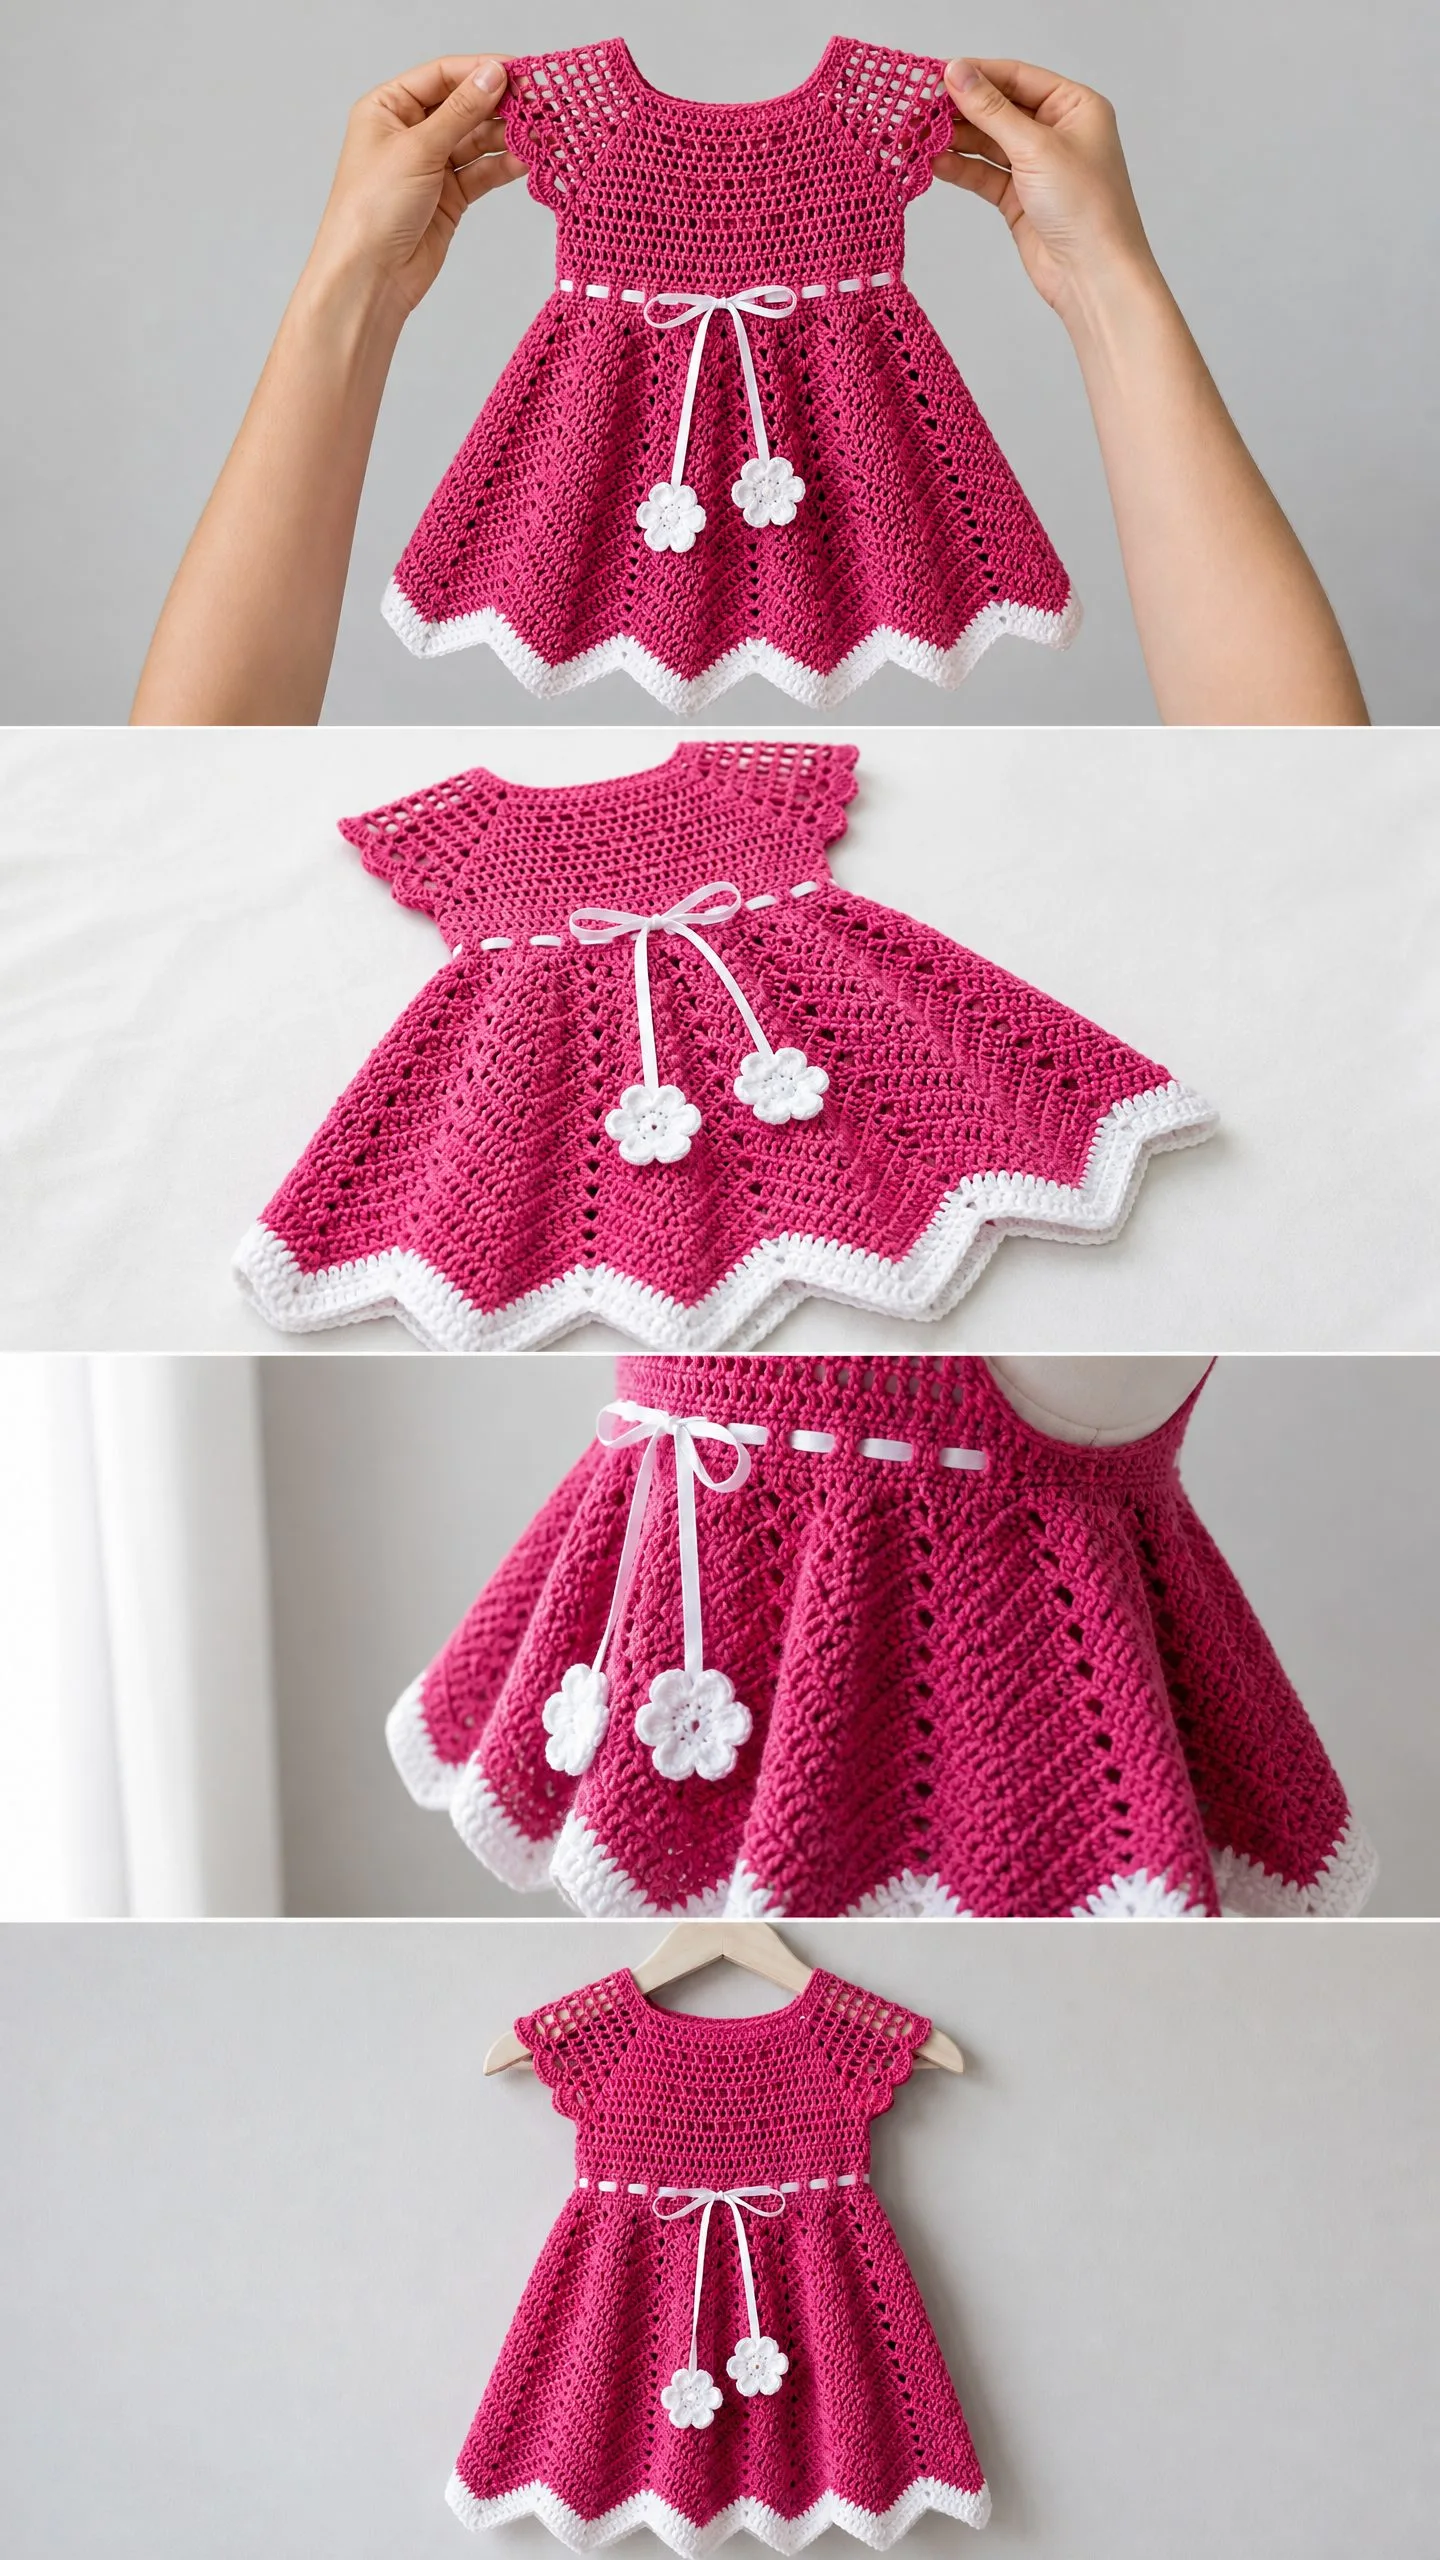
This dress has everything I wanted. The open-work lace at the top keeps it cool for hot days. The ribbon waist adds a sweet finishing touch with those little crocheted flower charms dangling from the bow. And that white scalloped border at the hem? It makes those chevron points pop beautifully against the hot pink.
If you have been wanting to try garment construction but felt intimidated, this is a wonderful next step. The top-down construction means you can try it on as you go. No seaming required. Let me walk you through every single stitch.
About This Baby Dress Crochet Pattern
This crochet tutorial takes you through building a complete toddler dress from the neckline down. You will start with a stretchy foundation chain, work outward through lace rounds that form the yoke and cap sleeves naturally, then transition into a snug bodice before the skirt flares out in dramatic chevron fans.
The finished dress fits toddlers aged approximately 12 to 24 months. The chest measures about 20 inches around at the underarm when unstretched. Total length from neckline to hem runs approximately 14 inches.
Skill level: Intermediate. You should feel comfortable working in joined rounds, following lace repeat instructions, and maintaining stitch counts through increases. If you have completed at least two simple garments before, you will find this approachable with patience.
Time estimate: Expect 8 to 12 hours for an experienced crocheter. Add a few extra hours if you are newer to garments or want to swatch carefully first.
Materials You Will Need
Yarn A (Main Color): Hot pink or fuchsia worsted weight yarn, Category 4, approximately 280 yards
Yarn B (Contrast Color): White worsted weight yarn, Category 4, approximately 60 yards
Hook: US size G-6 / 4.0 mm
Notions:
Yarn Suggestions
Lion Brand Pound of Love works beautifully here. It is worsted weight, 100% premium acrylic, machine washable, and budget-friendly. One skein in Fuchsia plus a small ball in White will cover you.
Paintbox Yarns Simply DK is another excellent choice. Technically DK weight, but a heavy DK that achieves worsted gauge on a G hook with relaxed tension. Very soft against baby skin.
Drops Paris in 100% cotton is ideal if you want a true summer garment. Cotton breathes better in heat. You may need slightly more yardage since cotton is heavier.
Whatever you choose, avoid fuzzy or heavily textured yarns. The lace yoke and chevron pattern need good stitch definition to shine.
Gauge
Getting gauge right matters for garment fit. Please swatch before starting.
With Yarn A and G-6 hook in single crochet (sc):
In the chevron fan pattern (skirt section):
If your swatch runs large, go down a hook size. If it runs small, go up. This step saves heartache later.
Abbreviations and Stitch Definitions
Let me define every stitch you will encounter. I am using US crochet terms throughout.
ch = chain. Wrap yarn over hook, pull through loop on hook. This creates one chain stitch.
sl st = slip stitch. Insert hook into stitch, yarn over, pull through both the stitch and the loop on your hook in one motion. Used for joining rounds.
sc = single crochet. Insert hook into stitch, yarn over and pull up a loop (2 loops on hook), yarn over and pull through both loops. The shortest basic stitch.
dc = double crochet. Yarn over, insert hook into stitch, yarn over and pull up a loop (3 loops on hook), yarn over and pull through 2 loops (2 loops remain), yarn over and pull through remaining 2 loops. A taller stitch that creates the lace openings.
sk = skip. Pass over the indicated stitch without working into it.
st(s) = stitch(es)
sp = space. The gap created by chain stitches in previous rounds.
ch-sp = chain space
beg = beginning
rnd = round
pm = place marker
sc2tog = single crochet two together (a decrease). Insert hook into next stitch and pull up a loop (2 loops on hook). Insert hook into the following stitch and pull up a loop (3 loops on hook). Yarn over and draw through all 3 loops. You have turned 2 stitches into 1.
sc5tog = single crochet five together (a larger decrease for the chevron valleys). Insert hook into next stitch, pull up a loop. Repeat into the next 4 stitches so you have 6 loops on your hook total. Yarn over and draw through all 6 loops. This collapses 5 stitches into 1.
Shell = 5 double crochet stitches all worked into the same stitch or space. Creates a fan shape.
Special Techniques
The 5-DC Shell
This creates the fan shapes in your yoke and the peaks of your chevron skirt. Simply work 5 double crochet stitches all into the same stitch or chain space. They will naturally spread into a fan.
The Chevron Fan Stitch
This is the signature stitch of the skirt. Each 10-stitch repeat creates one peak and one valley:
At the peak: Work 5 dc into one stitch (shell). This uses 1 stitch but creates 5, giving you a gain of 4.
On the flat sections: Work 2 sc on each side of the valley.
At the valley: Work sc5tog over 5 stitches. This removes 4 stitches, balancing out the peak.
The gains at the peaks exactly cancel the losses at the valleys, keeping your stitch count consistent round after round.
Crocheted Flower Embellishment (Make 2)
These little flowers attach to the ribbon ends. They are beginner-level and work up in minutes.
Step 1: Make a magic ring (MR).
Step 2: Chain 1. Work 6 sc into the magic ring. Pull the ring closed. Slip stitch to the first sc to join. (6 sc)
Step 3: Work the petals: (Chain 3, work 2 dc in the same stitch, chain 3, slip stitch in the same stitch, slip stitch in the next stitch) 6 times around. This creates 6 petals.
Step 4: Fasten off, leaving a 6-inch tail. Use this tail to sew or tie the flower to the ribbon end. Add a small pearl bead to the center if you like.
Pattern Notes Before You Begin
Read these through before starting. They will save you confusion.
1. The dress is worked in joined rounds throughout. At the end of each round, slip stitch to the first stitch, then chain as directed to begin the next round.
2. Chain 1 at the start of a round does NOT count as a stitch. Chain 3 at the start of a round DOES count as 1 dc.
3. The right side faces outward at all times. Do not turn your work between rounds.
4. Place a stitch marker at the beginning of each round and move it up as you go.
5. The ribbon is threaded through after the bodice is complete. You create the spaces for it as you work.
6. Block the finished dress before threading the ribbon. This opens up the lacework and evens out the chevrons.
Step By Step Instructions
Section 1: Neckline Foundation
Using Yarn A, loosely chain 54. Slip stitch to the first chain to form a ring. Be careful not to twist.
Round 1: Chain 1 (does not count as a stitch). Work 1 sc in each chain around. Slip stitch to first sc. (54 sc)
Round 2: Chain 3 (counts as first dc). Dc in next st. Ch 2. Sk 1 st. (2 dc, ch 2, sk 1 st) 17 times around. Slip stitch to top of beg ch-3. (36 dc, 18 ch-2 spaces)
Section 2: Yoke Lace Rounds
Round 3: Slip stitch into first ch-2 sp. Chain 3. Work 4 dc in same sp (5 dc shell complete). Ch 1. (5 dc shell in next ch-2 sp, ch 1) in each ch-2 sp around. Slip stitch to top of beg ch-3. (18 shells, 18 ch-1 spaces; 90 dc total)
Round 4: Chain 1. Work 1 sc in each dc and each ch-1 sp around. Slip stitch to first sc. (108 sc)
Round 5: Chain 3. 1 dc in next st. Ch 2. Sk 1 st. (2 dc, ch 2, sk 1 st) around. Slip stitch to top of beg ch-3. (72 dc, 36 ch-2 spaces)
Round 6: Slip stitch into first ch-2 sp. Chain 3. Work 4 dc in same sp. Ch 1. (5 dc shell in next ch-2 sp, ch 1) around. Slip stitch to top of beg ch-3. (36 shells, 36 ch-1 spaces; 180 dc total)
Round 7: Chain 1. Work 1 sc in each dc and each ch-1 sp around. Slip stitch to first sc. (216 sc)
Yoke Checkpoint: Your piece should measure approximately 4 inches from the neckline to the current round. It should lie flat and form a shallow disc shape.
Section 3: Underarm Division
Now you will divide for the body, leaving openings for the sleeves.
Round 8: Chain 1. Sc in each of next 72 sts (this is the front). Chain 4. Skip next 36 sts (left sleeve opening, place marker at first skipped st). Sc in each of next 72 sts (back). Chain 4. Skip next 36 sts (right sleeve opening, place marker). Slip stitch to first sc. (144 sc plus 8 chain stitches)
Round 9: Chain 1. Sc in each of 72 front sc. Sc in each of 4 ch sts. Sc in each of 72 back sc. Sc in each of 4 ch sts. Slip stitch to first sc. (152 sc)
Round 10 (decrease round for clean stitch count): Chain 1. (Sc in each of 17 sc, sc2tog) 8 times around. Slip stitch to first sc. (144 sc)
Section 4: Bodice
The bodice creates a fitted section between the yoke and skirt.
Round 11: Chain 3. 1 dc in next st. Ch 1. Sk 1 st. (2 dc, ch 1, sk 1 st) around. Slip stitch to top of beg ch-3. (96 dc, 48 ch-1 spaces)
Round 12: Chain 1. 1 sc in each dc and each ch-1 sp around. Slip stitch to first sc. (144 sc)
Round 13: Repeat Round 11. (96 dc, 48 ch-1 spaces)
Round 14: Repeat Round 12. (144 sc)
Round 15 (waist ribbon round): Chain 3. 1 dc in next st. Ch 2. Sk 1 st. (2 dc, ch 2, sk 1 st) around. Slip stitch to top of beg ch-3. (96 dc, 48 ch-2 spaces)
The ch-2 spaces are wide enough for your ribbon to thread through later.
Bodice Checkpoint: The bodice from underarm to waist should measure approximately 2.5 inches. Total garment length from neckline should be approximately 6.5 inches. Circumference at the waist should be roughly 20 inches.
Section 5: Skirt
Round 16 (skirt increase round): Chain 1. (2 sc in first st, 3 sc) 36 times around. Slip stitch to first sc. (180 sc)
This increase gives you the stitch count needed for 18 repeats of your 10-stitch chevron pattern.
Round 17 (first chevron round): Chain 3 (counts as first dc of shell). Work 4 more dc into the same stitch (first shell complete). Work 2 sc in next 2 sts. Work sc5tog over next 5 sts (valley). Work 2 sc in next 2 sts. (5 dc shell in next st, 2 sc, sc5tog, 2 sc) repeat from * around. Slip stitch to top of beg ch-3. (180 sts: 18 shells of 5 dc each, plus 18 valleys, plus flat sections)
Rounds 18 through 28: Repeat Round 17, working your shells into the center dc of the previous round’s shells (the peak), and your sc5tog centered over the previous valley.
Continue until the skirt measures approximately 7 inches from the waist, or until you have completed 12 chevron rounds total.
Section 6: White Scalloped Border
Join Yarn B with a slip stitch at the center dc of any shell (a peak point). Fasten off Yarn A.
Border Round 1: With Yarn B, chain 1. Work 1 sc in each st around, working 3 sc into each peak center stitch and sc3tog at each valley to maintain the chevron shape. Slip stitch to first sc.
Border Round 2: Chain 1. Sc in each st around, again working 3 sc at peaks and sc3tog at valleys. Slip stitch to first sc.
Border Round 3 (picot edge): Chain 1. (Sc in next 2 sts, picot) repeat around, adjusting at peaks and valleys as needed for smooth curves. Slip stitch to first sc. Fasten off.
Picot reminder: Chain 3, slip stitch into first chain made.
Finishing Your Baby Dress
Weave in all ends securely with your yarn needle. Baby clothes get washed frequently, so weave through several stitches in different directions.
Block the dress by soaking it in lukewarm water for 15 minutes. Gently squeeze out excess water (do not wring). Lay flat on a blocking mat or clean towels. Pin the chevron points to open them up evenly. Pin the yoke flat to open the lace. Let dry completely.
Thread the ribbon through the ch-2 spaces at the waist. Start at center front, weave in and out around the entire waist, and bring both ends out at center front.
Attach the flowers to the ribbon ends. Use the yarn tails to tie or sew them securely. Trim any excess.
Tie the ribbon in a bow at the front. Adjust the gathers evenly around the waist.
Size Adjustments
For a smaller size (6 to 12 months): Start with a foundation chain of 48 instead of 54. Reduce each section proportionally. Work fewer chevron rounds in the skirt.
For a larger size (2T to 3T): Start with a foundation chain of 60. Add one extra repeat in each yoke section. Work additional chevron rounds for length.
Always check measurements against the child as you work. Top-down construction makes trying on easy.
Tips for Success
Work your foundation chain loosely. The neckline needs to stretch over a toddler’s head.
Count your stitches at the end of every round. Losing track in the yoke will throw off your underarm division.
Use stitch markers generously. Mark the beginning of rounds and the four division points (front, back, two sleeves).
If your chevron valleys bunch up or your peaks flatten, check that your tension is consistent across sc5tog decreases and shell increases.
I hope you love making this dress as much as I loved designing it. The combination of lacy yoke, sweet ribbon details, and dramatic chevron skirt makes it perfect for photos, parties, or just everyday summer adventures.
If you make one, I would absolutely love to see it. Tag me on Instagram or share in my Facebook group. Seeing your versions is honestly the best part of sharing patterns.
Save this pattern to your Pinterest boards so you can find it when you are ready to start. And please drop a comment below if you have questions or just want to say hello. Happy crocheting, friend.
