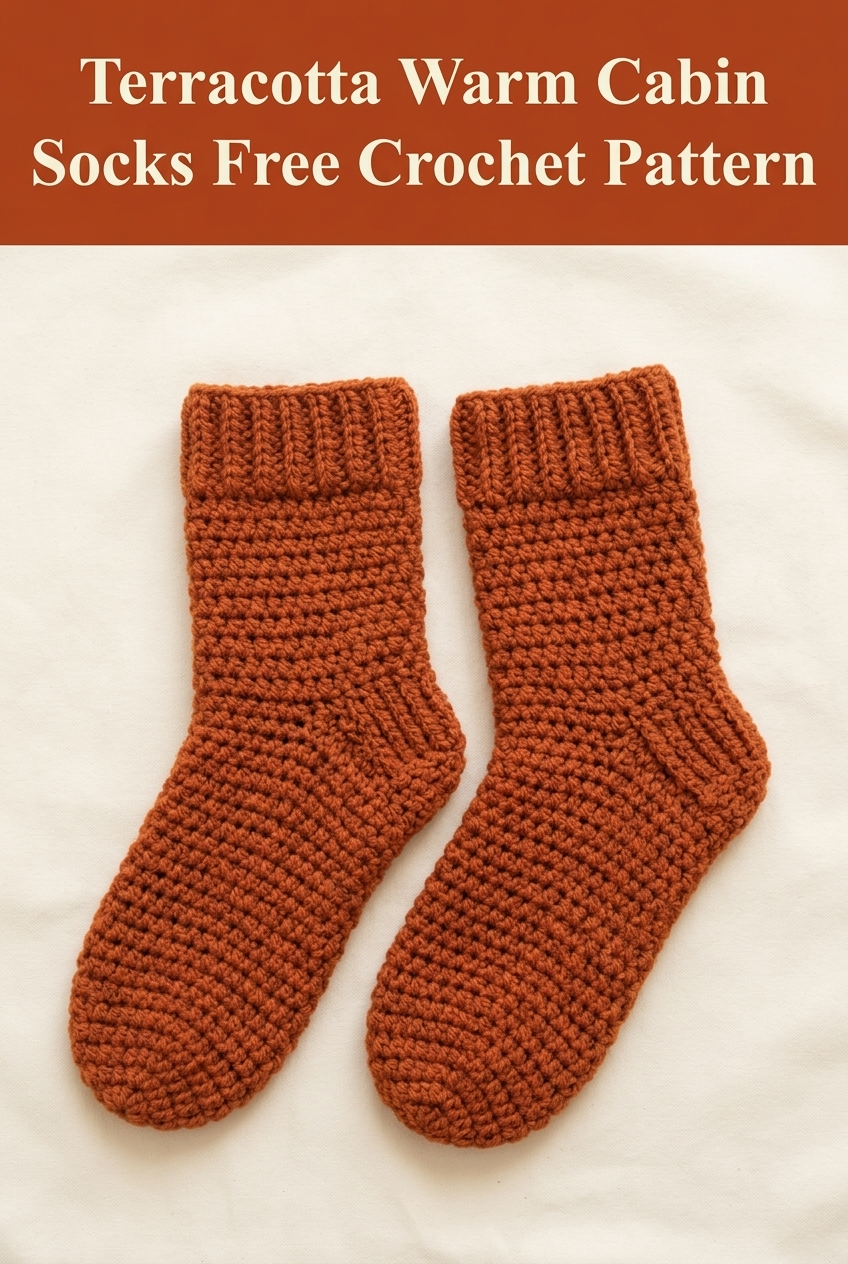
I’ve been calling these my "Cabin Socks" ever since I first sketched them out in a little spiral notebook three winters ago. I was staying at a friend’s lake house, and the old wooden floors were absolutely freezing in the mornings. I grabbed some rust-colored yarn from my bag and started crocheting right there on the couch, determined to make something thick and cozy that would actually stay on my feet. The original pair lived in that cabin for two years before I finally brought them home. Now I’m sharing the pattern with you, and I still smile every time I see that warm terracotta color.
Why You’ll Love This Crochet Sock Pattern
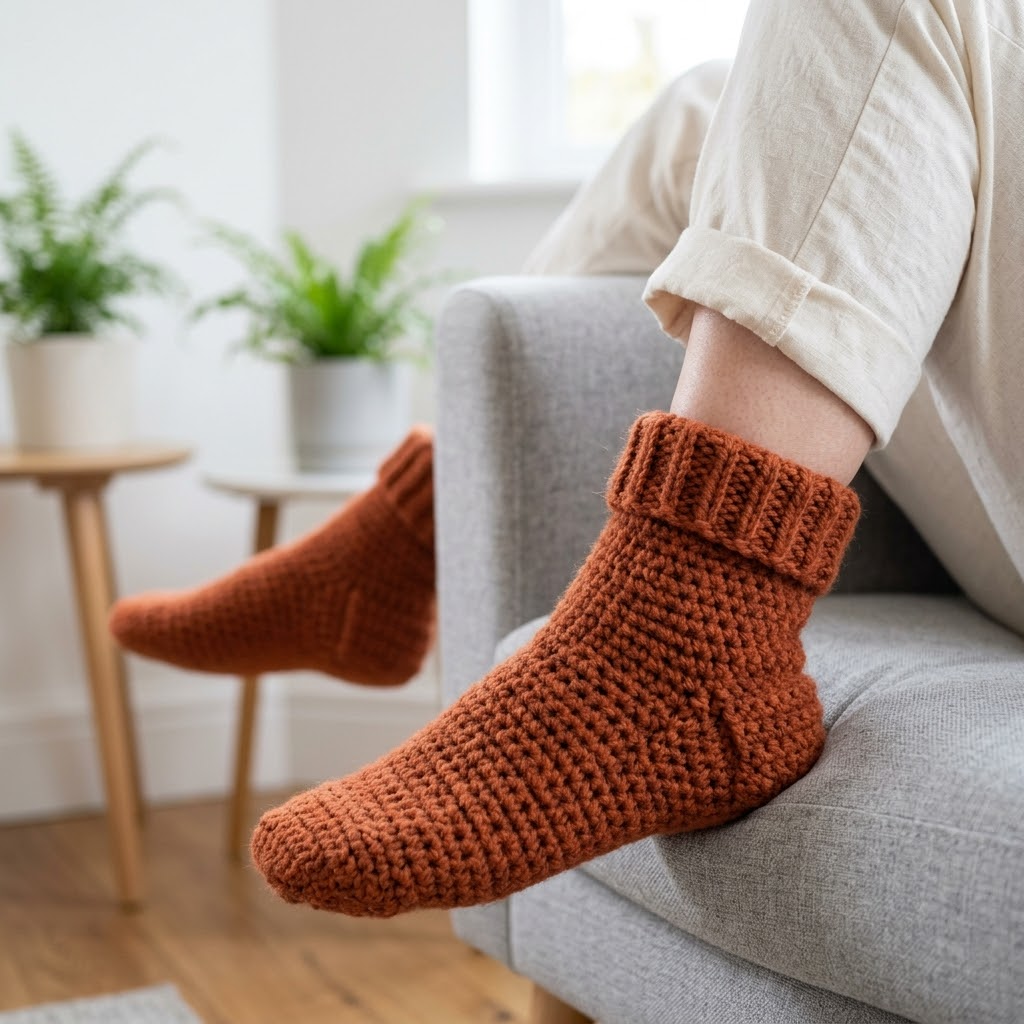
These cozy crochet socks are the perfect project for chilly evenings at home. The construction is straightforward, working from the toe up with simple shaping that creates a comfortable, custom fit. What makes this crochet pattern special is the fold-over ribbed cuff that adds extra warmth around your ankles and gives the socks that classic cabin aesthetic.
The main body uses a basic stitch pattern that creates lovely texture without complicated techniques. If you can work single crochets and know how to increase and decrease, you have all the skills you need. The ribbed cuff section introduces a simple technique that looks impressive but is genuinely easy once you get the rhythm.
These socks work up surprisingly fast for a garment project. Most crocheters can finish a pair in a weekend, making them perfect for gift-giving or treating yourself. The thick construction means they’re warm enough for the coldest floors, but the yarn breathes well enough that your feet won’t overheat.
Materials You’ll Need
Yarn: Worsted weight yarn (category 4), approximately 250-300 yards total for one pair. The sample uses an acrylic and wool blend in a warm terracotta shade. Look for yarn with good stitch definition so your texture really pops.
Hook: 5.0mm (H/8) crochet hook for the main body, 4.5mm (G/6) for the ribbed cuff. Going down a hook size for the cuff creates tighter ribbing that hugs your ankle.
Notions: Yarn needle for weaving in ends, stitch marker, scissors, and measuring tape.
Gauge: 14 single crochet stitches and 16 rows equals 4 inches square with the larger hook. Gauge matters here since you want your socks to actually fit your feet.
Skill Level and Techniques
This crochet tutorial is designed for confident beginners and intermediate crocheters. You should feel comfortable with basic stitches and be ready to try simple shaping.
Stitches and abbreviations used:
Chain (ch): The foundation stitch. Yarn over, pull through the loop on your hook. This creates the starting row for many projects.
Single crochet (sc): Insert hook into stitch, yarn over and pull up a loop (two loops on hook), yarn over and pull through both loops. This is the most basic crochet stitch and creates a tight, dense fabric.
Single crochet increase (inc): Work two single crochet stitches into the same stitch. This adds one stitch to your count. If you have 10 stitches and work an increase, you’ll end up with 11.
Single crochet decrease (dec): Insert hook into first stitch, pull up a loop, insert hook into next stitch, pull up a loop (three loops on hook), yarn over and pull through all three loops. This removes one stitch from your count.
Slip stitch (sl st): Insert hook into stitch, yarn over and pull through both the stitch and the loop on your hook in one motion. Used for joining rounds and creating the ribbed texture.
Back loop only (BLO): Instead of inserting your hook under both loops at the top of the stitch, only go under the back loop. This creates the stretchy ribbing effect.
Size Information
This pattern is written for Women’s US size 7-8 (approximately 9-9.5 inch foot length). The stretchy construction accommodates slight variations in foot size.
To adjust sizing: Add or subtract 4 stitches to the starting chain for each size up or down. Add or subtract 4-6 rows in the foot section for length adjustments.
Crochet Pattern Instructions
Toe Section
The sock begins at the toe and works upward. You’ll start with a small oval and increase gradually to create the rounded toe shape.
Round 1: With 5.0mm hook, ch 7. Starting in second ch from hook, work 1 sc in each of the next 5 chains. In the last chain, work 3 sc (this turns the corner). Rotate your work to continue along the opposite side of the foundation chain. Work 1 sc in each of the next 4 chains, then 2 sc in the last chain. Join with sl st to first sc. (14 sts)
Place your stitch marker in the first stitch. Move it up each round to keep track of where your rounds begin.
Round 2: Ch 1 (does not count as a stitch throughout), work 1 inc in first st, 1 sc in each of next 4 sts, 1 inc in each of next 3 sts, 1 sc in each of next 4 sts, 1 inc in each of last 2 sts. Join with sl st. (20 sts)
Round 3: Ch 1, 1 sc in first st, 1 inc in next st, 1 sc in each of next 4 sts, (1 inc in next st, 1 sc in next st) 3 times, 1 sc in each of next 3 sts, (1 inc in next st, 1 sc in next st) twice. Join with sl st. (26 sts)
Round 4: Ch 1, 1 sc in each of first 2 sts, 1 inc in next st, 1 sc in each of next 5 sts, 1 inc in next st, 1 sc in each of next 2 sts, 1 inc in next st, 1 sc in each of next 2 sts, 1 inc in next st, 1 sc in each of next 5 sts, 1 inc in next st, 1 sc in each of next 2 sts, 1 inc in next st, 1 sc in each of last 2 sts. Join with sl st. (32 sts)
Round 5: Ch 1, 1 sc in each st around. Join with sl st. (32 sts)
Round 6: Ch 1, 1 sc in each of first 3 sts, 1 inc in next st, 1 sc in each of next 6 sts, 1 inc in next st, 1 sc in each of next 6 sts, 1 inc in next st, 1 sc in each of next 6 sts, 1 inc in next st, 1 sc in each of last 5 sts. Join with sl st. (36 sts)
Don’t worry if your toe looks a bit wonky at this stage. It will smooth out as you continue working and especially after you try on the finished sock.
Foot Section
Now you’ll work even rounds without shaping to create the main body of the foot. This section should measure approximately 6 inches, or about 2.5 inches shorter than your total foot length.
Rounds 7-28: Ch 1, 1 sc in each st around. Join with sl st. (36 sts)
Repeat this round until your foot section measures approximately 6 inches from the tip of the toe, or until the sock reaches the point where your heel begins when you hold it against your foot.
Helpful tip: Try the sock on as you go. The fabric should feel snug but not tight. If it’s too loose, drop down a hook size. Too tight means you should go up a hook size.
Heel Opening
The heel is created using short rows, which means you’ll work back and forth across part of your round instead of continuing in a circle. This creates the cup shape that wraps around your heel.
Row 1: Ch 1, 1 sc in each of next 18 sts. Turn your work. Leave remaining 18 sts unworked for now. (18 sts)
Row 2: Ch 1, skip first st, 1 sc in each st across to last st, skip last st. Turn. (16 sts)
Row 3: Ch 1, skip first st, 1 sc in each st across to last st, skip last st. Turn. (14 sts)
Row 4: Ch 1, skip first st, 1 sc in each st across to last st, skip last st. Turn. (12 sts)
Row 5: Ch 1, skip first st, 1 sc in each st across to last st, skip last st. Turn. (10 sts)
Row 6: Ch 1, 1 sc in each st across. Turn. (10 sts)
Now you’ll work increases to shape the other side of the heel cup.
Row 7: Ch 1, 2 sc in first st, 1 sc in each st across to last st, 2 sc in last st. Turn. (12 sts)
Row 8: Ch 1, 2 sc in first st, 1 sc in each st across to last st, 2 sc in last st. Turn. (14 sts)
Row 9: Ch 1, 2 sc in first st, 1 sc in each st across to last st, 2 sc in last st. Turn. (16 sts)
Row 10: Ch 1, 2 sc in first st, 1 sc in each st across to last st, 2 sc in last st. Do not turn. (18 sts)
Joining the Heel
Now you’ll rejoin to work in the round again, picking up stitches along the sides of your heel opening.
Joining Round: Continue working along the side of the heel opening, picking up approximately 8-10 sc evenly along the edge. Work 1 sc in each of the 18 waiting stitches from the top of the foot. Pick up 8-10 sc evenly along the other side of the heel opening. Join with sl st to first heel stitch. (Approximately 52-56 sts)
Shaping Round 1: Ch 1, 1 sc in each of first 18 heel sts. Work 1 dec, 1 sc in each st to 2 sts before the top of foot section, 1 dec. 1 sc in each of next 18 top stitches. 1 dec, 1 sc in each st to last 2 sts, 1 dec. Join with sl st. (48-52 sts)
Shaping Round 2: Ch 1, 1 sc in each of first 16 sts, 1 dec, 1 sc in each st to 2 sts before halfway point, 1 dec, 1 sc in each of next 14 sts, 1 dec, 1 sc to last 2 sts, 1 dec. Join with sl st. (44-48 sts)
Continue decreasing at the same four points every other round until you have 36 stitches remaining.
Ankle and Leg Section
Rounds 1-12: Ch 1, 1 sc in each st around. Join with sl st. (36 sts)
The leg should measure approximately 3 inches from the top of the heel at this point.
Ribbed Cuff
Switch to your 4.5mm hook for this section. The smaller hook creates tighter stitches that grip your leg nicely.
Foundation Row: Ch 9.
Row 1: Starting in second ch from hook, 1 sc in BLO of each ch across. (8 sts) Sl st into next 2 sts on the sock edge to attach. Turn.
Row 2: Skip the sl sts, 1 sc in BLO of each st across the ribbing strip. Turn. (8 sts)
Row 3: Ch 1, 1 sc in BLO of each st across. Sl st into next 2 sts on sock edge. Turn.
Repeat Rows 2 and 3 until you have worked all the way around the sock opening. The ribbing should lay flat against the leg, creating vertical lines.
Joining: Sl st the final row to the foundation chain of the ribbing to close the cuff into a tube. Fasten off.
Fold-Over Detail
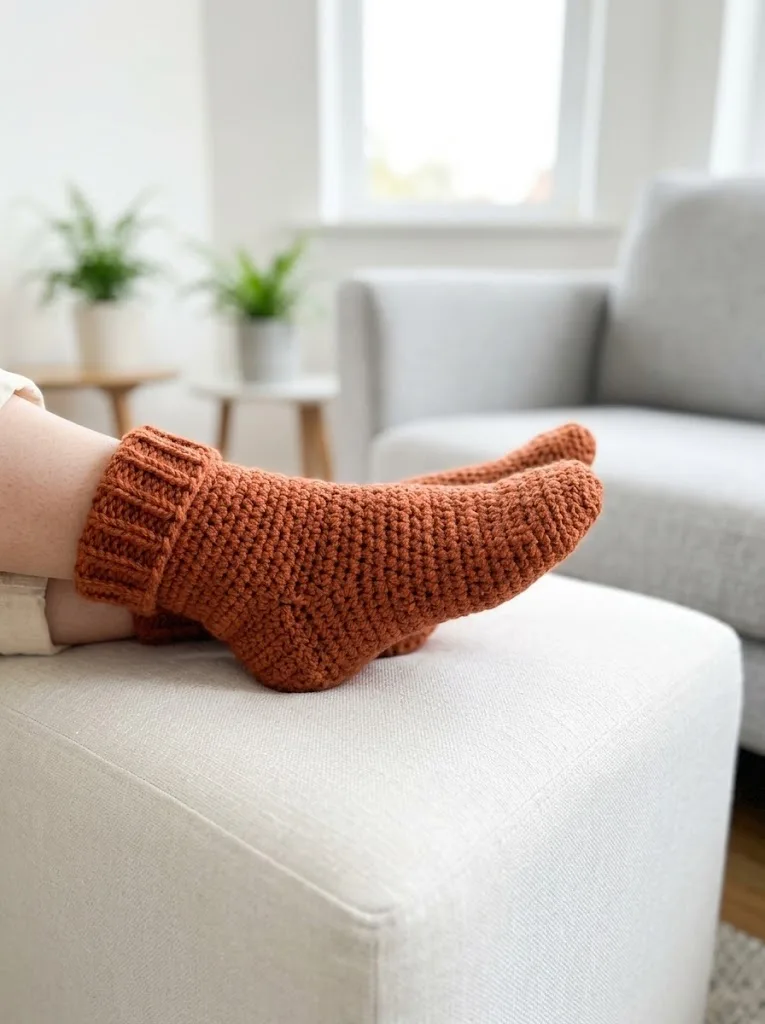
The cuff is designed to fold down, creating that cozy layered look you see in the photos. The fold happens naturally because the ribbing is slightly longer than the sock opening. Simply fold the top 1.5-2 inches of the cuff outward.
Finishing Your Cabin Socks
Weave in all ends securely using your yarn needle. Work the tail through several stitches on the wrong side, then double back in the opposite direction for extra security. Socks get a lot of wear, so take extra time with this step.
Blocking (optional but recommended): Wet your finished socks thoroughly, gently squeeze out excess water (never wring), and lay flat to dry on a towel. You can also use sock blockers if you have them. Blocking evens out your stitches and helps the socks hold their shape.
Yarn Substitution Ideas
This beginner friendly crochet pattern works beautifully with many different yarn types. For maximum warmth, try a wool or wool blend. For easy-care socks that can go in the washing machine, choose a superwash wool or acrylic blend.
Avoid cotton for this project since it doesn’t have the stretch and recovery you need for a comfortable fit. Bamboo blends can work but may stretch out over time.
Troubleshooting Common Issues
Socks too tight around the ankle: Add 4 stitches to your count before starting the cuff section. Work two rounds of single crochet with the extra stitches before beginning the ribbing.
Heel doesn’t fit quite right: The heel cup may need more or fewer decrease rows depending on your foot shape. Try the sock on after completing the heel shaping rounds and adjust as needed.
Cuff won’t fold over neatly: Make sure you’re using the smaller hook for this section. If it’s still too loose, drop down another half size.
Make the Second Sock
I know, I know. Second sock syndrome is real. But trust me, your feet will thank you when you can wear matching warm socks around the house. The second one always goes faster because you’ve already worked out the rhythm.
I hope these cozy cabin socks keep your feet warm for many winters to come. There’s something so satisfying about wearing something you made yourself, especially on a cold morning when the floors are chilly.
If you love this pattern, I’d be so happy if you saved it to your Pinterest boards so you can find it again later. And please drop a comment below when you make your pair. I genuinely love seeing what colors you choose and hearing about your crochet adventures. Happy hooking!
