Oh my goodness, let me tell you about this adorable creation sitting on my desk right now. This rainbow highland cow amigurumi has become one of my absolute favorite projects, and I cannot wait to walk you through every single step so you can make your own.
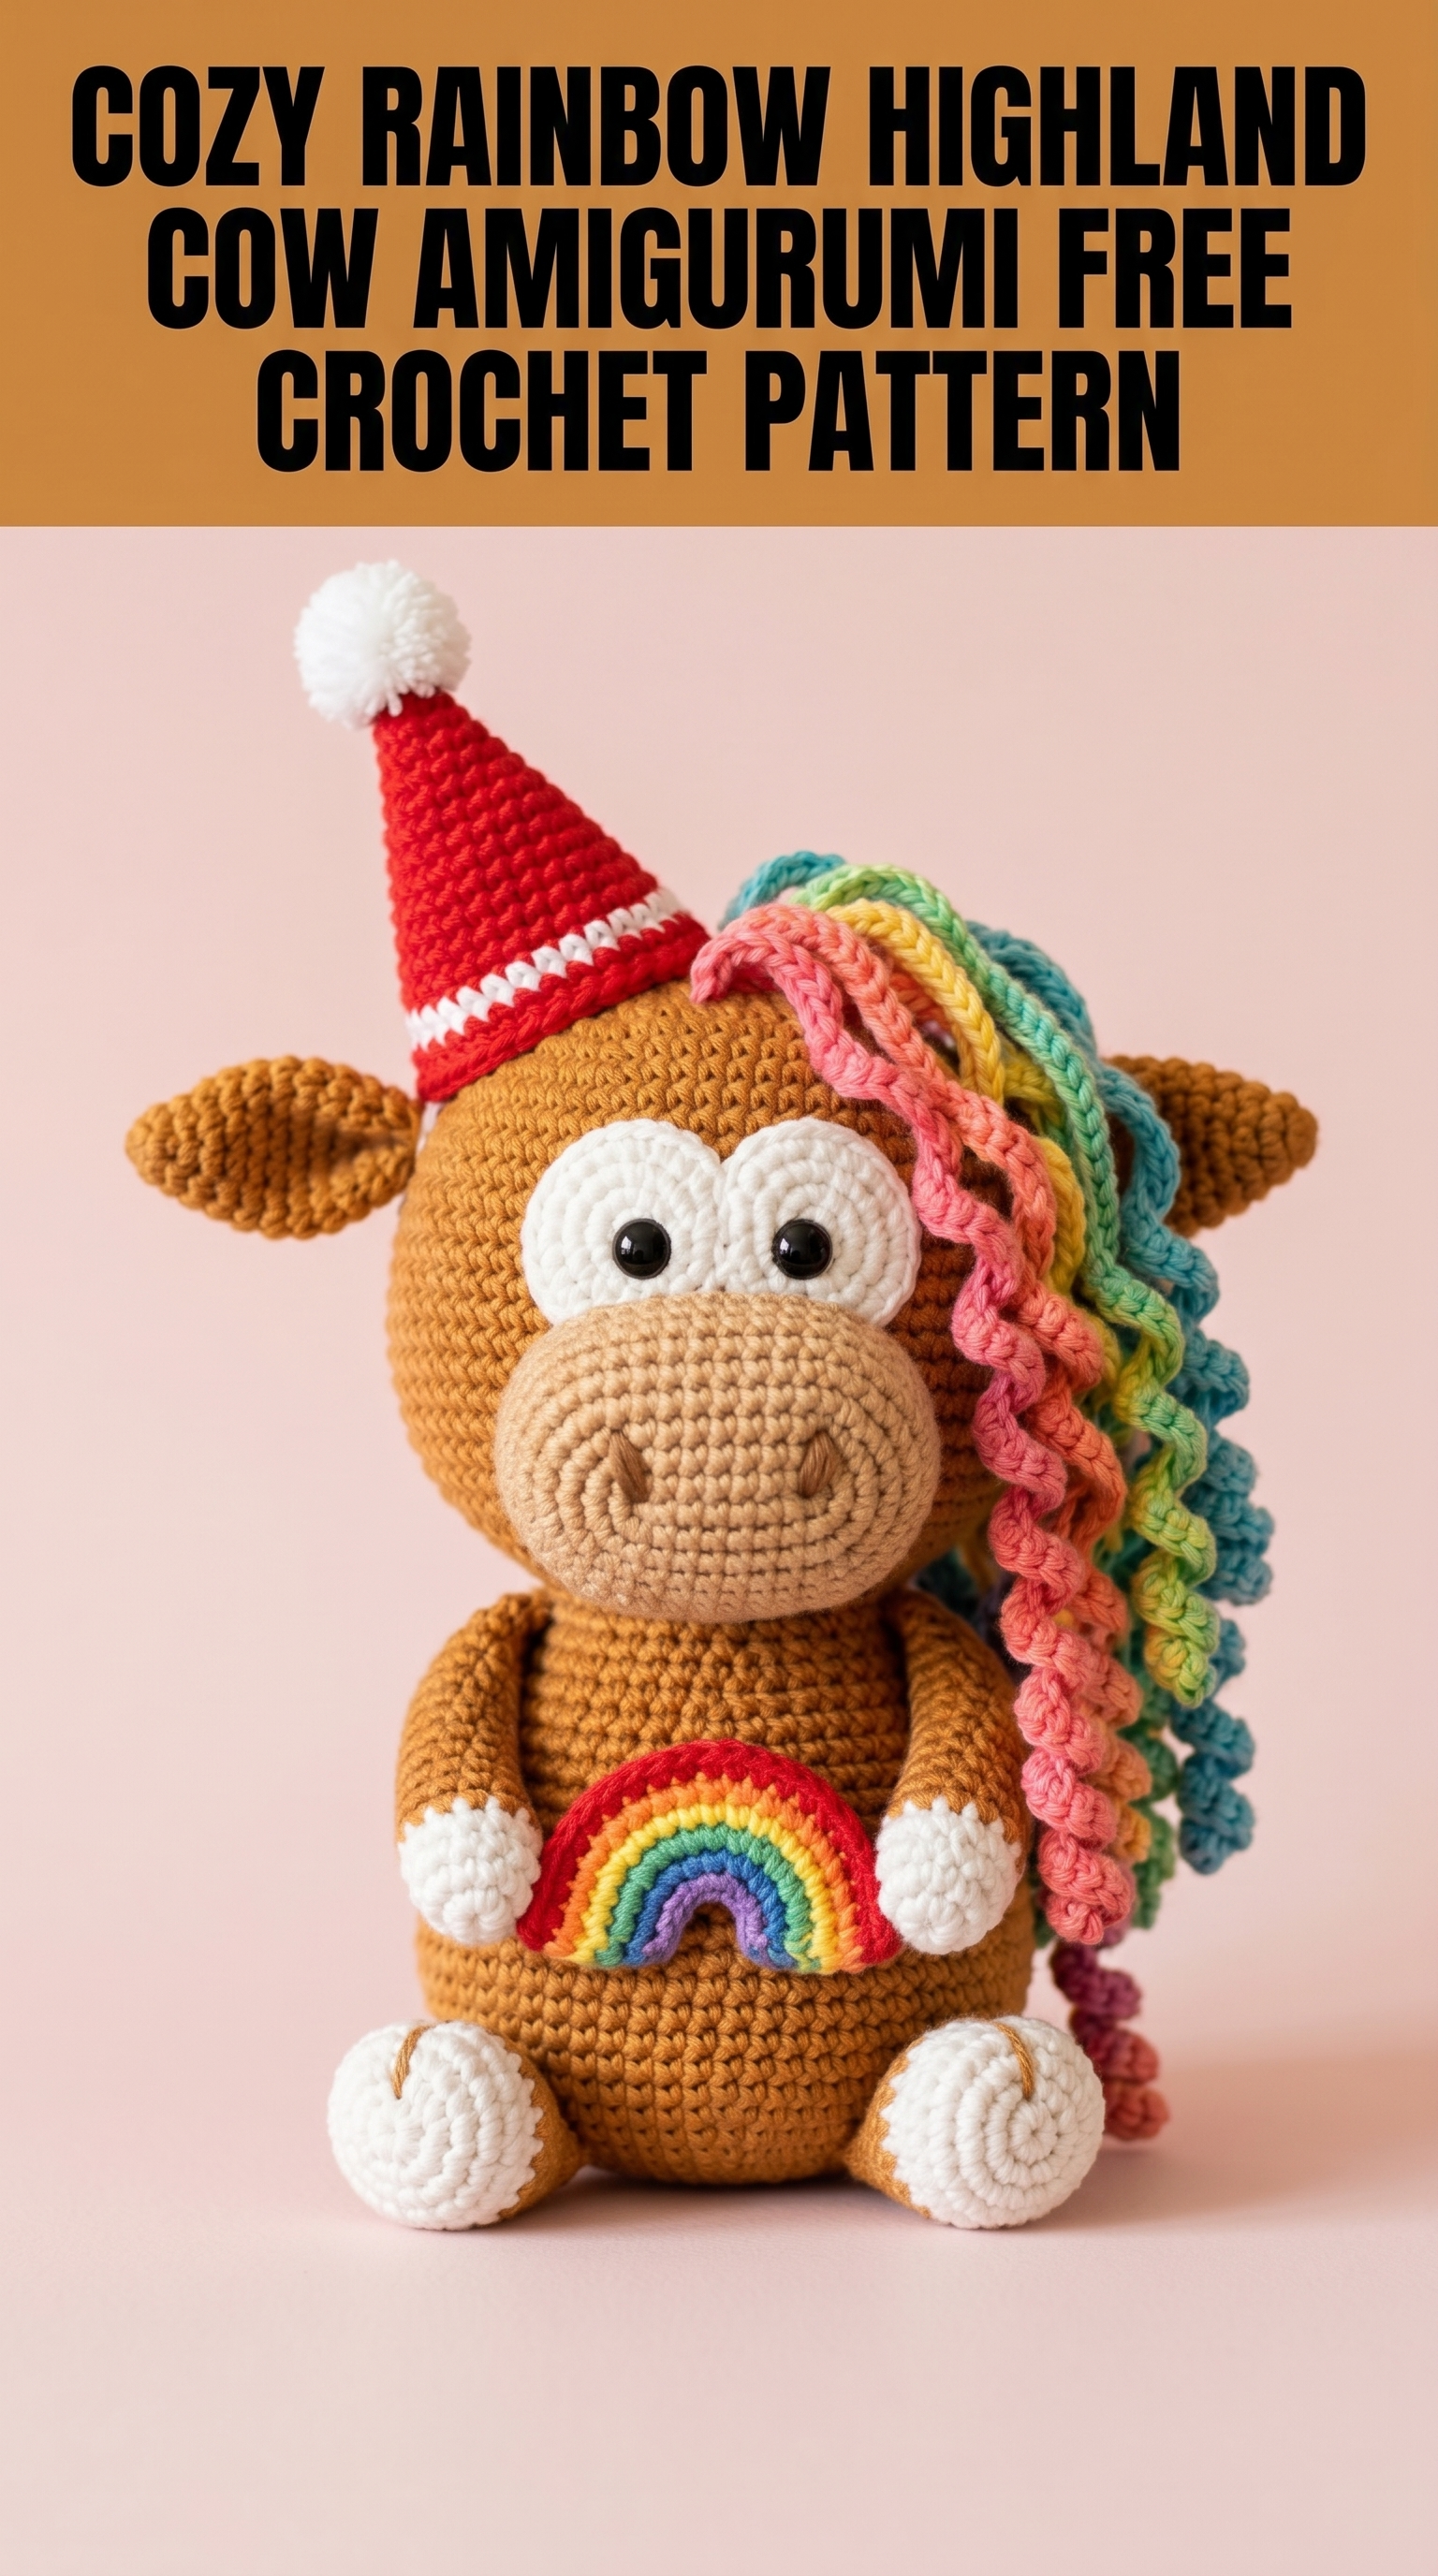
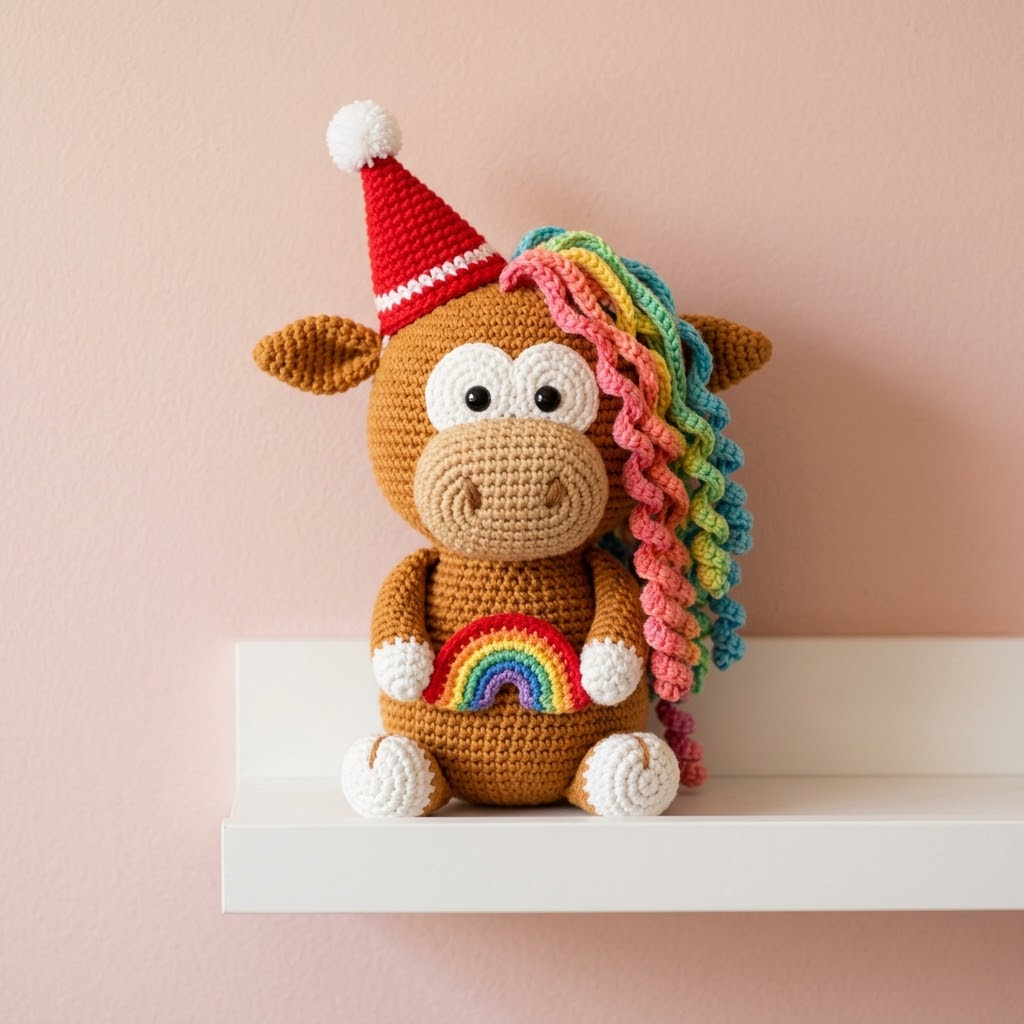
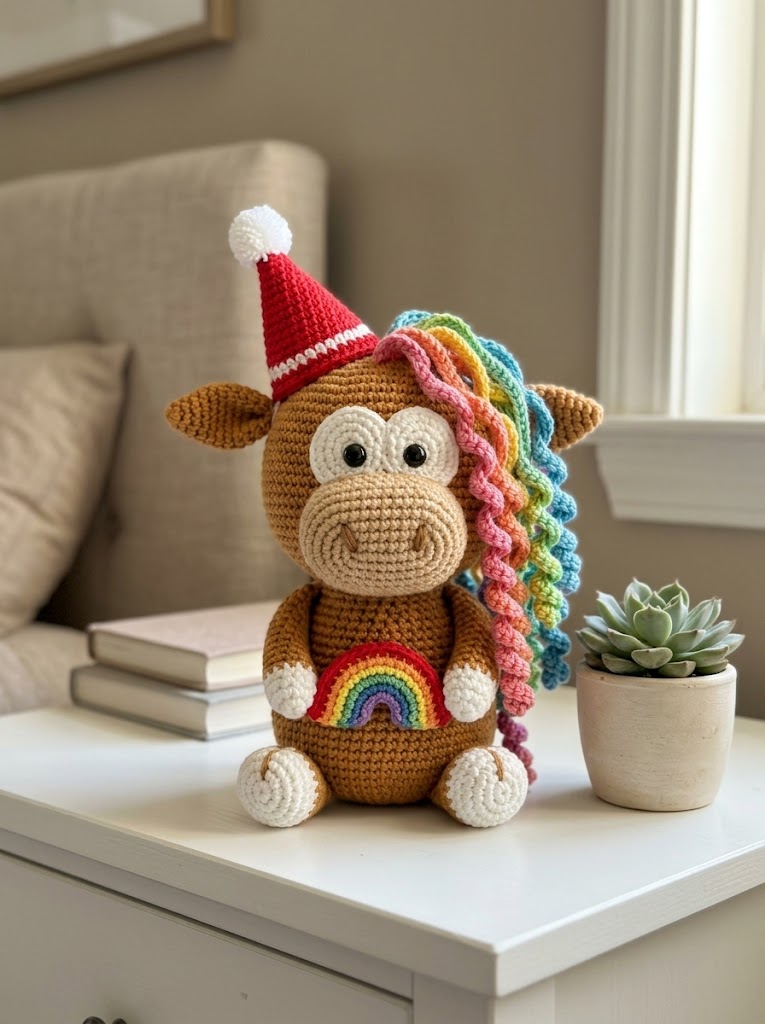
This sweet little cow features that signature highland cattle look with a big fluffy muzzle, cute rounded ears, and the most whimsical rainbow curly mane cascading down one side. She is holding a tiny rainbow appliqué and wearing the cutest red and white striped party hat topped with a fluffy pompom. The whole thing just screams joy and would make the perfect gift for anyone who loves cows, rainbows, or just needs something cheerful in their life.
Now, before you panic about the complexity, let me reassure you. If you can crochet in the round and know how to increase and decrease, you can absolutely make this. The curly mane looks fancy but is actually one of the easiest parts. I promise to hold your hand through every confusing bit.
This step by step crochet pattern will give you everything you need to recreate this little sweetheart from scratch. Grab your hooks and your favorite yarn, and let us get started on this beginner friendly crochet tutorial.
Materials You Will Need for This Amigurumi Crochet Pattern
Before we dive into the pattern itself, let us gather all our supplies. Having everything ready makes the whole process so much smoother.
Yarn:
– Golden brown for the body, head, and ears (approximately 150 yards)
– Tan or beige for the muzzle (approximately 25 yards)
– Cream or off-white for the eye patches, hands, and feet (approximately 40 yards)
– Red for the party hat (approximately 20 yards)
– White for the hat stripes and pompom (approximately 15 yards)
– Rainbow colors for the mane: pink, coral, yellow, green, teal, and blue (approximately 15 yards each)
– Small amounts of rainbow colors for the belly appliqué
I used a cotton blend yarn for nice stitch definition, but acrylic works beautifully too. Something like Paintbox Yarns Cotton DK or Lion Brand 24/7 Cotton would be perfect choices.
Hook:
For amigurumi, you want a tighter gauge than the yarn label suggests. This prevents stuffing from showing through. If your stitches look loose or you can see gaps, go down a hook size.
Notions:
Abbreviations and Stitch Definitions
Let me define every stitch we will use so there is no confusion as you work through this crochet pattern.
MR = Magic Ring. This is a way to start crocheting in the round that leaves no hole in the center. You wrap yarn around your fingers, work stitches into the loop, then pull it tight. If magic rings stress you out, you can chain 2 and work your stitches into the second chain from the hook instead.
ch = Chain. Yarn over, pull through the loop on your hook. This creates a foundation or is used for spacing.
sc = Single Crochet. Insert hook into stitch, yarn over, pull up a loop (2 loops on hook), yarn over, pull through both loops.
inc = Increase. Work 2 single crochets into the same stitch. This adds one stitch to your count.
dec = Invisible Decrease. Insert hook through front loops only of the next 2 stitches, yarn over, pull through both front loops, yarn over, pull through both loops on hook. This creates a neater decrease than the standard method.
sl st = Slip Stitch. Insert hook, yarn over, pull through both the stitch and the loop on your hook in one motion.
FLO = Front Loop Only. Work into just the loop closest to you instead of both loops.
BLO = Back Loop Only. Work into just the loop farthest from you.
(XX sts) = Total stitch count at the end of that round.
Gauge and Finished Size
Gauge is not critical for amigurumi the way it is for garments. What matters most is that your stitches are tight enough that stuffing does not peek through.
Work a small swatch in continuous rounds. Your stitches should be snug but not so tight that your hand cramps. If you see white stuffing showing between stitches, try a smaller hook.
Finished dimensions: Approximately 9 to 10 inches tall when seated, not including the party hat. The hat adds another 3 inches or so.
How to Crochet the Highland Cow Body
We are working in continuous rounds unless noted otherwise. This means you do not join at the end of each round. Just keep spiraling. Use your stitch marker to track the first stitch of each round. Move it up as you go.
Body (Make 1 in Golden Brown)
Round 1: MR, 6 sc into ring. (6 sts)
Round 2: Inc in each st around. (12 sts)
Round 3: *Sc 1, inc* repeat around. (18 sts)
Round 4: *Sc 2, inc* repeat around. (24 sts)
Round 5: *Sc 3, inc* repeat around. (30 sts)
Round 6: *Sc 4, inc* repeat around. (36 sts)
Round 7: *Sc 5, inc* repeat around. (42 sts)
Rounds 8 to 18: Sc in each st around. (42 sts) That is 11 rounds of straight single crochet.
Round 19: *Sc 5, dec* repeat around. (36 sts)
Round 20: Sc in each st around. (36 sts)
Round 21: *Sc 4, dec* repeat around. (30 sts)
Round 22: Sc in each st around. (30 sts)
Round 23: *Sc 3, dec* repeat around. (24 sts)
Start stuffing firmly now. Add more as you close up.
Round 24: *Sc 2, dec* repeat around. (18 sts)
Round 25: *Sc 1, dec* repeat around. (12 sts)
Round 26: Dec around. (6 sts)
Fasten off, leaving a tail. Thread through remaining stitches and pull tight to close. Weave in end.
Head (Make 1 in Golden Brown)
Round 1: MR, 6 sc into ring. (6 sts)
Round 2: Inc in each st around. (12 sts)
Round 3: *Sc 1, inc* repeat around. (18 sts)
Round 4: *Sc 2, inc* repeat around. (24 sts)
Round 5: *Sc 3, inc* repeat around. (30 sts)
Round 6: *Sc 4, inc* repeat around. (36 sts)
Round 7: *Sc 5, inc* repeat around. (42 sts)
Rounds 8 to 15: Sc in each st around. (42 sts) That is 8 rounds even.
Round 16: *Sc 5, dec* repeat around. (36 sts)
Round 17: *Sc 4, dec* repeat around. (30 sts)
Pause here. We need to attach the eye patches and safety eyes before closing up the head.
Eye Patches (Make 2 in Cream)
These raised eye patches give our cow that sweet, wide-eyed expression.
Round 1: MR, 6 sc into ring. (6 sts)
Round 2: Inc in each st around. (12 sts)
Round 3: *Sc 1, inc* repeat around. (18 sts)
Round 4: Working in BLO, sc in each st around. (18 sts)
Sl st to join, fasten off leaving a long tail for sewing.
Position eye patches on the head between rounds 10 and 14, spaced about 6 stitches apart. Sew in place. Insert safety eyes through the center of each patch and secure with backings.
Now continue decreasing the head:
Round 18: *Sc 3, dec* repeat around. (24 sts)
Stuff head firmly.
Round 19: *Sc 2, dec* repeat around. (18 sts)
Round 20: *Sc 1, dec* repeat around. (12 sts)
Round 21: Dec around. (6 sts)
Fasten off and close.
Muzzle (Make 1 in Tan)
This is the big squishy snout that gives highland cows their charm.
Round 1: MR, 6 sc into ring. (6 sts)
Round 2: Inc in each st around. (12 sts)
Round 3: *Sc 1, inc* repeat around. (18 sts)
Round 4: *Sc 2, inc* repeat around. (24 sts)
Round 5: *Sc 3, inc* repeat around. (30 sts)
Rounds 6 to 10: Sc in each st around. (30 sts)
Sl st to join, fasten off leaving a long tail.
Stuff lightly. Position on lower front of head and sew in place. Embroider two small nostrils using brown or black yarn with a few straight stitches.
Ears (Make 2 in Golden Brown)
Round 1: MR, 6 sc into ring. (6 sts)
Round 2: Inc in each st around. (12 sts)
Round 3: *Sc 1, inc* repeat around. (18 sts)
Rounds 4 to 6: Sc in each st around. (18 sts)
Round 7: *Sc 1, dec* repeat around. (12 sts)
Sl st, fasten off with long tail. Do not stuff. Flatten and fold slightly at the base, then sew to sides of head.
Arms (Make 2 in Golden Brown with Cream Hands)
Start with cream yarn.
Round 1: MR, 6 sc into ring. (6 sts)
Round 2: Inc in each st around. (12 sts)
Rounds 3 to 5: Sc in each st around. (12 sts)
Change to golden brown.
Rounds 6 to 15: Sc in each st around. (12 sts)
Sl st, fasten off with tail. Stuff hands lightly, leave arms mostly unstuffed so they are floppy. Sew to body sides.
Legs (Make 2 in Golden Brown with Cream Feet)
Start with cream yarn.
Round 1: MR, 6 sc into ring. (6 sts)
Round 2: Inc in each st around. (12 sts)
Round 3: *Sc 1, inc* repeat around. (18 sts)
Rounds 4 to 6: Sc in each st around. (18 sts)
Round 7: *Sc 1, dec* repeat around. (12 sts)
Change to golden brown.
Rounds 8 to 12: Sc in each st around. (12 sts)
Sl st, fasten off with tail. Stuff feet firmly, legs lightly. Sew to front bottom of body so cow sits upright.
Rainbow Curly Mane
This is the showstopper. Each curl is made separately and sewn on.
Make 15 to 20 curls in assorted rainbow colors (pink, coral, yellow, green, teal, blue).
Chain 25.
Row 1: Starting in 2nd ch from hook, work 3 sc in each ch across.
That is it. The triple stitches make the chain curl up naturally into a spiral. Fasten off with a tail.
Arrange curls along one side of the head, cascading down past the shoulder. Sew each one in place, mixing colors randomly for that rainbow effect.
Party Hat
Using red yarn.
Round 1: MR, 4 sc into ring. (4 sts)
Round 2: *Sc 1, inc* repeat around. (6 sts)
Round 3: Sc in each st around. (6 sts)
Round 4: *Sc 2, inc* repeat around. (8 sts)
Round 5: Sc in each st around. (8 sts)
Continue increasing every other round by 2 stitches until you have 20 stitches, working even rounds between.
For the white stripes, change to white for 2 rounds near the brim.
Sl st, fasten off. Stuff lightly if desired. Make a small white pompom and sew to the top. Sew hat to head at a jaunty angle.
Rainbow Belly Appliqué
Using rainbow colors, chain 15 in your first color.
Work 1 sc in each chain. Fasten off. Repeat with each rainbow color (red, orange, yellow, green, blue), making each successive chain 2 stitches shorter.
Stack and sew together in an arc shape. Sew to the front of the body.
Assembly and Finishing
Sew the head to the body with the muzzle facing forward. Make sure she is balanced and sits upright.
Attach the rainbow appliqué centered on the belly. Position the arms so she looks like she is holding it.
Weave in all those ends. I know there are a lot. Put on a good podcast and settle in.
Final Thoughts on This Highland Cow Crochet Pattern
You did it. You made the most joyful little rainbow highland cow, and I am so proud of you.
This amigurumi crochet pattern has a lot of pieces, but none of them are complicated on their own. Take your time, stuff firmly for that cuddly shape, and do not stress about perfection. Handmade means unique.
Thank you so much for trusting me to guide you through this project. I genuinely love hearing from you and seeing what you create.
If you make this cozy rainbow highland cow, please tag me on Instagram or share a photo in my Facebook group. Seeing your finished cows absolutely makes my day, and it helps other makers see what is possible.
Happy hooking, friend. You have got this.
