I’ve been looking for the perfect slipper boot pattern for ages. Something cozy, something elegant, something that actually stays on your foot when you shuffle to the kitchen for coffee. This is my favourite. The ribbed texture, the braided cuff detail, those gorgeous wooden buttons. I rounded up everything I know about slipper construction and put it into this design, and I think you’re going to love making these as much as I do.
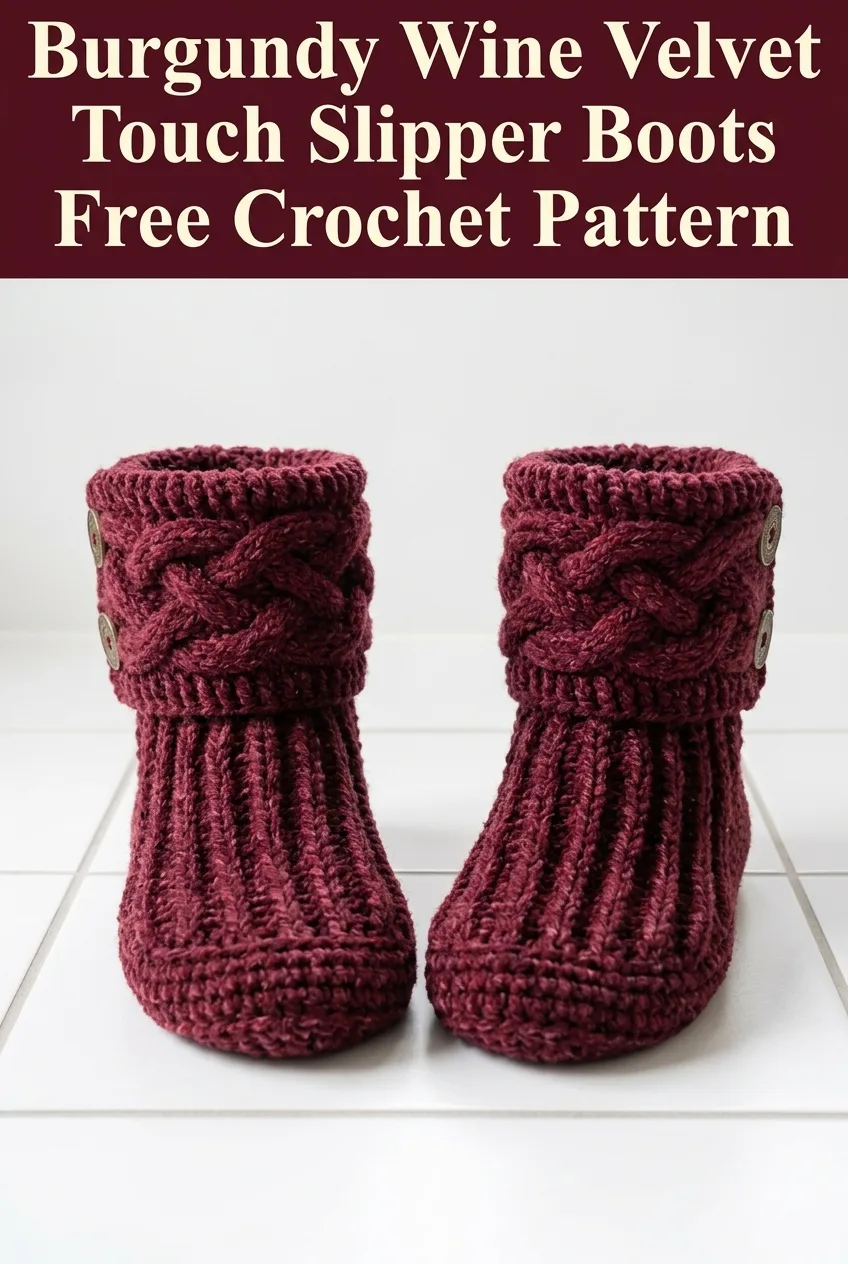
These burgundy beauties work up faster than you might expect, and the construction is surprisingly straightforward once you understand the building blocks. The foot section uses simple ribbing that creates incredible stretch and comfort. The cuff features a stunning faux cable braid that looks complicated but isn’t. Trust me on this one.
Why You’ll Love This Slipper Boot Crochet Pattern
Let me tell you what makes this crochet slipper boot pattern special. The vertical ribbing on the foot creates a fabric that hugs your foot perfectly without feeling restrictive. It has natural stretch built right in, which means these fit a range of foot sizes within each category.
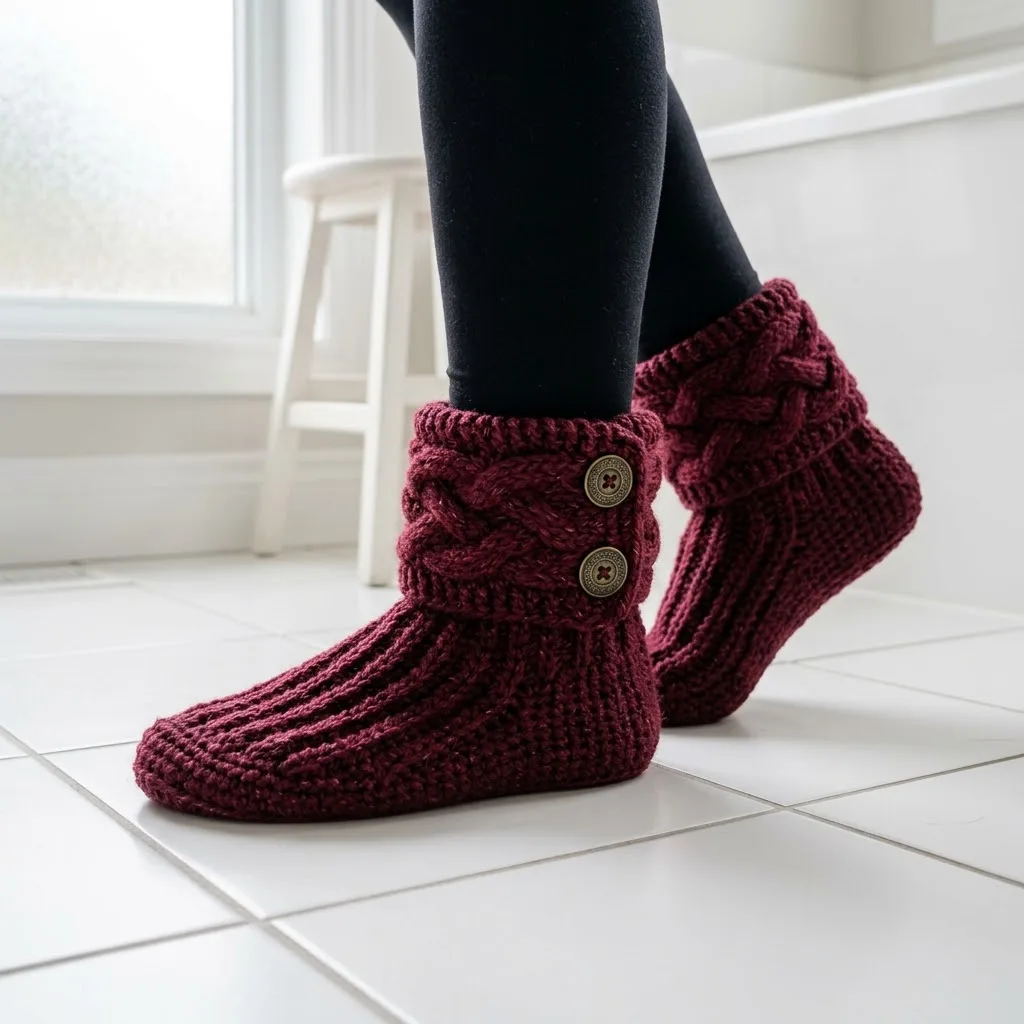
The ankle cuff is where the magic happens. That beautiful braided detail? It’s worked separately and attached, giving you complete control over tension and placement. And those wooden buttons aren’t just decorative. They help secure the cuff snugly around your ankle so these boots actually stay put.
Skill Level: Intermediate. If you’re comfortable with basic stitches and ready to try something with a bit more structure, you can absolutely handle this crochet tutorial.
Finished Sizes:
Finished Measurements:
Materials Needed
Yarn:
Hook:
Notions:
Gauge:
14 stitches and 16 rows equals 4 inches in half double crochet ribbing pattern, worked in back loops only. Please check your gauge. Slipper fit depends entirely on correct gauge.
Abbreviations and Stitch Definitions
Before we dive into this step by step crochet pattern, let’s cover the stitches you’ll need.
Ch = Chain. Wrap yarn over hook, pull through loop on hook. This creates your foundation.
Sl st = Slip stitch. Insert hook, yarn over, pull through stitch and loop on hook in one motion. Used for joining and invisible seaming.
Sc = Single crochet. Insert hook, yarn over, pull up a loop (2 loops on hook), yarn over, pull through both loops. For example, "sc 10" means repeat this stitch 10 times.
Hdc = Half double crochet. Yarn over, insert hook, yarn over, pull up a loop (3 loops on hook), yarn over, pull through all 3 loops. This is your primary stitch for the foot section.
Dc = Double crochet. Yarn over, insert hook, yarn over, pull up a loop (3 loops on hook), yarn over, pull through 2 loops, yarn over, pull through remaining 2 loops. Used in the cuff section.
BLO = Back loop only. Instead of inserting your hook under both loops of the stitch, insert it under just the back loop (the one farthest from you). This creates the ribbed texture.
FLO = Front loop only. Insert hook under only the front loop (closest to you).
Dec = Decrease. Work two stitches together as one to reduce stitch count.
Hdc2tog = Half double crochet two together. Yarn over, insert hook in next stitch, pull up loop, yarn over, insert hook in following stitch, pull up loop (5 loops on hook), yarn over, pull through all 5 loops. This decreases by one stitch.
Pattern Notes
This beginner friendly construction might look complex, but it breaks down into simple sections. You’ll work the sole first, then build up the foot in joined rounds, add the ankle, and finish with the decorative cuff and braid.
The ribbing is created by working in back loops only. This technique is forgiving and looks impressive. If you’ve never tried BLO work before, practice on a small swatch first. Once it clicks, you’ll fly through this pattern.
Sizes are written as Small (Medium, Large) throughout. The first number is always Small.
Don’t stress about perfect stitch counts on the shaping rounds. The stretchy ribbed fabric is forgiving, and slight variations won’t show in the finished boot.
Slipper Boot Crochet Pattern Instructions
Part 1: The Sole
The sole is worked in continuous rounds. Use a stitch marker to track your starting point.
Round 1: Ch 13 (15, 17). Starting in 2nd ch from hook, sc 11 (13, 15). Work 3 sc in last ch (this is the toe curve). Working along the opposite side of the foundation chain, sc 11 (13, 15). Work 2 sc in last st. Place marker. (28 sc) (32 sc) (36 sc)
Round 2: Sc 11 (13, 15). Work 2 sc in each of next 3 sts. Sc 11 (13, 15). Work 2 sc in each of next 2 sts. (34 sts) (38 sts) (42 sts)
Round 3: Sc 12 (14, 16). *Sc 1, 2 sc in next st* 3 times. Sc 12 (14, 16). *Sc 1, 2 sc in next st* 2 times. (40 sts) (44 sts) (48 sts)
Round 4: Sc around entire sole, working in BLO. (40 sts) (44 sts) (48 sts)
This last round creates a defined edge between the sole and the upper. You’ll notice a ridge forming. That’s exactly what we want.
Part 2: The Foot Section
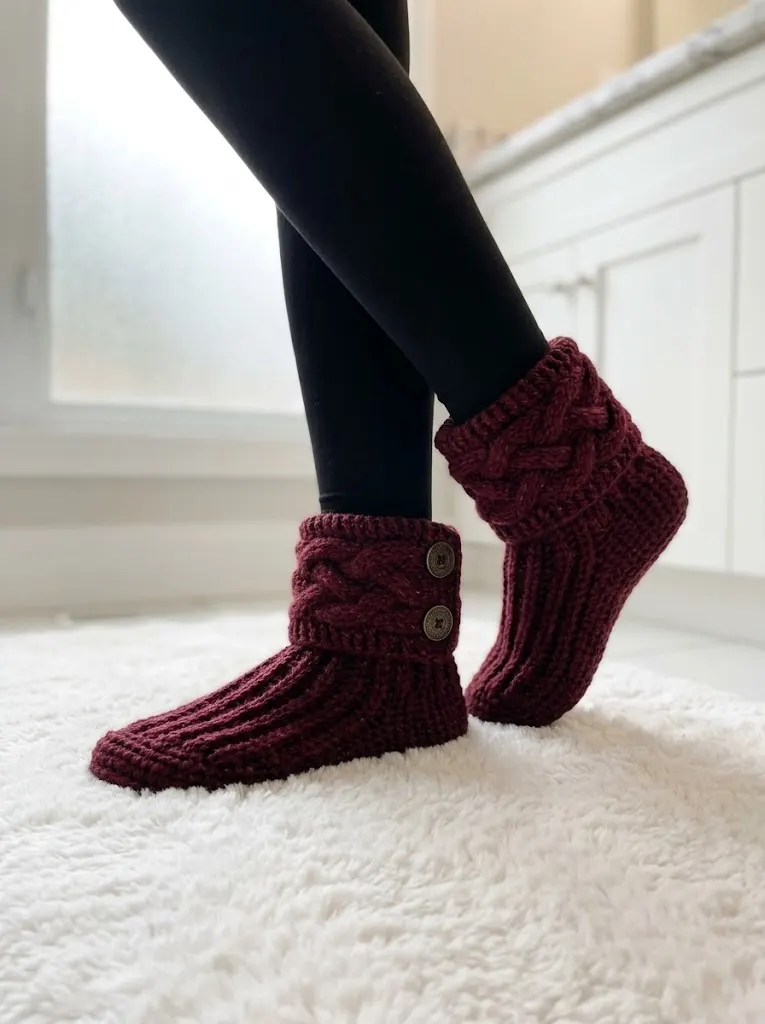
Now we build up the sides and top of the foot using half double crochet ribbing. This creates that beautiful vertical texture visible in the finished boots.
Round 5: Ch 1 (does not count as stitch). Working in BLO throughout, hdc in each st around. Sl st to first hdc to join. (40 sts) (44 sts) (48 sts)
Rounds 6 through 12: Repeat Round 5. (40 sts) (44 sts) (48 sts)
At this point, your slipper should reach just below the ankle bone. Try it on if you can. The ribbing should hug your foot comfortably.
Part 3: Toe Shaping
We’ll decrease across the toe area to shape the upper foot. Mark the center front of your slipper with a stitch marker.
Round 13: Hdc in BLO for 14 (16, 18) sts. Hdc2tog in BLO, hdc2tog in BLO, hdc2tog in BLO. This creates 3 decreases across the toe. Hdc in BLO to end of round. Sl st to join. (37 sts) (41 sts) (45 sts)
Round 14: Hdc in BLO for 13 (15, 17) sts. Hdc2tog in BLO, hdc2tog in BLO. Hdc in BLO to end. Sl st to join. (35 sts) (39 sts) (43 sts)
Round 15: Hdc in BLO around. Sl st to join. (35 sts) (39 sts) (43 sts)
Part 4: Ankle Section
The ankle transitions to double crochet for added height and warmth.
Rounds 16 through 20: Ch 2 (counts as first dc). Dc in BLO in each st around. Sl st to top of ch 2 to join. (35 sts) (39 sts) (43 sts)
Fasten off and weave in end. The main body of your slipper boot is complete.
Part 5: The Braided Cuff
This is the stunning detail that elevates these boots. The braid is worked separately as three strips, then braided together and attached.
For each strip (make 3):
Ch 46 (50, 54).
Row 1: Sc in 2nd ch from hook and each ch across. (45 sc) (49 sc) (53 sc)
Fasten off, leaving a 6 inch tail.
Braiding the Strips:
Lay all three strips flat. Align the starting edges evenly. Using the tails, tie or pin the beginning ends together temporarily.
Braid the strips just as you would braid hair. Right strip over middle, then left strip over middle. Continue until you reach the ends. Keep tension even but not too tight. The braid should have some dimension and loft.
Secure the ending edges together with a few stitches using your tapestry needle.
Part 6: Attaching the Cuff
Wrap the braided cuff around the top edge of the ankle section. The cuff should overlap by about 1.5 to 2 inches at the outer ankle.
Using a tapestry needle and matching yarn, whip stitch the top and bottom edges of the braid to the boot, leaving the overlapping section unattached. This creates the flap where your buttons will go.
Sew two buttons through all layers of the overlap, spacing them evenly. The buttons shown are about 1.5 inches apart.
If you want the buttons to be functional rather than decorative, create small buttonholes by chaining a small loop at each button position before attaching, then sew buttons to the bottom layer only.
Part 7: Finishing
Weave in all remaining ends securely. For slippers, I recommend weaving ends back through the same path twice for extra security. These will get a lot of wear.
Block gently if needed by dampening slightly and shaping with your hands. Lay flat to dry completely before wearing.
Optional: Add a fabric sole or grip dots to the bottom for better traction on smooth floors. This is especially important if you have tile or hardwood.
Tips for Success with This Slipper Pattern
Gauge matters here. Seriously. A slipper that’s too loose will slide around, and one that’s too tight won’t fit over your heel. Make a gauge swatch and adjust your hook size if needed.
Try the slipper on as you go. After completing the foot section, slip it on your foot. It should feel snug but not uncomfortable. The ribbing will relax slightly with wear.
The braid takes practice. If your first braid looks uneven, that’s totally normal. Make one test braid to get the tension right before making all three final strips.
Choose buttons that fit your style. Wooden buttons give a rustic, cozy look. Metal buttons would look more modern. Shell buttons add elegance. This is your chance to personalize.
Customization Ideas
Colour variations: These boots look stunning in deep jewel tones like forest green, navy, or plum. Neutrals like oatmeal or charcoal grey are versatile and hide wear well.
Skip the braid: If cables and braids intimidate you, the boot looks beautiful with a simple folded cuff. Work 8 additional rounds of the ankle section, then fold down the top portion.
Add pom poms: Instead of buttons, attach small pom poms to the cuff for a playful winter look.
Lengthen the leg: Add more rounds to the ankle section for a mid calf boot that pairs perfectly with leggings.
Wrapping Up Your Velvet Touch Slipper Boots
You did it. You now have everything you need to create these gorgeous burgundy slipper boots from start to finish. The combination of ribbed texture, braided cuff detail, and those lovely wooden buttons creates footwear that’s as beautiful as it is practical.
This slipper boot crochet pattern makes an incredible gift. Pair them with cozy socks and hot cocoa for a thoughtful winter present. Or keep them all to yourself. I won’t judge.
Thank you so much for choosing this pattern. I genuinely hope you enjoy every stitch. If you make these boots, I would absolutely love to see your finished project. Tag me on Instagram or share a photo in my Facebook group. Seeing your creations honestly makes my whole day.
If you loved this project, go ahead and save it to your Pinterest boards so you can find it whenever the slipper making mood strikes. And please drop a comment below if you give these a try. I’d love to hear how they turned out for you.
