
I call this one "The Garden Window," and it started in a dog-eared notebook I found while cleaning out my craft room last spring. Years ago, I had sketched out ideas for a curtain tieback that would look like someone had gathered wildflowers and wrapped them around the drapes. Life got busy, the notebook got buried, and the idea sat dormant until a sunny afternoon reminded me why I loved it in the first place.
Get the Ad-Free PDF Pattern
You can find the free pattern below, or you can purchase the ad-free printable PDF from my shop.
Get the Printable PDF →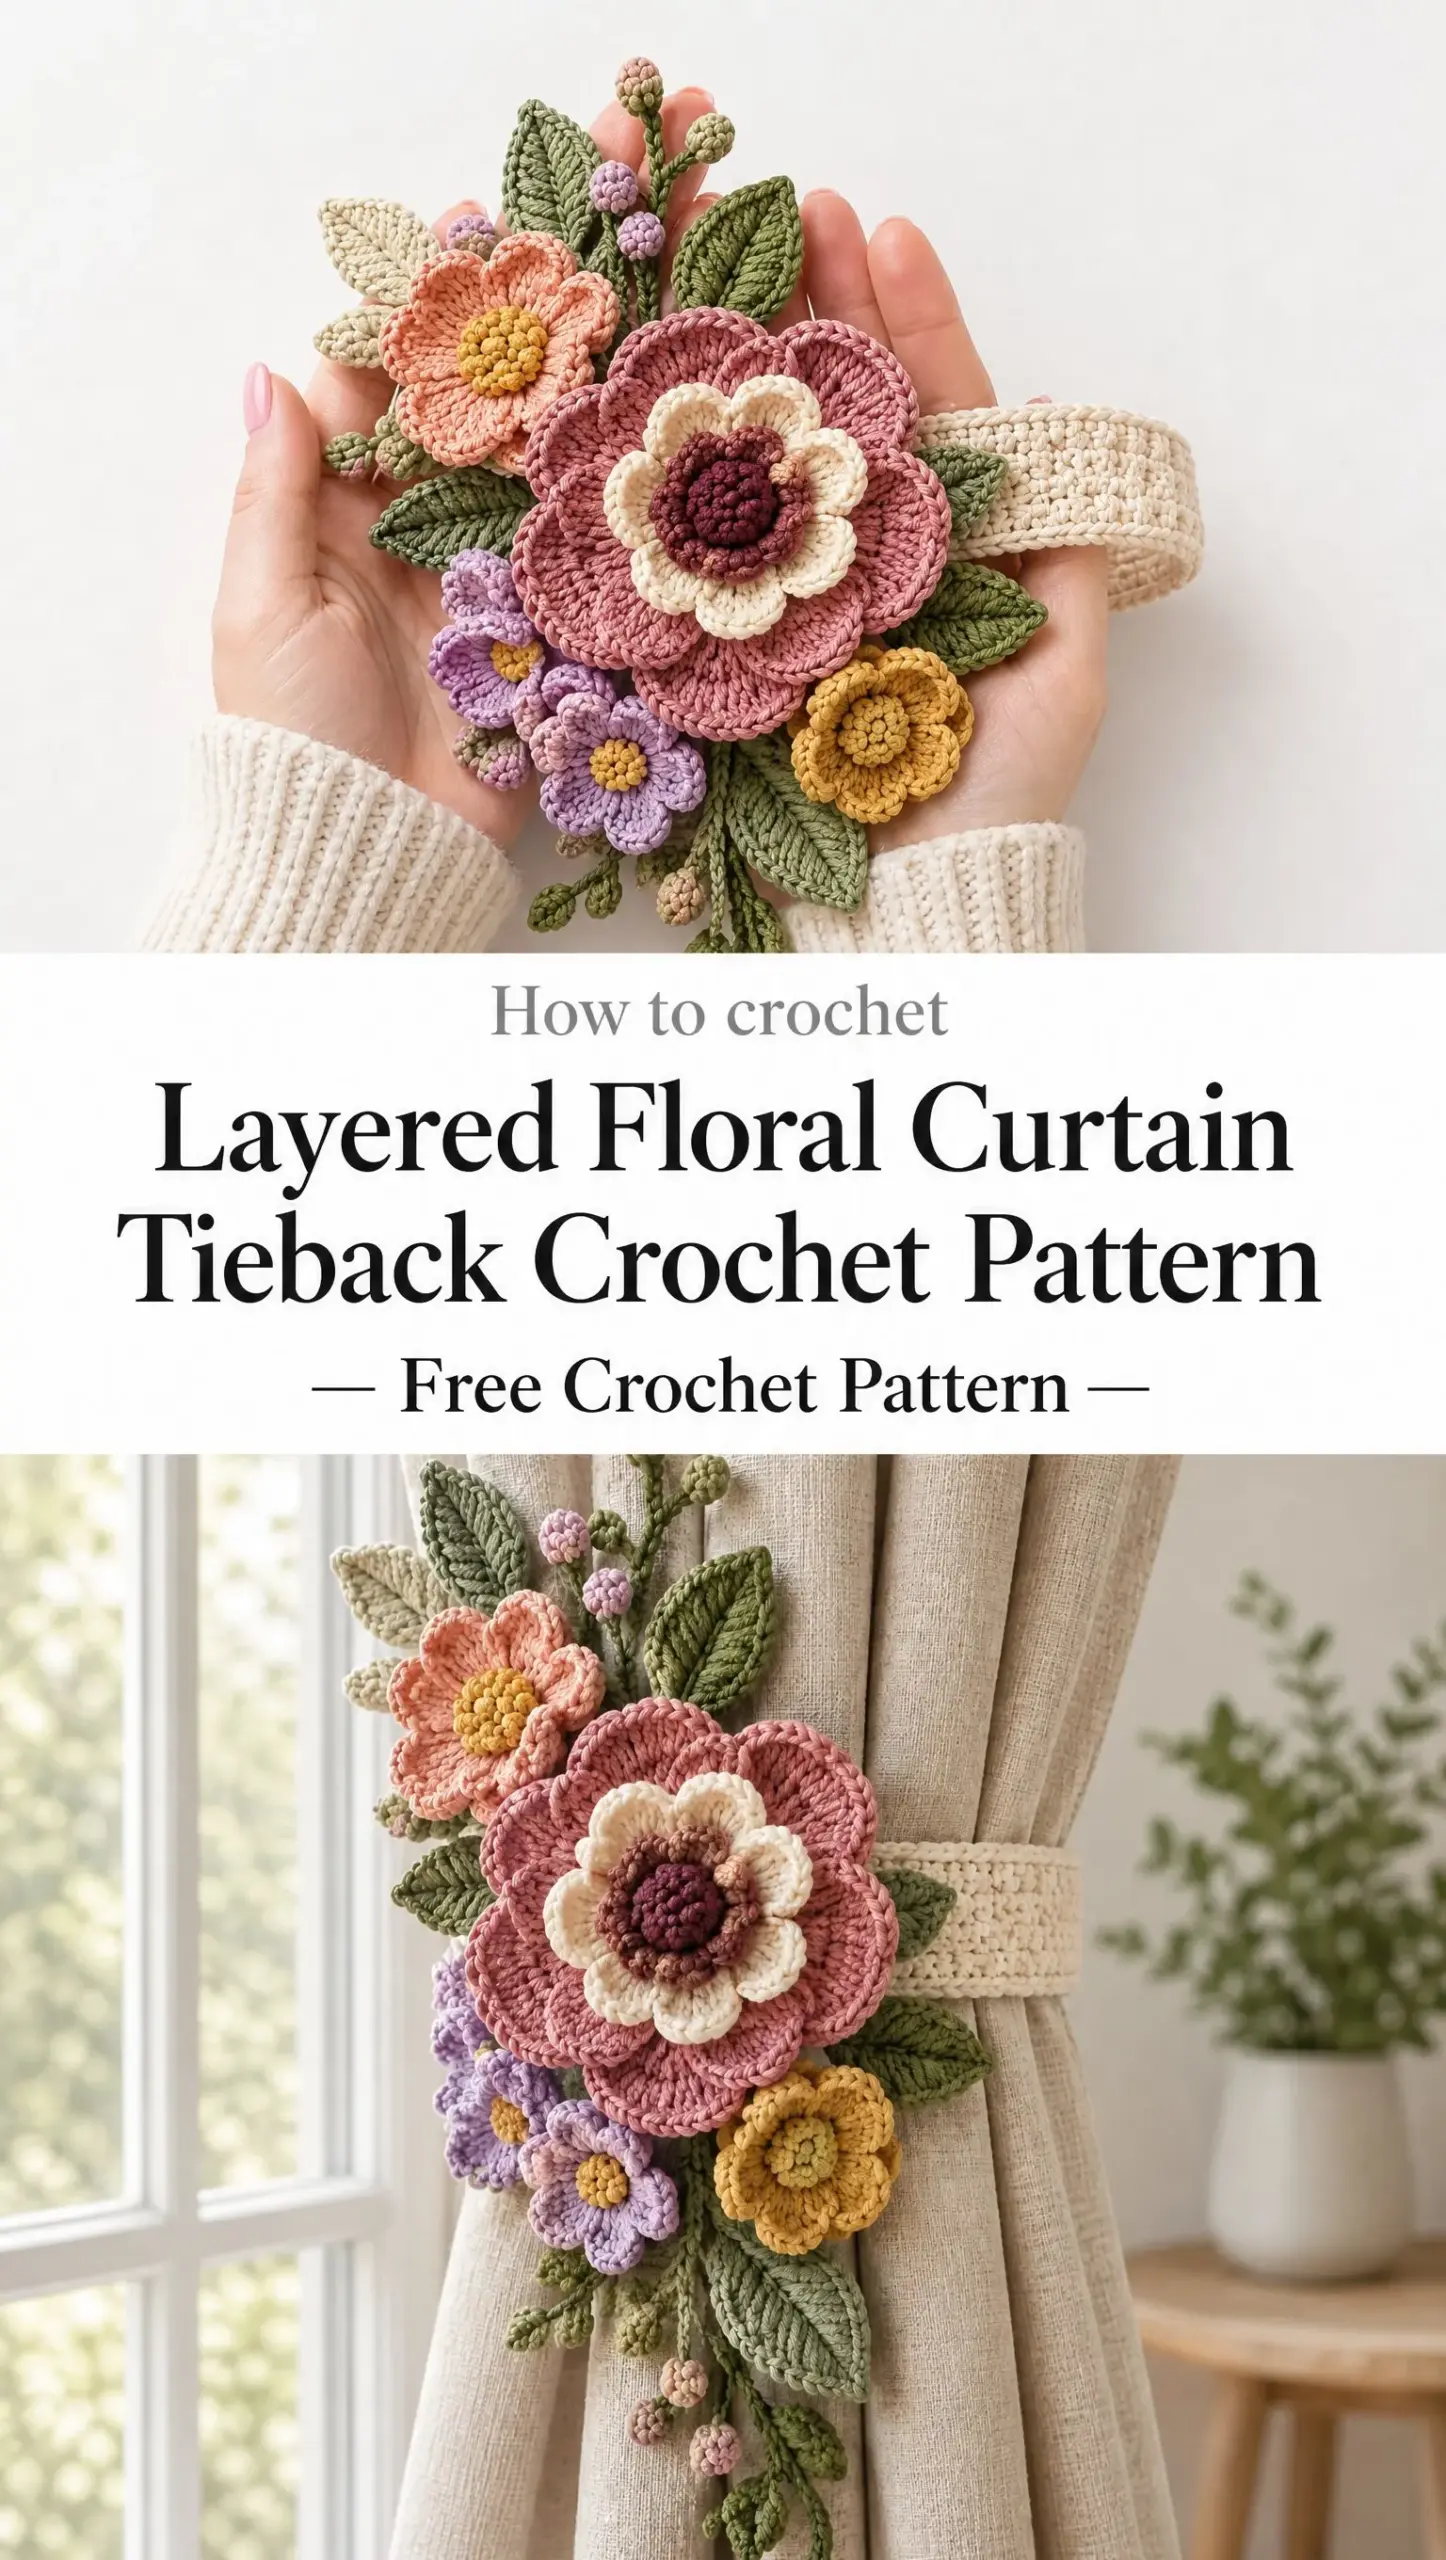
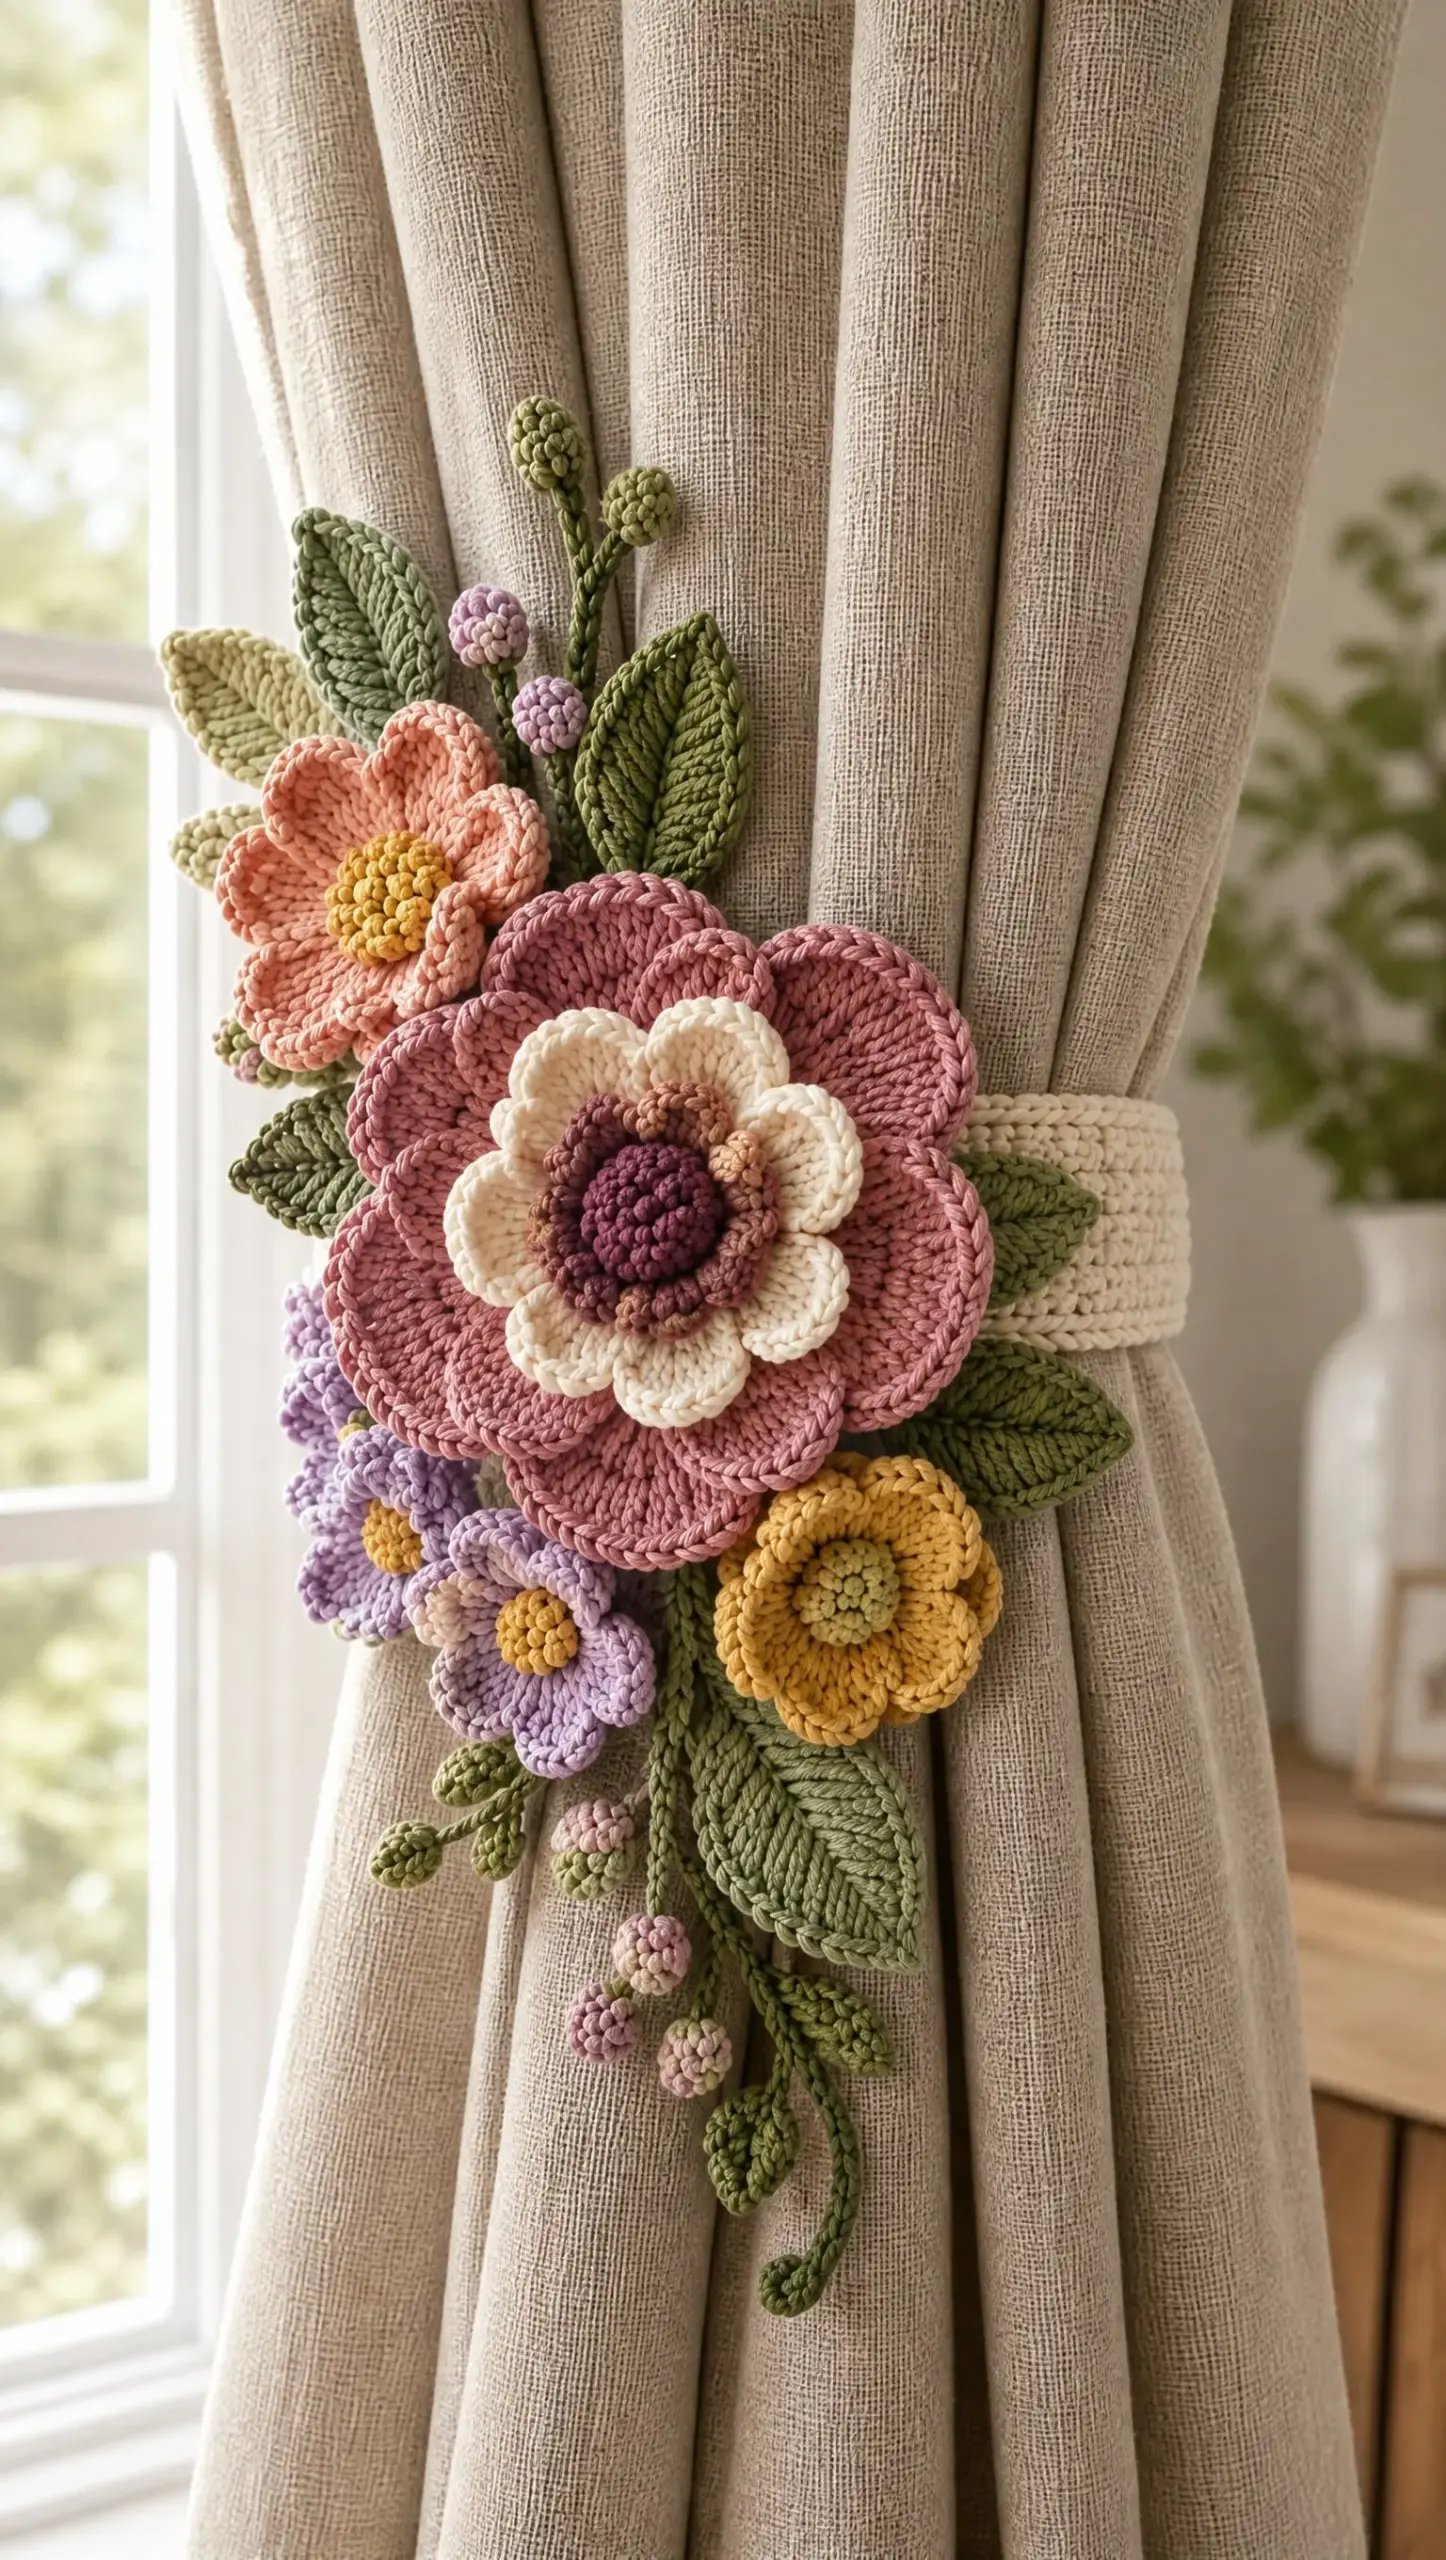
When I finally sat down to bring this design to life, I wanted every element to feel intentional. The layered dusty rose flower with its deep plum bobble center. The cream petals peeking through. The little peach, lilac, and mustard blooms clustered around like they grew there naturally. Even the curling tendrils at the bottom, because real gardens are never perfectly tidy.
This layered floral curtain tieback crochet pattern is absolutely one of my proudest creations. It looks impressive hanging against a window, but I promise the construction is more approachable than it appears. We will work each flower and leaf separately, then arrange and sew them together like assembling a bouquet. If you can crochet a flower, you can make this. Let me walk you through every step.
What Makes This Curtain Tieback Special
This is not your average simple band tieback. The dimensional floral cluster transforms a functional piece into genuine home decor art. The main flower features three distinct layers that stack on top of each other, creating depth you can actually see from across the room. Surrounding smaller flowers in complementary colors add visual interest without competing with the centerpiece.
The ivory textured band uses a back loop only technique that creates subtle horizontal ridges. This gives the band structure and a polished look while remaining simple to execute. A reverse single crochet border finishes the edges beautifully.
What I love most is the flexibility in arrangement. Your finished tieback will look similar to the pattern but uniquely yours, depending on how you position each element.
Finished Measurements
Before gathering your materials, here are the dimensions you can expect:
These measurements work beautifully for standard curtain panels. If your curtains are particularly heavy or voluminous, you might chain a few extra stitches on the band for additional length.
Skill Level
This pattern is rated intermediate. You should feel comfortable with foundation chains, single crochet (sc), half double crochet (hdc), double crochet (dc), treble crochet (tr), increases, bobble stitches, shell or fan stitches, basic shaping, surface chains, and sewing crochet motifs together.
If some of those techniques are new to you, do not worry. I will explain each one as we go. The individual components are quite manageable on their own. The "intermediate" rating mostly reflects the assembly process and working with multiple separate pieces.
Materials You Will Need
Medium weight cotton yarn (Category 4) in the following colors and amounts:
Additional supplies:
Cotton yarn works best for this project because it holds its shape well and the petals will not droop over time. The matte finish of cotton also photographs beautifully against curtain fabric.
Gauge
Approximately 18 single crochet stitches by 20 rows equals 10 cm by 10 cm (4 inches by 4 inches).
Gauge matters most for the band portion. If your gauge runs tight, your band will be shorter than intended. If it runs loose, the band will be longer. Adjust your hook size up or down as needed.
Abbreviations and Stitch Definitions
Let me define every stitch abbreviation before we begin:
Bobble stitch: Work 5 double crochets into the same stitch, but stop each dc before the final yarn over. You will have 6 loops on your hook. Yarn over and pull through all 6 loops at once. This creates a raised, puffy texture.
Puff stitch: Similar to a bobble but uses half double crochets. (Yarn over, insert hook, pull up a loop) 3 to 4 times in the same stitch, yarn over and pull through all loops.
The Ivory Tieback Band Pattern
We will start with the band since it forms the foundation of the entire piece.
Row 1: Chain 70. Single crochet in the second chain from the hook and across. Ch 1, turn. (69 sc)
Rows 2 through 12: Sc through back loops only across. Ch 1, turn. Repeat these rows until your band measures approximately 5 cm (2 inches) wide.
Working in the back loop only (BLO) means inserting your hook under just the back loop of each stitch instead of both loops. This creates those lovely horizontal ridges I mentioned earlier.
Border: Add a final round of reverse single crochet around all edges. Reverse single crochet, sometimes called crab stitch, is worked exactly like regular sc but you move from left to right instead of right to left. It creates a beautiful corded edge.
Closure: Sew a hidden fastening loop on one end and attach a small concealed button or crochet tab on the other end. This allows the band to wrap around your curtain and secure itself.
Main Dusty Rose Flower
This stunning layered flower is the star of the show. We build it from the center outward in separate layers.
Center Section
With deep plum yarn, make a magic ring.
Work 8 bobble stitches into the ring, joining each with a slip stitch to the space between bobbles. Close and secure the magic ring tightly.
Muted rose round: Attach muted rose yarn. Make 12 puff stitches evenly spaced around the center. Fasten off.
Cream Petal Ring
Attach cream yarn behind the center (working into the back of the previous round to keep this layer raised).
Work 8 petals: In each space, work (ch 2, 3 dc, ch 2, sl st).
Keep petals slightly raised by working into back loops. Fasten off.
Dusty Rose Outer Petals
Attach dusty rose yarn behind the cream layer.
Work 8 large fan petals: In each petal space, work (sc, hdc, 5 dc, hdc, sc).
Add a second round with slip stitches along the petal edges for definition. This outlines each petal and makes them pop.
Shape petals gently outward with your fingers. They should curve up and out from the center.
Small Accent Flowers
These smaller blooms add color and fill the arrangement beautifully.
Peach Flower
Create a five-petal flower using the same fan stitch method with peach yarn. Work (sc, hdc, 3 dc, hdc, sc) for each petal. Add a small yellow center using 5 to 6 bobble stitches in a magic ring.
Lilac Flowers
Make two smaller five-petal flowers using lilac yarn. These can be slightly smaller than the peach flower. Add small cream centers.
Mustard Flower
Make one five-petal flower with mustard yellow yarn and add a muted green center. This flower adds a pop of warm contrast to the cool lilac tones.
Leaves and Greenery
The foliage makes this arrangement look natural and garden-fresh.
Individual Leaves
Chain 10.
Work alternating sc and dc around both sides of the chain. Start at the tip, work down one side, then pivot and work back up the other side.
Add a raised center vein using surface slip stitches. To do this, hold a strand of yarn behind the leaf and use your hook to pull loops through the fabric, creating a line down the center.
Make multiple leaves in both sage green and dark olive. I recommend at least 6 to 8 leaves total, varying the sizes slightly by starting with ch 8 for smaller leaves or ch 12 for larger ones.
Branching Stems
Chain lengths of 15 to 25 stitches.
Slip stitch over the chain to create a cord-like stem. This doubles the thickness and gives the stem structure.
Add small branches by chaining 4 to 6 stitches off the main stem, then slip stitching back down.
Curling Tendrils
Chain 20 to 30.
Work 2 sc into each chain stitch. This creates natural spiral curls because you are adding far more stitches than the chain can hold flat. The fabric will twist into charming little curlicues.
Make 2 to 3 tendrils in sage or dark olive.
Assembly Instructions
Now comes the fun part. Arranging your botanical masterpiece.
Step 1: Position the large dusty rose flower slightly left of the center of the ivory band. Pin it in place but do not sew yet.
Step 2: Arrange the peach, lilac, and mustard flowers around the main flower. Let them overlap slightly for a natural clustered look. The image shows the peach flower tucked to the upper left, lilac flowers cascading down the left side, and the mustard flower at the lower right.
Step 3: Place leaves extending upward and downward from behind the flower cluster. Tuck some partially under the flowers so only their tips show.
Step 4: Attach stems and tendrils behind the floral cluster. The tendrils look lovely dangling from the bottom of the arrangement.
Step 5: Once you are happy with the arrangement, sew all pieces securely with concealed stitches using matching yarn colors. Work from the back whenever possible.
Step 6: Attach the finished floral panel to the band with sturdy stitches.
Finishing Your Tieback
Steam blocking helps define the petals beautifully. Hold your steamer or iron a few inches away from the flowers and let the steam relax the fibers. While the piece is still warm and slightly damp, use your fingers to shape and arrange the petals exactly how you want them.
Important: Do not press directly on the textured bobbles. The direct pressure will flatten them.
Allow the tieback to dry completely before using it on your curtains.
Care Instructions
Hand wash gently in cool water with mild detergent. Do not wring or twist. Lay flat on a towel and reshape while damp. Avoid harsh detergents and high heat, as these can damage cotton fibers and distort the dimensional elements.
Tips for Success
Take your time with the layered flower. The three-dimensional effect depends on keeping each layer properly positioned. Use stitch markers to hold layers in place while you work the next one.
Make extra leaves. It is easier to have too many leaves than not enough. You can always set extras aside for another project.
Photograph your arrangement before sewing. Once you have everything pinned where you like it, snap a quick picture. This helps if pieces shift while you are sewing.
Consider making a pair. If you have two curtain panels, this pattern creates a gorgeous matched set. The second one goes much faster since you already know the techniques.
This crochet curtain tieback tutorial creates a statement piece that elevates any room. The dimensional flowers catch the light beautifully, and the handmade quality adds warmth that store-bought tiebacks simply cannot match.
Wrapping Up This Crochet Pattern
I truly hope you enjoy creating your own version of The Garden Window tieback. This project combines so many techniques I love, from textured stitches to layered construction to that satisfying moment when all the pieces come together into something beautiful.
Whether you make this for your own home or as a heartfelt gift, I would absolutely love to see your finished tiebacks. Tag me on Instagram or share in my Facebook group so I can admire your work.
If this layered floral curtain tieback pattern caught your eye, go ahead and save it to your Pinterest boards so you can find it when you are ready to start. And please drop a comment below if you make one. I read every single comment, and seeing your creations honestly makes my whole day.
Want a Quick & Easy Printable Version?
Get a clean, beautifully formatted PDF of this pattern — easy to follow step by step, ready to print or save on any device. No scrolling, no distractions, just the pattern.
Get the Printable PDF →