
Looking for a statement piece that will turn heads at summer gatherings, beach vacations, or date nights? This brown halter peplum dress delivers exactly that. The fitted crop top keeps you cool while the dramatic tiered skirt adds movement and flair to every step you take.
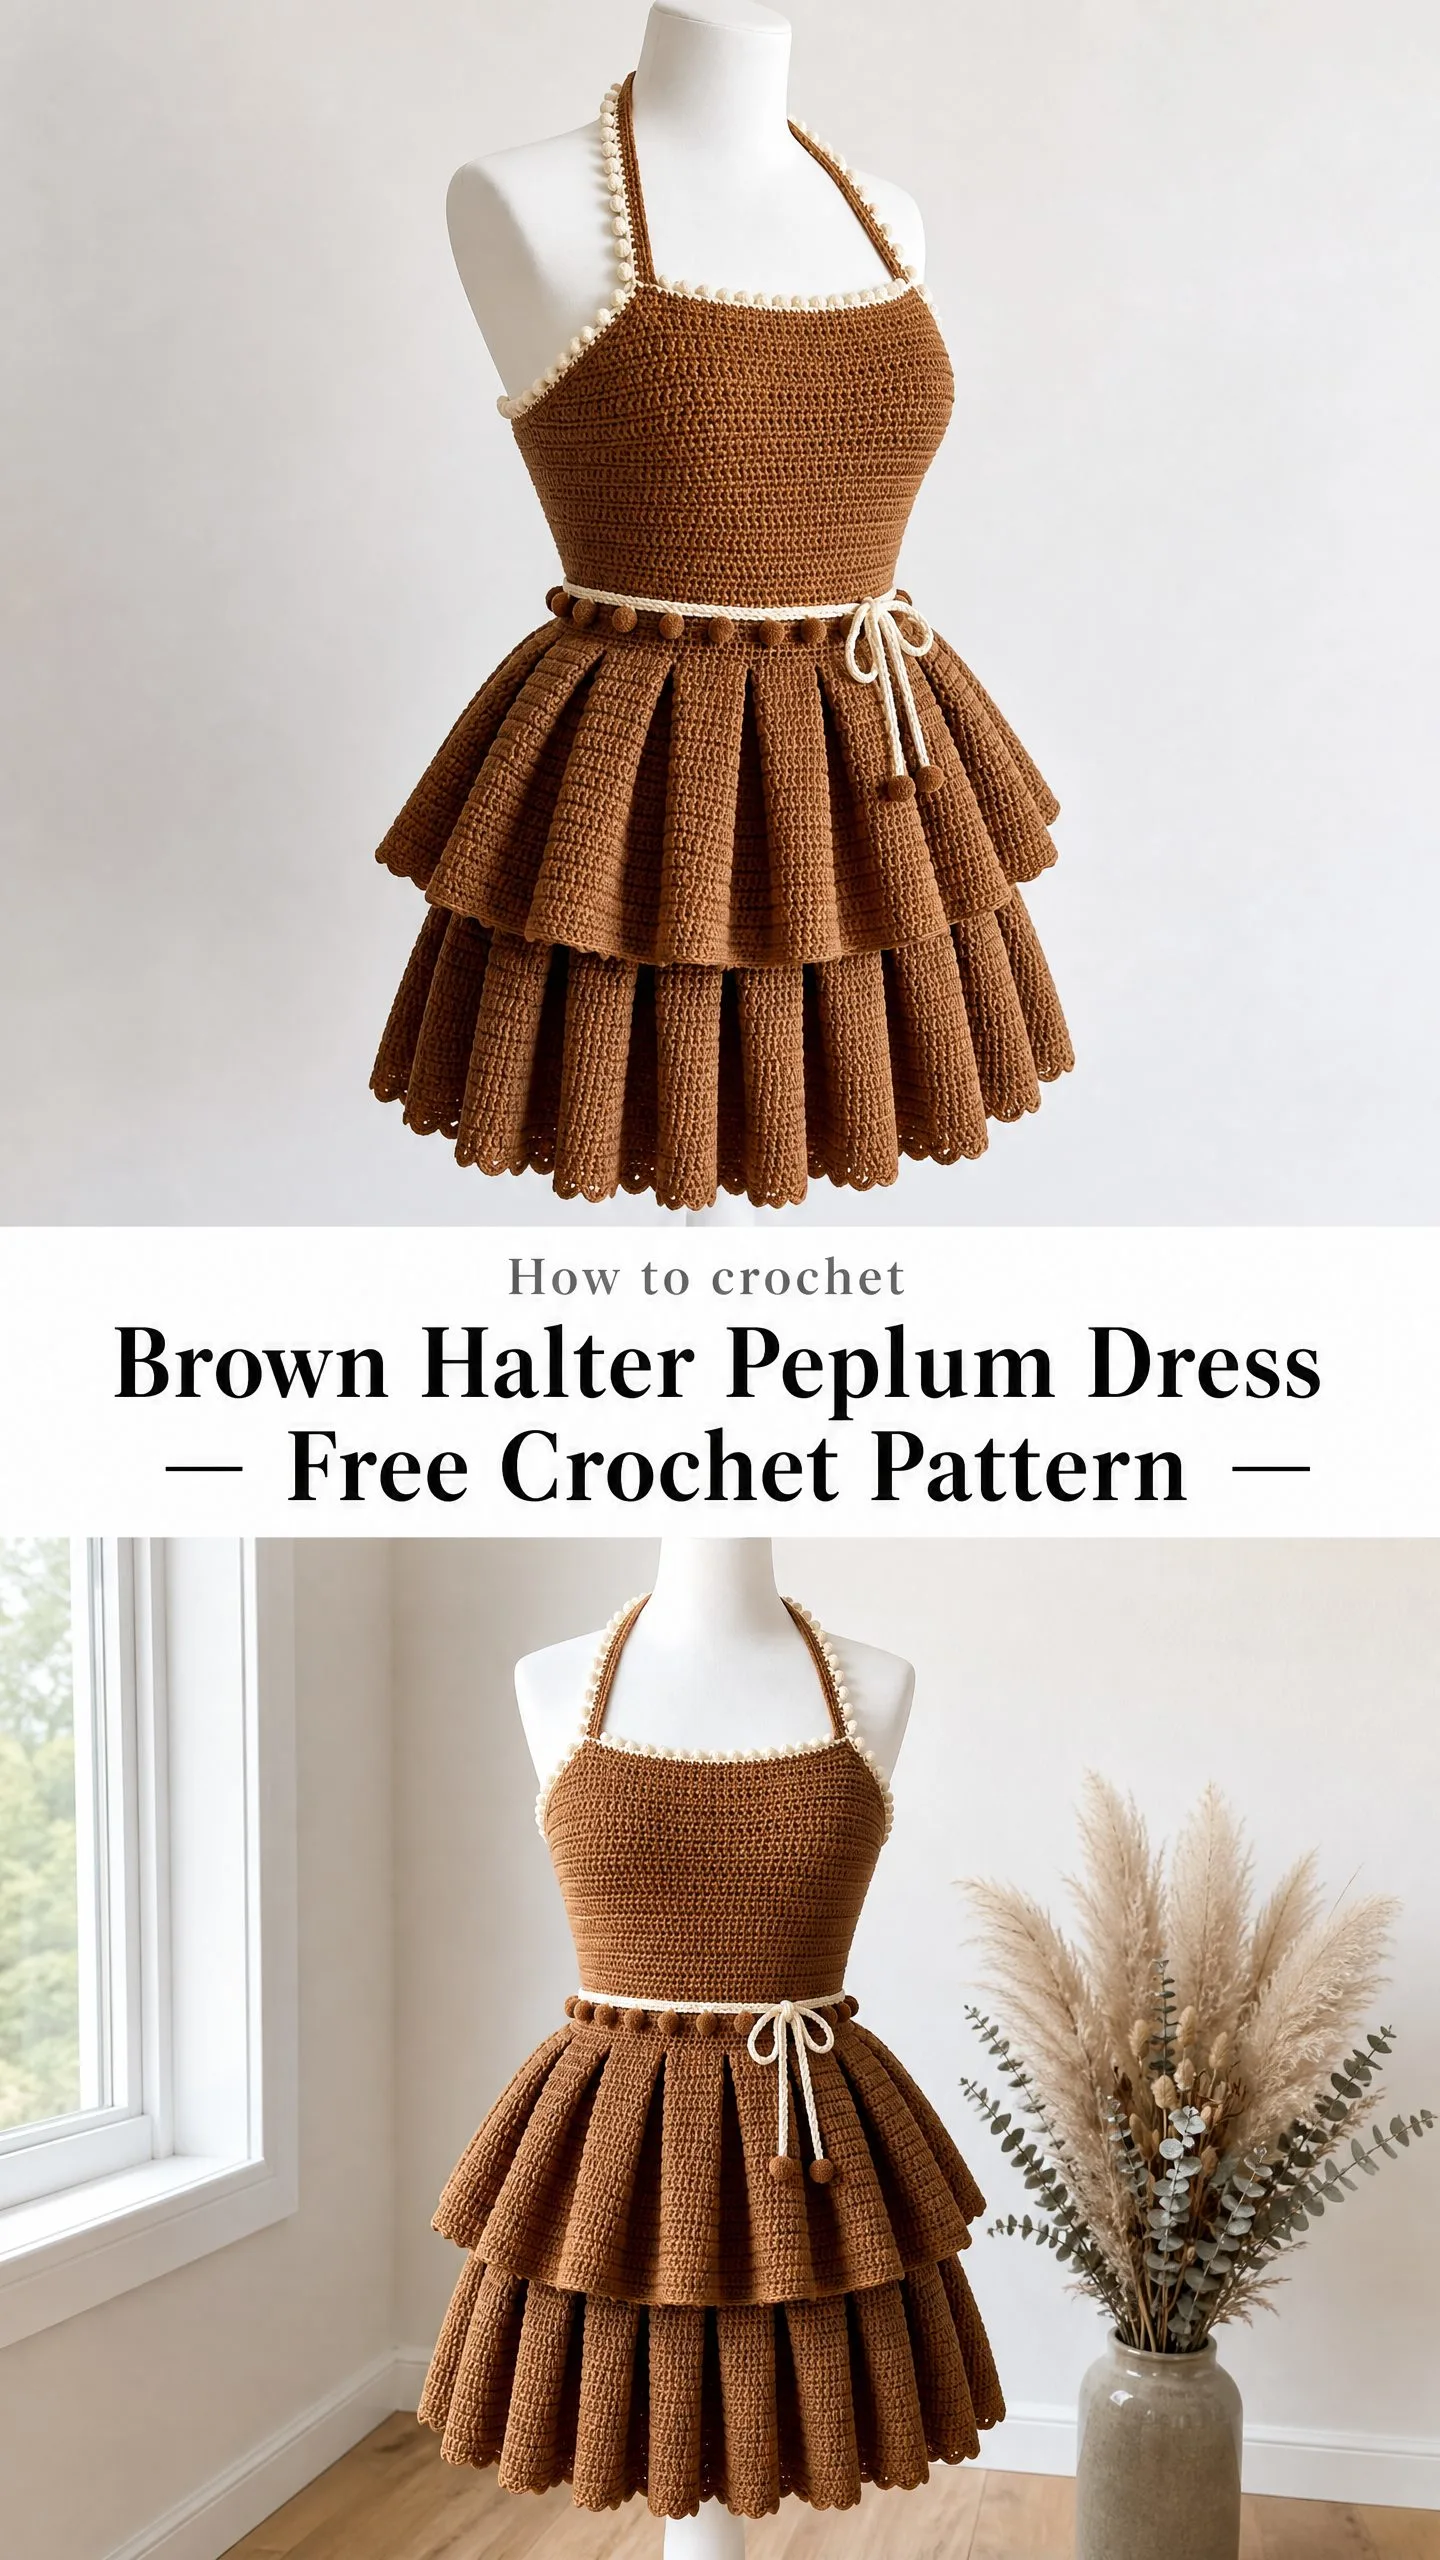
This two-piece set works up beautifully in single crochet, which means you get a dense, structured fabric that holds those gorgeous pleated tiers perfectly. The cream bobble trim adds a charming contrast detail that elevates the whole design. Whether you are making this for yourself or as a gift for someone who loves unique handmade fashion, this pattern gives you professional-looking results.
I will walk you through every stitch, every increase, and every finishing detail. The pattern uses straightforward techniques, though the high stitch counts in the ruffle tiers do require patience. Plan for about 20 to 30 hours of total stitching time for a size Small/Medium. Trust me, the finished piece is absolutely worth every minute.
What You Will Need for This Crochet Pattern
Gathering your materials before you start makes the whole process smoother. Here is everything you need to complete this stunning dress set.
Yarn Requirements
Main Color (MC) in Brown:
Contrast Color (CC) in Cream or Off-White:
Recommended Yarn Choices
Paintbox Yarns Simply DK works beautifully for this project. It is 100% acrylic with 276 yards per 100g skein. You will need 5 skeins in Caramel Brown and 1 skein in Cream. This yarn has excellent stitch definition and blocks like a dream.
Lion Brand Yarn Pound of Love offers an economical alternative. At 1020 yards per 454g skein, you will need 2 skeins in Caramel and 1 partial skein in Cream.
Drops Safran gives the stiffest, most structured result if you prefer cotton. This 100% cotton option comes in 175-yard skeins. You will need 7 skeins in Camel and 1 skein in Off-White.
Any DK weight yarn (also called light worsted or weight 3) will work. Choose a smooth, plied yarn rather than fuzzy or textured options. The dense single crochet fabric needs clean stitch definition to look its best. Avoid stretchy yarns since the skirt tiers need to hold their shape.
Hook Sizes and Tools
Gauge Information
Getting gauge right is critical for this garment. A difference of even one stitch per inch will change the bust measurement by 1.5 to 2 inches.
Using US D/3 hook and MC yarn:
Work a swatch of at least 5 x 5 inches. Wash and dry it the same way you plan to care for the finished garment. Measure it before you begin the actual project.
Finished Measurements
Small/Medium:
Large/XL:
Skill Level
This pattern is rated intermediate. The main stitch is simple single crochet, but you need comfort with working flat and in the round, managing large stitch counts, executing even gathering techniques, working bobble stitch edging, and constructing a fitted garment with shaping.
Abbreviations and Stitch Definitions
Let me break down every abbreviation you will encounter. I will explain each one in plain English so nothing feels confusing.
Special Stitches You Will Learn
Bobble Stitch (Bob)
The bobble stitch creates raised rounded bumps used on the neckline trim and waistband. Here is how to work it:
1. Yarn over, insert hook into indicated stitch
2. Yarn over, pull up a loop (3 loops on hook)
3. Yarn over, pull through first 2 loops (2 loops remain)
4. Yarn over, insert hook into same stitch
5. Yarn over, pull up a loop (4 loops on hook)
6. Yarn over, pull through first 2 loops (3 loops remain)
7. Yarn over, insert hook into same stitch again
8. Yarn over, pull up a loop (5 loops on hook)
9. Yarn over, pull through first 2 loops (4 loops remain)
10. Yarn over, pull through all 4 remaining loops
11. Ch 1 to close and stabilize (this chain does not count as a stitch)
Shell Stitch
The shell stitch creates the beautiful scalloped hem on the lower tier:
1. Skip 2 stitches
2. Work 5 dc in the next stitch
3. Skip 2 stitches
4. Sl st in next stitch
One shell repeat covers 6 stitches total.
SC in BLO
Single crochet in back loop only means inserting your hook only through the back loop of the stitch. This creates a visible ridge on the right side and marks where the tiers attach.
Pattern Notes Before You Begin
Read these notes carefully. They will save you confusion later.
1. The top is worked flat as one rectangle, then seamed at the sides
2. The skirt is worked in continuous rounds from waistband down
3. Ruffle tiers are worked separately and attached through BLO ridges
4. Turning chains do NOT count as stitches throughout
5. Large/XL adjustments appear in brackets [ ]
6. Stitch counts at the end of rows/rounds show total working stitches
Part One: The Halter Crop Top
The top is worked flat from the bottom hem upward as a single wide rectangle.
Section 1A: Top Body
Foundation Chain: Ch 163 [Ch 183 for Large/XL]
Row 1 (RS): Sc in 2nd ch from hook and in each ch across. Turn. (162 sc) [182 sc]
Row 2: Ch 1, sc in each st across. Turn. (162 sc) [182 sc]
Rows 3 through 14: Repeat Row 2 twelve more times. (162 sc) [182 sc]
After Row 14, your piece measures approximately 2.75 inches tall and 32.4 inches wide.
Rows 15 through 35: Ch 1, sc in each st across. Turn. (162 sc) [182 sc]
After Row 35, the piece measures approximately 7 inches tall. Do not fasten off yet.
Side Seams
Fold the piece so the two short ends meet. Using MC, whipstitch or slip stitch the side seams together from Row 1 to Row 35 on each side. Each side seam should be approximately 3.5 inches long, stitched from the bottom hem upward. The back remains open for the halter silhouette.
Section 1C: Cream Bobble Neckline Edging
With RS facing and CC yarn, join with sl st at the top right corner of the front neckline edge.
Bobble Edging Row: Ch 1, sc in first st, [Bob in next st, sc in next st] rep across entire neckline edge. Work 1 sc in final stitch. Fasten off CC.
Section 1D: Halter Straps
Right Strap:
Join MC at top right corner of bodice front. Ch 55 (approximately 11 inches long).
Bobble Trim Along Strap:
With CC, starting at the strap base, [sc in 1 ch, Bob in next ch] rep 27 times, sc in last ch. (55 sts total) Fasten off CC.
Left Strap:
Join MC at top left corner of bodice front. Ch 55. Work bobble trim same as right strap. Fasten off.
Attach one pom-pom to each strap end. The straps tie at the nape of the neck.
Part Two: The Tiered Peplum Skirt
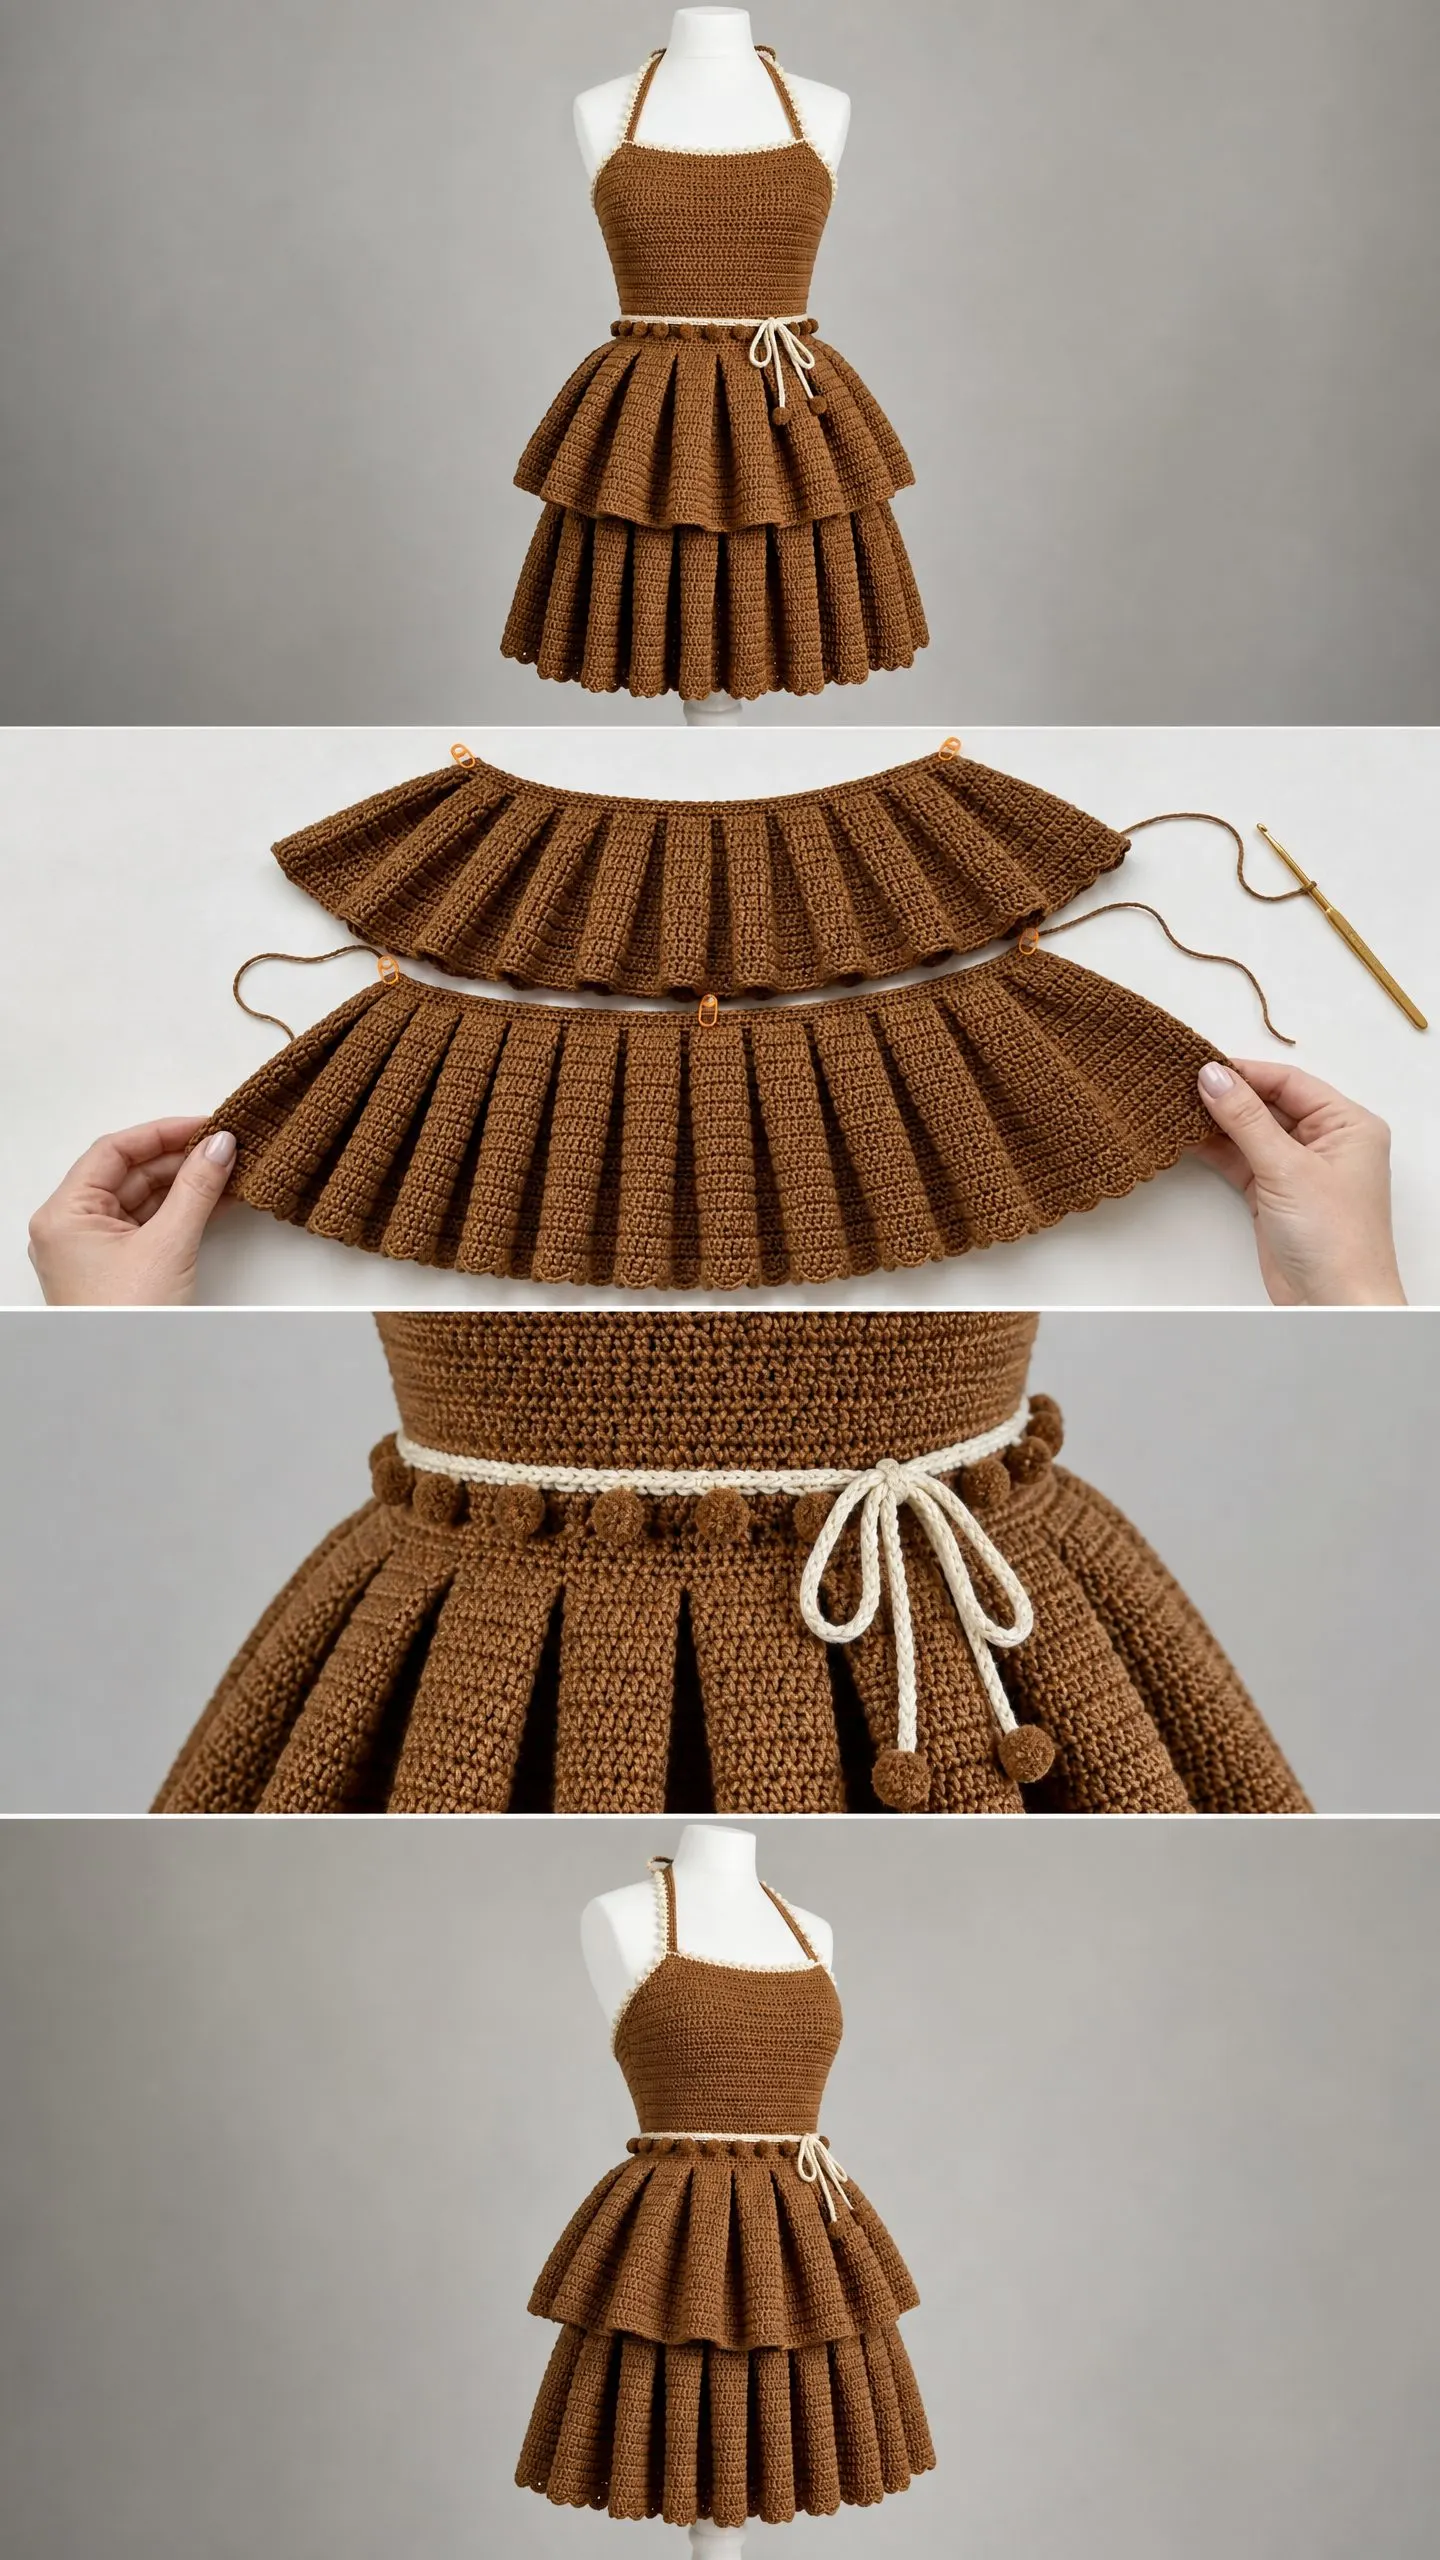
The skirt is worked in rounds from the waistband down. Two ruffle tiers attach at BLO ridges for that dramatic tiered look.
Section 2A: Waistband
With CC yarn and D/3 hook, ch 131 [ch 151]. Sl st to first ch to form a ring.
Round 1: Ch 1, sc in each ch around, sl st to first sc. (130 sc) [150 sc]
Round 2: Ch 1, [Bob in next st, sc in next st] rep around, sl st to join. (130 sts) [150 sts]
Round 3: Ch 1, sc in each st around, sl st to join. (130 sc) [150 sc]
Fasten off CC.
Waistband Tie: Cut two 24-inch lengths of CC. Thread through center front stitches and attach brown pom-poms to each end.
Section 2B: Skirt Body
Join MC to bottom edge of waistband with sl st.
Rounds 1 through 4: Ch 1, sc in each st around, sl st to join. (130 sc) [150 sc]
Round 5 (Increase): Ch 1, [sc in next 12 sts, inc in next st] rep 10 times, sl st to join. (140 sc) [160 sc]
Rounds 6 through 9: Ch 1, sc in each st around, sl st to join. (140 sc) [160 sc]
Round 10 (Increase): Ch 1, [sc in next 13 sts, inc in next st] rep 10 times, sl st to join. (150 sc) [170 sc]
Rounds 11 through 14: Ch 1, sc in each st around, sl st to join. (150 sc) [170 sc]
Round 15 (BLO Ridge for Tier 1): Ch 1, sc in blo of each st around, sl st to join. (150 sc) [170 sc]
Place a stitch marker through the front loops left behind.
Rounds 16 through 20: Ch 1, sc in each st around, sl st to join. (150 sc) [170 sc]
Round 21 (Increase): Ch 1, [sc in next 14 sts, inc in next st] rep 10 times, sl st to join. (160 sc) [180 sc]
Rounds 22 through 26: Ch 1, sc in each st around, sl st to join. (160 sc) [180 sc]
Round 27 (BLO Ridge for Tier 2): Ch 1, sc in blo of each st around, sl st to join. (160 sc) [180 sc]
Place marker in front loops.
Rounds 28 through 34: Ch 1, sc in each st around, sl st to join. (160 sc) [180 sc]
Fasten off MC.
Section 2C: Tier 1 (Upper Ruffle)
With RS facing, join MC into any front loop from the marked Round 15 ridge.
Ruffle Foundation Round: Ch 1, work 3 sc in each front loop around, sl st to join. (450 sc) [510 sc]
Rounds 1 through 4: Ch 1, sc in each st around, sl st to join. (450 sc) [510 sc]
Round 5 (Increase): Ch 1, [sc in next 8 sts, inc in next st] rep 50 times, sl st to join. (500 sc) [561 sc]
Rounds 6 through 10: Ch 1, sc in each st around, sl st to join. (500 sc) [561 sc]
Round 11 (BLO Ridge): Ch 1, sc in blo of each st around, sl st to join. (500 sc) [561 sc]
Rounds 12 through 15: Ch 1, sc in each st around, sl st to join. (500 sc) [561 sc]
Fasten off.
Section 2D: Tier 2 (Lower Ruffle)
Join MC into any front loop from the marked Round 27 ridge on skirt body.
Ruffle Foundation Round: Ch 1, work 3 sc in each front loop around. (480 sc) [540 sc]
Rounds 1 through 5: Ch 1, sc in each st around, sl st to join. (480 sc) [540 sc]
Round 6 (Increase): Ch 1, [sc in next 7 sts, inc in next st] rep 60 times, sl st to join. (540 sc) [600 sc]
Rounds 7 through 12: Ch 1, sc in each st around, sl st to join. (540 sc) [600 sc]
Round 13 (Increase): Ch 1, [sc in next 8 sts, inc in next st] rep 60 times, sl st to join. (600 sc) [660 sc]
Rounds 14 through 18: Ch 1, sc in each st around, sl st to join. (600 sc) [660 sc]
Scallop Hem Edging: Ch 1, [sk 2 sts, 5 dc in next st, sk 2 sts, sl st in next st] rep 100 times [110 times], sl st to join.
Fasten off.
Section 2E: Cream Bobble Waistband Trim
With CC and D/3 hook, ch 263 [ch 303].
Row 1: Sc in 2nd ch from hook, [Bob in next ch, sc in next ch] rep to end. (262 sts) [302 sts]
Fasten off with long tail. Whipstitch this strip along the waist seam where the waistband meets the skirt body.
Finishing and Blocking Your Dress
Weave in all ends securely, running tails through at least 1 inch of stitches in two directions before trimming.
For acrylic yarn: Soak finished pieces in cool water for 20 minutes. Gently press out excess water without wringing. Lay flat and shape the ruffle tiers while damp to encourage even drape. Allow 24 to 48 hours to dry completely.
For cotton yarn: Wet block as above. You can also lightly steam with a garment steamer held 2 inches away to help the pleating set.
While the piece is still damp, arrange the ruffle tiers by hand so gathers distribute evenly. The weight of the tiers helps them hang beautifully once dry.
Size Customization Tips
To resize the top: Each stitch adds or removes approximately 0.2 inches to bust circumference. Add or remove stitches in multiples of 2 to keep the bobble edging pattern even.
To resize the skirt waist: Add stitches to the waistband in multiples of 10. Each additional 5 stitches adds approximately 1 inch to waist measurement.
To lengthen the skirt: Add rounds between BLO ridge rows. Each 5 rounds adds approximately 1 inch.
For more ruffle volume: Change the 3-sc-per-stitch ruffle increase to 4-sc-per-stitch. Note this adds approximately 200 yards per tier.
Care Instructions
Machine wash on gentle cycle in cold water for acrylic yarn. Hand wash in cool water for cotton yarn. Lay flat to dry to maintain the shape of those beautiful tiers.
You Did It!
Thank you so much for choosing this pattern for your next project. I hope you love wearing this dress as much as I loved designing it. The combination of that structured single crochet fabric, the dramatic tiered skirt, and those charming bobble details creates something truly special.
If you make this brown halter peplum dress, I would absolutely love to see your finished piece. Tag me on Instagram or share in my Facebook group. Seeing your creations brings me so much joy.
Go ahead and pin this pattern to your Pinterest boards so you can find it easily when you are ready to start. And please drop a comment below if you have any questions or just want to share how your dress turned out. Happy crocheting!
