
I call this one "The Rosalie," named after my grandmother who taught me my first chain stitch on her back porch decades ago. She had this vintage blouse with delicate lace panels down the front, and I remember tracing the floral patterns with my fingers as a kid, completely mesmerized. When I finally sat down to design this halter top, that memory came flooding back. I pulled out an old sketch from a notebook I’d nearly forgotten about and started working through the construction. The result is this elegant piece that combines structured ribbing with open, airy lace motifs.
Get the Ad-Free PDF Pattern
You can find the free pattern below, or you can purchase the ad-free printable PDF from my shop.
Get the Printable PDF →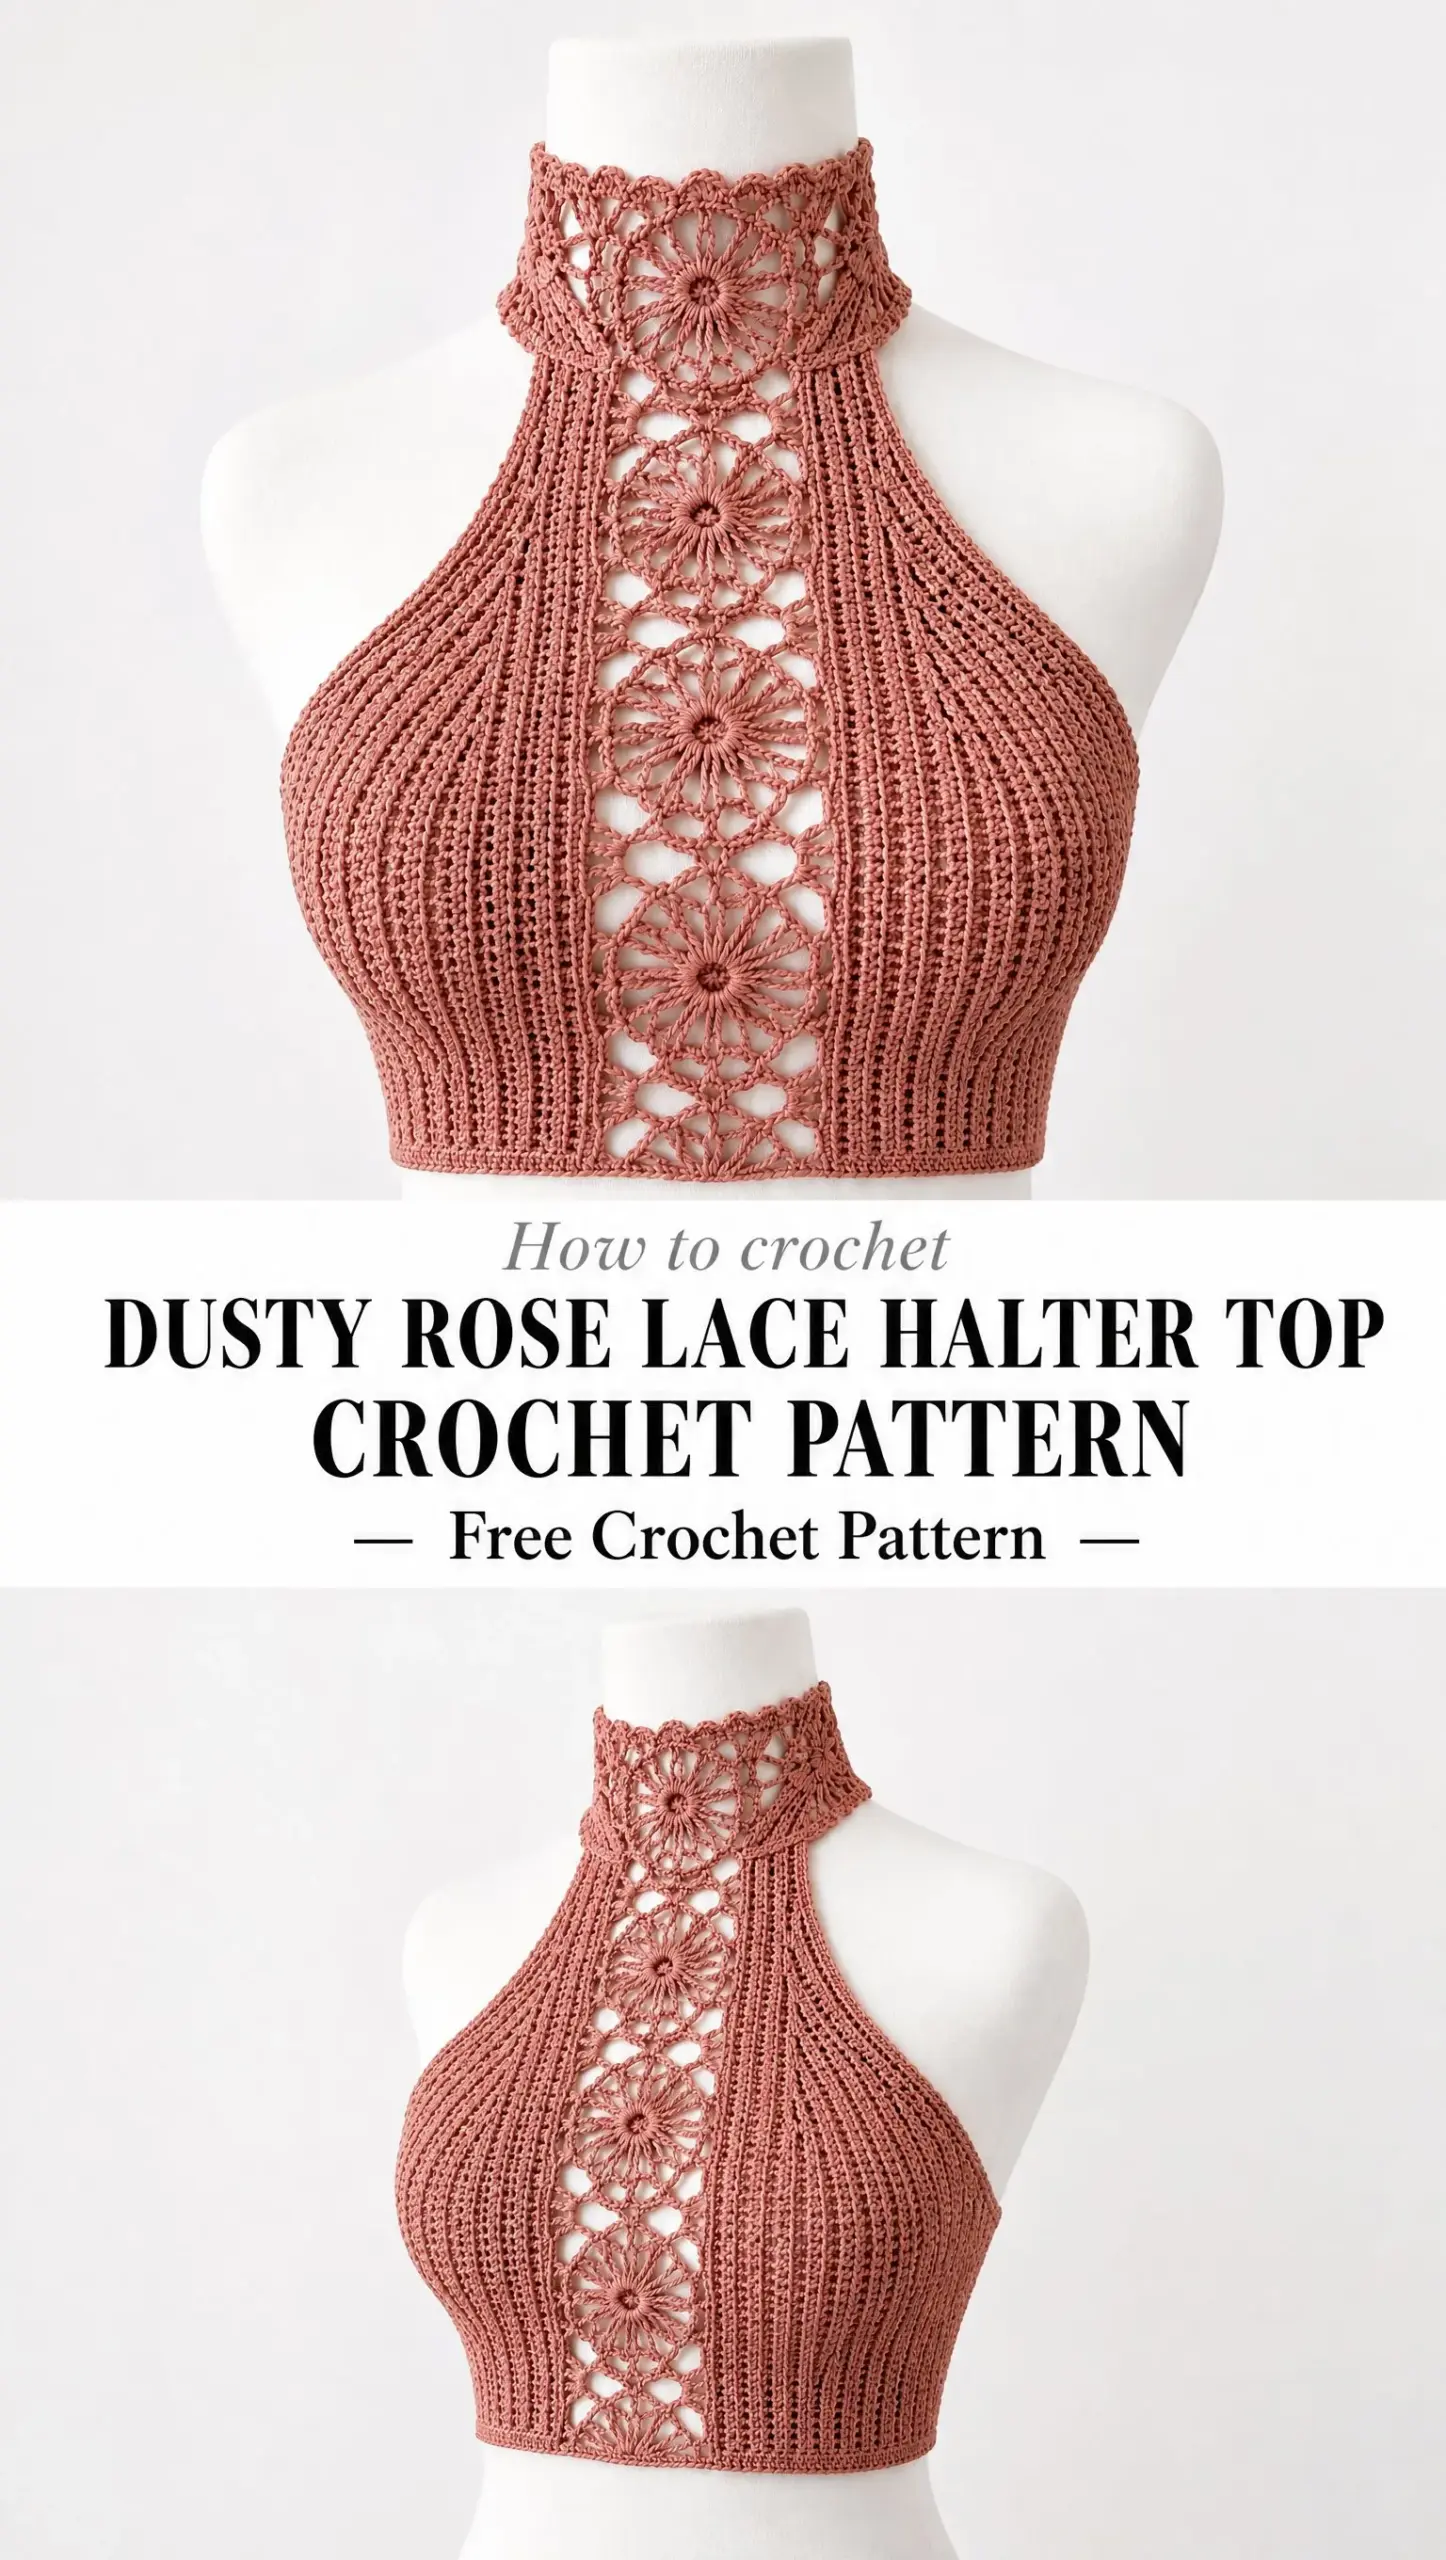
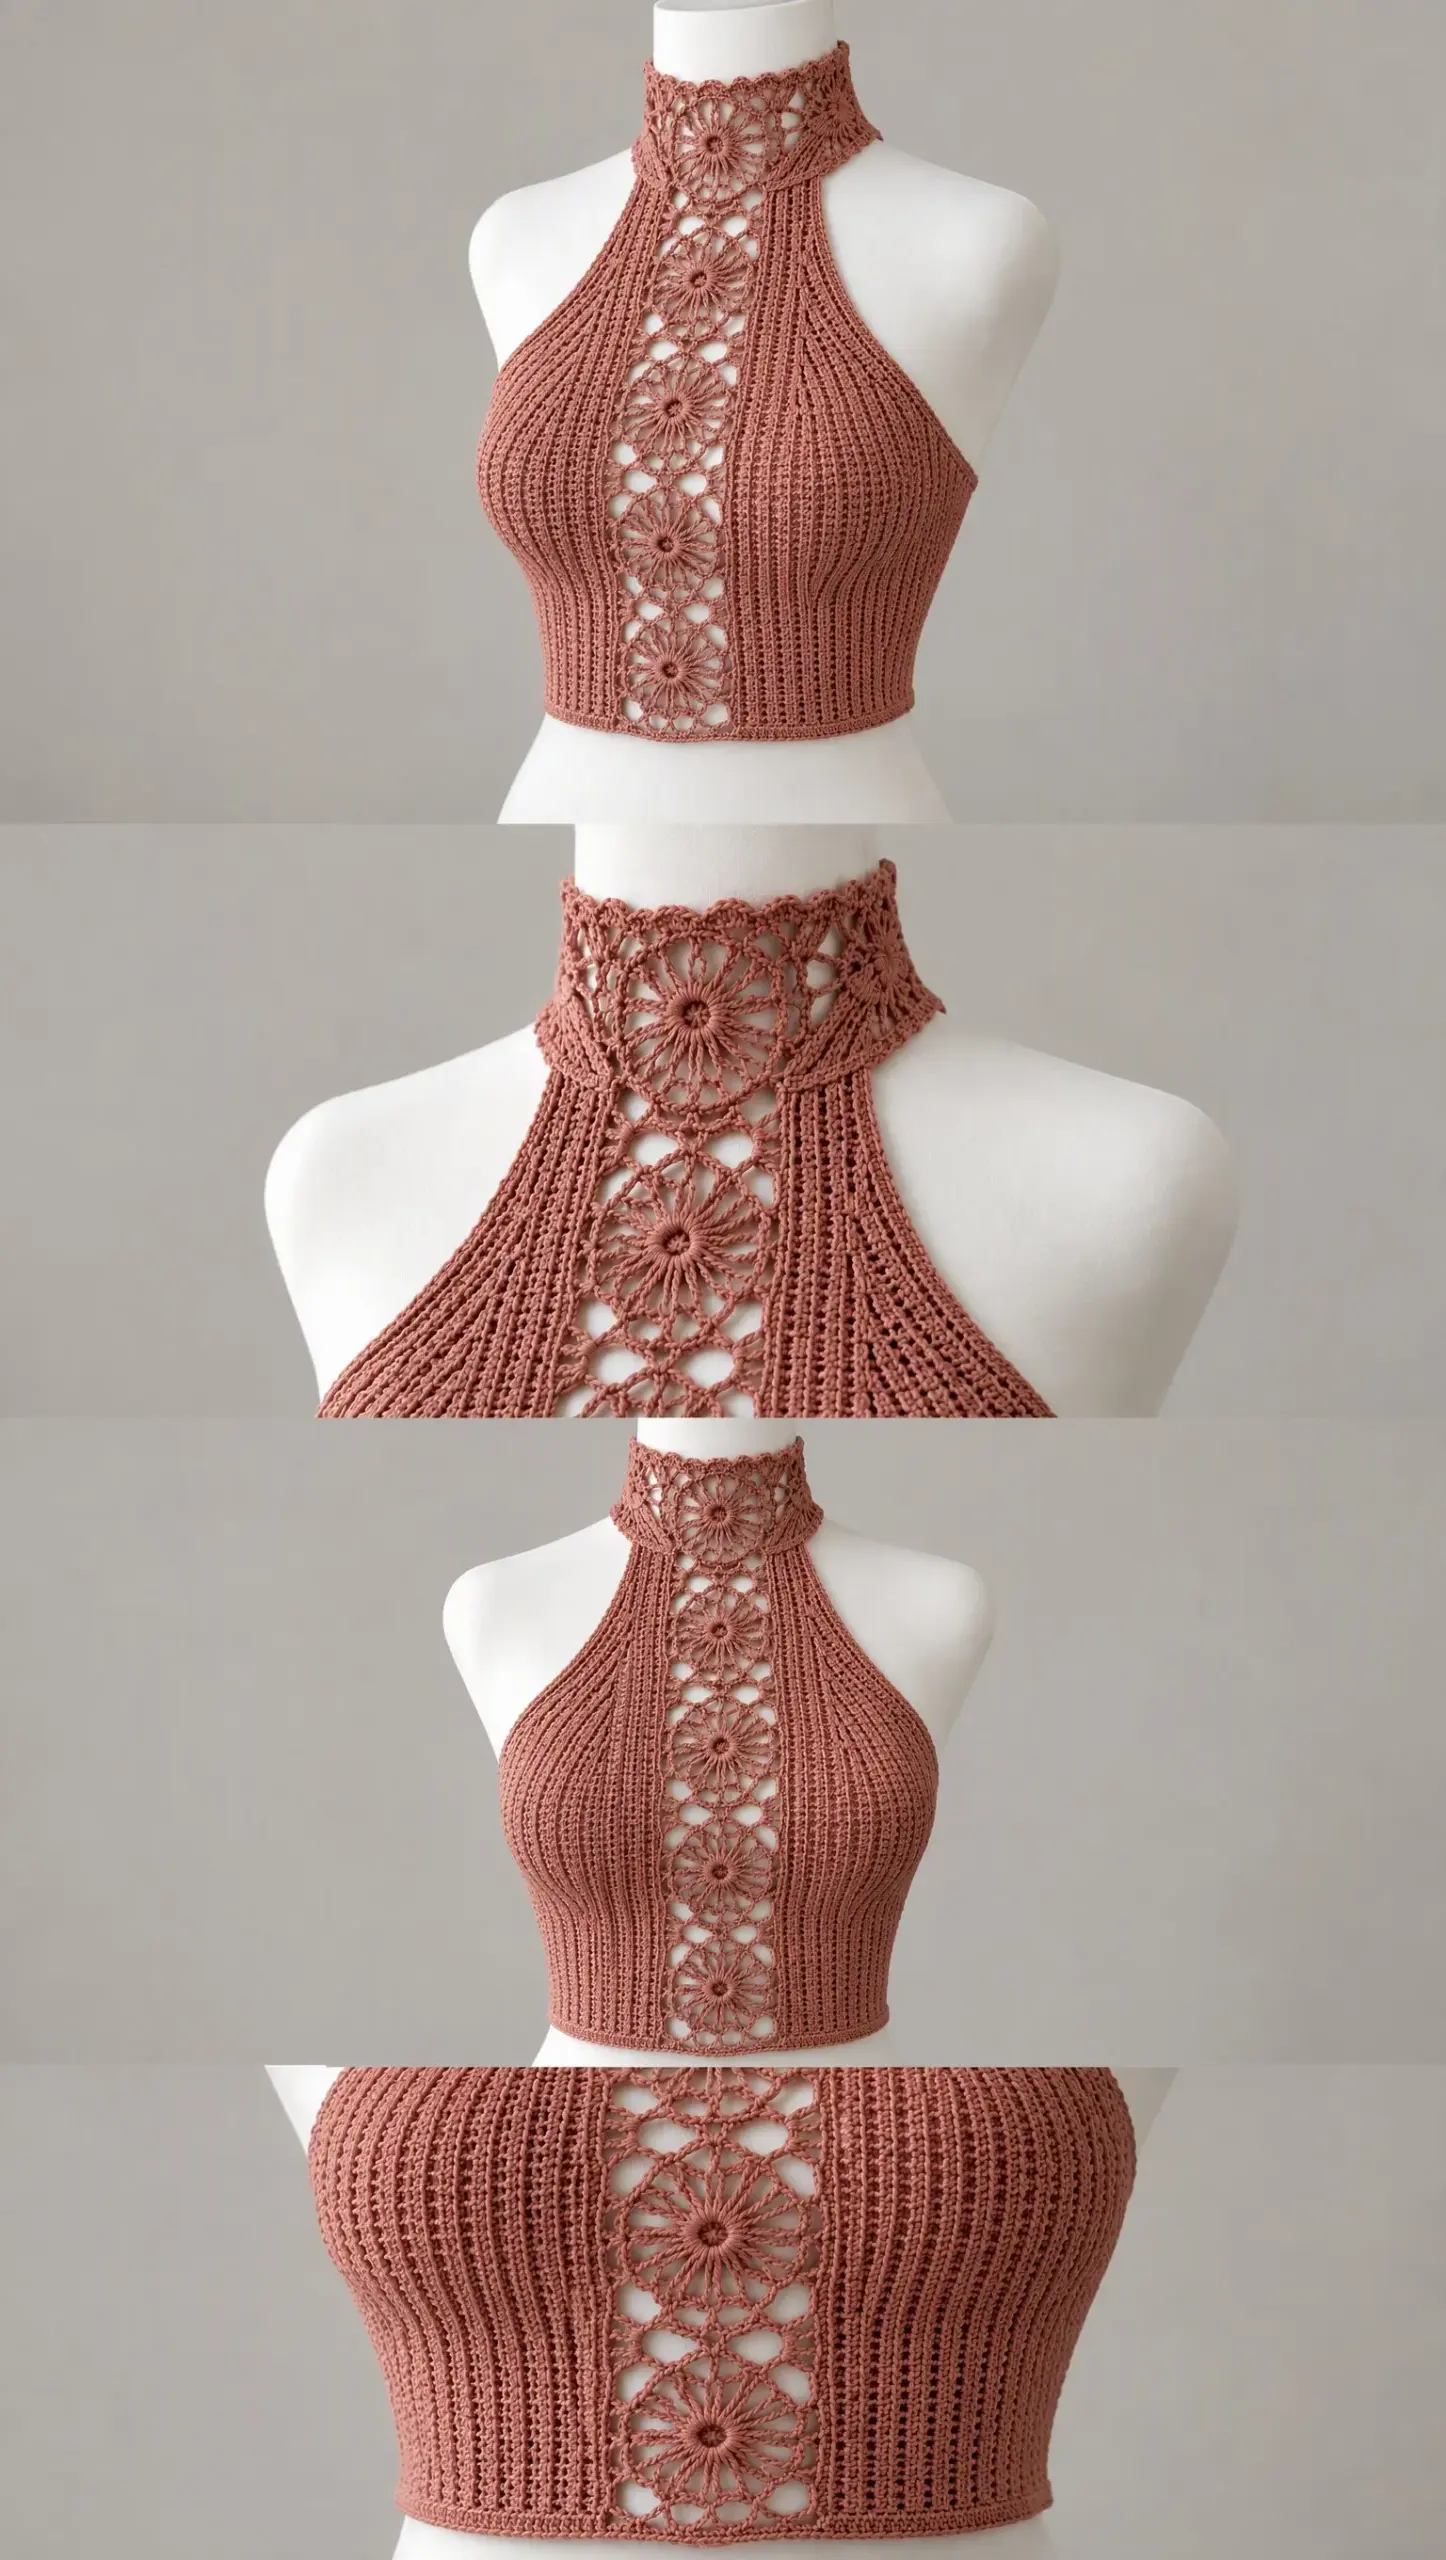
This pattern has been living in my head for years, waiting for the right moment to come together. The central column of floral wheel motifs creates that vintage lace effect I loved so much, while the sculpted side panels give the top a modern, fitted silhouette. It feels like the perfect blend of old and new.
If you have intermediate crochet skills and you’re ready for a project that combines shaping, lace work, and garment construction, this one is for you. Let me walk you through everything you need to bring The Rosalie to life.
What You’ll Need: Materials and Tools
Before you begin, gather all your supplies so you can work without interruption. Here’s what the pattern calls for:
Yarn: Fine cotton yarn or sport weight yarn in dusty rose or muted salmon color. You’ll need approximately 450 to 650 yards (410 to 595 meters) depending on your size.
Hook: 3.0 mm crochet hook, or whatever size you need to achieve gauge.
Notions: Stitch markers, yarn needle, measuring tape, blocking mats and pins.
Yarn Suggestions That Work Beautifully
Not sure what yarn to grab? Here are three options that will give you gorgeous results:
1. Mercerized cotton sport yarn for crisp lace definition. This is my top recommendation because the sheen really makes those floral motifs pop.
2. Bamboo-cotton blend for softer drape. Perfect if you want the top to flow a bit more.
3. Lightweight linen blend for breathable summer wear. Ideal for hot weather styling.
Important substitution note: Choose a yarn with similar weight and fiber behavior. Avoid bulky or fuzzy yarns because the floral lace and rib texture require clear stitch definition. If your stitches look muddy or the pattern gets lost, your yarn choice is likely the culprit.
Gauge: Don’t Skip This Step
I know, I know. Gauge swatches aren’t the exciting part. But for a fitted garment like this, they’re absolutely essential.
Target gauge: 22 double crochet stitches x 12 rows = 10 x 10 cm (4 x 4 inches) after blocking.
Work a swatch, block it, then measure. If you’re getting more stitches per inch, go up a hook size. Fewer stitches? Go down. Trust me, taking ten minutes now saves hours of frustration later.
Finished Sizes
This pattern is designed for adult sizes XS through XL with instructions for adjusting width. Here are the approximate finished bust measurements:
Time Estimate
Plan for about 18 to 30 hours of work depending on your crochet speed and experience with lace patterns. The motifs require focus, so this isn’t a mindless TV project. But once you get into the rhythm, it’s deeply satisfying.
Abbreviations You’ll Use
Let me break down every abbreviation before we dive in. If you’re newer to crochet patterns, bookmark this section.
Special Stitches Explained
This pattern uses two special techniques that create the beautiful texture you see in the finished piece.
Rib Stitch
Work alternating front post and back post stitches to create vertical texture. This gives the side panels that sculpted, form-fitting look. If you’ve never worked post stitches before, they’re easier than they sound. Instead of inserting your hook into the top of a stitch, you insert it around the post (the vertical part) of the stitch from the row below.
Floral Wheel Motif
This is the star of the show. Each motif starts with a center ring made with chains, followed by radiating treble petals joined with chain arches. The result looks like a delicate flower or wheel. These get stacked vertically to create that stunning center lace panel.
How This Top Is Constructed
Understanding the construction method helps everything click into place. The top is worked in three main sections:
1. Left ribbed side panel
2. Right ribbed side panel
3. Center floral lace column
The collar is built upward from the upper edge and finished with scalloped lace edging. You’ll work the pieces separately, then join them together. This modular approach makes the project very manageable.
Step by Step Crochet Pattern Instructions
Now let’s get into the actual pattern. Follow these instructions carefully, and don’t hesitate to use stitch markers liberally. They’re your best friend for keeping track of increases and decreases.
Back and Side Panel Foundation
Row 1:
Chain enough stitches to cover half the bust measurement for your size. Work hdc across the entire row.
Rows 2 through 8:
Work rib texture by alternating front post hdc and back post hdc across each row. Increase one stitch at each outer edge every third row to gradually widen the panel.
Continue working in this established rib pattern until the panel reaches underarm height. The ribbing should feel stretchy and textured with clear vertical lines.
Bust Shaping
This is where we create the curved halter shape that makes the top so flattering.
Decrease one stitch near the inner edge every two rows. This gradual shaping curves the panel inward toward the neck. Continue decreasing until the panel reaches the neck area.
Repeat this entire process for the second side panel. Make sure both panels mirror each other. I like to lay them side by side occasionally to check they’re matching up.
Center Floral Lace Panel
This is the section that really makes this top special. Take your time here and enjoy the process.
Foundation:
Chain a strip matching the space between your completed side panels. Measure carefully before starting.
Motif 1:
Round 1:
Make a magic ring. Work 12 dc into the ring. Join with a slip stitch to the first dc.
Round 2:
Work chain spaces between stitches to create openings. This starts forming the lacy, open structure of the motif.
Round 3:
Create petal points using tr stitches separated by chains. These trebles give each "petal" its height and elegance.
Round 4:
Add connecting chain arches around the motif. These arches will later help you join motifs together and attach the panel to the side pieces.
Repeat the floral wheel motif vertically until the panel reaches the lower hem. The number of motifs you need depends on your torso length, so hold the panel up to yourself periodically to check.
Joining the Panels
Place the floral column between the two side panels. Join with slip stitches while maintaining even tension. This is crucial. If you pull too tightly, the lace will pucker. Too loosely, and the top won’t hold its shape.
Leave small open gaps between lower motifs for the airy lace effect. This intentional openness is part of the design aesthetic.
Mock Neck Collar
The collar is built directly onto the completed body of the top.
Attach yarn at the neckline.
Round 1:
Work sc evenly around the entire neck opening. Count your stitches and make sure the total is divisible by a number that works with your lace pattern repeat.
Rounds 2 through 6:
Continue the floral lace pattern with smaller wheel motifs. These miniature versions of the body motifs create beautiful continuity in the design.
Finishing the collar:
Work scalloped edging as follows: sc, skip 2 stitches, 5 dc in next stitch, skip 2 stitches. Repeat this sequence around the entire top edge of the collar.
Lower Hem
Work one round of sc around the bottom edge of the top to create a stable foundation.
Add a second decorative round using picot or small shell edging. This finishing touch frames the design beautifully.
Finishing Your Halter Top
You’re almost there! These final steps make a huge difference in the professional appearance of your finished garment.
Weave in all ends securely. For a lace garment like this, take extra care to weave ends through multiple stitches so they don’t work loose over time.
Block the garment gently to open the lace motifs. Lay the top flat on your blocking mats and pin out each floral motif so the petals spread evenly. Shape the bust curves while blocking by adding extra pins to maintain the three-dimensional shaping.
Allow to dry completely before wearing. Rushing this step can result in a misshapen garment, so be patient.
Care Instructions
This delicate top deserves gentle care to keep it looking beautiful for years.
Hand wash in cold water with a mild detergent. Lay flat to dry on a clean towel, reshaping as needed. Avoid harsh detergents and high heat, which can damage the cotton fibers and distort your careful blocking work.
Troubleshooting Common Issues
If the top feels loose: Reduce your hook size or remove some of the increase rows from the side panels. A tighter gauge can make a significant difference.
If lace motifs curl: Block firmly with pins and check your stitch tension. Curling usually indicates stitches are too tight. Try relaxing your grip on the yarn.
If the collar stretches: Add a reinforcing slip stitch round on the inside of the collar. This gives it more structure without changing the appearance.
Frequently Asked Questions
Can this be made longer?
Yes! Add additional rib rows to the side panels before finishing the hem. Each additional row adds approximately 0.8 cm of length.
Can the lace panel be widened?
Absolutely. Add additional floral motifs horizontally before joining the panels together. This adjusts the coverage in the center of the top.
Is lining required?
A lining or removable camisole can be added for extra coverage. Many people wear a simple nude or coordinating camisole underneath for comfort and modesty.
Final Thoughts on the Dusty Rose Lace Halter Top Crochet Pattern
This project combines so many techniques I love: the satisfying texture of ribbed fabric, the meditative rhythm of working lace motifs, and the thrill of creating a wearable garment that genuinely fits well. The Rosalie has become one of my favorite summer pieces, and I hope it becomes one of yours too.
Thank you so much for choosing this pattern. I genuinely appreciate you trusting me with your time and yarn. If you make this top, I would absolutely love to see it! Share your finished Dusty Rose Lace Halter Top on Instagram or Facebook and tag me so I can cheer you on.
If this pattern caught your eye, go ahead and pin it to your Pinterest boards so you can find it when you’re ready to cast on. And if you do make The Rosalie, please drop a comment below. I read every single one, and hearing about your projects truly makes my day.
Want a Quick & Easy Printable Version?
Get a clean, beautifully formatted PDF of this pattern — easy to follow step by step, ready to print or save on any device. No scrolling, no distractions, just the pattern.
Get the Printable PDF →