This backpack is HANDS DOWN one of the most impressive crochet accessories you can make, and it works up SO much faster than you would think! We are talking about a gorgeous, structured bag with that beautiful pebbled bobble texture that looks like it belongs in a boutique window. The best part? You can finish the whole thing in about 7 to 10 relaxed hours, making it an absolutely perfect weekend project or a stunning handmade gift.
Get the Ad-Free PDF Pattern
You can find the free pattern below, or you can purchase the ad-free printable PDF from my shop.
Get the Printable PDF →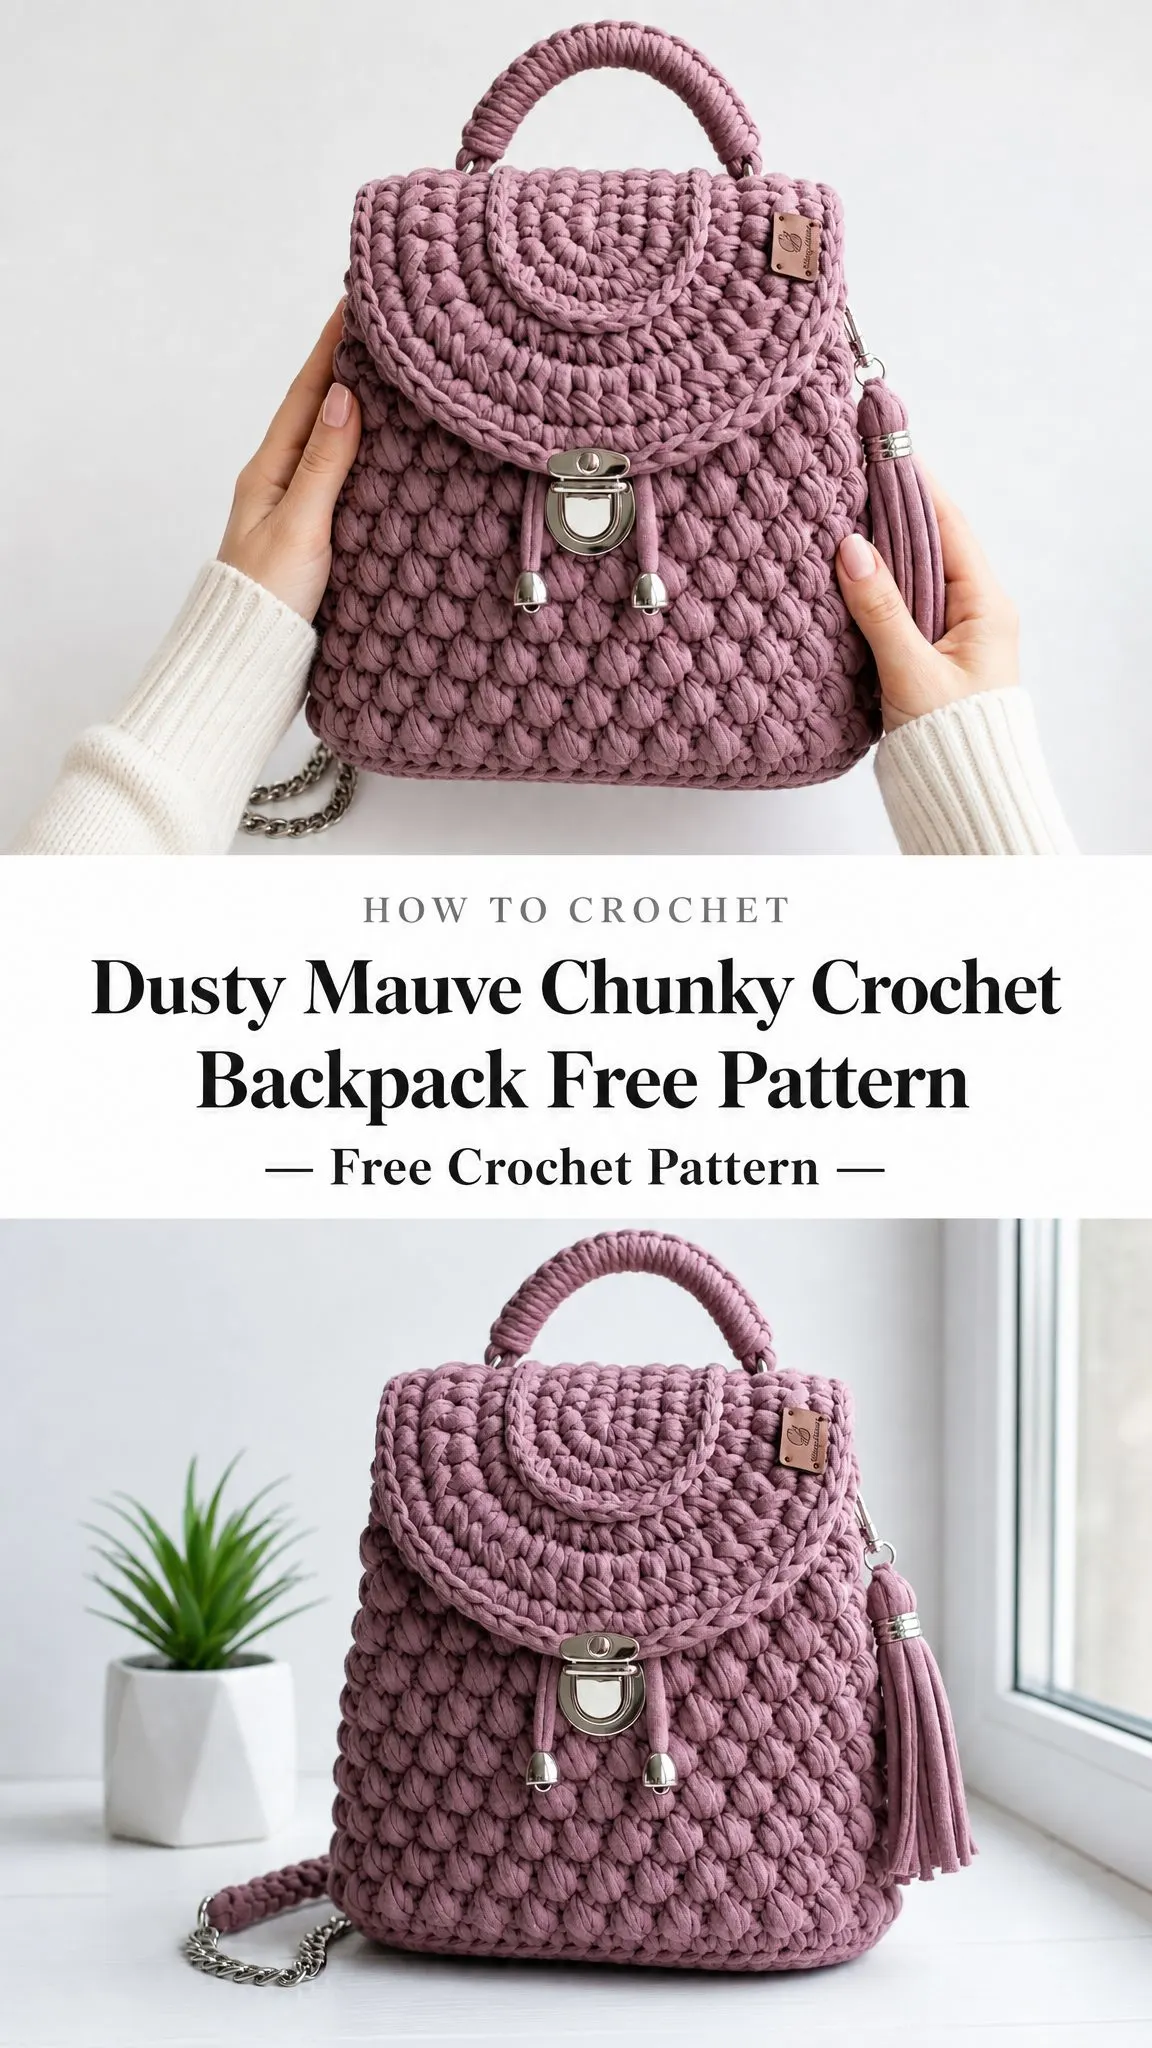
If you have been wanting to try your hand at crocheted bags but felt intimidated by the construction, this is your sign to go for it. The body is worked in simple joined rounds from the base up, so there is no complicated shaping until you get to the flap. And even that part is totally manageable once you break it down step by step.
I am so excited to walk you through this pattern today. The chunky yarn creates such a plush, satisfying fabric, and those bobbles give it serious texture without being fussy. Let’s dive in!
About This Dusty Mauve Chunky Crochet Backpack Pattern
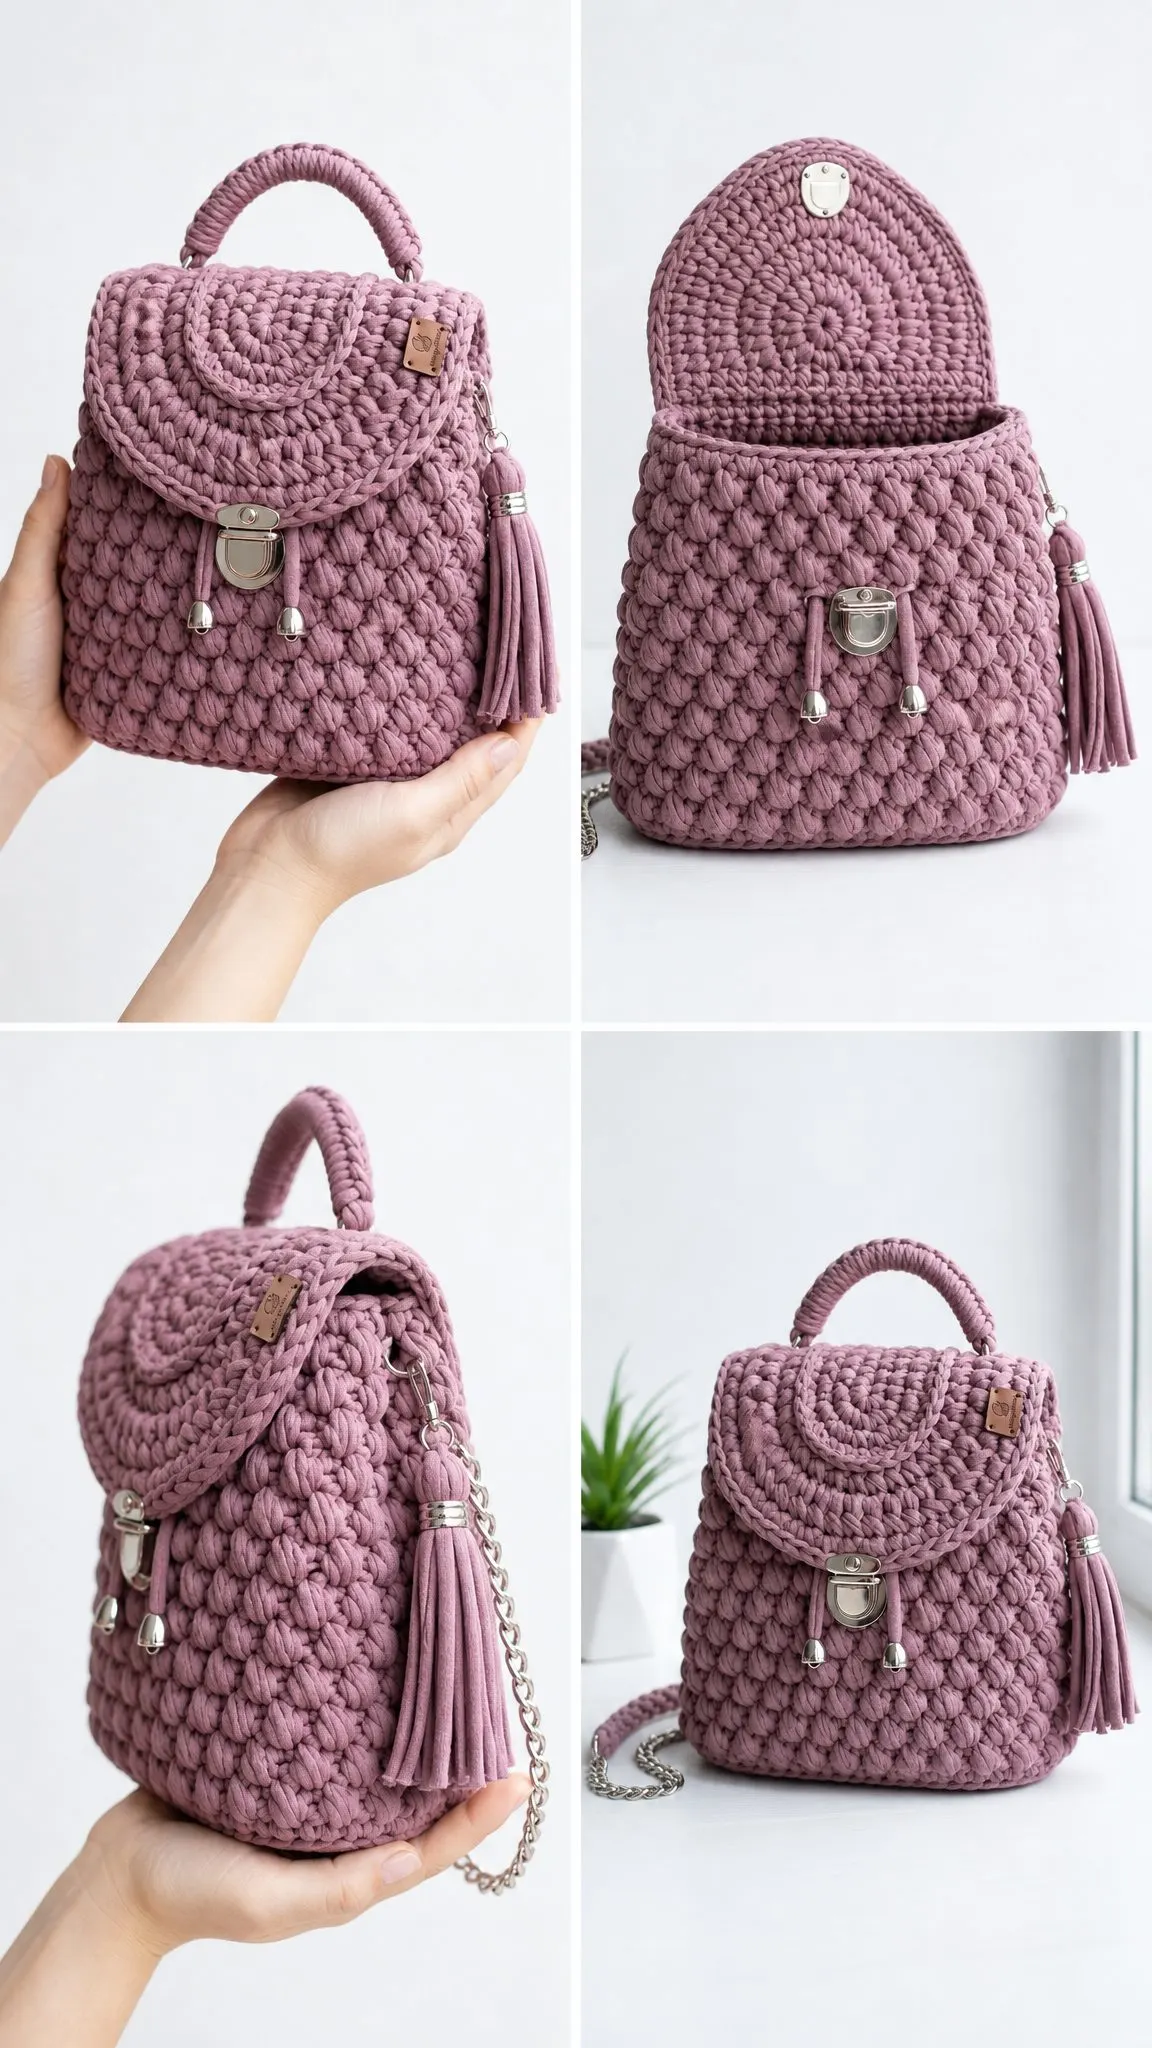
This compact backpack features a raised bobble texture that creates that gorgeous pebbled look you see in the photos. The bag is worked from the base upward in joined rounds, then finished with an attached rounded flap, decorative Romanian-style cord edging, a padded top handle, chain and crochet shoulder straps, a side tassel, and shiny metal hardware.
The finished size is approximately 9.5 inches wide by 9.75 inches tall by 3.5 inches deep (24 x 25 x 9 cm). The sample strap measures about 42 inches (107 cm) from ring to ring, but you can adjust that length to fit your body perfectly.
This pattern is written in US crochet terms. If you are working from UK terms, remember that US single crochet (sc) equals UK double crochet (dc).
Skill Level
This pattern is rated for adventurous beginner to intermediate crocheters. You should be comfortable with working in the round, reading stitch counts, making bobbles, attaching hardware, and finishing a structured accessory.
If you have never made bobbles before, do not worry! I will explain exactly how to create them. They are easier than they look, and they add such beautiful dimension to your work.
Materials You Will Need
Before you start, gather all your supplies. Having everything ready makes the process so much smoother.
Yarn: Super bulky tubular cotton or jersey yarn, approximately 190 to 230 yards (174 to 210 meters) in dusty mauve. Choose a dense, low-stretch yarn that holds texture well. Good options include Bernat Maker Home Dec, Hoooked RibbonXL, or Lion Brand Rewind held double if needed.
Hook: US M/N-13 (9 mm), or size needed to match gauge
Hardware: 2 D-rings, 2 swivel clips, 2 back strap rings, twist lock or magnetic lock, optional chain for straps
Extras: Yarn needle, stitch markers, scissors, measuring tape, optional plastic canvas or bag base insert, optional fabric lining
Gauge
Getting your gauge right is important for a sturdy backpack that holds its shape.
Body gauge: 8 stitches and 8 rounds equals 4 inches (10 cm) in single crochet after light blocking
Texture gauge: 6 bobble-pattern stitches and 5 bobble rows equals 4 inches (10 cm)
I really recommend swatching first. For a sturdy backpack, the fabric should be firm, not floppy. If your swatch is loose, go down a hook size. This bag needs to hold its structure, especially once you add items inside.
Abbreviations and Stitch Definitions
Let me break down all the stitches and terms you will encounter in this pattern.
blo = back loop only
ch = chain
dc = double crochet
inc = increase, which means working 2 single crochet stitches in the same stitch
pm = place marker
rep = repeat
rnd = round
RS = right side
sc = single crochet (insert hook, yarn over, pull up a loop, yarn over, pull through both loops)
sc2tog = single crochet 2 together (a decrease stitch)
sl st = slip stitch
st(s) = stitch or stitches
WS = wrong side
yo = yarn over
Special Stitches Explained
Chunky Bobble
This stitch creates those beautiful raised bumps that give the backpack its signature texture.
In the indicated stitch: yarn over, insert hook, yarn over and pull up a loop, yarn over and pull through 2 loops. Repeat this 4 more times in the same stitch until you have 6 loops remaining on your hook. Yarn over and pull through all 6 loops at once.
Here is the key: work the next single crochet (sc) firmly to make the bobble pop to the right side. If your bobbles are leaning inward instead of popping outward, you need to tighten up that following stitch.
Single Crochet 2 Together (sc2tog)
This is your decrease stitch for shaping the flap.
Insert hook in the next stitch, yarn over and pull up a loop. Insert hook in the following stitch, yarn over and pull up a loop. You now have 3 loops on your hook. Yarn over and pull through all 3 loops. One stitch decreased.
Romanian-Style Cord
This creates the beautiful raised decorative cording you see around the flap.
Chain 2. Single crochet in the 2nd chain from hook. Rotate your work a quarter turn, insert your hook under the side loop that just formed, and single crochet. Continue rotating the cord after each single crochet and working into the side loop. Make your cords firm but flexible.
This technique takes a little practice, but once you get the rhythm, it goes quickly!
Pattern Notes Before You Begin
Use joined rounds unless stated otherwise. The chain 1 (ch 1) at the beginning of a round does not count as a stitch. Join with a slip stitch to the first single crochet or first bobble of the round.
Keep the first stitch of every round marked with a stitch marker. This will save you so much counting and confusion!
The body uses 54 stitches around. Even-numbered texture rounds alternate bobble placement so the bumps stack like a pebble texture instead of vertical columns. This offset creates that beautiful organic look.
For a polished finished backpack, I highly recommend lining the bag and adding a firm base insert. Sew hardware through the crochet fabric and lining together so the bag carries weight securely.
Left-handed crocheters: Work the same stitch counts. Your rounds travel in the opposite direction, so place the tassel and clasp after trying the bag on a table with the flap facing you.
Step by Step Instructions
Base
We start by creating an oval-rectangle base that gives the backpack its structured shape.
Round 1: Chain 14. Work 2 sc in the 2nd chain from hook, sc in next 11 chains, 4 sc in the last chain. Working along the unused loops on the opposite side of the foundation chain, sc in next 11 chains, 2 sc in the first foundation chain. Join. (30 sc)
Round 2: Ch 1. Inc in next 2 stitches, sc in next 11 stitches, inc in next 4 stitches, sc in next 11 stitches, inc in next 2 stitches. Join. (38 sc)
Round 3: Ch 1. [Sc in next stitch, inc in next stitch] twice, sc in next 11 stitches, [sc in next stitch, inc in next stitch] 4 times, sc in next 11 stitches, [sc in next stitch, inc in next stitch] twice. Join. (46 sc)
Round 4: Ch 1. [Sc in next 2 stitches, inc in next stitch] twice, sc in next 11 stitches, [sc in next 2 stitches, inc in next stitch] 4 times, sc in next 11 stitches, [sc in next 2 stitches, inc in next stitch] twice. Join. (54 sc)
Checkpoint: Your base should be firm and slightly oval-rectangular. If it cups upward, loosen your corner increases. If it ripples badly, tighten your tension or use a smaller hook.
After Round 4, your base should measure approximately 9.25 inches long by 3.5 inches deep (23.5 x 9 cm).
Textured Body
Now we build the walls of the backpack with that gorgeous bobble texture!
Round 5: Ch 1. Working in back loop only (blo), sc in each stitch around. Join. (54 sc)
This back loop only round creates a nice crisp edge between the base and the body.
Round 6: Ch 1. [Bobble in next stitch, sc in next stitch] 27 times. Join. (27 bobbles, 27 sc; 54 stitches total)
Round 7: Ch 1. Sc in each stitch around. Join. (54 sc)
Round 8: Ch 1. [Sc in next stitch, bobble in next stitch] 27 times. Join. (27 bobbles, 27 sc; 54 stitches total)
Notice how Round 8 offsets the bobbles from Round 6? This creates that beautiful pebble effect!
Rounds 9 through 16: Repeat Rounds 7 and 8 four more times. End with a bobble round. (54 stitches each round)
Body Top
Round 17: Ch 1. Sc in each stitch around. Join. (54 sc)
Round 18: Ch 1. Sc in each stitch around, working firmly to stabilize the opening. Join. (54 sc)
Round 19: Ch 1. Slip stitch loosely in each stitch around for a neat lip. Join and fasten off. (54 slip stitches)
Checkpoint: After Round 17, your backpack should measure approximately 8.75 inches tall (22 cm) from the base edge. After Round 19, the opening circumference should be about 26 to 27 inches (66 to 69 cm).
Flap
Now we create that beautiful rounded flap that gives this backpack its distinctive look.
Mark the Flap Placement: Lay the bag flat with the back facing you. Mark the center 20 stitches along the back top edge. Join yarn at the right marker with the right side facing. The flap is worked back and forth in rows. The chain 1 turning chain does not count as a stitch.
Row 1: Sc in each marked stitch. Turn. (20 sc)
Row 2: [Bobble in next stitch, sc in next stitch] 10 times. Turn. (20 stitches)
Row 3: Sc in each stitch. Turn. (20 sc)
Row 4: [Sc in next stitch, bobble in next stitch] 10 times. Turn. (20 stitches)
Row 5: Sc in each stitch. Turn. (20 sc)
Row 6: [Bobble in next stitch, sc in next stitch] 10 times. Turn. (20 stitches)
Row 7: Sc in each stitch. Turn. (20 sc)
Now we start decreasing to shape the rounded bottom of the flap.
Row 8: Sc2tog, sc in next 16 stitches, sc2tog. Turn. (18 sc)
Row 9: Sc in each stitch. Turn. (18 sc)
Row 10: [Bobble in next stitch, sc in next stitch] 9 times. Turn. (18 stitches)
Row 11: Sc2tog, sc in next 14 stitches, sc2tog. Turn. (16 sc)
Row 12: Sc in each stitch. Turn. (16 sc)
Row 13: Sc2tog, sc in next 12 stitches, sc2tog. Turn. (14 sc)
Row 14: [Sc in next stitch, bobble in next stitch] 7 times. Turn. (14 stitches)
Row 15: Sc2tog, sc in next 10 stitches, sc2tog. Turn. (12 sc)
Row 16: Sc2tog, sc in next 8 stitches, sc2tog. Turn. (10 sc)
Row 17: Sc2tog, sc in next 6 stitches, sc2tog. Do not turn. (8 sc)
Flap Edging and Decorative Cord
Edge Round: Ch 1. Work sc evenly around the flap: 17 sc down the first side, 8 sc across the lower curve, 17 sc up the second side, and 20 sc across the top attachment edge. Join. (62 sc)
Raised outer cord: Make a Romanian-style cord approximately 23 inches (58 cm) long. Pin it around the flap edge, beginning and ending at the top corners, then sew it down invisibly.
Raised inner arch: Make a Romanian-style cord approximately 11 inches (28 cm) long. Curve it into a shallow U shape on the upper flap and sew it down through the back of the stitches only.
Handle
Make a Romanian-style cord 13 inches (33 cm) long. Wrap the cord with matching yarn using a spiral whip for a padded handle. Sew each end securely to a D-ring at the back/top side positions.
Finished handle length should be approximately 10 inches (25 cm) between the rings.
Shoulder Straps
For each strap, make or use a 42 inch (107 cm) chain strap. Add a 20 inch (51 cm) crochet comfort section: chain 41, sc in the 2nd chain from hook and across, turn. Sc across for 2 more rows. Wrap or stitch this strip around the center portion of the chain.
Make 2 straps total.
Clip straps to the upper side rings and lower back rings. Try on the bag before sewing ring tabs permanently to make sure the length is comfortable for you.
Tassel
Cut 18 strands, each 12 inches (30 cm) long. Fold them together, bind them 0.75 inches (2 cm) below the fold, trim evenly, and attach to a swivel clip.
Closure, Lining, and Finishing
Installing the Lock: Center the lock on the flap point and front body. Install according to the hardware directions, reinforcing behind the crochet with felt, lining fabric, or plastic canvas.
Optional Lining: Cut two rectangles measuring 10.5 x 11 inches (27 x 28 cm) and one base rectangle measuring 9.5 x 3.75 inches (24 x 9.5 cm), adding seam allowance. Sew into a pouch, insert wrong side to wrong side, and hand-stitch to the top inside edge.
Optional Base Support: Trim plastic canvas to fit inside the base. Cover with lining fabric before inserting.
Blocking and Care
Blocking: Steam lightly from a distance. Do not crush the bobbles! Shape the flap while warm and let the bag dry fully stuffed with tissue.
Care: Spot clean whenever possible. If the yarn label allows washing, remove detachable chain and tassel, hand wash gently, reshape, and dry flat stuffed with a towel.
Troubleshooting Common Issues
Bobbles lean inward: Make the following single crochet firmer.
Body is too floppy: Use a smaller hook, denser yarn, lining, or a base insert.
Flap pulls upward: Add one extra plain single crochet row before Row 8.
Opening stretches: Add another slip stitch round or sew the lining to the top edge.
Size Customization Tips
For a wider bag: Increase the foundation chain in the base by an even number. Each added chain adds 2 stitches to the final body count. Keep the final body count even so the bobble repeat works correctly.
For a taller bag: Add repeats of Rounds 7 and 8 before Round 17. For each extra bobble row, plan approximately 12 to 15 yards (11 to 14 meters) more yarn.
For a deeper bag: Add one more base increase round using the same corner logic, then keep the body stitch count even. A deeper bag needs extra lining and stronger hardware reinforcement.
Final Thoughts on This Chunky Crochet Backpack Pattern
I hope you love making this dusty mauve chunky crochet backpack as much as I loved putting together this pattern! The combination of the plush bobble texture, the elegant hardware, and that beautiful dusty mauve color creates such a stunning finished piece. Whether you make it for yourself or as a gift, this backpack is sure to get compliments everywhere you go.
Thank you so much for choosing this pattern for your next project. I would absolutely love to see your finished backpacks! If you make one, please share a photo on Instagram or Facebook and tag me so I can admire your beautiful work.
Do not forget to save this crochet backpack pattern to your Pinterest boards so you can find it easily when you are ready to start. And if you give it a try, I would love to hear how it goes in the comments below. Happy crocheting!
Want a Quick & Easy Printable Version?
Get a clean, beautifully formatted PDF of this pattern — easy to follow step by step, ready to print or save on any device. No scrolling, no distractions, just the pattern.
Get the Printable PDF →