
Go dig through your stash right now. That beautiful cream cotton you have been saving for something special? This is the project. This tiered lace dress combines a fitted bodice, romantic puff sleeves, and three layers of scalloped fan lace that will make every yard of that yarn worth the wait.
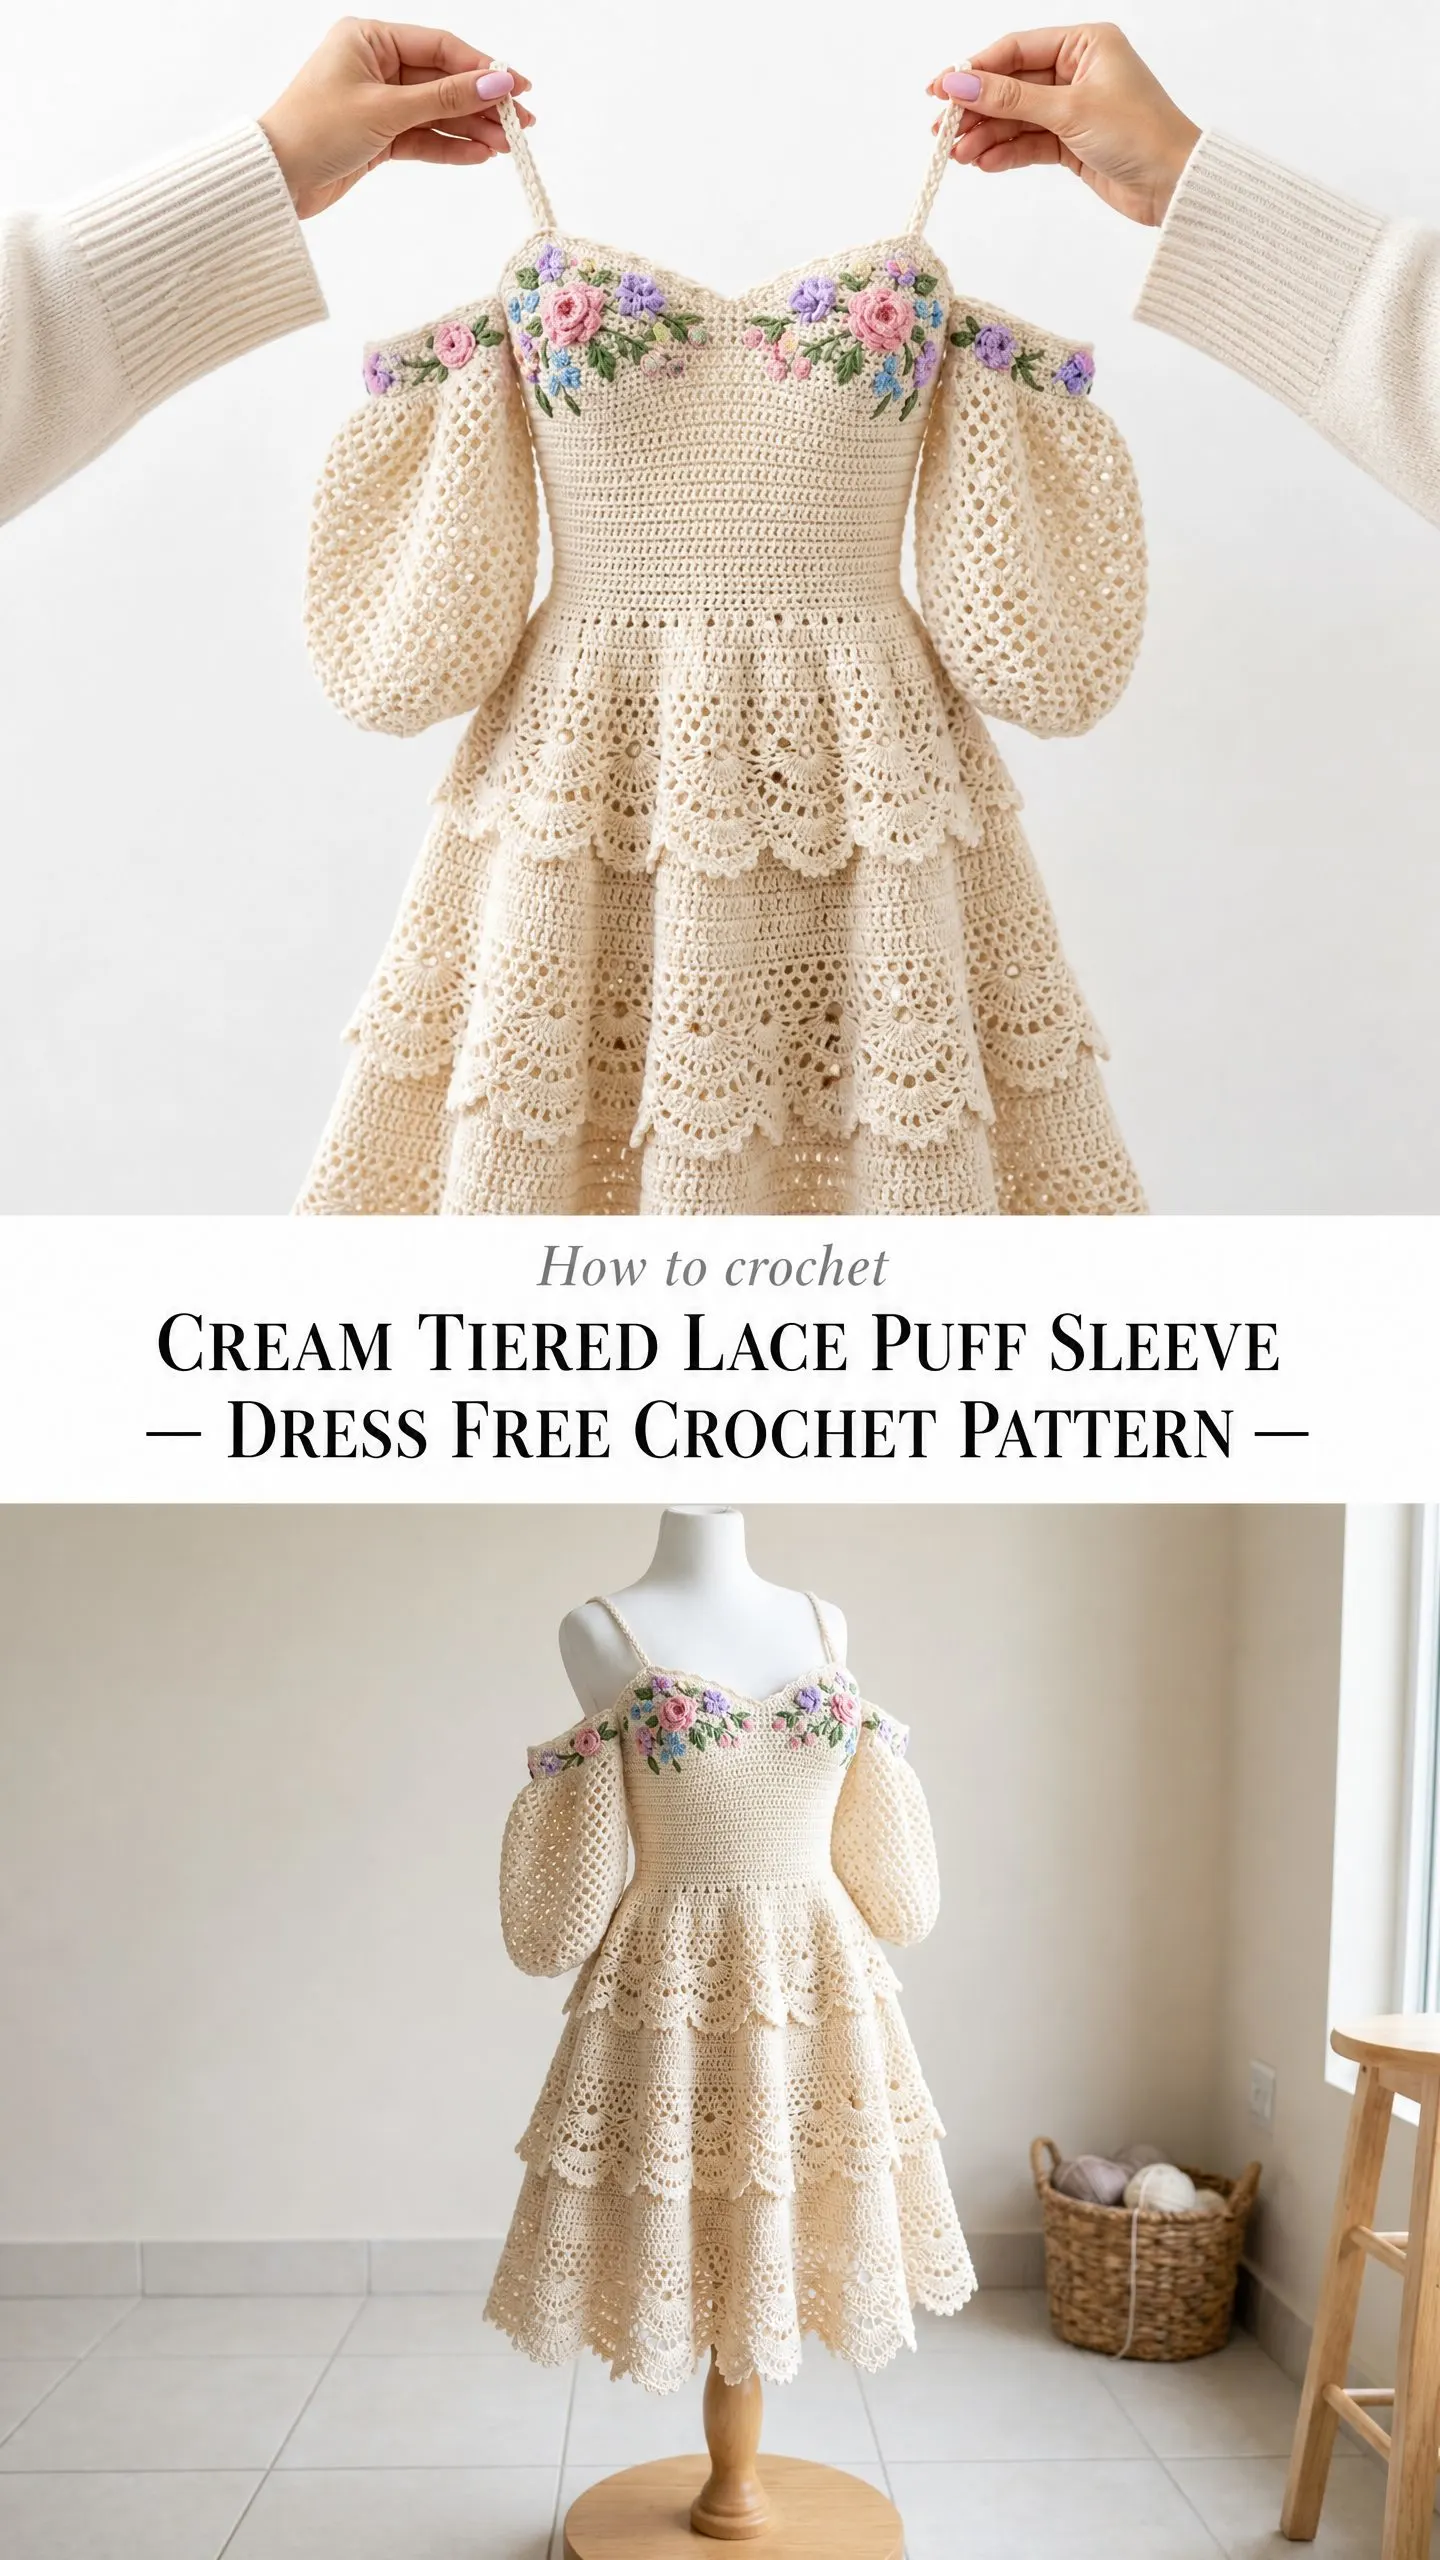
I will be honest with you. This is not a weekend project. We are talking 60 to 80 hours of work for a size Medium. But the construction is genuinely fascinating. You will work from the top down, shape a sweetheart neckline using short rows, create cold shoulder sleeves in an open net stitch, and build three increasingly full skirt tiers that cascade beautifully.
If you have completed at least two garments before and feel comfortable working in the round, this crochet pattern is absolutely within your reach. Just take it section by section. The techniques stack logically, and I will walk you through every single step.
Why This Dress Design Works So Well
The silhouette of this cream tiered lace puff sleeve dress hits all the right notes. The bodice uses a dense mesh stitch that creates structure and a flattering fit through the bust and waist. Then each skirt tier adds fullness progressively, so the dress flows and moves without adding bulk at the waist.
Those puff sleeves are worked separately in an open net stitch, which gives them that airy, romantic quality you see in the finished piece. They attach below the natural shoulder line for the cold shoulder effect, while thin spaghetti straps keep everything secure on top.
The finishing touch is the surface embroidery across the sweetheart neckline. Small floral clusters in pink, lavender, blue, and green bring the whole design to life without overwhelming the delicate cream lace.
Materials You Will Need
Yarn
For the main dress, you need DK weight cotton yarn (CYCA 3) in cream. Plan for approximately 1,800 yards for size Small, 2,100 yards for Medium, or 2,400 yards for Large.
For the embroidery, gather small amounts of fingering or sport weight yarn in light pink, lavender, sky blue, and sage green. About 20 yards of each color will be plenty.
Yarn Suggestions
I recommend Paintbox Yarns Cotton DK in Champagne. It is 100 percent cotton with excellent stitch definition for lace work and machine washable for practicality.
Drops Safran in Off White is another beautiful option. This Egyptian cotton gives lace panels lovely drape and crispness after blocking.
Lion Brand 24/7 Cotton in Ecru works well too. It is widely available, affordable, and very consistent in tension.
Whatever you choose, pick a smooth, plied cotton with good stitch definition. Avoid fuzzy or halo yarns because your lace stitches will not show clearly.
Hooks
You need a US Size E-4 (3.5 mm) hook for the bodice and skirt, plus a US Size F-5 (3.75 mm) hook for the sleeves.
Notions
Gather at least 6 stitch markers, a yarn needle for finishing and embroidery, scissors, rust-proof pins for blocking, blocking mats, measuring tape, and removable markers for the sweetheart shaping.
Gauge Information
Getting gauge right is critical for fit on a garment like this.
Using the E-4 hook in the bodice mesh stitch (double crochet, chain 1 repeat), you should get 20 stitches and 12 rows over 4 inches when blocked.
In the fan lace stitch, one full 12-stitch repeat should measure 2.4 inches wide when blocked.
Take time to swatch and block your swatch before starting. Your future self will thank you.
Finished Measurements
This pattern is written for size Small with Medium and Large in parentheses throughout, formatted as S (M, L).
Bust: 32 (36, 40) inches
Waist: 26 (30, 34) inches
Hip at widest tier: 54 (60, 66) inches
Total length from shoulder strap to hem: approximately 36 (37, 38) inches
Bodice height: approximately 12 inches
Each skirt tier height: approximately 6 (6.5, 7) inches
Abbreviations and Stitch Definitions
Before we dive into the instructions, let me define every abbreviation you will encounter.
ch = chain. Wrap yarn over hook, pull through loop on hook.
sl st = slip stitch. Insert hook, yarn over, pull through both loops at once.
sc = single crochet. Insert hook, yarn over, pull up a loop (2 loops on hook), yarn over, pull through both loops.
dc = double crochet. Yarn over, insert hook, yarn over, pull up a loop (3 loops on hook), yarn over, pull through 2 loops, yarn over, pull through remaining 2 loops.
tr = treble crochet. Yarn over twice, insert hook, yarn over, pull up a loop, (yarn over, pull through 2 loops) three times.
hdc = half double crochet. Yarn over, insert hook, yarn over, pull up a loop (3 loops on hook), yarn over, pull through all 3 loops.
ch-sp = chain space. The gap created by a chain in the previous row.
sk = skip. Pass over the indicated stitch without working into it.
st/sts = stitch/stitches
sp = space
rnd = round
RS = right side
WS = wrong side
pm = place marker
rep = repeat
beg = beginning
rem = remaining
inc = increase
dec = decrease
MC = main color
yo = yarn over
Special Stitches Explained
Mesh Stitch (Worked in the Round)
This creates the bodice fabric. Each unit is one double crochet (dc) and one chain 1 (ch 1). To work: dc in next stitch or chain space, ch 1, skip next stitch or chain space.
At the end of every round, slip stitch to the top of the starting ch-3, slip stitch into the ch-1 space, then ch 4 (counts as dc plus ch 1) to begin the next round.
Fan Lace Stitch (Worked in the Round)
This is the main pattern for all three skirt tiers. It works over a multiple of 12 stitches plus 1.
Round 1 (base): sc in each st around. Sl st to first sc to join.
Round 2 (arch): Ch 1, sc in first st, sk 2 sts, 5 dc in next st (this is a shell), sk 2 sts, sc in next st, ch 3, sk 2 sts, sc in next st, rep from around, ending last rep with ch 3, sl st to first sc.
Round 3 (fan expansion): Ch 3, 2 dc in first st, sk to center dc of next shell, sc in center dc, ch 3, sc in same center dc, 5 dc in next ch-3 sp, rep from around, ending with 2 dc in same st as beg ch-3, sl st to top of ch-3.
Round 4 (fan): Ch 1, sc in first st, 5 dc in next sc (the one at the center of each fan), sc in center dc of next 5-dc group, ch 3, sc in same st, rep from around, end with ch 3, sl st to first sc.
Rounds 5 and 6: Rep Rounds 3 and 4.
Round 7 (scallop edging): Ch 1, sc in first st, 7 dc in next sc, sc in center dc of next shell, rep from around, sl st to first sc. Fasten off.
Puff Net Stitch (For Sleeves)
Worked over a multiple of 4 stitches.
Round 1: Ch 4 (counts as dc, ch 1), dc in next st, ch 1, sk 1 st, rep from around, sl st to 3rd ch of beg ch-4.
Round 2: Sl st into ch-1 sp, ch 4, dc in next ch-1 sp, ch 1, rep from around, sl st to 3rd ch of beg ch-4.
Rep Round 2 for pattern.
Pattern Instructions
Bodice
Foundation: Chain 161 (181, 201). Taking care not to twist, sl st to the first ch to form a ring.
Round 1 (RS): Ch 4 (counts as dc, ch 1 throughout), skip first ch, dc in next ch, ch 1, skip next ch, rep from around, sl st to 3rd ch of beg ch-4. (80 (90, 100) dc, 80 (90, 100) ch-1 sps = 160 (180, 200) mesh units)
Rounds 2 through 8: Sl st into first ch-1 sp, ch 4, dc in next ch-1 sp, ch 1, rep from around, sl st to 3rd ch of beg ch-4. (80 (90, 100) mesh units)
After Round 8, place markers to divide the bodice:
Sweetheart Shaping (Front Short Rows)
Turn work so WS faces you. Work only across the front panel.
Short Row 1 (WS): Ch 3 (counts as dc), dc in first ch-1 sp, ch 1, dc in next ch-1 sp, rep from across 18 (20, 22) units, leaving remaining front units unworked. Turn. (19 (21, 23) dc)
Short Row 2 (RS): Sl st into first ch-1 sp, ch 4, dc in next ch-1 sp, ch 1, rep from across 16 (18, 20) units. Turn. (17 (19, 21) dc)
Short Row 3 (WS): Sl st into first ch-1 sp, ch 3, dc in next ch-1 sp, ch 1, dc in next ch-1 sp, rep from across 14 (16, 18) units. Turn. (15 (17, 19) dc)
Short Row 4 (RS): Ch 1, sc across all sts and ch-1 sps of the front panel edge from left strap point to right strap point, sc2tog at each of the two center front dip points to define the sweetheart curve. Fasten off MC and rejoin at center front to resume working in the round.
Reconnect round: Rejoin MC at back right side marker. Work 1 full round of mesh stitch across the back panel, then continue across the front panel working into the established sts from the short rows. (80 (90, 100) mesh units)
Rounds 9 through 18: Work in mesh stitch. (80 (90, 100) mesh units each round)
Waist Shaping (Decrease Section)
Round 19: Work in mesh stitch, placing decreases at the 4 side seam points. To decrease one mesh unit: dc in next ch-1 sp, skip the following dc and ch-1 sp, dc in the ch-1 sp after that, ch 1. Place 4 such decreases evenly around. (76 (86, 96) mesh units)
Round 20: Work even. (76 (86, 96) mesh units)
Round 21: Dec 4 units evenly. (72 (82, 92) mesh units)
Round 22: Work even. (72 (82, 92) mesh units)
Round 23: Dec 4 units evenly. (68 (78, 88) mesh units)
Round 24: Work even. (68 (78, 88) mesh units)
Round 25: Dec 4 units evenly. (64 (74, 84) mesh units)
Rounds 26 and 27: Work even. (64 (74, 84) mesh units)
Waist Expansion (Increase Section)
Round 28: Inc 4 mesh units evenly (work 2 dc into one ch-1 sp, ch 1, dc into same sp, ch 1). (68 (78, 88) mesh units)
Round 29: Work even. (68 (78, 88) mesh units)
Round 30: Inc 4 mesh units evenly. (72 (82, 92) mesh units)
Fasten off MC. The bodice is complete.
Skirt Tier 1
Setup Round: Join MC to any dc of Round 30. Ch 1, sc in joining st, sc in next ch-1 sp, sc in next dc, sc in next ch-1 sp, rep from around, sl st to first sc.
Adjust counts as needed: For S, work to 144 sc. For M, work sc2tog adjustments to reach 156 sc. For L, adjust to 180 sc. (144 (156, 180) sc)
Work Rounds 1 through 7 of the Fan Lace Stitch as written in the Special Stitches section. Fasten off after Round 7 scallop edge.
Skirt Tier 2
Join to Round 6 of Tier 1 before the scallop edge.
Setup Round: Join MC to first sc of Round 6 of Tier 1. Work sc across, increasing to reach 168 (192, 216) sc. Sl st to first sc.
Work Rounds 1 through 7 of the Fan Lace Stitch. Fasten off after Round 7.
Skirt Tier 3
Join to Round 6 of Tier 2.
Setup Round: Join MC, increasing to reach 216 (240, 264) sc. Sl st to first sc.
Work Rounds 1 through 7 of the Fan Lace Stitch. Fasten off after Round 7.
Puff Sleeves (Make 2)
Foundation: Chain 52 (56, 60). Sl st to first ch to form a ring.
Round 1: Ch 4, skip first ch, dc in next ch, ch 1, skip 1 ch, rep from around, sl st to 3rd ch of beg ch-4. (26 (28, 30) mesh units)
Rounds 2 through 4: Work even in Puff Net Stitch.
Round 5 (inc): Inc 4 mesh units evenly. (30 (32, 34) mesh units)
Rounds 6 and 7: Work even.
Round 8 (inc): Inc 4 units evenly. (34 (36, 38) mesh units)
Rounds 9 and 10: Work even.
Round 11 (dec): Dec 4 units evenly. (30 (32, 34) mesh units)
Round 12 (dec): Dec 4 units evenly. (26 (28, 30) mesh units)
Round 13: Work even.
Round 14 (cuff edge): Ch 1, sc in each dc and ch-1 sp around, sl st to first sc. (52 (56, 60) sc)
Round 15 (scallop cuff): Ch 1, sc in first sc, sk 2 sc, 5 dc in next sc, sk 2 sc, sc in next sc, rep from around, sl st to first sc. Fasten off, leaving a 12-inch tail.
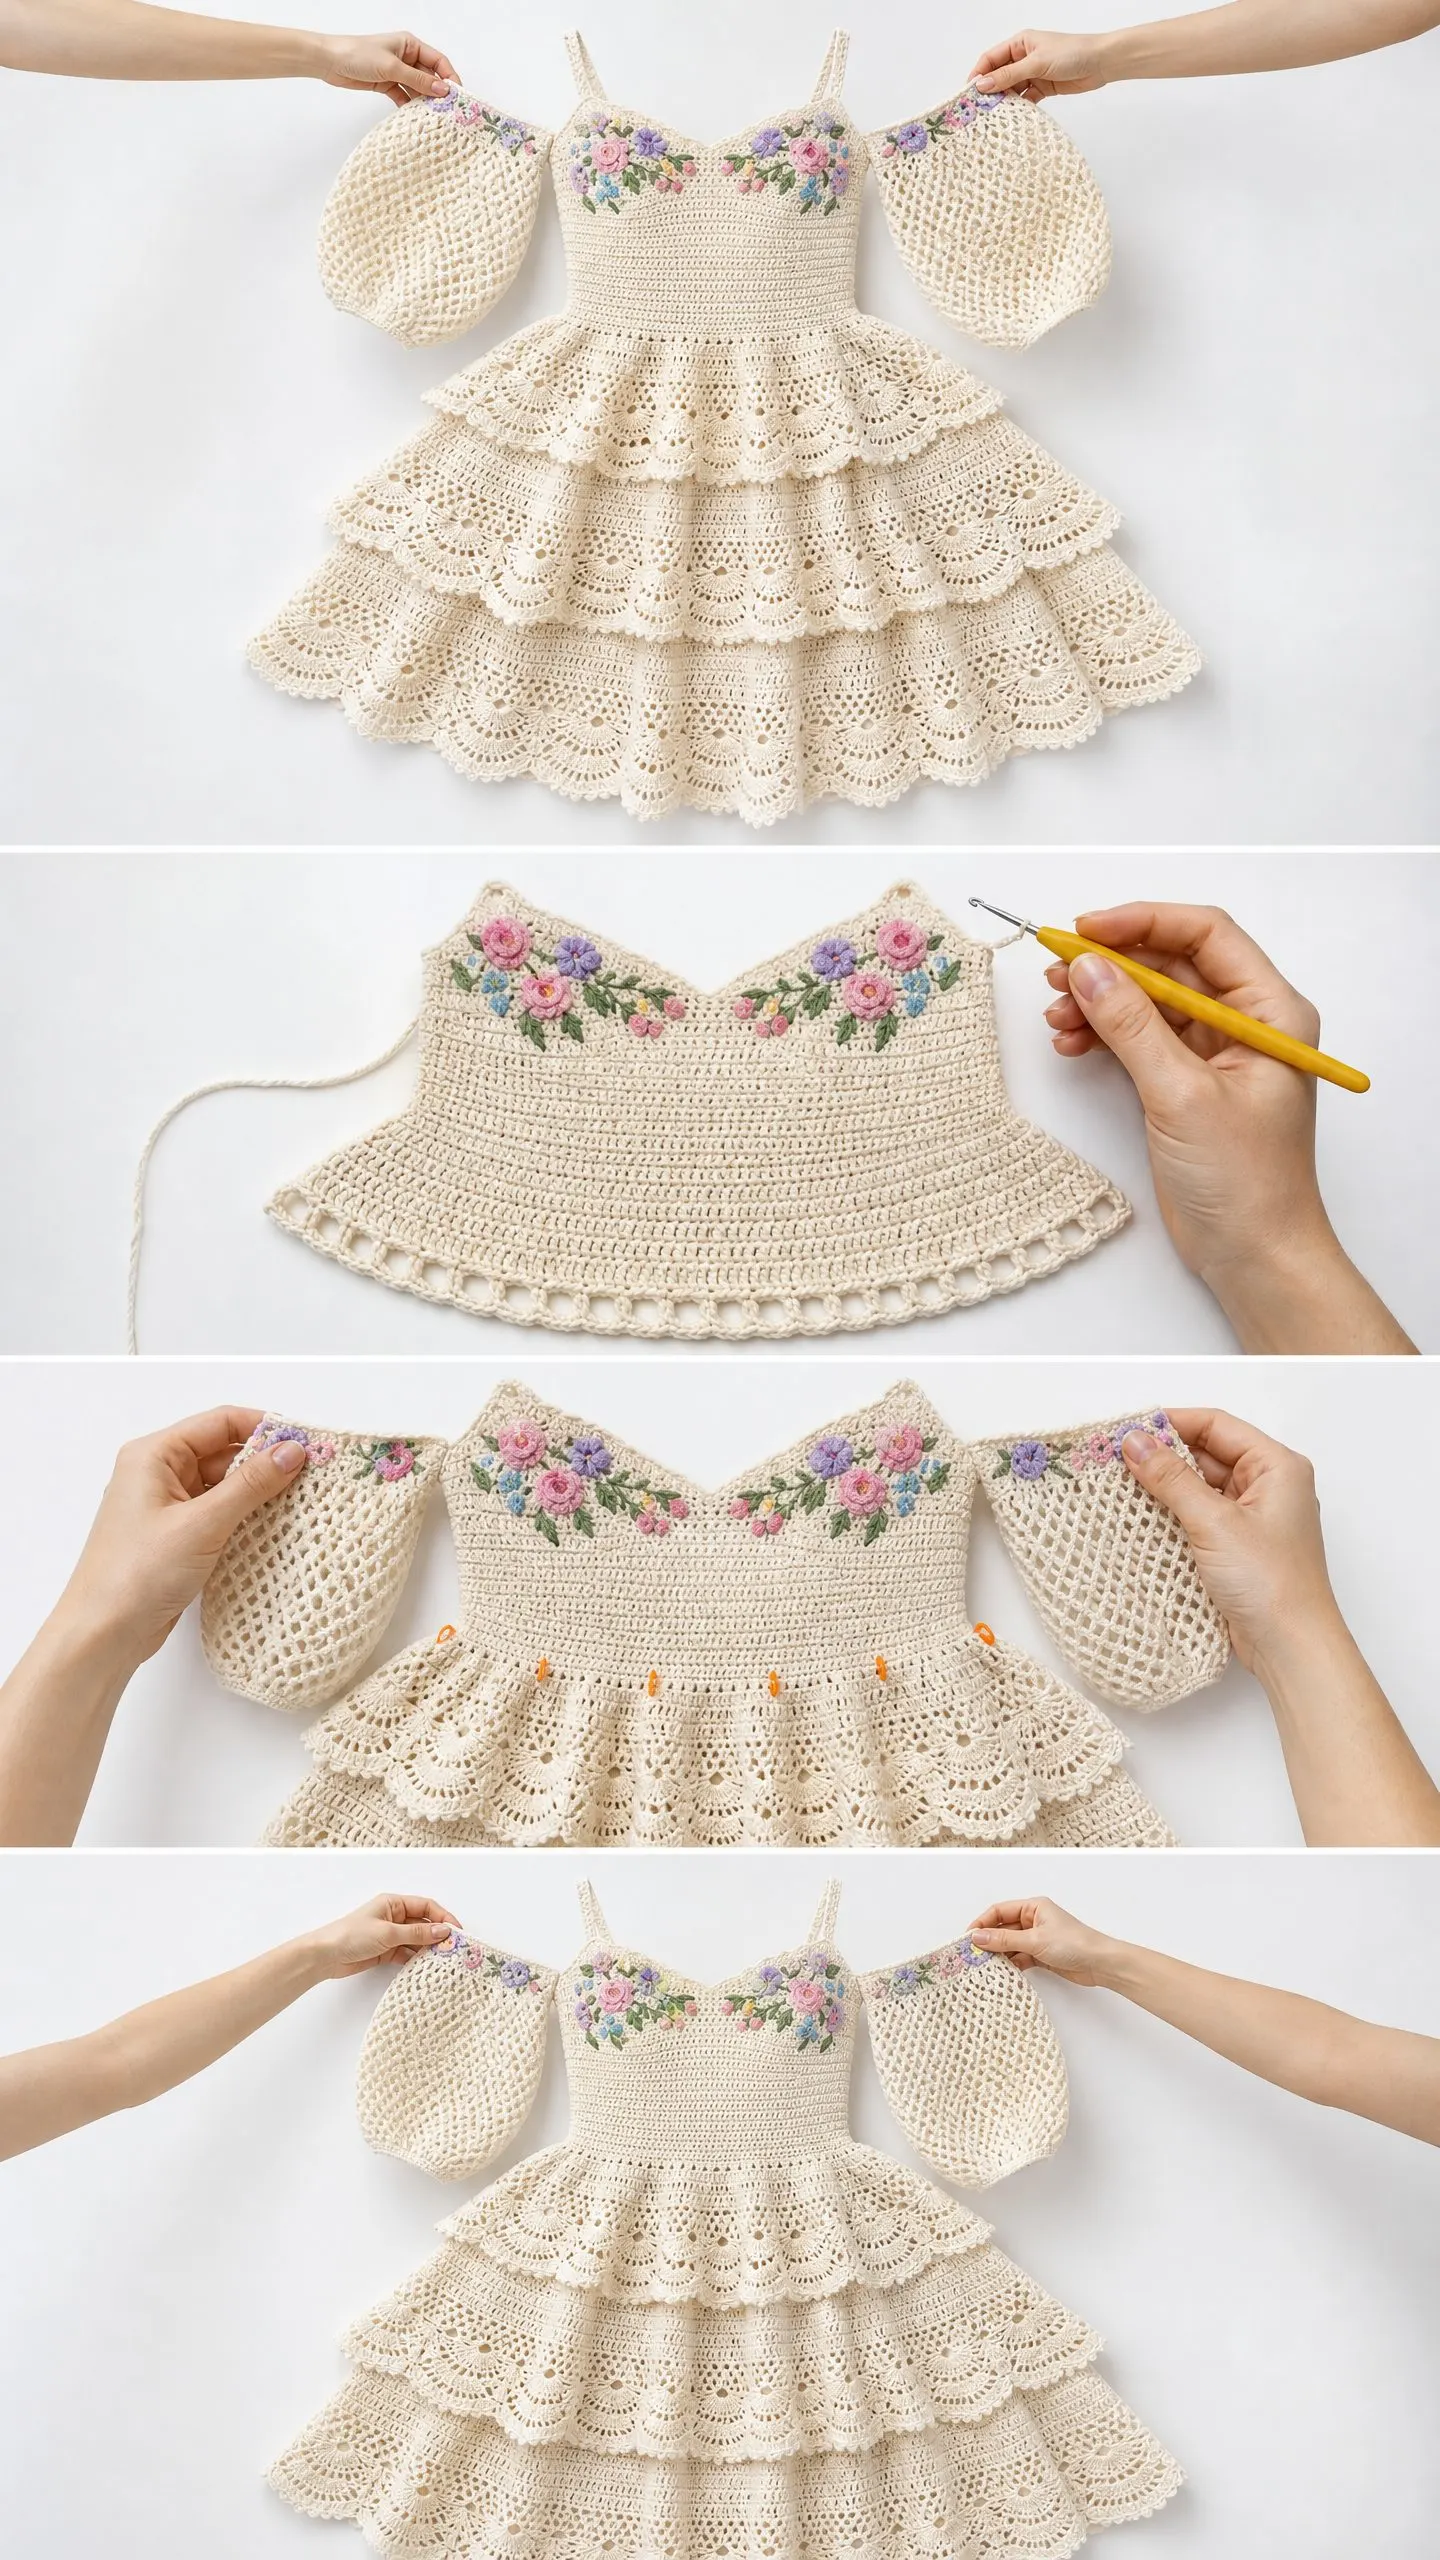
Whipstitch sleeve foundation edge to the upper bodice at the off-shoulder position.
Spaghetti Straps (Make 2)
Chain 80 (85, 90) or to desired length.
Row 1: Sc in 2nd ch from hook, sc in each ch across. (79 (84, 89) sc) Fasten off.
Attach one end to the front neckline corner and the other to the corresponding back corner.
Surface Embroidery
Using your yarn needle and embroidery colors, work floral clusters across the sweetheart neckline.
For roses: Work 5 to 6 small straight stitches radiating from a center point, each about 3 to 4 mm long. Alternate pink and lavender, with occasional blue roses.
For forget-me-nots: Work 5 tiny straight stitches fanning from a single center point in blue.
For leaves: Work elongated straight stitches in pairs in sage green at the base of each rose.
Place 8 to 12 roses across the front yoke with forget-me-nots and leaves filling gaps.
Finishing Your Dress
Weave in all ends securely. Block by submerging in cool water for 20 minutes, gently squeeze out excess water, and pin flat to measurements. Allow 24 to 48 hours to dry completely. Work the embroidery after blocking.
Try on the dress and adjust strap length as needed before trimming final ends.
Size Customization Tips
To adjust the bust, add or remove mesh units in multiples of 2 from the foundation chain. Each pair adds approximately 0.8 inches.
To adjust bodice length, add or remove even rounds between Round 8 and the waist shaping.
To adjust waist depth, increase or decrease the number of decrease rounds.
I really hope you enjoy making this beautiful cream tiered lace puff sleeve dress crochet pattern as much as I enjoyed designing it. If you found this tutorial helpful, save it to your Pinterest boards so you can find it when you are ready to start. And please leave a comment below when you finish yours. I would absolutely love to see how it turns out!
