
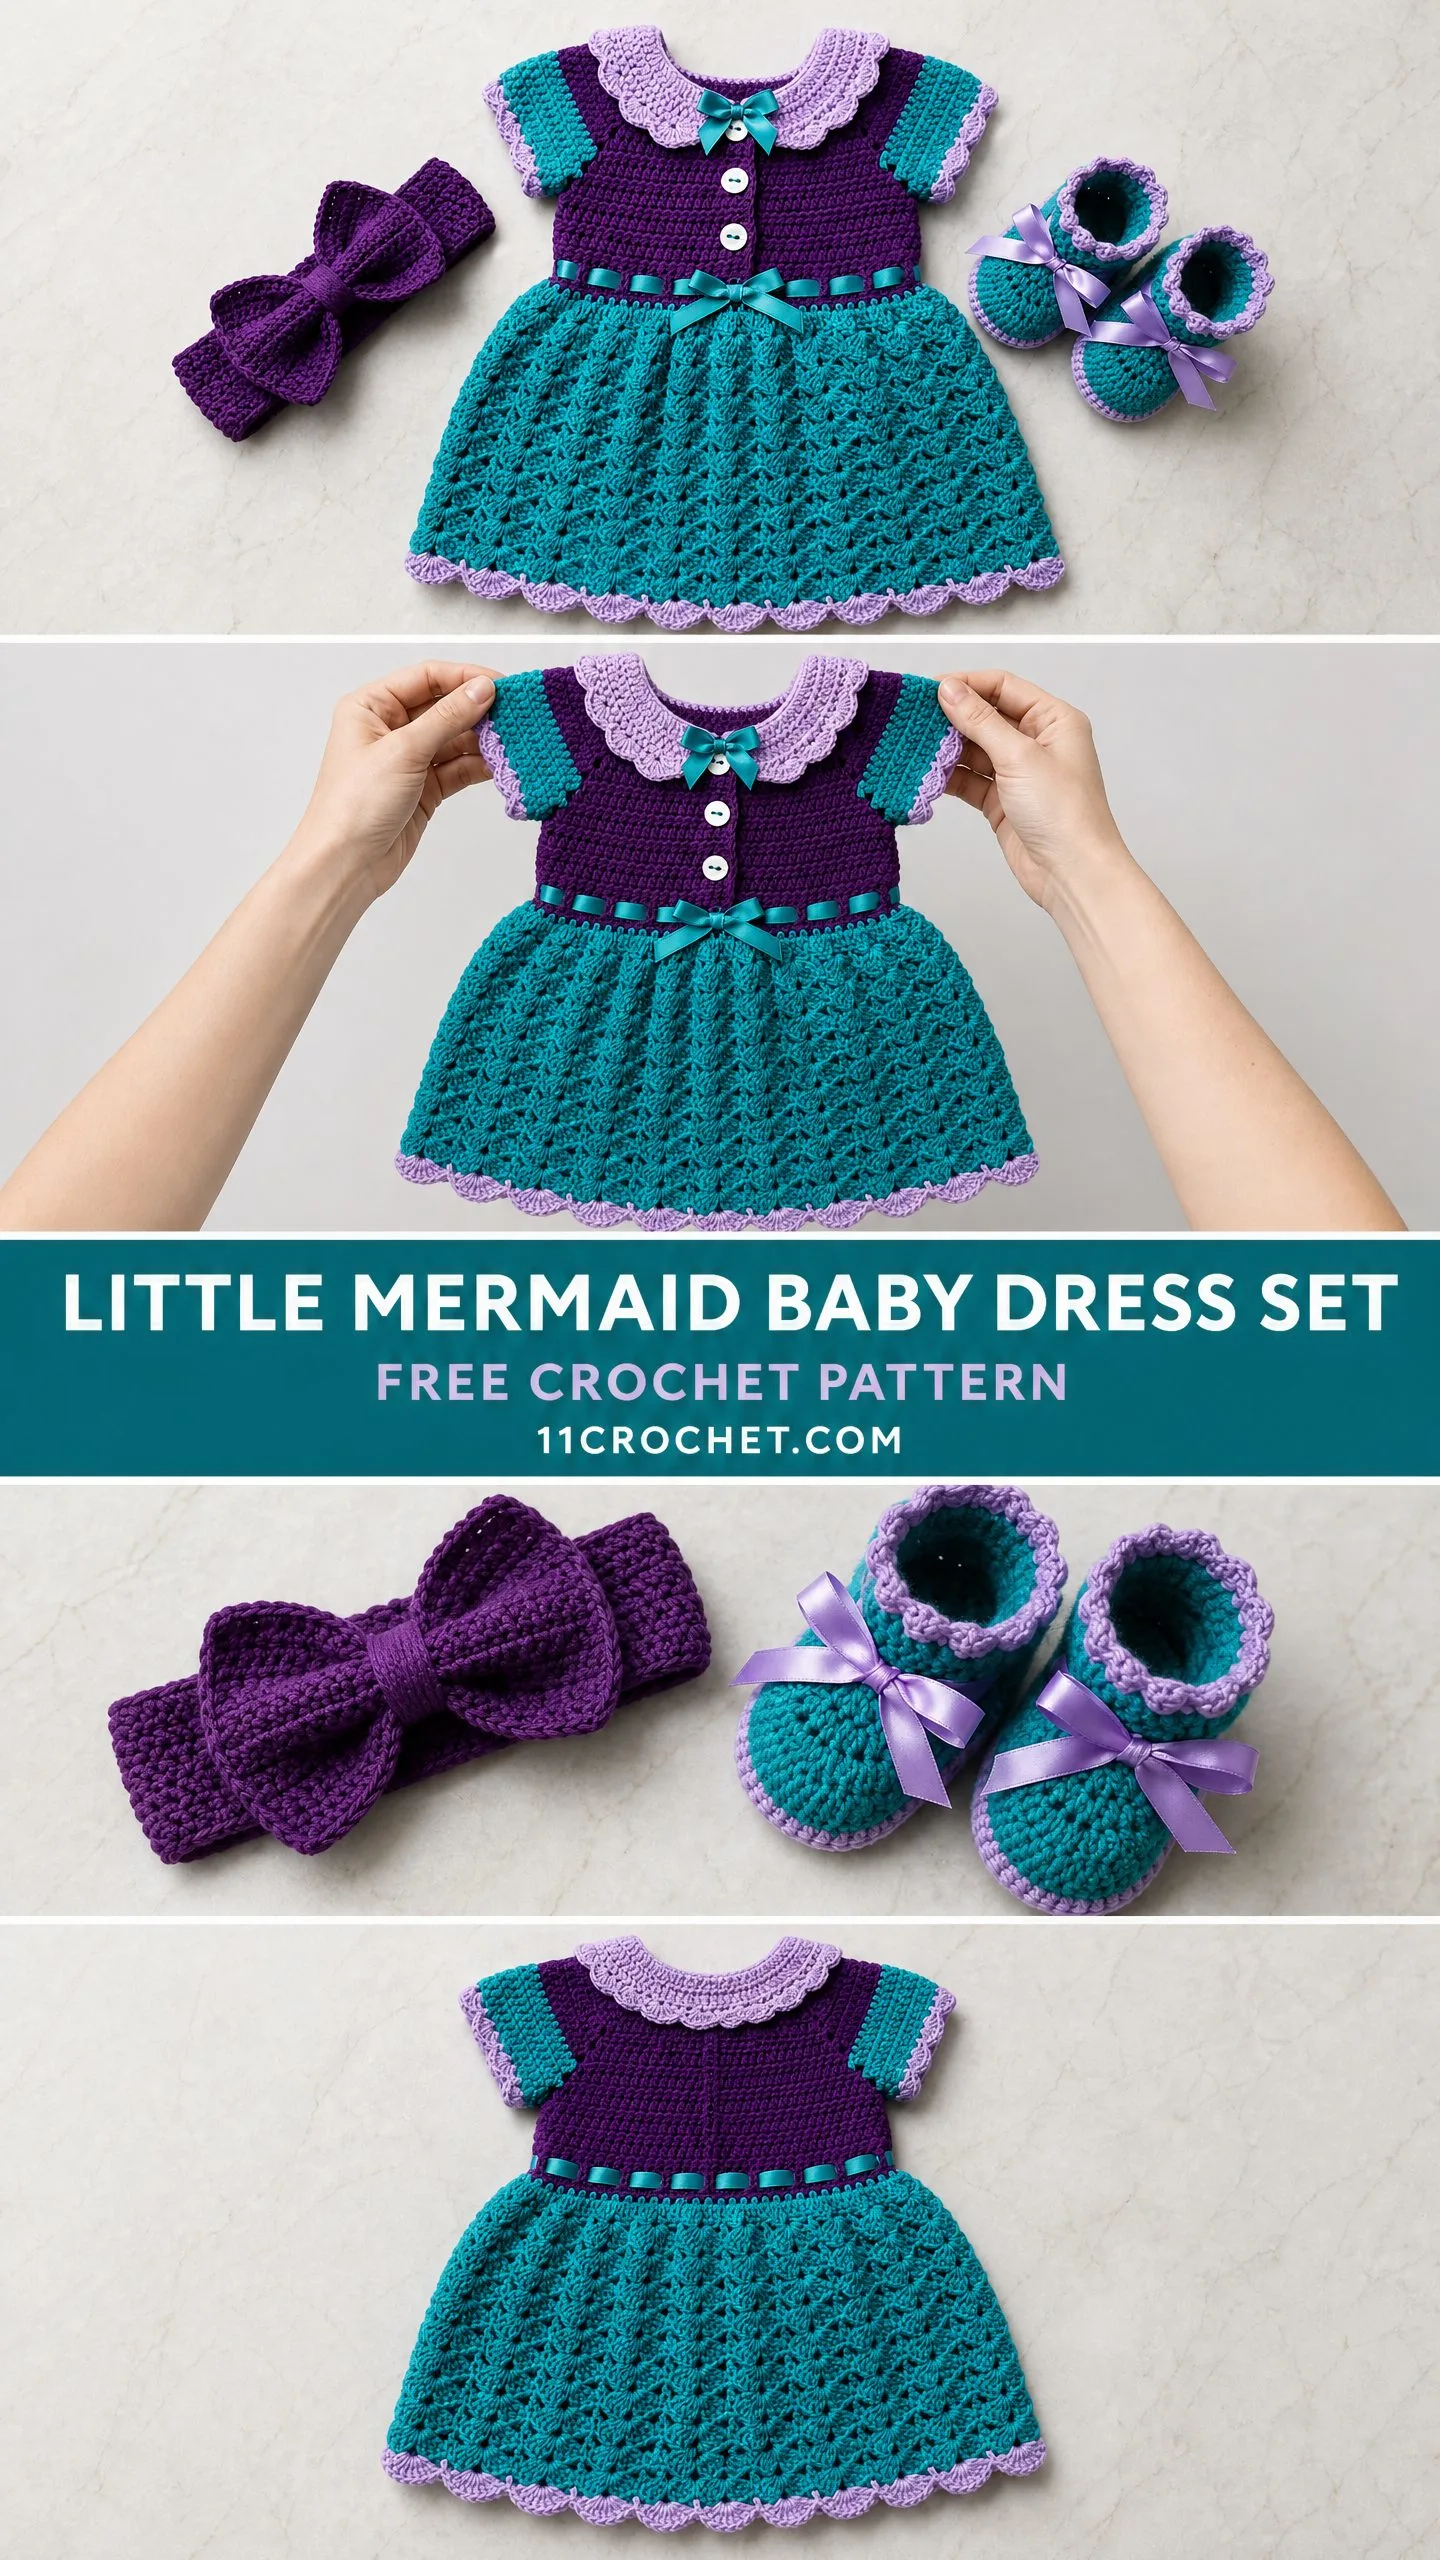
This is a three-piece baby dress set with a color-blocked bodice, shell stitch skirt, matching booties, and a bow headband. It uses worsted weight yarn, a 4.0 mm hook for the bodice and a 5.0 mm hook for the skirt. The pattern combines single crochet for the bodice with a pretty shell stitch for the skirt. You will need deep purple, teal, and lilac yarn.
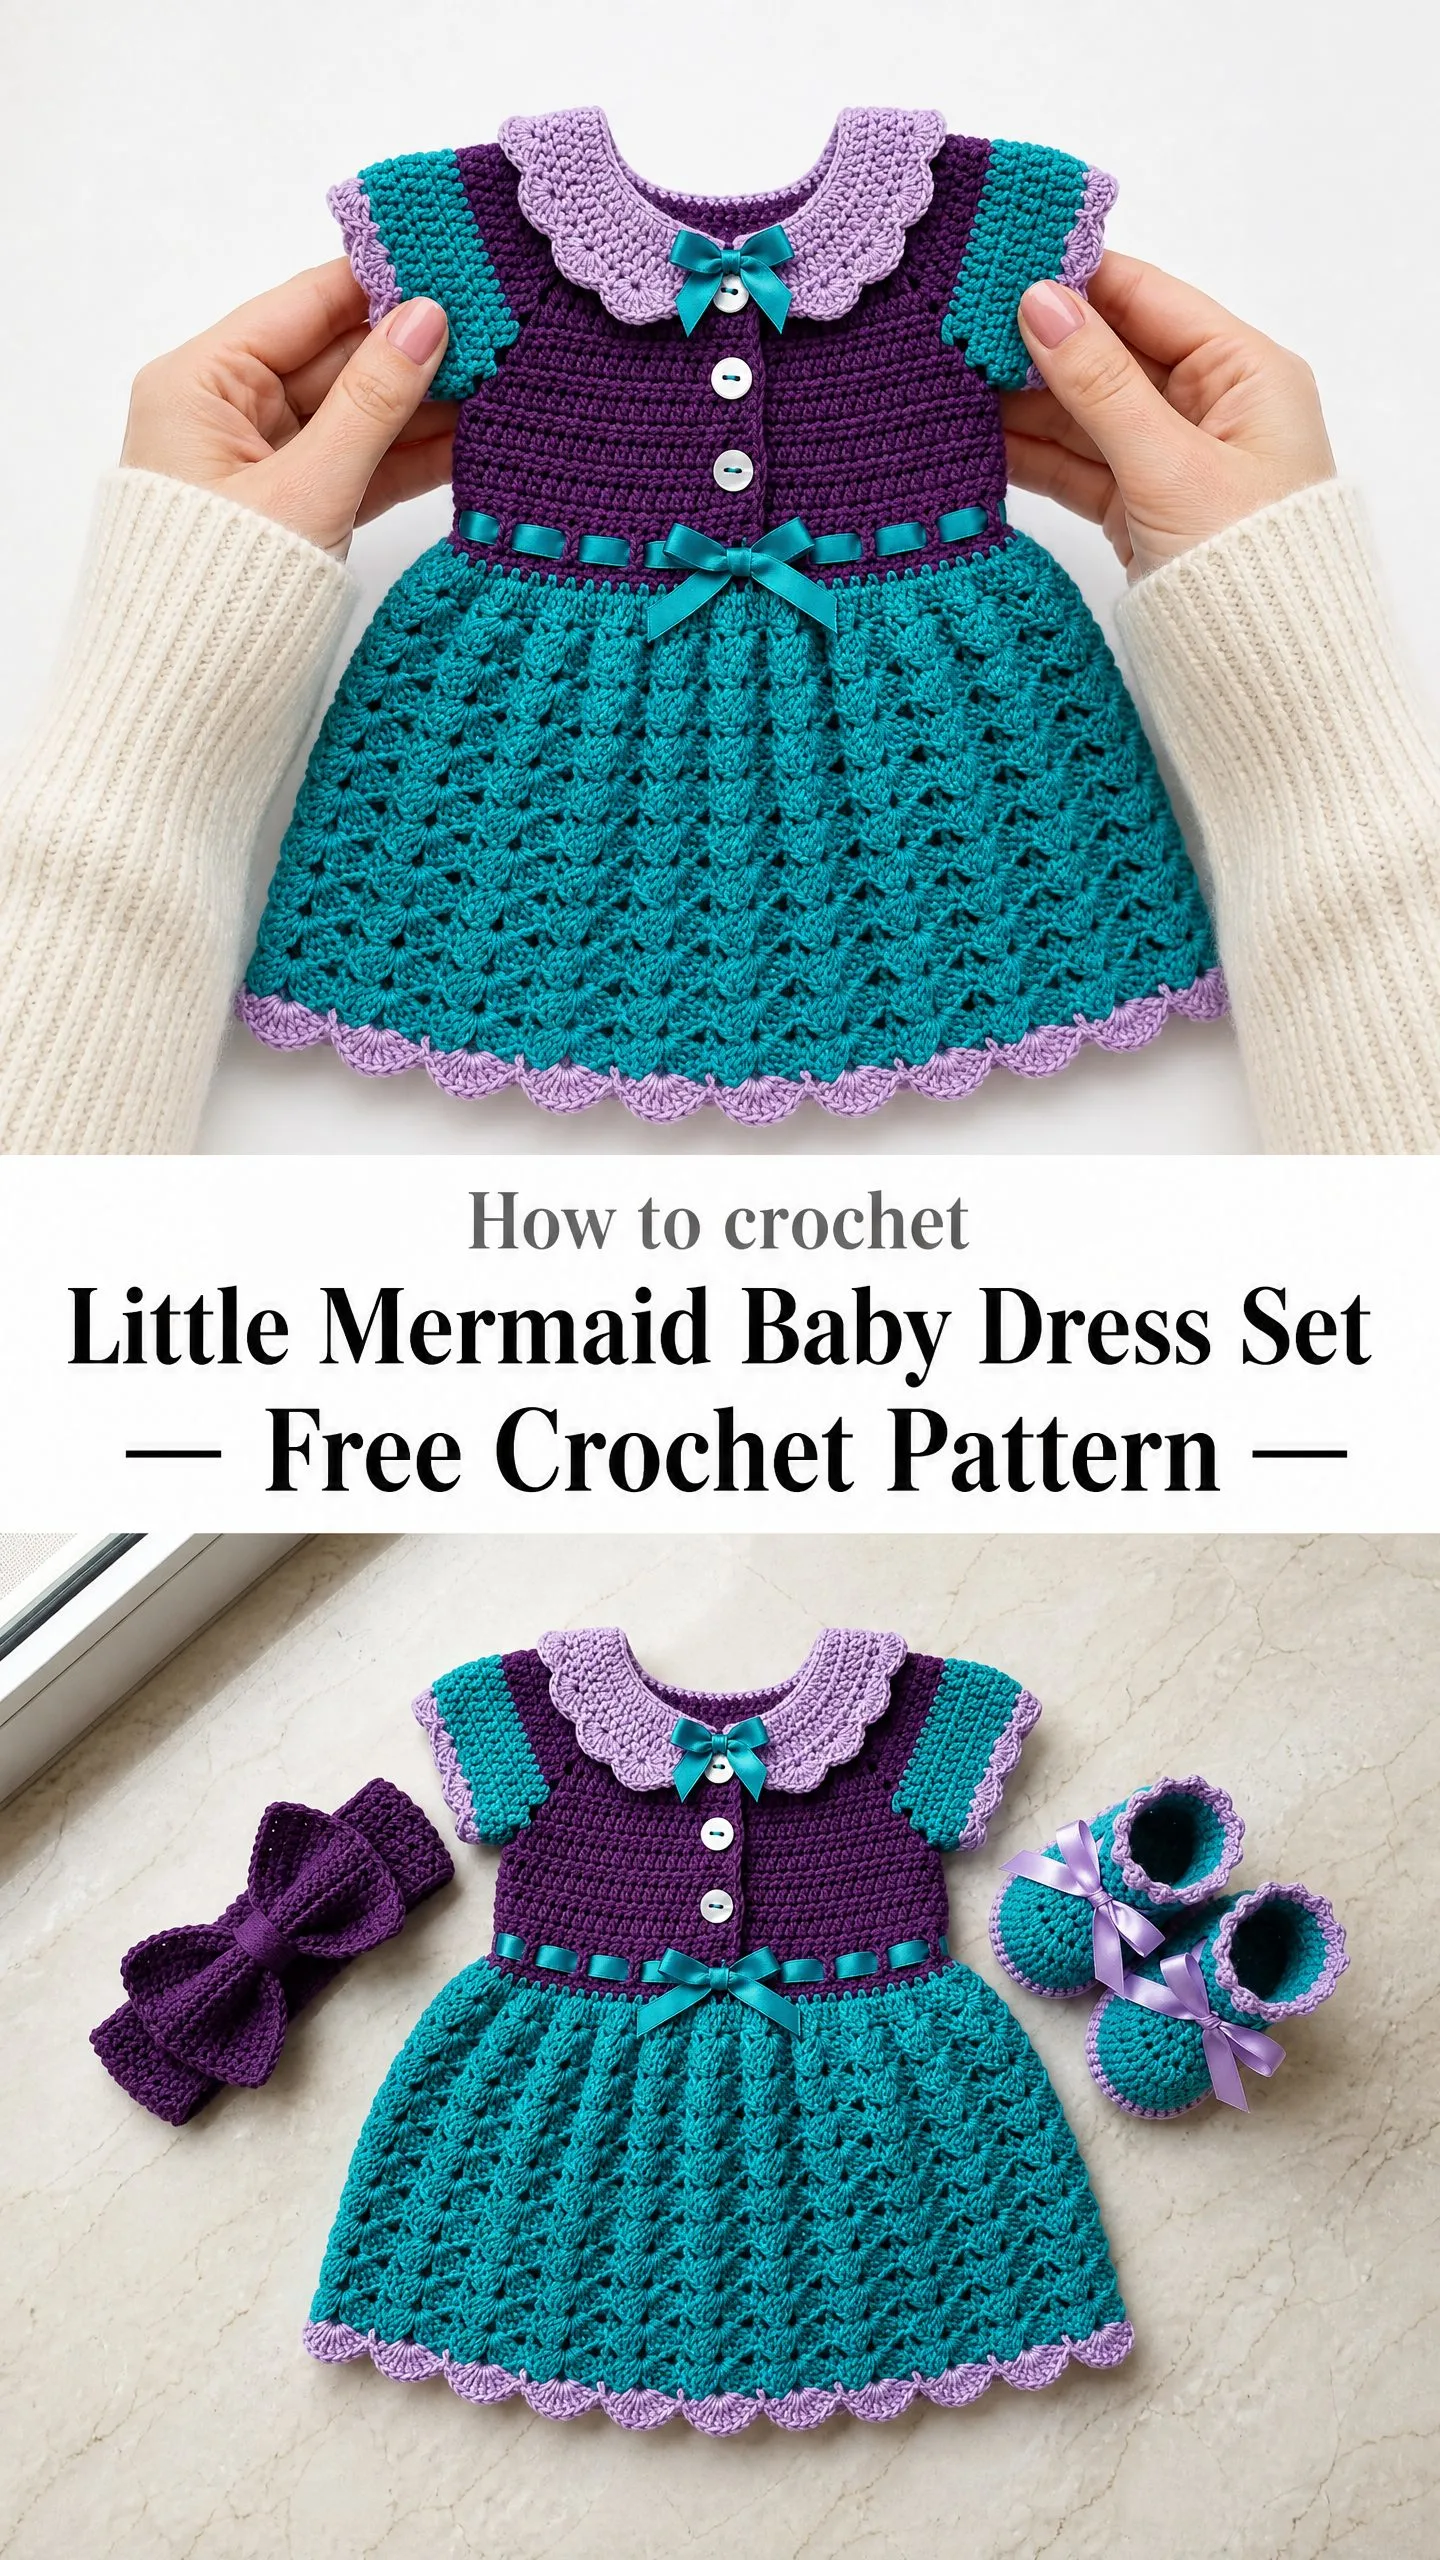
The set is sized for 0 to 3 months. The finished dress measures approximately 16 inches around the chest and 12 inches from shoulder to hem. The booties fit a 3.5 inch foot, and the headband stretches to fit a 13 inch head circumference.
I rate this pattern as intermediate level. You will work flat and in the round, shape a yoke, create a Peter Pan collar, execute a textured shell repeat, and join multiple components. If you are comfortable with basic shaping and have made a simple garment before, you can absolutely handle this project.
Why This Baby Dress Set Makes a Perfect Heirloom Gift
The combination of deep purple, teal, and lilac creates a striking color palette inspired by ocean tones. The Peter Pan collar adds a vintage touch, while the shell stitch skirt provides beautiful texture and drape. Satin ribbon threaded through the waistband and tied in bows on the booties elevates the entire set.
This is the kind of project that becomes a treasured keepsake. Parents will save it long after baby outgrows it. The construction is sturdy enough for regular wear, and the acrylic or superwash wool options make it fully machine washable.
Expect to spend 12 to 18 hours completing the entire set. The dress alone takes 8 to 12 hours. The booties and headband together take 2 to 4 hours. I recommend working the dress first, then making the accessories to match.
Materials You Will Need
Yarn: Worsted weight yarn, which is Category 4 weight. You will need approximately 220 yards in deep purple (Color A), 220 yards in teal (Color B), and 110 yards in lilac (Color C).
Recommended yarn options:
Hooks:
Notions:
Gauge Information
Getting gauge right is critical for this garment. A difference of even one stitch per inch will significantly change the finished chest measurement.
For the bodice: Using the G-6 / 4.0 mm hook in single crochet, work a swatch. You should get 18 stitches and 22 rows per 4 inches, blocked.
For the skirt: Using the H-8 / 5.0 mm hook in the shell pattern, work a swatch. You should get 3 shell repeats (18 stitches) and 8 rows per 4 inches, blocked.
If your gauge is off, adjust your hook size. Go up a hook size if your stitches are too tight. Go down if they are too loose.
Abbreviations and Stitch Definitions
Before you begin, familiarize yourself with these terms. I will define each one as it appears, but here is a quick reference.
Single crochet (sc): Insert hook into stitch, yarn over and pull up a loop, yarn over and pull through both loops on hook. This is your basic stitch for the bodice.
Double crochet (dc): Yarn over, insert hook into stitch, yarn over and pull up a loop, yarn over and pull through 2 loops, yarn over and pull through remaining 2 loops. Used in the shell stitch.
Chain (ch): Yarn over and pull through loop on hook. Creates foundation chains and turning chains.
Slip stitch (sl st): Insert hook, yarn over, pull through stitch and loop on hook in one motion. Used for joining rounds.
Back loop only (BLO): Work into only the back loop of the stitch, creating a ridge on the right side.
Shell stitch: Work 5 double crochet stitches into the same stitch or space. This creates the fan-shaped clusters that form the skirt texture.
Scallop edge: Slip stitch into stitch, chain 1, single crochet in same stitch, chain 2, single crochet in same stitch, skip 1 stitch. This creates the decorative border on the collar, sleeves, and hem.
Additional abbreviations: ch-sp (chain space), sk (skip), st/sts (stitch/stitches), rnd (round), RS (right side), WS (wrong side), beg (beginning), rem (remaining), rep (repeat).
Pattern Notes Before You Begin
Read through these notes carefully. They will save you confusion later.
1. The dress bodice is worked flat in pieces, then seamed at shoulders and sides. The skirt is worked in the round.
2. The button placket runs down the center front. The back is one solid piece. The front is two pieces (left front and right front) with buttonholes on the right front panel.
3. Color A (deep purple) is used for the bodice body, collar base, sleeve caps, and headband.
4. Color B (teal) is used for the skirt, sleeve trim, waistband ribbon channel, booties main body, and collar bow.
5. Color C (lilac) is used for the collar ruffle, sleeve scallop edge, skirt hem scallop, booty cuff, and headband bow center.
6. The ribbon is threaded through chain spaces at the waistline. It is not crocheted.
7. Turning chain counts: For single crochet rows, chain 1 and turn. This chain does NOT count as a stitch. For double crochet rows, chain 3 and turn. This chain COUNTS as the first double crochet.
8. Right side (RS) faces you when working in rounds on the skirt.
The Dress Pattern Instructions
Section 1: Back Bodice
Work flat in rows with Color A and your G-6 / 4.0 mm hook.
Foundation Chain: With Color A, chain 39.
Row 1 (RS): Single crochet in 2nd chain from hook and in each chain across. Chain 1, turn. (38 sc)
Row 2 (WS): Single crochet in each single crochet across. Chain 1, turn. (38 sc)
Rows 3 through 4: Repeat Row 2. (38 sc)
Place a marker at each end of Row 4 to mark the shoulder line.
Row 5 (armhole shaping begins): Chain 1, turn. Single crochet in first 9 stitches. Chain 8, skip next 20 stitches. Single crochet in last 9 stitches. Chain 1, turn. (9 sc, 8 ch, 9 sc)
Row 6: Single crochet in first 9 single crochet, single crochet in each of 8 chains, single crochet in last 9 single crochet. Chain 1, turn. (26 sc)
Rows 7 through 16: Single crochet in each single crochet across. Chain 1, turn. (26 sc)
Row 17 (waistband ridge row, BLO): Single crochet in back loop only of each single crochet across. Chain 1, turn. (26 sc)
Row 18 (ribbon channel): Chain 3 (counts as double crochet), double crochet in next stitch, (chain 1, skip 1 stitch, double crochet in next stitch) across to last stitch, double crochet in last stitch. Chain 1, turn. (13 dc + 12 ch-1 spaces + 1 dc)
Row 19: Single crochet in first double crochet, (single crochet in chain-1 space, single crochet in next double crochet) across. Chain 1, turn. (26 sc)
Row 20: Single crochet in each single crochet across. Fasten off Color A. (26 sc)
Checkpoint: Back bodice should measure approximately 5.5 inches in height and 5.75 inches in width.
Section 2: Left Front Bodice
With Color A and G-6 / 4.0 mm hook.
Foundation Chain: Chain 14.
Row 1 (RS): Single crochet in 2nd chain from hook and in each chain across. Chain 1, turn. (13 sc)
Rows 2 through 4: Single crochet in each single crochet across. Chain 1, turn. (13 sc)
Row 5 (armhole shaping): Single crochet in first 9 stitches, chain 4, skip last 4 stitches. Chain 1, turn. (9 sc + 4 ch)
Row 6: Single crochet in 4 chains, single crochet in 9 single crochet. Chain 1, turn. (13 sc)
Rows 7 through 16: Single crochet in each single crochet across. Chain 1, turn. (13 sc)
Row 17 (BLO): Single crochet in back loop only of each single crochet across. Chain 1, turn. (13 sc)
Row 18 (ribbon channel): Chain 3 (counts as double crochet), double crochet in next stitch, (chain 1, skip 1 stitch, double crochet in next stitch) to last stitch, double crochet in last stitch. Chain 1, turn. (13 sts in pattern)
Row 19: Single crochet in first double crochet, (single crochet in chain-1 space, single crochet in double crochet) 5 times, single crochet in last double crochet. Chain 1, turn. (13 sc)
Row 20: Single crochet in each single crochet across. Do not fasten off yet. (13 sc)
Button Band: After Row 20, do not turn. Rotate work. Single crochet evenly along the center front vertical edge, working approximately 20 single crochet up the edge. Fasten off Color A.
This band does not have buttonholes. Buttons will be sewn here.
Section 3: Right Front Bodice
Work same as Left Front Bodice through Row 20, but reverse the armhole shaping.
Foundation Chain: Chain 14.
Row 1 (RS): Single crochet in 2nd chain from hook and in each chain across. Chain 1, turn. (13 sc)
Rows 2 through 4: Single crochet in each single crochet across. Chain 1, turn. (13 sc)
Row 5 (armhole shaping): Skip first 4 stitches, chain 4 over them, single crochet in last 9 stitches. Chain 1, turn. (4 ch + 9 sc)
Row 6: Single crochet in 9 single crochet, single crochet in 4 chains. Chain 1, turn. (13 sc)
Rows 7 through 20: Work same as Left Front.
Buttonhole Band: After Row 20, rotate work. Work single crochet along the vertical center front edge, placing 3 buttonholes evenly spaced.
Row 1 of band: Work 5 single crochet up the edge, (chain 2, skip 1 row-end stitch, work 4 single crochet) twice, chain 2, skip 1 row-end stitch, work remaining single crochet to top edge. Fasten off Color A.
Section 4: Shoulder and Side Seams
Lay right sides together. Using yarn needle and Color A, whip stitch or slip stitch the shoulder edges together. Join 9 stitches at each shoulder.
Seam the side seams along the lower bodice edges (Rows 6 through 20) using Color A. Leave armhole openings free.
After assembly, the bodice should measure approximately 5.5 inches in height and 11.5 inches in circumference at the chest.
Section 5: Waistline Transition Round
With right side facing, join Color B at the right side seam with a slip stitch.
Round 1: Chain 1. Single crochet evenly around the lower edge of the assembled bodice. Target total: 72 single crochet. Place marker for beginning of round. Join with slip stitch to first single crochet. (72 sc)
To achieve 72 single crochet from the 52 available lower bodice stitches, increase evenly by working 2 single crochet in every 2nd or 3rd stitch across. Work 2 single crochet in 20 of the 52 stitches and 1 single crochet in the remaining 32 stitches.
Section 6: Skirt
Switch to H-8 / 5.0 mm hook and Color B.
Round 1 of skirt: Chain 1, single crochet in first stitch, (skip 2 stitches, shell in next stitch, skip 2 stitches, single crochet in next stitch) 11 times, skip 2 stitches, shell in next stitch, skip 2 stitches. Join with slip stitch to first single crochet. (12 shells, 12 sc)
Round 2 of skirt: Chain 3, 2 double crochet in same single crochet (half shell to start), (single crochet in center double crochet of shell, skip 2 double crochet of shell, shell in next single crochet) 11 times, single crochet in center double crochet of last shell, skip 2 double crochet, 2 double crochet in same single crochet as beginning chain-3. Join with slip stitch to top of beginning chain-3.
Rounds 3 through 14: Repeat Rounds 1 and 2 alternately, maintaining the alternating relationship between shells and single crochet. (12 shells, 12 sc each round)
Last skirt round before hem: Work a final round in Color B single crochet. Single crochet across all stitches, picking up 1 single crochet per double crochet across each shell and 1 single crochet per single crochet. (72 sc)
Section 7: Skirt Hem Trim
Join Color C with slip stitch to any stitch of the final skirt single crochet round.
Round 1: Chain 1, single crochet in same stitch. Work scallop edge around: (slip stitch in next stitch, chain 1, single crochet in same stitch, chain 2, single crochet in same stitch, skip 1 stitch) around. Join with slip stitch to first single crochet. (36 scallop units)
Fasten off Color C. Weave in ends.
The skirt with hem trim should measure approximately 6.5 inches in length.
Section 8: Sleeve Trim
With right side facing, join Color B at the base of one armhole opening.
Round 1: Chain 1, single crochet evenly around armhole edge. Work approximately 24 single crochet around the armhole opening. Join with slip stitch to first single crochet. (24 sc)
Rounds 2 through 3: Chain 1, single crochet in each single crochet around. Join with slip stitch. (24 sc)
Join Color C.
Round 4 (scallop cuff): Work scallop edge same as skirt hem. (12 scallop units)
Fasten off Color C. Repeat for second armhole.
Section 9: Peter Pan Collar
The collar is worked as two separate pieces that mirror each other.
Left Collar Piece:
With Color A and G-6 hook.
Foundation Chain: Chain 19.
Row 1 (inner neckline edge): Single crochet in 2nd chain from hook and in each chain across. Chain 1, turn. (18 sc)
Row 2 (begin outer curve): Chain 1, 2 single crochet in first stitch, single crochet to last stitch, 2 single crochet in last stitch. Chain 1, turn. (20 sc)
Row 3: Single crochet in each single crochet across. Chain 1, turn. (20 sc)
Row 4: Chain 1, 2 single crochet in first stitch, single crochet to last stitch, 2 single crochet in last stitch. Chain 1, turn. (22 sc)
Row 5: Single crochet in each single crochet across. Chain 1, turn. (22 sc)
Row 6 (scallop trim with Color C): Join Color C. Work scallop edge along the long outer curved edge of collar. Fasten off Color C.
Right Collar Piece: Work same as Left Collar Piece, mirroring the increases on the opposite edge.
Joining Collar to Dress: With wrong sides of collar together and right side facing up on dress, align the straight inner edge of each collar piece to the neckline. Using Color A and yarn needle, whip stitch the collar pieces to the neckline. Left collar covers the left half, right collar covers the right half. The pieces meet at center front.
Cut a 6 inch length of teal ribbon, tie into a small bow, and sew to the collar junction at center front.
Section 10: Button Band Finishing
Sew 3 white buttons to the left front button band at positions corresponding to the 3 buttonholes on the right front. Space them evenly at approximately rows 4, 8, and 12 from the bottom.
Thread the teal satin ribbon through the chain-1 spaces at the waistband. Tie in a small bow at center front.
Size Customization Tips
To adjust this pattern for larger sizes, add multiples of 6 stitches to the skirt foundation to maintain the shell pattern repeat. Increase the bodice foundation chains proportionally. Add rows to the bodice for a longer torso. Add rounds to the skirt for a longer dress.
For a 3 to 6 month size, add approximately 6 stitches to each bodice piece and work 2 additional rows on the bodice.
Care Instructions
If made with acrylic yarn, machine wash on gentle cycle with cold water. Tumble dry on low heat or lay flat to dry. If made with superwash wool, machine wash cold on gentle cycle. Lay flat to dry to maintain shape.
Store the dress set flat or loosely folded. Avoid hanging, which can stretch the shoulders.
I hope you love making this beautiful baby dress set as much as I loved designing it. The combination of colors and textures creates something truly special that any new parent would treasure. If you make this set, I would absolutely love to see your finished project. Tag me on Instagram or share it in my Facebook group.
If this pattern caught your eye, go ahead and save it to your Pinterest boards so you can find it when you are ready to start. And please drop a comment below if you make one. I always love hearing which color combinations you choose and seeing your gorgeous finished pieces.
