This is a structured shoulder bag with an oversized bow accent. It uses single crochet throughout. The construction is straightforward, and the dramatic bow does all the heavy lifting for style.
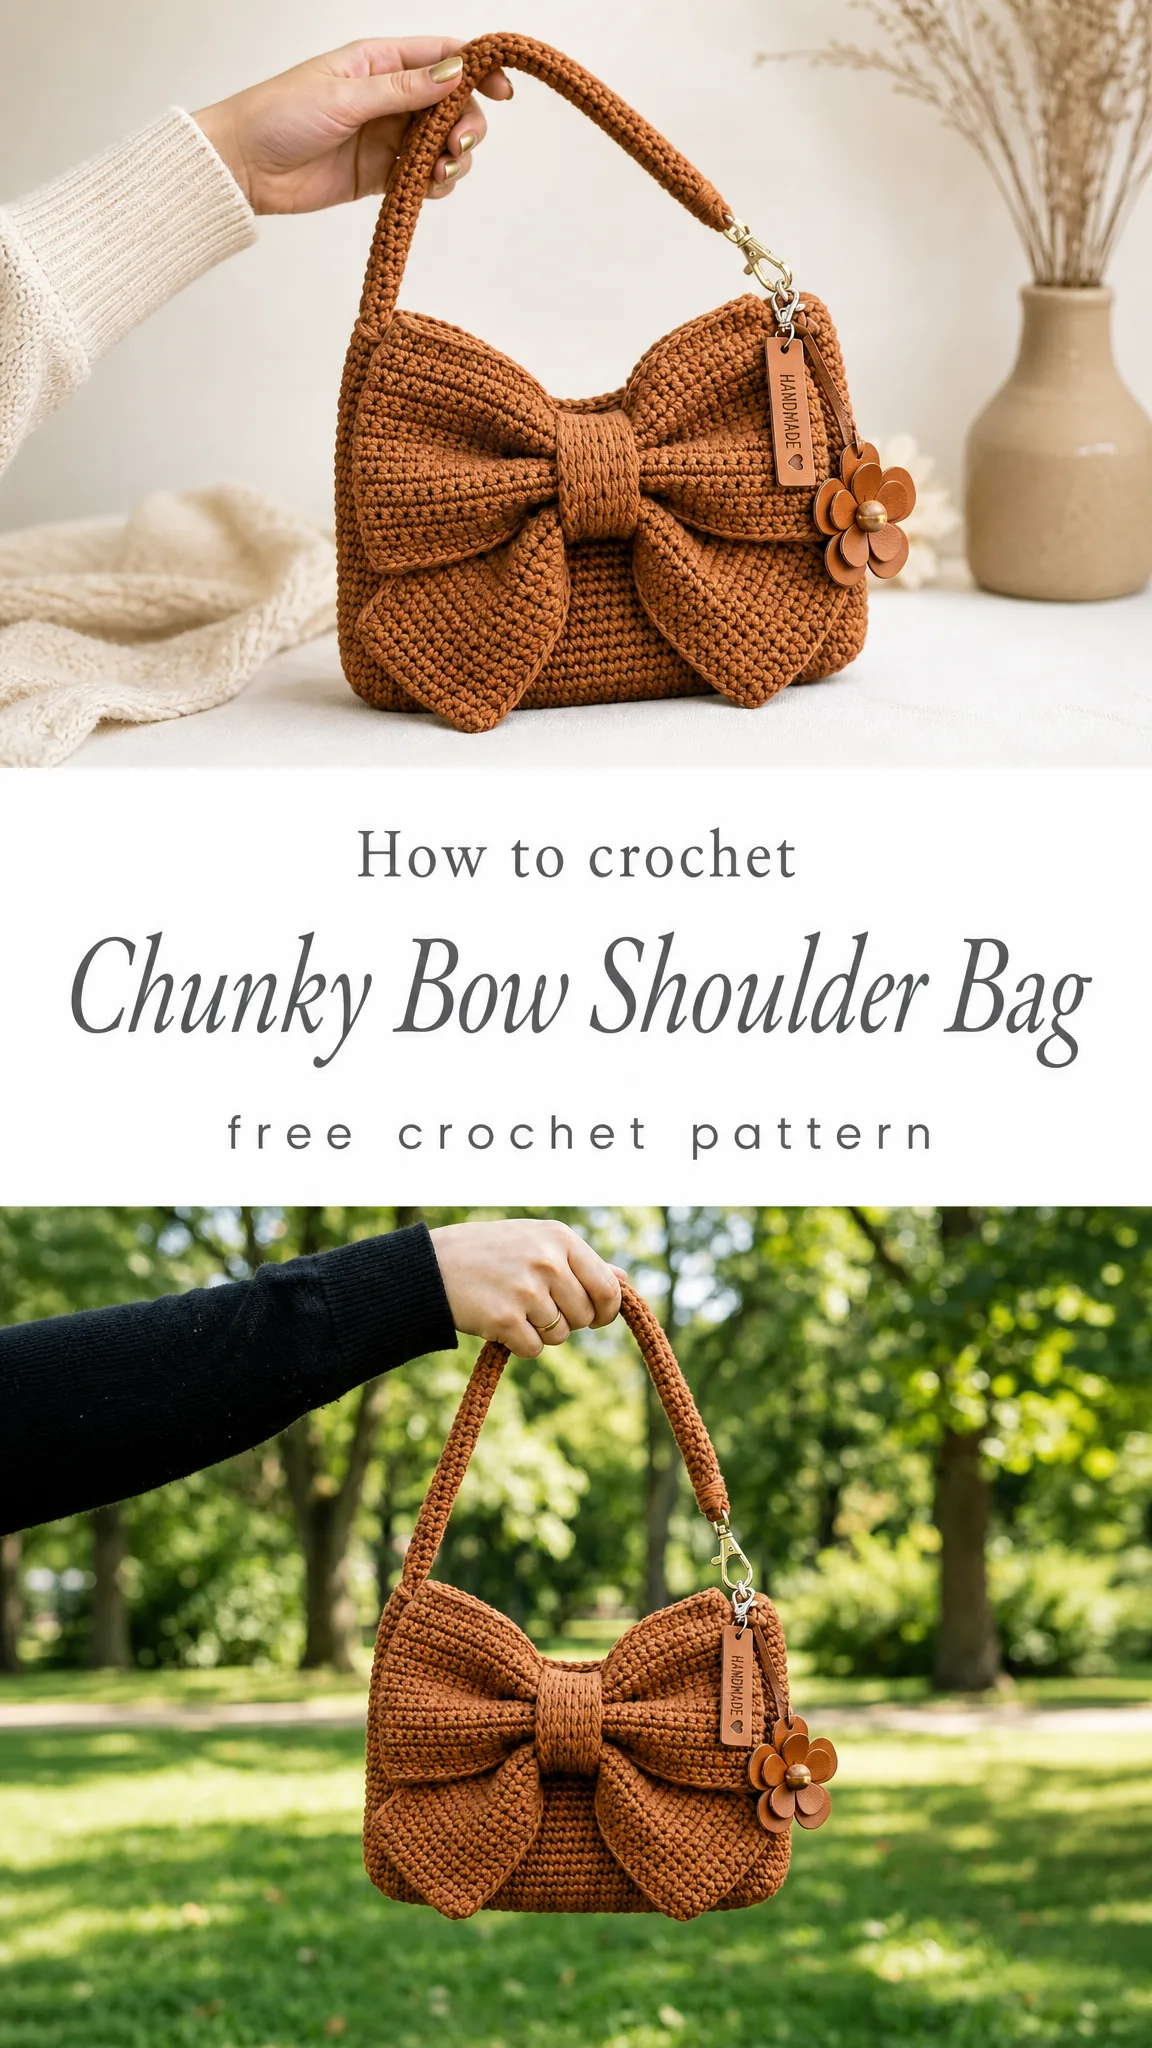
Looking at this bag, I immediately fell in love with how the bow transforms a simple shape into something special. The warm caramel color works beautifully here, but honestly, this design would look stunning in any solid shade. I designed this pattern to be accessible for confident beginners while still creating a polished, boutique-worthy finished piece.
Why You’ll Love This Crochet Shoulder Bag Pattern
This crochet bag pattern strikes the perfect balance between simple construction and eye-catching design. The body of the bag uses only single crochet stitches, which means you can focus on achieving clean, even tension rather than learning complicated techniques.
The oversized bow is what makes this bag a showstopper. It’s worked separately and then attached, so there’s no tricky shaping while you work. If bows intimidate you, don’t worry. I’ll walk you through every step.
The detachable strap connects with lobster claw clasps, giving you flexibility. Carry it as a shoulder bag during the day, then remove the strap and tuck it under your arm as a clutch for evening. The hardware adds a professional touch that elevates the entire piece.
Materials You’ll Need
Yarn:
Hook:
Notions:
Gauge:
18 stitches and 20 rows = 4 inches in single crochet
*Always check your gauge. A tighter gauge creates a sturdier bag that holds its shape.*
Skill Level
This pattern is rated intermediate beginner. You should be comfortable with:
If you’ve made a hat or a simple pouch before, you’re ready for this project.
Finished Dimensions
Abbreviations and Stitch Definitions
ch = chain: Wrap yarn over hook, pull through loop on hook. This creates your foundation.
sc = single crochet: Insert hook into stitch, yarn over and pull up a loop (2 loops on hook), yarn over and pull through both loops.
sl st = slip stitch: Insert hook into stitch, yarn over and pull through both the stitch and the loop on hook in one motion.
inc = increase: Work 2 single crochet stitches into the same stitch. This adds one stitch to your count.
dec = decrease (invisible decrease): Insert hook through front loops only of the next 2 stitches, yarn over and pull through both front loops, yarn over and pull through both loops on hook.
st(s) = stitch(es)
BLO = back loop only: Insert your hook under only the back loop of the stitch instead of both loops.
Pattern Notes Before You Begin
This bag is worked in several pieces and then assembled. Here’s the order:
1. Bag body (worked in continuous rounds from the bottom up)
2. Bow loops (2 identical pieces)
3. Bow center wrap
4. Strap
5. Assembly
A note about tension: For bags, you want your stitches tight and even. If you can easily see through your fabric, go down a hook size. The finished fabric should be dense enough that small items won’t poke through.
About the yarn: I strongly recommend cotton or a cotton blend for this project. Acrylic will stretch over time and won’t hold the structured shape as well. If you only have acrylic available, consider holding two strands together or going down two hook sizes.
Crochet Shoulder Bag Pattern Instructions
Part 1: Bag Body (Bottom and Sides)
The bag body starts with an oval base worked in continuous rounds, then builds up the sides.
Base:
Round 1: Ch 25. Starting in 2nd ch from hook, sc in each ch across to last ch. In the last ch, work 3 sc (this turns the corner). Continue along the opposite side of the foundation chain, sc in each ch across. In the last ch, work 2 sc. Place marker for beginning of round. (52 sts)
Round 2: Sc in next 23 sts, inc in next 3 sts, sc in next 23 sts, inc in next 3 sts. (58 sts)
Round 3: Sc in next 23 sts, [inc, sc] 3 times, sc in next 23 sts, [inc, sc] 3 times. (64 sts)
Round 4: Sc in next 24 sts, [inc, sc 2] 3 times, sc in next 24 sts, [inc, sc 2] 3 times. (70 sts)
Round 5: Sc in next 25 sts, [inc, sc 3] 3 times, sc in next 25 sts, [inc, sc 3] 3 times. (76 sts)
At this point, your oval base should measure approximately 9.5 inches long and 3 inches wide. If it’s significantly smaller, check your gauge and consider starting over with a larger hook.
Sides:
Now we build straight up. No more increasing.
Round 6: Working in BLO only this round, sc in each st around. (76 sts)
This creates a sharp edge at the base. It’s a small detail that makes the bag look more professional.
Rounds 7-35: Sc in each st around, working through both loops as normal. (76 sts)
Continue for 29 more rounds. Your sides should measure approximately 5.5 inches tall.
Top Edge:
Round 36: Sl st in each st around. Fasten off and weave in ends.
The slip stitch round creates a finished edge and prevents stretching at the opening.
Part 2: Bow Loops (Make 2)
Each bow loop is a stuffed tube that curves into the classic bow shape.
Row 1: Ch 41. Starting in 2nd ch from hook, sc in each ch across. Turn. (40 sts)
Rows 2-12: Ch 1, sc in each st across. Turn. (40 sts)
After Row 12, do not fasten off. You’ll now fold this piece lengthwise (wrong sides together) and seam the long edges.
Seaming the tube: Fold the rectangle in half lengthwise, matching the long edges. Slip stitch or whip stitch through both layers to close the tube. Leave the short ends open.
Shaping: Stuff the tube lightly with yarn scraps or fiberfill. You want it plump but not bursting. Seam the short ends closed.
Repeat to make the second bow loop.
Part 3: Bow Center Wrap
This small piece cinches the bow loops together.
Row 1: Ch 9. Starting in 2nd ch from hook, sc in each ch across. Turn. (8 sts)
Rows 2-16: Ch 1, sc in each st across. Turn. (8 sts)
Fasten off, leaving a long tail for sewing.
Part 4: Strap
The strap is a tube worked in continuous rounds, similar to i-cord but in crochet.
Round 1: Ch 4, sl st to first ch to form a ring. (4 sts)
Round 2: Sc in each ch around. Do not join. Place marker. (4 sts)
Rounds 3-150: Sc in each st around, moving your marker up as you go. (4 sts)
This creates a cord approximately 18 inches long. Adjust the length to your preference. Add or subtract rounds as needed.
Finishing the strap:
Fasten off, leaving a tail. Thread the tail through all 4 stitches and pull tight to close the end. Repeat on the starting end.
Part 5: Hardware Attachments (Make 2)
These small tabs hold the D-rings that connect to your lobster clasps.
Row 1: Ch 6. Starting in 2nd ch from hook, sc in each ch across. Turn. (5 sts)
Rows 2-8: Ch 1, sc in each st across. Turn. (5 sts)
Fasten off, leaving a long tail.
Thread a D-ring onto the tab, fold the tab in half, and whip stitch the short ends together to secure the ring in place.
Assembly Instructions
Now comes the satisfying part. Deep breath. You’ve got this.
Step 1: Attach Hardware Tabs to Bag
Position one hardware tab on each side of the bag opening, centered on the narrow ends. The D-ring should sit just below the top edge. Whip stitch securely in place, going through the bag fabric multiple times for strength.
Step 2: Assemble the Bow
Take your two stuffed bow loops. Curve each one into a half-circle shape, bringing the ends together. Stack them side by side so the seamed edges face inward (toward each other).
Wrap the center piece around the middle of both loops, pulling snugly to create the pinched bow shape. The loops should puff out on either side. Stitch the center wrap in place at the back.
Step 3: Attach Bow to Bag
Position the bow on the front of the bag, centered and sitting approximately 1 inch below the top edge. Pin in place.
Using matching yarn and a tapestry needle, whip stitch around the back of the center wrap, attaching it securely to the bag body. Take your time here. You want this connection strong.
Step 4: Attach Strap
Clip your lobster claw clasps to each end of the strap, then clip them onto the D-rings on your bag. Done!
Customization Ideas for Your Crochet Bag
Add a lining: Cut fabric to match the bag interior and hand-sew in place. This prevents items from poking through and adds structure.
Include a closure: Sew a magnetic snap inside the top edge, or add a button and loop.
Switch up the bow: Make the bow removable by attaching it with safety pins on the back. Swap it out for different occasions.
Try different colors: A two-tone version with a contrasting bow would be gorgeous. Or go bold with a bright color for the bow center wrap.
Add charms: The bag shown features a leather flower charm and "Handmade" tag on the strap hardware. These small details make handmade items feel boutique-quality.
Troubleshooting Common Issues
My bag is floppy and doesn’t hold its shape.
Your gauge is likely too loose. Try again with a smaller hook, or add a fabric lining with interfacing for structure.
The bow loops won’t hold their curve.
Add more stuffing, or try blocking them into shape with steam and pins.
My strap keeps twisting.
This is normal for crocheted tubes. Gently untwist as you work, and it will relax over time with use.
The hardware tabs feel weak.
Reinforce with additional stitching, or consider using ribbon or webbing inside the tabs for added strength.
Care Instructions
Hand wash in cool water with mild detergent. Reshape while damp and lay flat to dry. Do not machine wash or dry, as this may distort the shape and damage hardware.
If using cotton yarn, your bag may soften slightly with washing. This is normal and often makes the fabric more pleasant to handle.
Final Thoughts on This Chunky Bow Shoulder Bag Crochet Pattern
I hope this step by step crochet tutorial gives you everything you need to create your own stunning bow bag. This design proves that sometimes the simplest stitches, executed with care and combined with thoughtful details, create the most impressive results.
The single crochet fabric provides durability and structure, while the dramatic bow adds personality. Whether you make this for yourself or as a handmade gift, I know you’ll be proud of the finished piece.
Thank you so much for choosing this pattern. I genuinely appreciate you trusting me to guide you through this project. If you make one, I would absolutely love to see it! Tag me on Instagram or share your finished bag in my Facebook group. Seeing your creations is the best part of sharing patterns.
If you loved this pattern, save it to your Pinterest boards so you can find it easily when you’re ready to start. And please drop a comment below if you make this bag. I read every single one, and your photos and feedback make my day!
