Last month, my sister visited and immediately started laughing when she walked into my bathroom. Not because anything was wrong, but because she spotted the little cat perched on my toilet tank, guarding the spare roll like it was her job. "You made your toilet paper a pet?" she asked. Honestly, yes. Yes I did. And now I’m going to show you exactly how to make one too, because every bathroom deserves a little personality, and this adorable kitty delivers charm by the pawful.
This crochet cat toilet paper cozy is the kind of project that makes people smile. It’s practical, it’s whimsical, and it’s a fantastic conversation starter. The construction is simpler than it looks, using basic single crochet worked in the round with a few small pieces sewn together at the end. If you can crochet a tube and make a few small shapes, you can absolutely make this sweet little bathroom companion.
Why You’ll Love This Crochet Cat Toilet Paper Cover
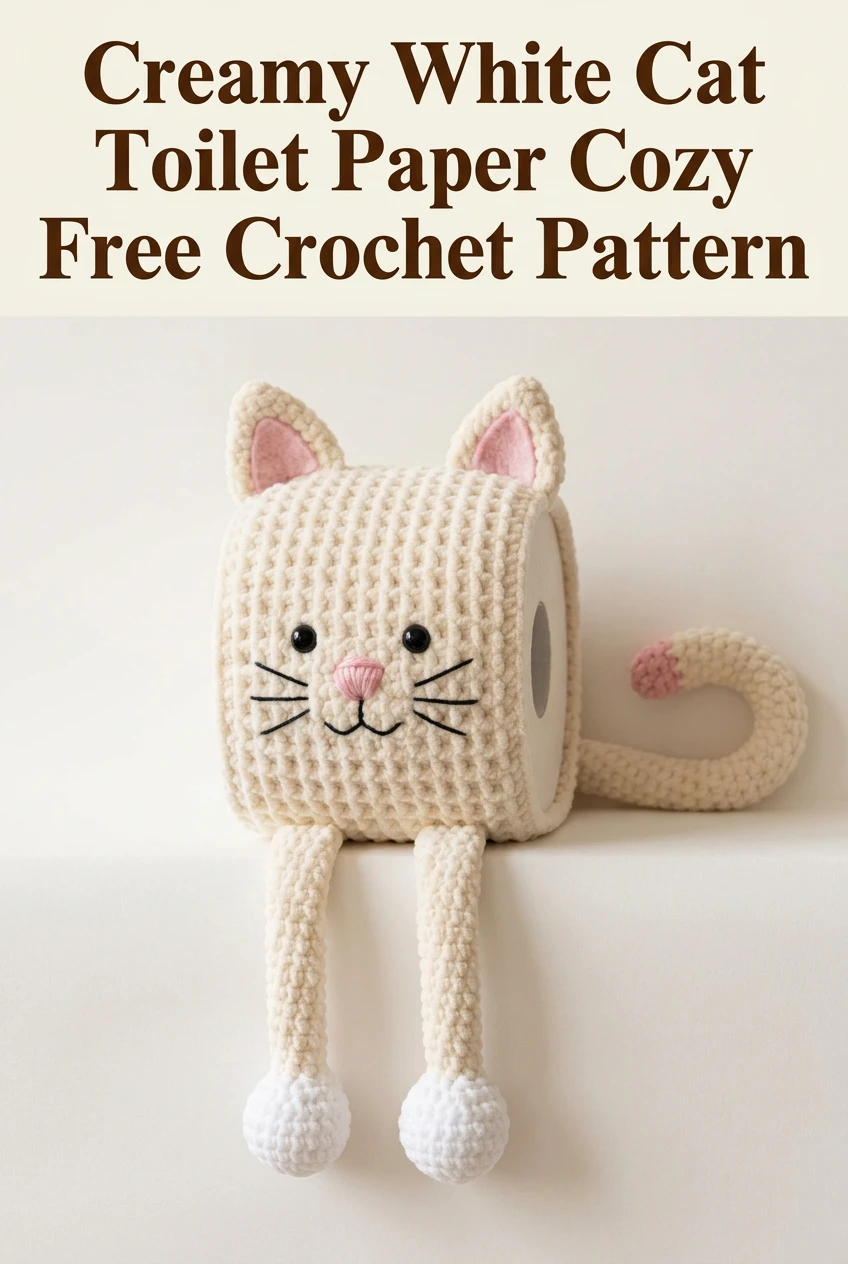
This pattern combines function with pure cuteness. Instead of leaving spare toilet paper rolls sitting out looking, well, boring, you can dress them up in the most charming way possible. The design fits a standard toilet paper roll perfectly, with pointed ears at the top, dangly legs with little paw pads hanging over the edge of a shelf, and a curly tail that adds the finishing touch.
The creamy white yarn gives this kitty a soft, neutral look that works in nearly any bathroom décor. Pink accents on the inner ears, nose, and tail tip add just enough color to bring the face to life without overwhelming the design. Black embroidered details create the eyes, whiskers, and mouth with simple stitching.
This crochet tutorial walks you through every piece step by step. Even if you’ve never made an amigurumi style project before, the instructions break everything down into manageable sections.
Skill Level
Intermediate beginner. You should be comfortable with single crochet worked in the round and basic increasing and decreasing. If you’ve made a simple amigurumi ball or a basic beanie, you have all the skills you need.
Finished Dimensions
The completed cozy measures approximately 5 inches tall (not including ears) and 5 inches in diameter to fit a standard toilet paper roll. The legs hang down approximately 4 inches and the tail extends about 6 inches.
Materials Needed
Yarn:
Hook:
Notions:
Gauge
Gauge is not critical for this project, but working tightly will create a fabric that holds its shape well. Approximately 4 single crochet stitches and 4 rows = 1 inch in single crochet worked in the round.
Abbreviations and Stitch Definitions
Ch = Chain. Wrap yarn over hook and pull through the loop on your hook. This creates the foundation for most crochet projects.
Sc = Single crochet. Insert hook into stitch, yarn over and pull up a loop (two loops on hook), yarn over and pull through both loops.
Inc = Increase. Work two single crochet stitches into the same stitch. This adds one stitch to your count.
Dec = Decrease (invisible decrease preferred). Insert hook through the front loops only of the next two stitches, yarn over and pull through both front loops, yarn over and pull through both loops on hook. This removes one stitch from your count.
Sl st = Slip stitch. Insert hook into stitch, yarn over and pull through both the stitch and the loop on your hook in one motion.
FO = Fasten off. Cut yarn and pull the tail through the final loop to secure.
Magic ring = An adjustable starting loop that allows you to pull the center hole closed tightly. If you prefer, you can chain 2 and work your stitches into the second chain from the hook instead.
Pattern Notes
Crochet Cat Toilet Paper Cozy Pattern Instructions
Main Body
The body creates a cylinder that slips over a standard toilet paper roll, with an opening at the bottom and a closed top where the ears will be attached.
Using creamy white yarn and 4.0mm hook:
Round 1: Make a magic ring, work 6 sc into the ring. Pull ring closed. (6 sts)
Round 2: Inc in each st around. (12 sts)
Round 3: *Sc 1, inc* repeat around. (18 sts)
Round 4: *Sc 2, inc* repeat around. (24 sts)
Round 5: *Sc 3, inc* repeat around. (30 sts)
Round 6: *Sc 4, inc* repeat around. (36 sts)
Round 7: *Sc 5, inc* repeat around. (42 sts)
Round 8: *Sc 6, inc* repeat around. (48 sts)
Round 9: *Sc 7, inc* repeat around. (54 sts)
Rounds 10-35: Sc in each st around. (54 sts) Work even for 26 rounds total.
After Round 35, sl st into next stitch. FO, leaving a long tail for weaving in.
The cylinder should measure approximately 5 inches tall and fit snugly around a toilet paper roll.
Outer Ears (Make 2)
Using creamy white yarn:
Row 1: Ch 10, sc in 2nd ch from hook and in each ch across. Ch 1, turn. (9 sts)
Row 2: Sc in each st across. Ch 1, turn. (9 sts)
Row 3: Dec, sc 5, dec. Ch 1, turn. (7 sts)
Row 4: Dec, sc 3, dec. Ch 1, turn. (5 sts)
Row 5: Dec, sc 1, dec. Ch 1, turn. (3 sts)
Row 6: Dec, sc 1. (2 sts)
Row 7: Dec. (1 st)
FO, leaving a long tail for sewing.
Inner Ears (Make 2)
Using light pink yarn:
Row 1: Ch 8, sc in 2nd ch from hook and in each ch across. Ch 1, turn. (7 sts)
Row 2: Dec, sc 3, dec. Ch 1, turn. (5 sts)
Row 3: Dec, sc 1, dec. Ch 1, turn. (3 sts)
Row 4: Dec, sc 1. (2 sts)
Row 5: Dec. (1 st)
FO, leaving a tail for sewing.
Sew each pink inner ear centered onto a white outer ear, leaving a small white border visible around the edges.
Front Legs (Make 2)
Using creamy white yarn:
Round 1: Make a magic ring, work 6 sc into the ring. (6 sts)
Round 2: Inc in each st around. (12 sts)
Rounds 3-4: Sc in each st around. (12 sts)
Switch to white yarn for paw pad:
Round 5: Sc in each st around. (12 sts)
Rounds 6-7: Continue in white, sc in each st around. (12 sts)
Switch back to creamy white:
Rounds 8-22: Sc in each st around for 15 rounds. (12 sts)
Sl st into next stitch. FO, leaving a long tail. Stuff the paw area lightly with fiberfill, leaving the leg portion unstuffed so it hangs naturally.
Tail
Using creamy white yarn:
Round 1: Make a magic ring, work 6 sc into the ring. (6 sts)
Rounds 2-30: Sc in each st around. (6 sts) Work even for 29 rounds.
Switch to light pink yarn:
Rounds 31-34: Sc in each st around. (4 rounds in pink) (6 sts)
Sl st into next stitch. FO, leaving a tail. Do not stuff the tail. It should remain flexible and slightly floppy.
Nose
Using light pink yarn:
Round 1: Make a magic ring, work 4 sc into the ring. (4 sts)
Round 2: Inc in each st around. (8 sts)
Sl st into next stitch. FO, leaving a tail for sewing.
Assembly Instructions
Now comes the fun part where your cozy transforms into an actual cat. Take your time with placement before sewing anything permanently.
Step 1: Position the ears. Place the completed ears (with pink inner ears already attached) at the top of the body, about 2 inches apart. The ears should sit toward the front of the cylinder, not directly on top. Pin in place and sew securely using the yarn tails.
Step 2: Attach the safety eyes. Position the eyes approximately 1.5 inches down from the top edge (below the ear line) and about 1.5 inches apart. If using safety eyes, insert them now before adding other facial features. If embroidering eyes, you can do this after the nose.
Step 3: Sew on the nose. Center the pink nose between and slightly below the eyes. Sew securely using the yarn tail.
Step 4: Embroider the face. Using black embroidery floss or thin black yarn and your yarn needle:
Step 5: Attach the legs. Position both legs at the front bottom edge of the body, spacing them about 1.5 inches apart. The legs should hang down when the cozy is placed on a shelf. Sew the open tops of the legs securely to the inside bottom edge of the body.
Step 6: Attach the tail. Sew the tail to the back of the body, near the bottom edge. You can curve it slightly to one side for a playful look.
Step 7: Weave in all remaining ends. Use your yarn needle to weave tails through several stitches on the inside of the work, then trim close.
Tips for Success
Tension matters here. Work your stitches snugly so the fabric has enough structure to hold its shape around the toilet paper roll. If your work feels loose or floppy, try going down one hook size.
Don’t stress about perfect circles. Working in continuous rounds can create a slight spiral effect. This is normal and won’t be noticeable in the finished project.
Safety eyes versus embroidered eyes. Safety eyes give a polished, professional look. If this cozy will be in a home with small children or pets who might chew on it, embroidered eyes are a safer choice.
Customize your kitty. Change the main color to gray, orange, or black for a different cat breed look. Add stripes using surface crochet or color changes for a tabby effect.
How to Use Your Cat Toilet Paper Cozy
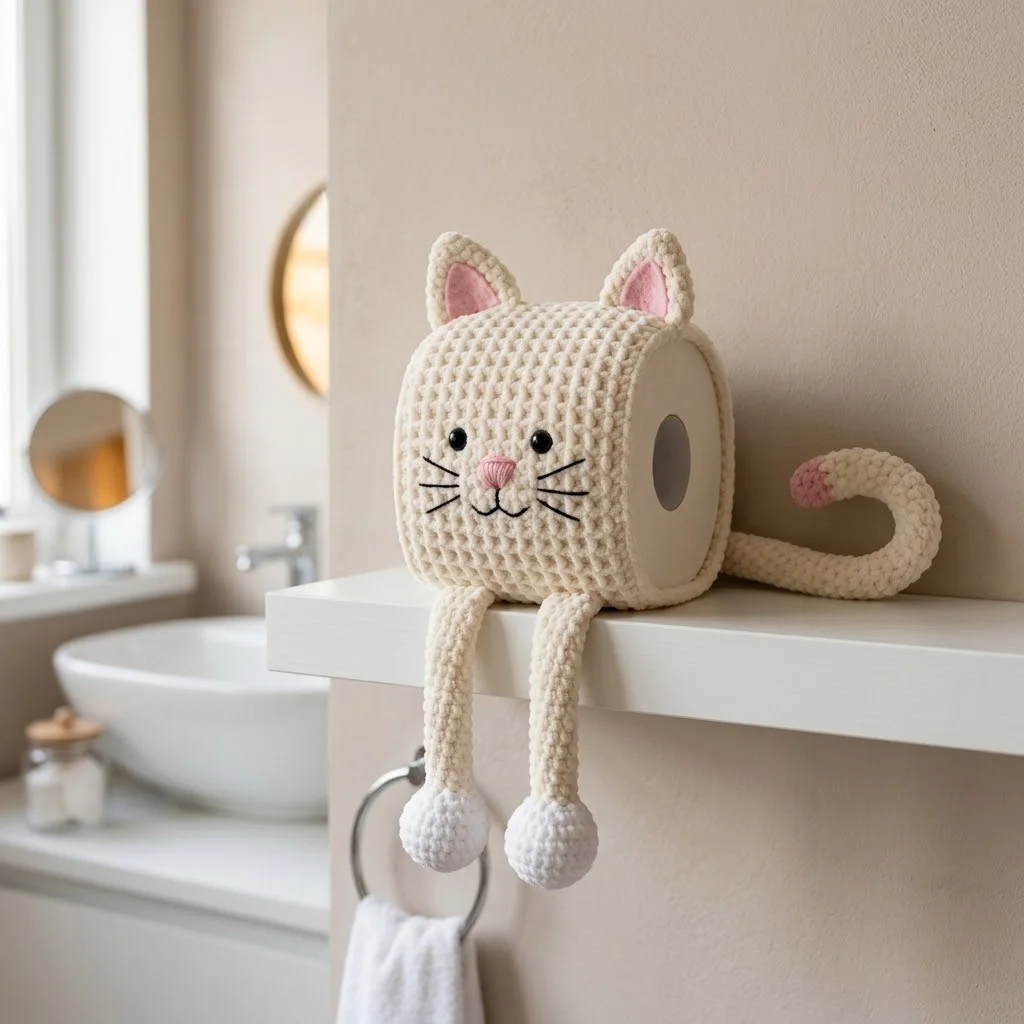
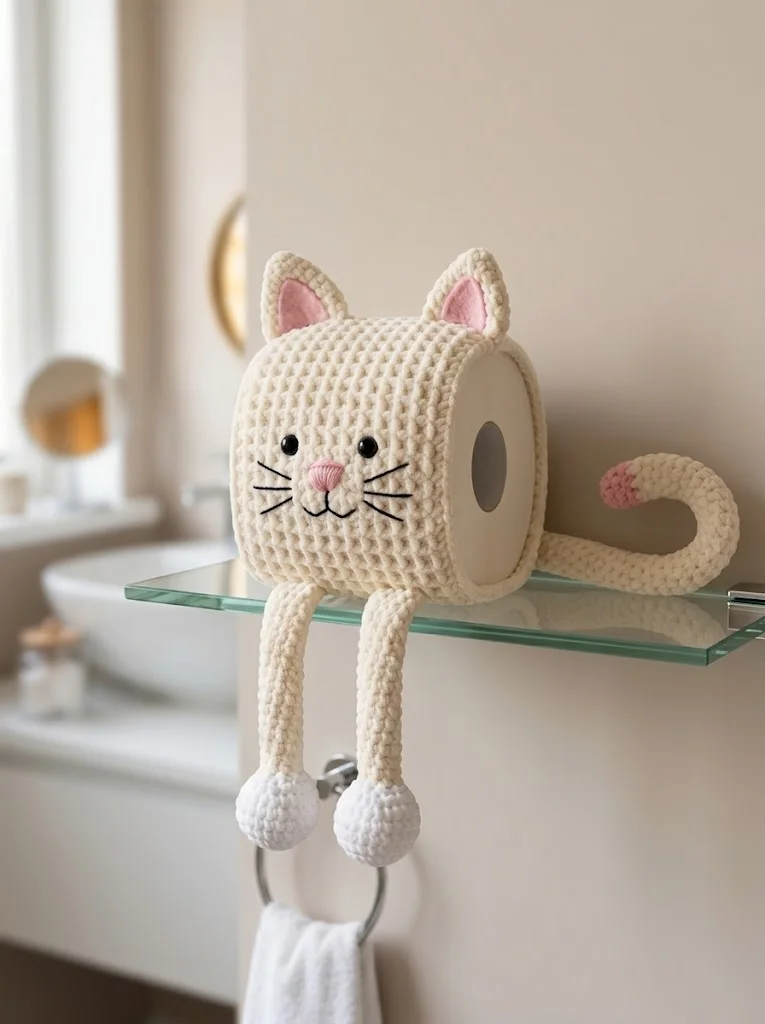
Simply slip the cozy over a standard toilet paper roll. The roll sits inside the cylinder, with the cat’s face on the front. Place it on a shelf, the back of the toilet tank, or any flat surface where the legs can dangle over the edge. The tail can curl around the side or drape behind.
This design works best displayed on a ledge or shelf where those adorable dangling legs get the attention they deserve.
Makes a Wonderful Gift
This crochet cat toilet paper cozy makes an unexpectedly delightful gift. Cat lovers, bathroom décor enthusiasts, and anyone who appreciates handmade whimsy will adore receiving one. It’s the kind of thoughtful, quirky present that people remember.
Consider making a set in different colors or pairing it with some fancy toilet paper for a complete housewarming gift.
I really hope you enjoy making this sweet little bathroom buddy as much as I enjoyed designing it. There’s something so satisfying about turning an ordinary household item into something that makes people smile every single day. Thank you so much for choosing to make this pattern. It means the world to me that you’re here.
If you make this cozy, I would absolutely love to see it! Tag me on Instagram or share a photo in my Facebook group. Seeing your finished projects is honestly the best part of my day.
Don’t forget to save this crochet cat toilet paper cozy pattern to your Pinterest boards so you can find it whenever you’re ready to start. And if you do make one, please leave a comment below. I love hearing which colors you chose and where your little kitty ended up living. Happy crocheting, friend!
