
Alright, stash lovers, this is your sign to finally use that gorgeous cotton yarn you’ve been hoarding. You know the one. The skeins you bought because the colors reminded you of autumn leaves or a farmers market bouquet, and now they’re sitting pretty in a basket waiting for the perfect project.
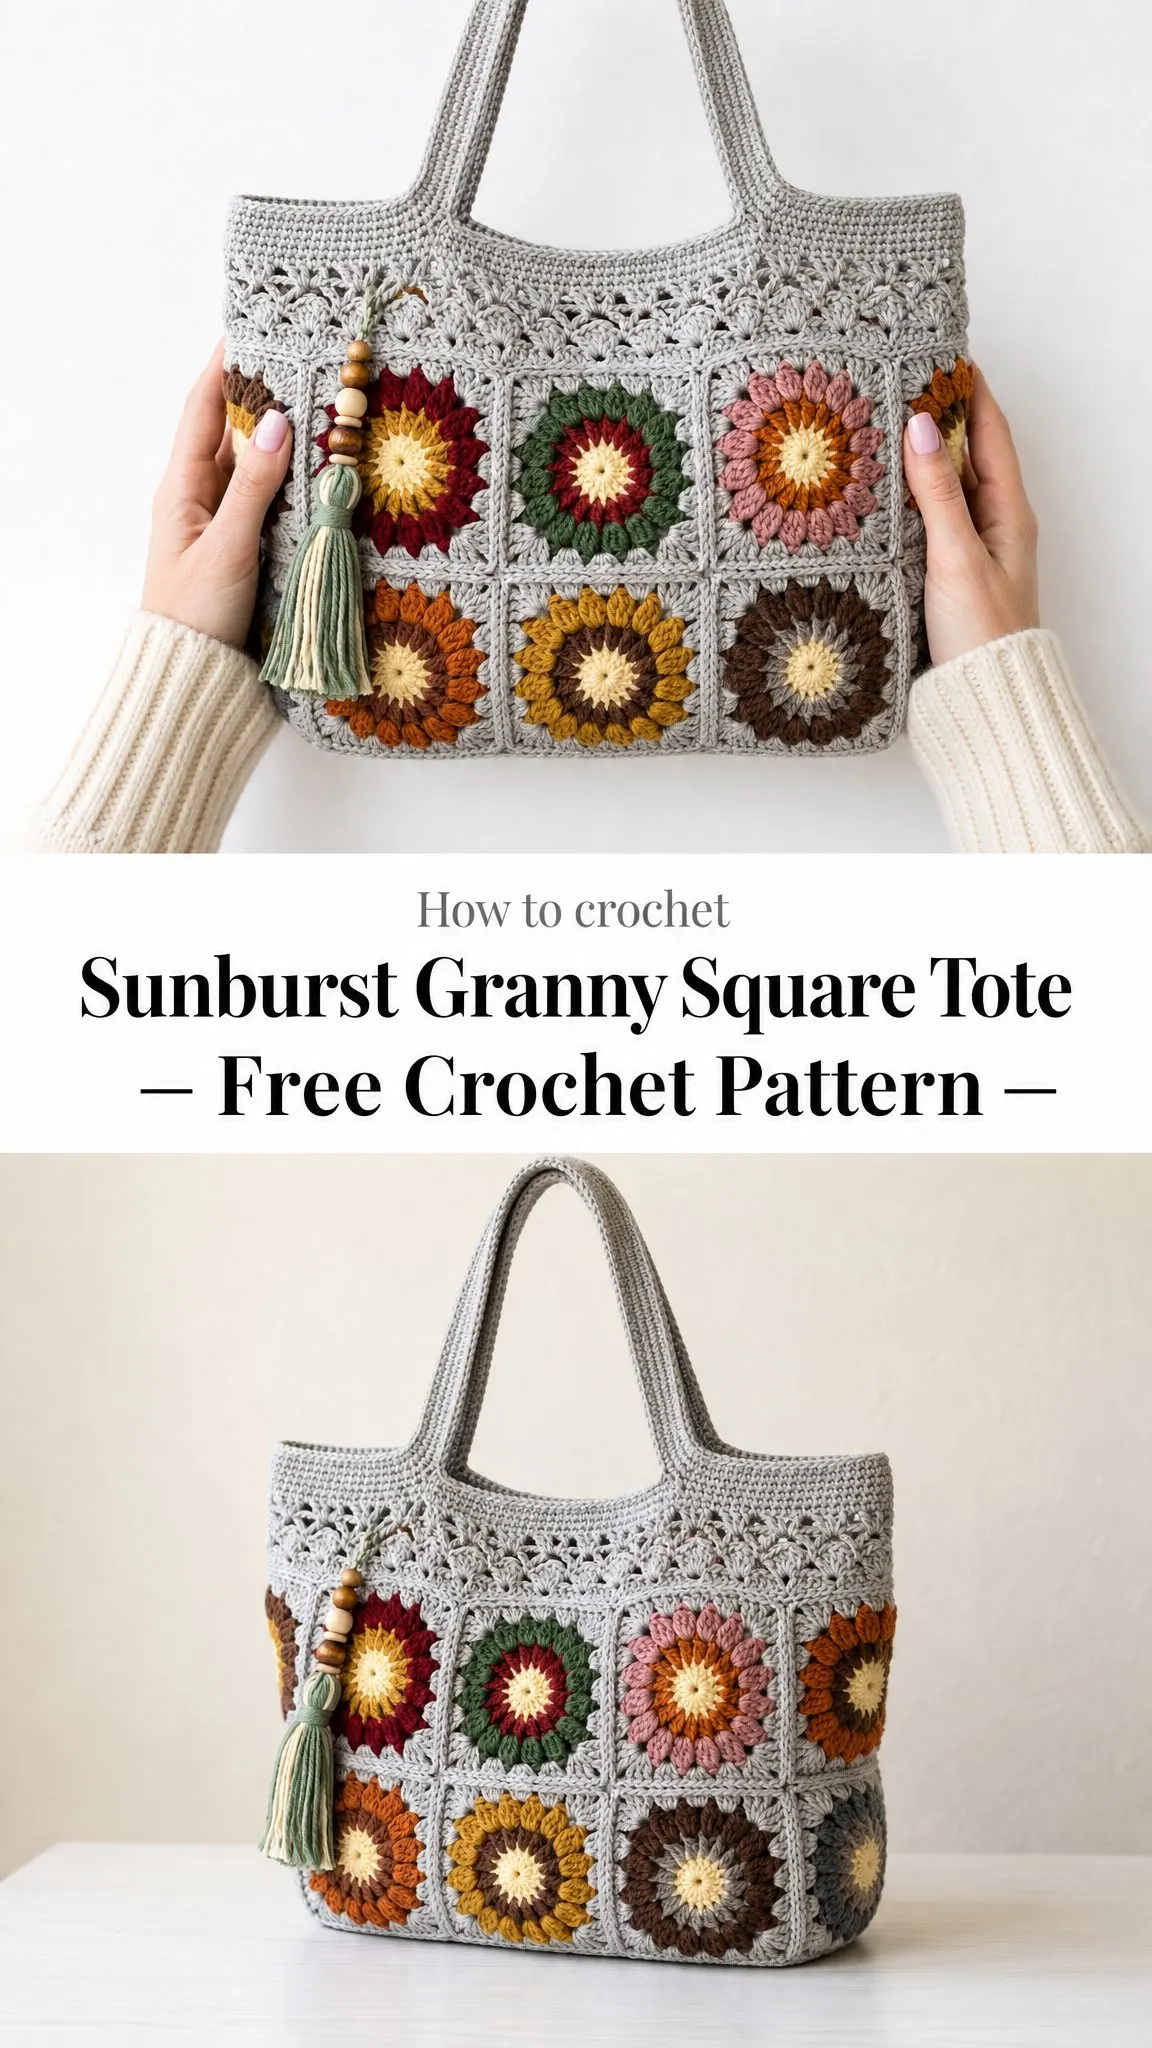
This Sunburst Granny Square Tote is that project. It combines puff stitch petals with a classic granny square construction, then adds a lacy shell band and sturdy handles for a bag that’s as practical as it is beautiful. The technique might look fancy, but if you’re comfortable working in the round and joining motifs, you’ve got this.
Fair warning: there are 24 squares to make, plus assembly and finishing. This isn’t a weekend project, but it’s absolutely worth the 15 to 20 hours you’ll put in. The result is a roomy market tote that stands on its own and turns heads everywhere you carry it.
Why You’ll Love This Tote
This bag hits the sweet spot between decorative and functional. The puff stitch petals create dimensional flowers that pop against the silver-grey background, while the box bottom construction means the tote actually stands upright and holds its shape. You can fit a week’s worth of farmers market finds in here, or use it as an everyday bag that sparks joy every time you reach for it.
The scrappy nature of the design makes it perfect for using up leftover yarn from other projects. Each square uses small amounts of accent colors for the petals, so you can raid your stash and create something completely unique. No two totes will ever look exactly the same.
Materials You’ll Need
Before you start, gather everything so you’re not hunting for supplies mid-project.
Yarn
You’ll need worsted weight or Aran weight (CYC 4) cotton or cotton-blend yarn. Cotton gives the squares their crisp stitch definition and helps the tote hold its shape.
| Color | Amount Needed |
|---|---|
| Silver-Grey (main color for ground and band) | 650 to 750 yards (595 to 685 meters) |
| Soft Cream (all flower centers) | 120 yards (110 meters) |
| 7 accent shades for petals | Approximately 60 yards (55 meters) each |
Suggested yarn brands:
Hook and Notions
Color Palette
The sample uses these colors:
Feel free to swap in your own palette. Just keep the centers cream and the final round grey for the cohesive look shown.
Gauge
One finished sunburst square measuring Rounds 1 through 4 should be 4 inches (10 cm) along each side. Make one test square and block it before committing to all 24. Your square size determines the entire tote’s dimensions, so this step matters.
Finished Measurements
Abbreviations and Special Stitches
Let me break down every stitch you’ll use so there’s no confusion.
Standard abbreviations:
UK crocheters: This pattern uses US terms. US sc equals UK dc, US hdc equals UK htr, and US dc equals UK tr. Hook size and gauge stay the same.
Special Stitches
Puff stitch (puff): This creates the dimensional petals. Here’s how to work it: yarn over, insert hook in the stitch or space, yarn over and pull up a loop to the height of a double crochet. Repeat this sequence 4 times in the same place, giving you 9 loops on your hook. Yarn over and draw through all 9 loops, then chain 1 to close. That chain 1 forms the "eye" at the top of the puff.
Tip: Keep your puffs even by pulling each of the four loops up to the same height, about the length of a dc. A looser final yarn-over makes closing all 9 loops easier.
5-dc shell: Work 5 double crochet stitches into the same stitch or space.
Magic ring: An adjustable loop to start Round 1. Pull it snug after the round is complete to close the center hole.
Pattern Notes
Read through these before you begin:
Color Recipe Per Square
Try pairing warm with warm, like red with mustard, or warm with cool, like sage with brick, for the look shown in the photos.
The Sunburst Square Pattern
Make 24 squares total. Each square has four rounds: center, inner puff petals, outer puff petals, and the grey square-off round.
Round 1 (Cream)
Into a magic ring: ch 3 (counts as dc), work 11 dc in ring. Pull the ring closed. Join with sl st to top of beginning ch-3. (12 dc)
Round 2 (Petal Color A)
Join in any st. Ch 2 (does not count as a stitch), puff in same st, ch 1. Puff in next st, ch 1. Repeat from * around. Join with sl st to top of first puff. (12 puffs, 12 ch-1 spaces)
Round 3 (Petal Color B)
Join in any ch-1 sp. Ch 2 (does not count as a stitch), puff in same sp, ch 1. Puff in next ch-1 sp, ch 1. Repeat from * around. Join with sl st to top of first puff. (12 puffs, 12 ch-1 spaces)
Round 4 (Silver-Grey)
This round squares off your circle. Join in any ch-1 sp. Ch 3 (counts as dc), dc in same sp, dc in next ch-1 sp, dc in next ch-1 sp. (2 dc, ch 2, 2 dc) in next ch-1 sp [corner made], dc in next 5 ch-1 sps. Repeat from * twice more. (2 dc, ch 2, 2 dc) in next ch-1 sp, dc in last 2 ch-1 sps. Join with sl st to top of beginning ch-3. (36 dc and 4 ch-2 corner spaces, which equals 9 dc per side)
Fasten off, leaving the right side facing. Weave in the center tail and the color-change tails. Block to a 4 inch (10 cm) square.
Joining and Assembly
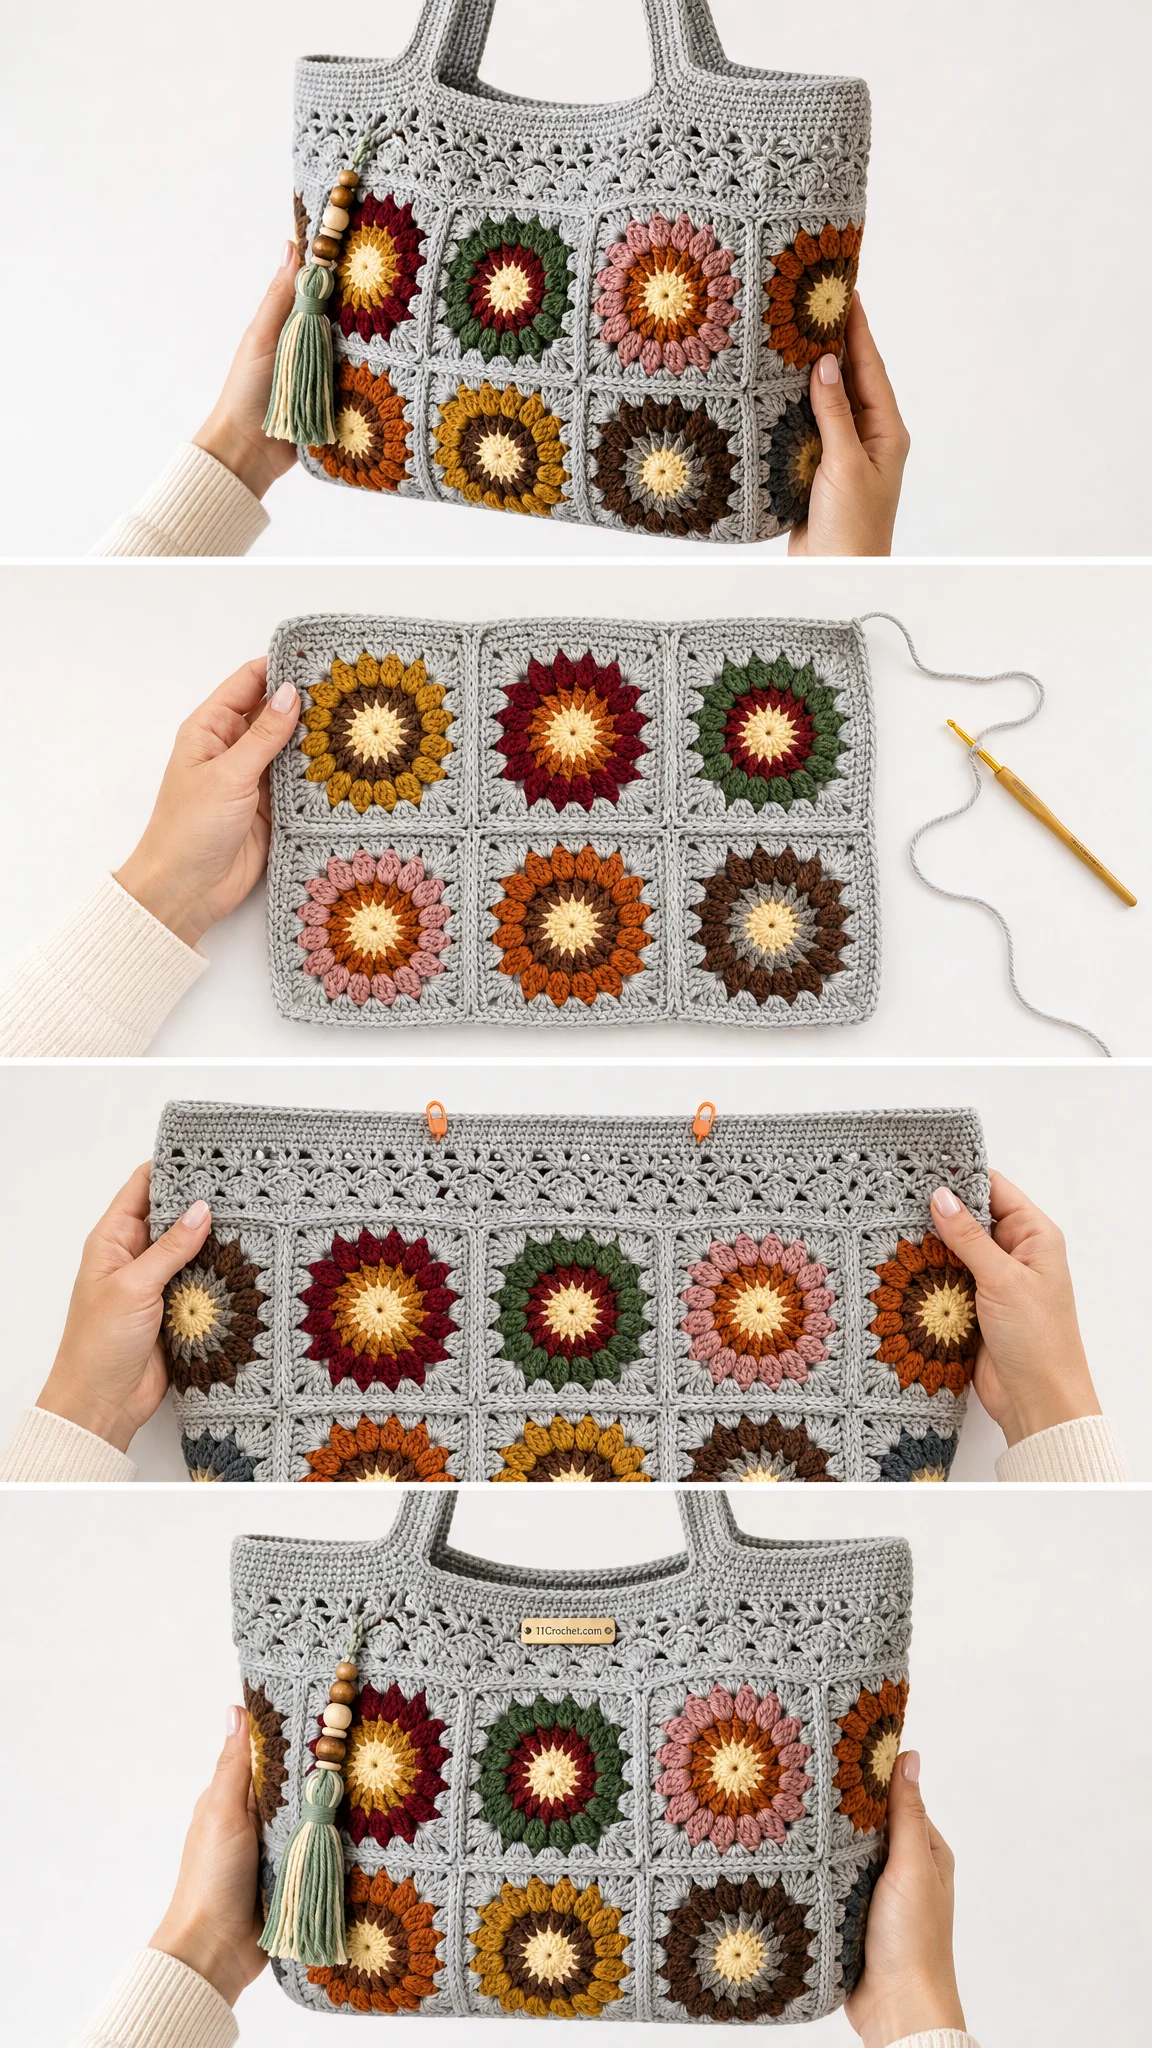
Lay out your squares in a cross-shaped map, then seam them into a box. Joining grey edge to grey edge keeps the seams invisible.
The Layout Map
Join the Panels
Step 1: With wrong sides together and matching stitch-for-stitch, join squares into the four flat panels using slip stitch through the back loops (or whip stitch if you prefer). Work 1 join stitch per edge stitch across each 9-dc side, plus 1 into each corner space.
Step 2: Stand the front and back up from the base and seam the side panels into the four vertical corners, closing the box.
Step 3: Turn right side out. You now have an open-topped bag measuring 16 by 12 by 4 inches, ready for the band.
Keep it square: Seam from corner to corner, easing rather than stretching. Pin the four base corners first so the bottom stays rectangular and the tote stands on its own.
Lacy Top Band
The shell band is worked in continuous rounds in Silver-Grey around the open top. The shell round creates the soft scalloped lace while the sc rounds firm up the rim.
Band Round 1: Join MC at a back corner. Ch 1, sc evenly around the entire opening, working 12 sc across each square’s top edge (10 squares around the rim). Join to first sc. (120 sc)
Band Round 2 (shells): Ch 1, sc in same st. Skip 2 sc, 5-dc shell in next sc, skip 2 sc, sc in next sc. Repeat from * around, ending last repeat by joining to first sc. (20 shells, 20 sc)
Band Round 3: Ch 1, sc in each st around, placing 1 sc in each dc of every shell and 1 sc in each sc. Join to first sc. (120 sc)
Band Rounds 4 through 7: Ch 1, sc in each sc around, join. Repeat for a total of 4 rounds. (120 sc each round)
Handles
Two handles are formed by chaining across a gap on the front and back, then crocheting back over the chain to make a firm strap.
Mark the Placement
On the front rim, count in 24 sc from the left corner and place a marker. Place a second marker 12 sc further along. The 12 sc between them become the handle base. Repeat with two markers symmetrically on the back rim. (12-sc gap each, 24 sc of rim outside each marker pair.)
Handle Round 1: Join MC at the first front marker. Ch 50, skip the 12 sc between the markers, sl st to the second marker to anchor the chain. Continue sc in each sc along the rim to the first back marker, ch 50, skip 12 sc, sl st to the second back marker, then sc to the start. Join. (Two 50-ch handle loops)
Handle Round 2: Sc in each rim sc and 50 sc evenly along each handle chain, join. (50 sc per handle)
Handle Rounds 3 through 4: Sc in each sc around, including across both handles, join. Fasten off after Round 4 and weave in ends. (50 sc per handle each round)
For stronger straps: If you plan to carry heavy loads, slip a length of cotton cord inside the handle chain before Round 2 and crochet around it, or work one extra sc round.
Beaded Tassel
This finishing touch adds charm to the front corner.
1. Wrap cream and sage yarn around a 2 inch (5 cm) piece of cardboard about 30 times.
2. Thread a tie strand under the top of the wraps and knot firmly. Slide the bundle off the card.
3. Wrap a separate strand several times around the bundle about 3/4 inch (2 cm) down to form the neck. Secure and hide the tail inside.
4. Cut the bottom loops open and trim level.
5. Thread the long top ties up through 3 wooden beads, then tie the tassel to the front-left rim.
Final Finishing
Care Instructions
Customization Ideas
Smaller bag: Drop to 3 squares wide (front and back 6 each, base 3) for a 12 inch (30 cm) day bag.
Taller bag: Add a third row of squares to the front and back and one more to each side for a deeper market tote.
Gauge swap: A DK weight with a 4.0 mm hook yields approximately 3 1/4 inch (8 cm) squares and a softer, smaller bag. Chunky weight with a 6.0 mm hook gives a bigger, slouchier one.
Lining: Add a fabric lining and a small inner pocket for everyday use.
You Did It!
Thank you so much for choosing this pattern for your next project. I hope you enjoy every stitch of it, from the satisfying puff petals to that final tassel knot. If you make this tote, I’d absolutely love to see your color combinations. Tag me on Instagram or share in our Facebook group so I can admire your work!
If this pattern is calling your name, save it to your Pinterest boards so you can find it when you’re ready to cast on. And please drop a comment below if you make one. I love hearing which color palettes you chose and how the bag worked up for you. Happy crocheting!
