
I don’t know about you, but I’m always on the hunt for a bag that feels special without being fussy. Something with texture and personality that actually holds its shape and looks intentional.
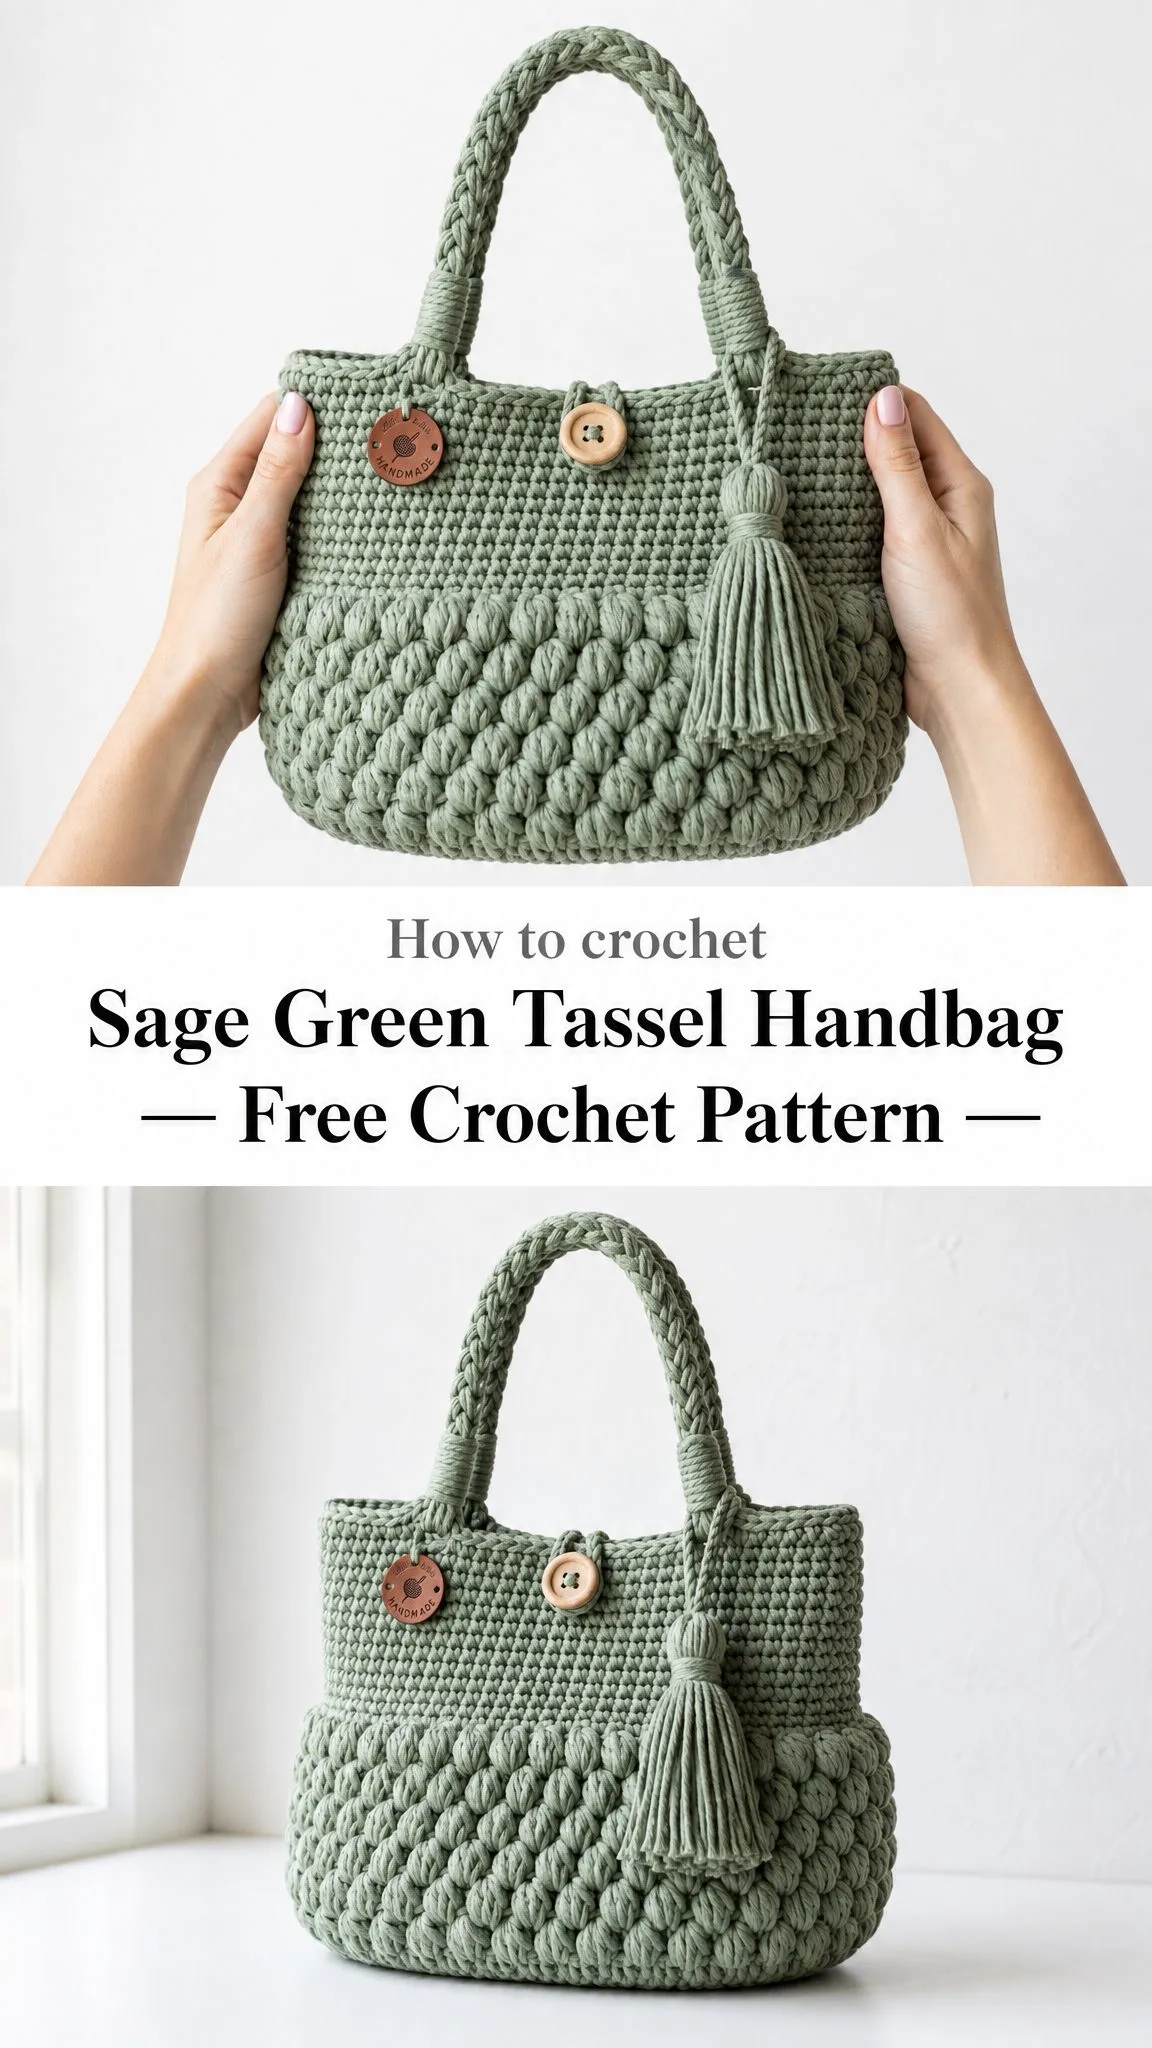
This sage green bobble handbag is exactly that. The puff stitch belly gives it sculptural drama, while the smooth upper band keeps things clean and modern. Add braided handles and a swinging tassel, and you’ve got a piece that works just as well sitting on a shelf as it does carrying your daily essentials.
The best part? It’s all worked seamlessly from the base up, so there’s minimal finishing and maximum satisfaction.
About This Crochet Handbag Pattern
This textured cotton cord tote combines a sculptural puff stitch belly with a calm, smooth upper band in soft sage green. You’ll work it seamlessly from an oval base up through the body, then finish with two chunky three strand braided handles, a wooden button, a stitched maker’s tag, and a generous tassel that swings from the handle root.
The cord gives the bag its structure, so it holds an open shape beautifully whether it’s carrying your phone and wallet or sitting out as a piece of texture in your space.
Skill Level: Intermediate
Make Time: 6 to 8 hours
Finished Size:
Materials You’ll Need
Yarn:
Approximately 180 to 200 yards (165 to 185 m) of 5 mm cotton cord in sage green. This can be single twist or knitted tube style. You’ll need roughly 2 to 3 standard spools.
Recommended options include:
Hook and Notions:
Trims:
Gauge
11 single crochet stitches × 12 rounds = 4 inches (10 cm) in single crochet with 5 mm cord and a 6 mm hook.
Cord bags are forgiving, so don’t stress too much about matching this exactly. Aim for a firm, dense fabric that the hook doesn’t slip through easily. A loose cord bag will sag, while a dense one stands tall like the sample.
Abbreviations and Terms (US Crochet Terms)
Before we dive in, let’s cover the stitches you’ll be using. This pattern uses US crochet terminology throughout.
UK readers: US single crochet equals UK double crochet. US slip stitch equals UK slip stitch.
Special Stitch: The Puff Stitch
This is the star of the show, creating all that beautiful bobble texture on the lower belly of the bag.
To work a puff stitch: [Yarn over, insert hook in stitch, yarn over and draw up a tall loop] 4 times in the same stitch. You’ll have 9 loops on your hook. Yarn over and draw through all 9 loops, then chain 1 to close. That chain 1 counts as the completed puff.
Pro tip: Keep your loops loose and even so each puff pops out nicely. Push each puff to the right side as you close it so the texture sits proud on the outside of the bag.
Important Pattern Notes
Read through these before you start. They’ll save you confusion later.
The Oval Base
We’re starting from the bottom and working up. The base is worked flat in a spiral to create a smooth oval shape. Tug your increases gently to keep the ends rounded, not pointed.
Foundation: Chain 15.
Round 1: Starting in the 2nd chain from hook, work 2 single crochet in the first chain, single crochet in the next 12 chains, then 4 single crochet in the last chain. Rotate your work to continue along the opposite side of the foundation chain. Single crochet in the next 12 chains, then 2 single crochet in the last chain. Place your stitch marker. (32 sc)
Round 2: Work 8 increases evenly over the two curved ends, placing 4 increases at each end. Single crochet across the straight sides, then work [2 single crochet in next stitch] across each curve. (40 sc)
Round 3: Repeat the curved end increases, 8 evenly spaced. (48 sc)
Round 4: Increase 8 evenly over the curved ends. (56 sc)
Round 5: Increase 8 evenly over the curved ends. The base should now lie flat as a soft oval shape. (64 sc)
Helpful tip: Lay the base on a table after Round 5. If the ends cup upward, your increases are stacking too closely together. Spread them an extra stitch wider on your next project. A slight cup is actually fine here because it begins the bag’s natural curve.
Body: The Bobble Belly
Now for the fun part. Six rounds of offset puffs create the sculpted lower belly that gives this bag its signature look. Each round maintains 64 stitches, but the puff position shifts to create that beautiful brick pattern.
Round 6: Working in BLO (back loop only) this round only, single crochet in each stitch around. This sets the fold line where the base turns up into the sides. (64 sc)
Rounds 7 and 8: Single crochet in each stitch around for both rounds. (64 sc)
Round 9: [Puff in next stitch, single crochet in next stitch] around. (32 puff, 32 sc)
Round 10: [Single crochet in next stitch, puff in next stitch] around. This shifts the puffs by one stitch so they stack offset from the previous round. (32 sc, 32 puff)
Rounds 11 through 14: Repeat Rounds 9 and 10 twice more, alternating each round, for a dense brick of puffs. (64 sts)
Remember to push each puff to the right side (the outside of the bag) as you close it so the texture shows on the exterior.
Body: The Smooth Upper Band
The plain single crochet band pulls the bag in slightly above the belly and forms the clean, open rim. This section provides a nice visual contrast to all that bobble texture below.
Round 15: Working in BLO (back loop only), [single crochet in next 6 stitches, sc2tog] around. This draws the body in above the belly and sets a clean ledge. (56 sc)
Rounds 16 through 23: Single crochet in each stitch around for eight rounds. This creates the smooth upper band. (56 sc)
Round 24: Single crochet in each stitch around. Slip stitch in the next stitch to even the edge. Fasten off and weave in your end. (56 sc)
Mark Your Handle and Trim Spots:
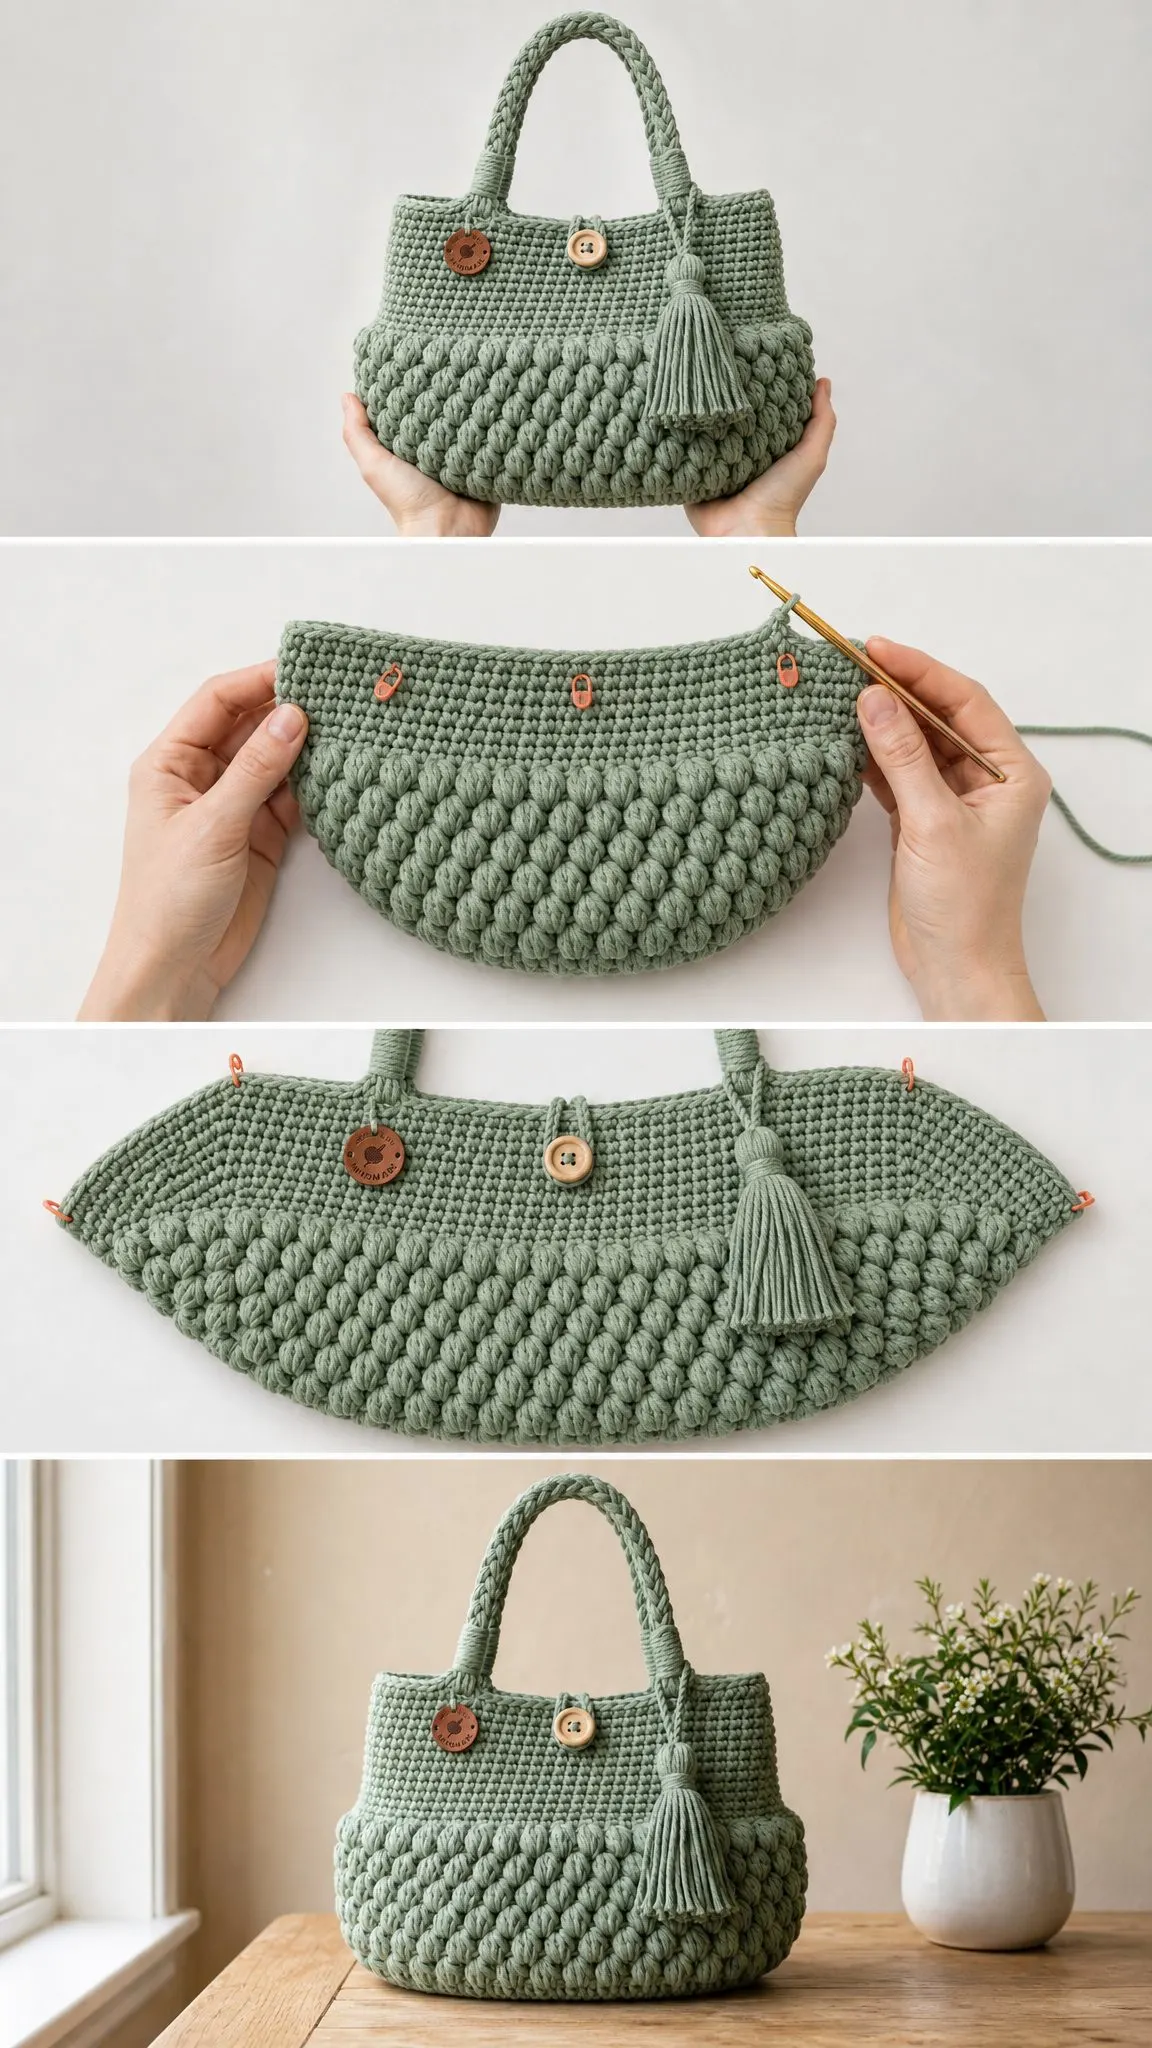
On the front of the bag, count to the center and mark the spot for the wooden button. On both the front and back rim, mark two handle points about 4 inches (10 cm) apart, centered. You’ll attach the braided handles here during finishing.
Braided Handles
You’ll make two handles, each created from three crocheted cords that get braided together.
For each handle, make three cords:
Chain 56. Starting in the 2nd chain from hook, single crochet in each chain across. Fasten off, leaving a 6 inch tail for assembly. (55 sc)
Repeat to make 3 cords total for the first handle, then 3 more cords for the second handle. That’s 6 cords total.
To braid:
Hold the three cords together at one end and braid them firmly all the way to the other end. Bind both ends tightly with a tail to keep them from unraveling. Each braided handle finishes about 16 inches (40 cm) long.
The Tassel
A chunky tassel adds the perfect finishing touch, swinging from the handle root.
Wrap your cord around a 5 inch (13 cm) piece of cardboard about 28 to 30 times. Thread a separate strand under the top loops and tie tightly. Cut the bottom loops open.
Wrap another separate strand several times around the bundle about ¾ inch below the top to form the neck, then knot it off securely. Trim the ends level so they hang evenly.
Assembly and Finishing
Now let’s bring everything together.
Attach the handles: Using your long tails and a tapestry needle, stitch each braided handle’s ends firmly to the inside of the rim at your marked points. One handle goes on the front, one on the back. Pass through several times for strength, then weave in all ends securely.
Hang the tassel: Tie or stitch the tassel to one front handle root so it swings against the body of the bag.
Sew the button: Center the wooden button on the front band and stitch it on securely with cord or matching thread.
Add the maker’s tag: Stitch the leather look tag to the front, just left of center, through its punched holes.
Block lightly: Stuff the bag with paper or fabric and let it rest for a day to settle into its shape. Steam the handles gently if they curl.
Care Instructions for Your Finished Bag
Your beautiful new handbag deserves proper care to keep it looking its best.
Customizing Your Handbag
Want to make this pattern your own? Here are some easy modifications.
Bigger or smaller: Add or remove base increase rounds in multiples that keep an even total, then carry that count up through the body.
Taller: Add plain rounds before Round 15, or add extra rounds to the smooth band section.
Deeper belly: Add another pair of offset puff rounds. Always add in even pairs to keep the brick pattern working correctly.
Longer handles: Add chains in multiples to all three cords equally before braiding.
Pro tip: Keep your puff totals even so the offset pattern always lines up around the round.
You Did It!
I hope you love making this sage green bobble handbag as much as I enjoyed designing it. There’s something so satisfying about watching those puff stitches build up into that sculptural belly, and the braided handles add such a polished finishing touch.
Thank you so much for choosing this pattern for your next project. I’d absolutely love to see your finished bags, so please share your photos on Instagram or Facebook and tag me. Seeing your creations always makes my day!
If you enjoyed this crochet handbag pattern, I’d love for you to save it to your Pinterest boards so you can find it easily when you’re ready to start. And if you make one, please drop a comment below to let me know how it turned out. I always love hearing from fellow crafters!
