This is one of those patterns that looks INCREDIBLY impressive but is actually SO satisfying to make. I’m talking about a project that will have everyone asking "did you MAKE that?!" and you’ll get to say yes with a huge grin. The Pink Daisy Granny Square Backpack works up in about 10 to 14 hours, which means you could realistically finish it over a weekend if you’re motivated.
Get the Ad-Free PDF Pattern
You can find the free pattern below, or you can purchase the ad-free printable PDF from my shop.
Get the Printable PDF →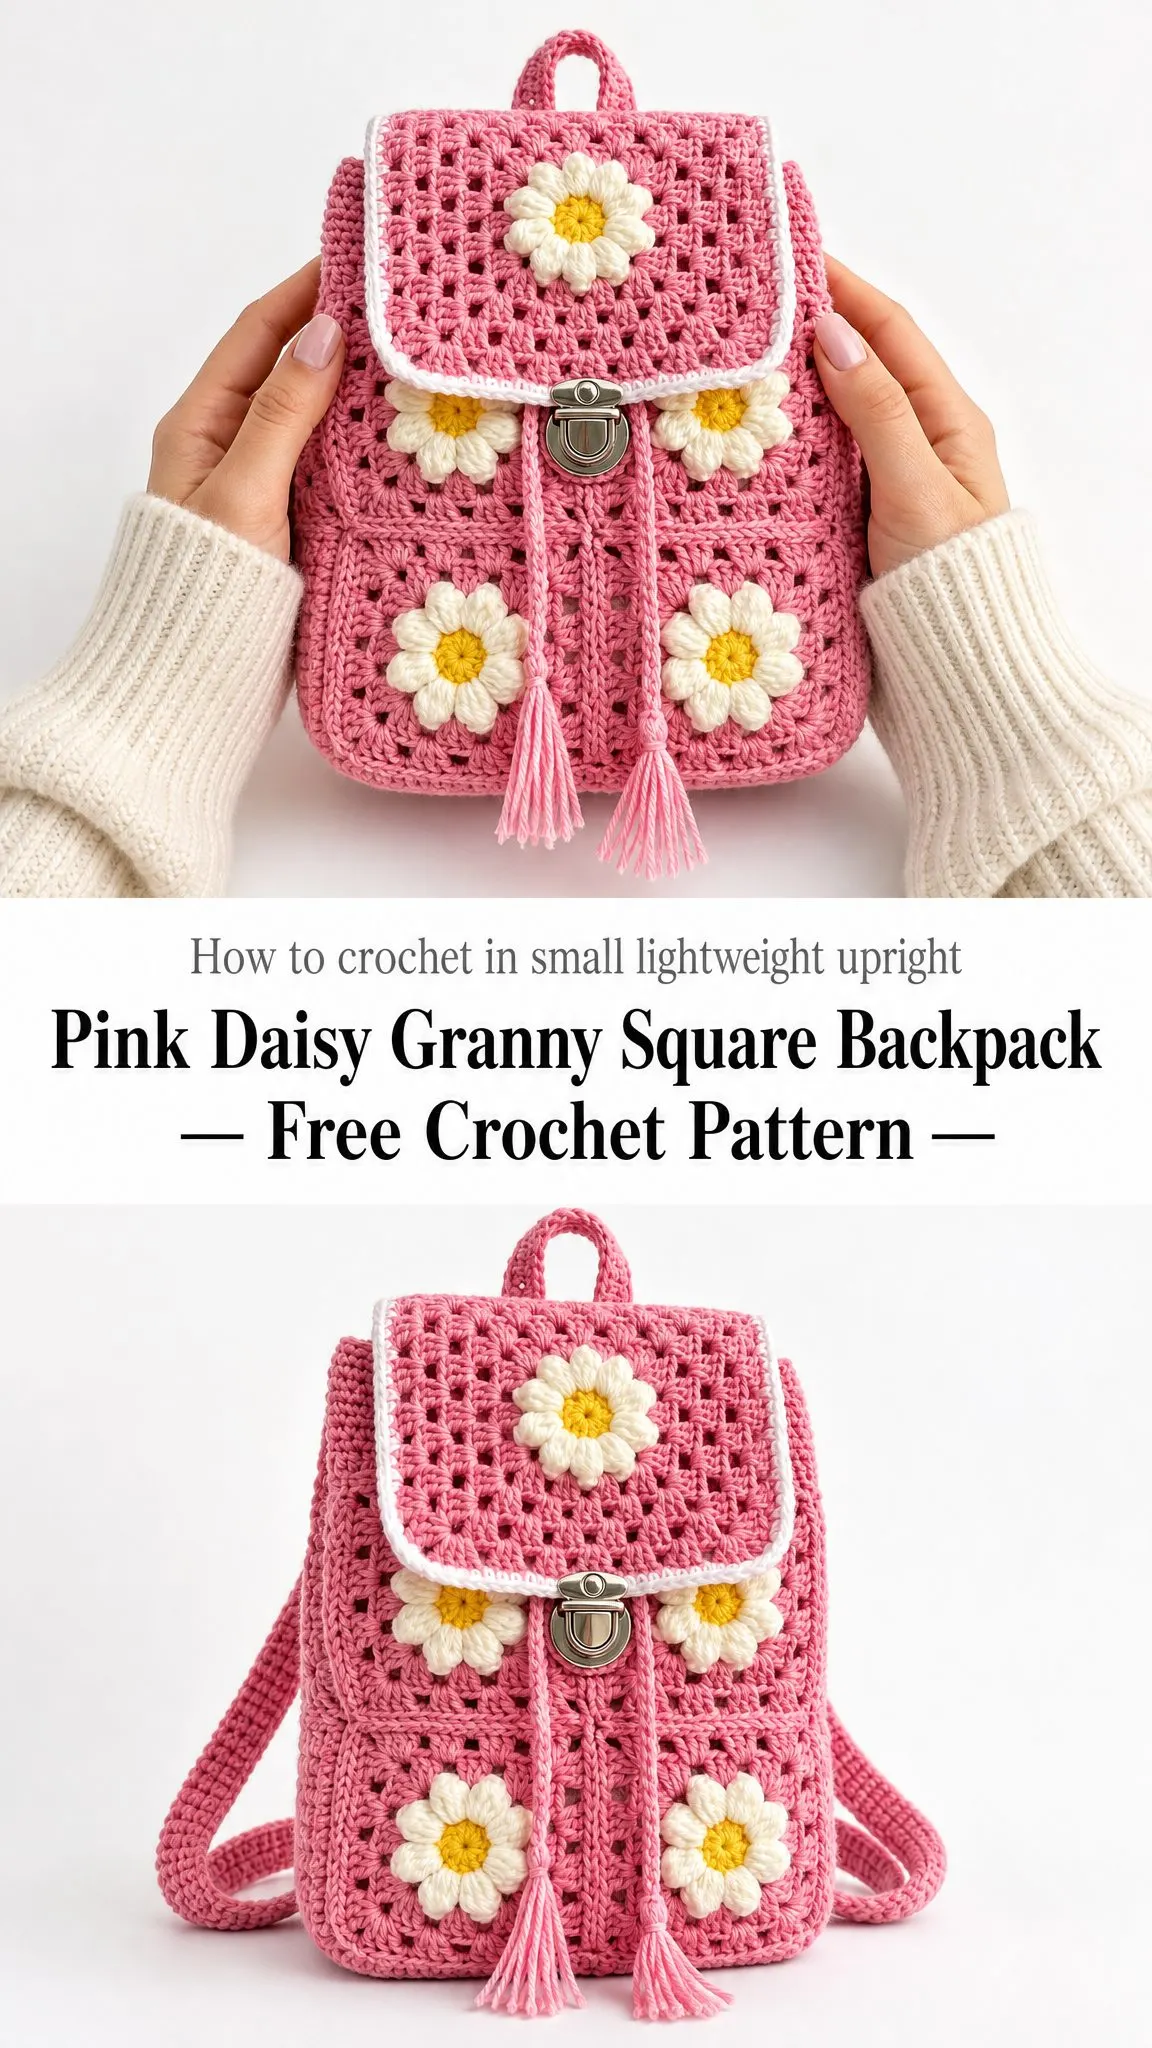
The construction is modular, so you’re making individual granny squares and joining them together. If you can crochet a basic granny square, you can absolutely make this backpack. The puff stitch daisies add that extra wow factor, and they’re easier than they look.
This makes an AMAZING gift for teens, college students, or anyone who loves a cheerful handmade accessory. Let’s dive into everything you need to know to make your own.
About This Pink Daisy Granny Square Backpack Pattern
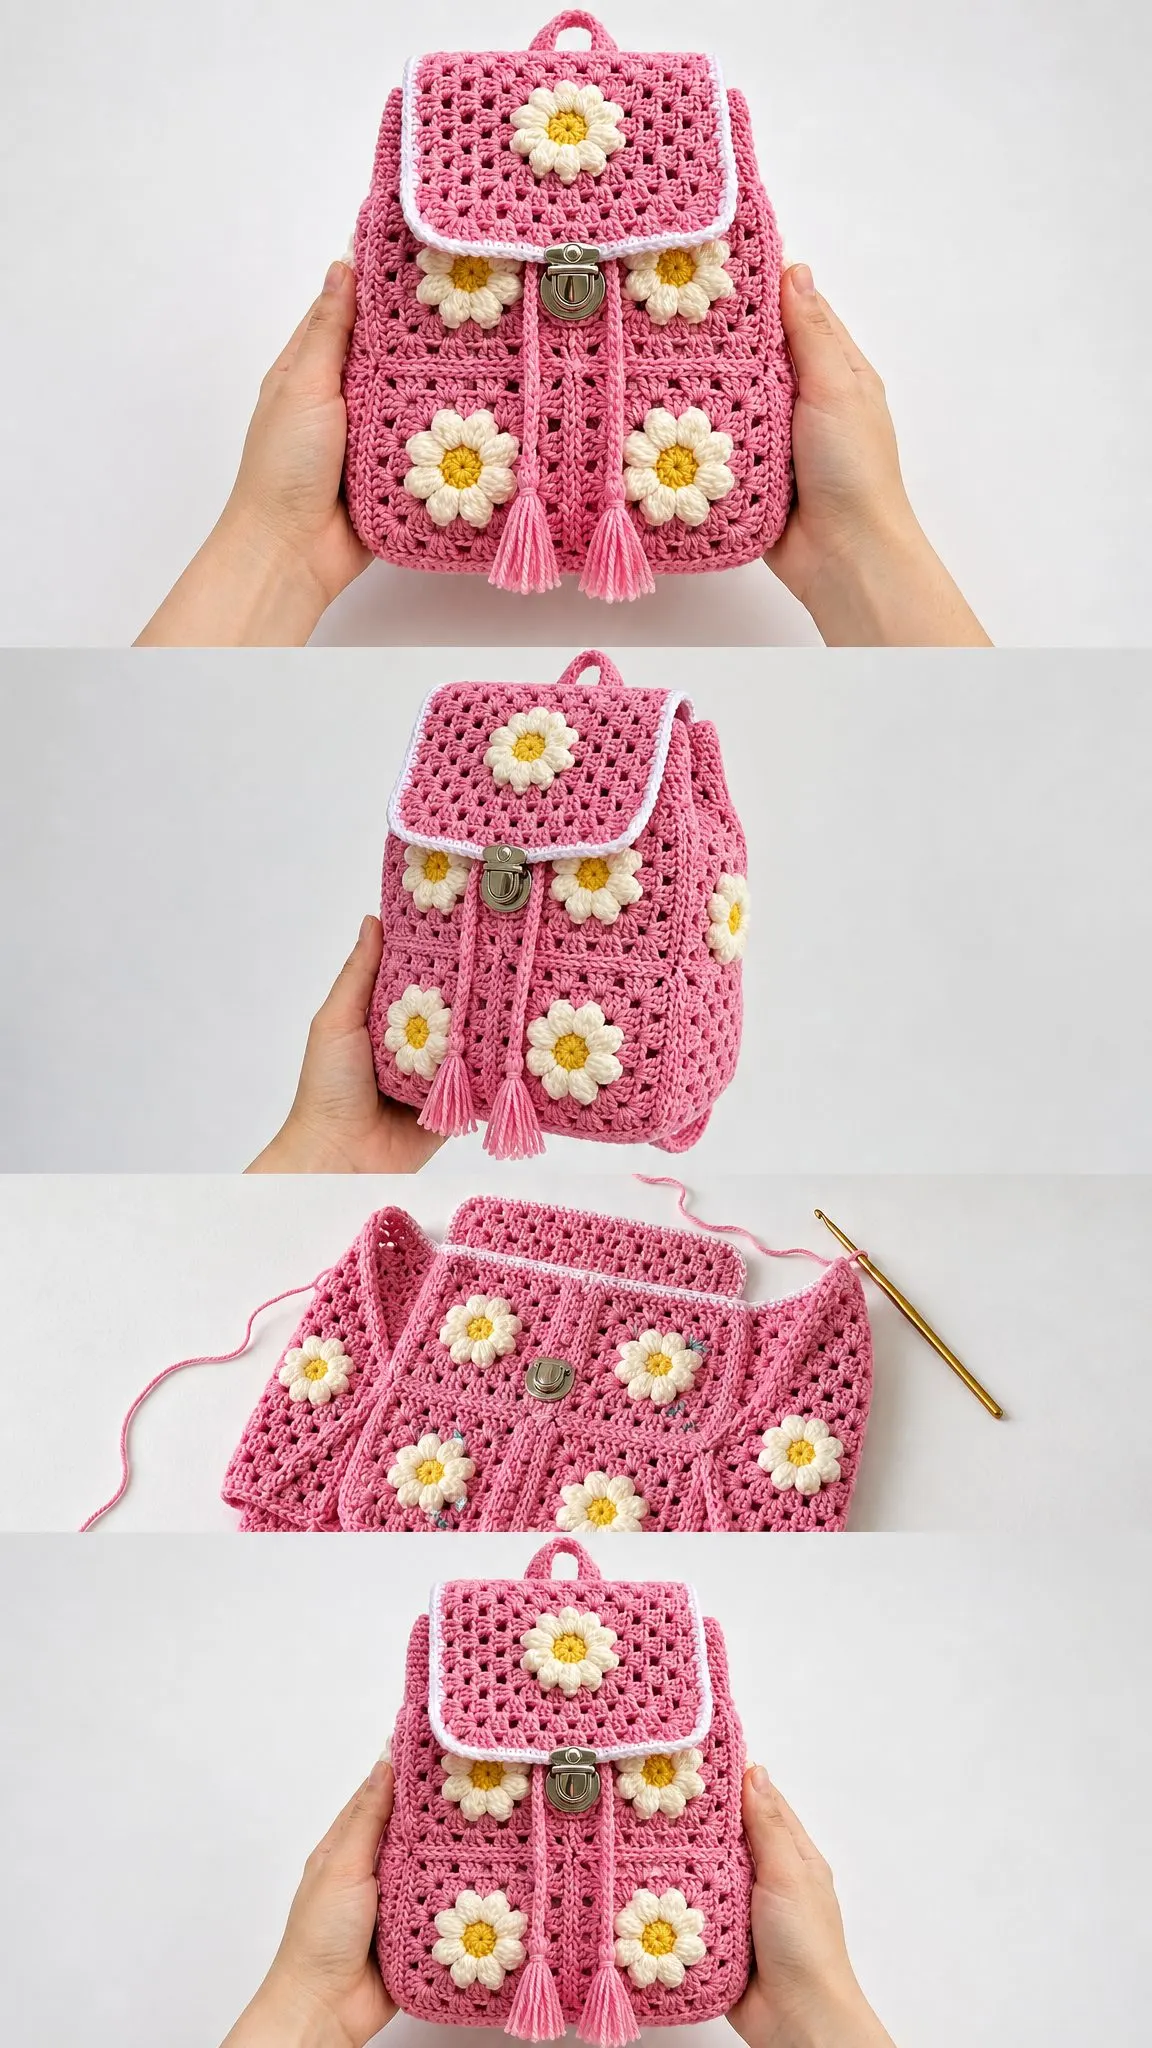
This cheerful backpack features pink granny square texture, raised puff petal daisies, a softly rounded flap, drawstring tassels, padded crochet straps, and a silver tuck lock closure. The finished size measures approximately 9 inches wide by 11 inches tall by 4.25 inches deep (23 x 28 x 11 cm).
The skill level is intermediate, but don’t let that scare you off if you’re a confident beginner. As long as you’re comfortable with basic crochet stitches and willing to learn a new technique or two, you’ll do great.
The construction method is what makes this pattern so approachable. You’ll make 16 individual granny squares, join them into panels for the front, back, sides, bottom, and flap, then assemble everything into a box shape. The daisies get added after blocking, and the finishing details like straps, handle, drawstring, and hardware come last.
Materials You’ll Need
Yarn:
Suggested yarn brands:
You can substitute any worsted cotton that gives you the same granny square size after blocking.
Hook:
Notions:
Optional extras:
Gauge
One finished granny square after Round 6 measures 4.25 inches / 10.8 cm square.
For the single crochet (sc) fabric used in the straps: 14 sc x 16 rows = 4 inches / 10 cm.
Match the square size first. The strap gauge can vary slightly without affecting the final result.
Checkpoint: Four joined squares should measure about 8.5 inches / 21.5 cm across before adding the outer edging.
Abbreviations and Stitch Guide
Here are all the abbreviations used in this pattern. I’ll define each one so you know exactly what to do.
Special Stitches
Granny cluster: Work 3 double crochet stitches in the same chain space. This is the building block of every granny square.
Corner: Work (3 dc, ch 2, 3 dc) all in the indicated corner chain 2 space. This creates the corner turn that makes your square grow evenly.
Puff petal: This creates the dimensional daisy petals. Here’s how: [yarn over, insert hook in stitch, pull up a loop] 4 times in the same stitch (you’ll have 9 loops on your hook), yarn over and pull through 8 loops, yarn over and pull through the final 2 loops, chain 1 to lock. It sounds complicated, but once you do it a few times, it becomes rhythmic.
Surface slip stitch: Hold yarn on the wrong side, insert hook from right side to wrong side, pull up a loop, then slip it through the loop on the hook while keeping tension flat. This is optional and used for strap reinforcement.
Notes for UK Crocheters
US double crochet = UK treble. US single crochet = UK double crochet. The chain 3 counts as 1 double crochet in the granny rounds. Turn only where instructed. Use removable markers at each square corner during assembly.
How to Make the Granny Squares (Make 16)
Round 1: With pink yarn, chain 4 and join to form a ring. Chain 3, work 2 dc in ring, ch 2, 3 dc in ring, ch 2; repeat from 3 more times, join. (4 clusters, 12 dc, 4 corners)
Round 2: Slip stitch to the corner space. Chain 3, 2 dc, ch 2, 3 dc in the same corner, ch 1, work corner in next corner space, ch 1; repeat from 3 more times, join. (8 clusters, 24 dc)
Round 3: Slip stitch to corner. Work corner, ch 1, granny cluster in next ch 1 space, ch 1; corner, ch 1, cluster in next ch 1 space, ch 1; repeat from 3 more times, join. (12 clusters, 36 dc)
Round 4: Work corner, then ch 1 and cluster in each side ch 1 space to next corner; repeat around, join. (16 clusters, 48 dc)
Round 5: Repeat Round 4. (20 clusters, 60 dc)
Round 6: Chain 1, sc in each dc and ch 1 space, work 3 sc in each corner ch 2 space, join. Fasten off. (88 sc)
Block each square to 4.25 inches / 10.8 cm.
How to Make the Daisy Appliques (Make 7)
These adorable daisies are what make this backpack so special. You’ll need 7 total.
Center Round 1: With yellow yarn, make a magic ring. Chain 1, work 8 sc in ring, join. (8 sc)
Center Round 2: Chain 1, work 2 sc in each stitch around, join. (16 sc)
Petals: Join white yarn in any stitch. Slip stitch in next stitch, puff petal in next stitch, ch 1; repeat from 8 times, join and fasten off. (8 petals)
The petals will naturally cup and create dimension. Don’t worry if they look a bit wild at first.
Making the Panels
Now you’ll join your squares into the different sections of the backpack.
Panel Layout
Joining Method
1. Hold two squares with wrong sides together and corners aligned.
2. With pink yarn, working through inner loops only, single crochet across one edge from corner marker to corner marker. (22 joining sc per square edge)
3. At intersections, chain 1 to bridge the seam, then continue with the next edge.
4. Steam block joined panels lightly.
Front/back checkpoint: 8.5 inches W x 8.5 inches H / 21.5 x 21.5 cm.
Daisy Placement
Sew each daisy with the yellow center anchored first, then tack the tip of each petal. Leave petals slightly raised for dimension. Place side daisies before assembly if desired.
Backpack Assembly
This is where your panels become an actual backpack!
Building the Box
1. Join one long edge of the bottom panel to the lower edge of the front panel. (44 sc join)
2. Join the opposite long edge of the bottom panel to the lower edge of the back panel. (44 sc join)
3. Join one side strip between front and back, matching two square edges vertically. (44 sc join)
4. Repeat for the second side strip. (44 sc join)
5. Turn bag right side out. Work one round of sc around all four vertical seams if you want extra structure, placing 1 sc in each seam end stitch. Keep seams flat.
6. Attach the flap panel to the upper back edge, centered across the two back squares. Join through both layers across 44 stitches.
Shape Checkpoint
Before adding top edging, the body should stand as a soft rectangle: about 8.5 inches / 21.5 cm wide, 8.5 inches / 21.5 cm tall, and 4.25 inches / 10.8 cm deep. The flap covers the upper front and lands just below the drawstring row.
Flap Edging
With white yarn, join at the upper right flap corner. Single crochet evenly around the two side edges and lower edge, placing 3 sc at each lower corner. Fasten off. Repeat with pink for a second stabilizing round if the edge waves.
Top Edge, Drawstring, and Clasp
Top Opening
Top Round 1: Join pink at center back. Sc evenly around top opening: 44 sc across front, 22 sc across side, 44 sc across back, 22 sc across side, join. (132 sc)
Top Round 2 (eyelets): Chain 3, dc in next 3 stitches, ch 2, skip 2 stitches, dc in next 4 stitches, ch 2, skip 2 stitches; repeat from around, join. (88 dc, 22 ch 2 spaces)
Top Round 3: Chain 1, sc in each dc and 2 sc in each ch 2 space, join. (132 sc)
Top Round 4: With white, slip stitch loosely in each sc around, join and fasten off. (132 sl sts)
Drawstring
1. With pink, chain 126. Slip stitch in second chain from hook and each chain across. (125 sl sts)
2. Thread through the eyelet round, entering at center front and exiting at center front.
3. Make two tassels approximately 3 inches / 7.5 cm long and attach to drawstring ends.
Tuck Lock Installation
Center the lock plate on the lower front seam line. Center the clasp tab on the flap edge so it meets the plate when the bag is softly filled. Sew securely through multiple yarn strands without distorting the flap.
Straps, Handle, and Final Details
Back Straps (Make 2)
Strap foundation: Chain 6.
Row 1: Sc in second chain from hook and each chain across. (5 sc)
Rows 2 through 92: Chain 1, turn, sc in each stitch across. (5 sc)
The strap measures about 23 inches / 58.5 cm before edging.
Edging: Chain 1, sc evenly around long edges, placing 3 sc in each end corner; join and fasten off.
Attach: Sew top ends 1.25 inches / 3 cm apart at upper back. Sew lower ends to bottom back corners. Reinforce with a square and X stitch pattern.
Top Handle
1. Chain 10. Row 1: sc in second chain from hook and each chain across. (9 sc)
2. Rows 2 through 34: chain 1, turn, sc across. (9 sc)
3. Fold the long strip lengthwise and seam the long edge for a padded handle. Sew to the top back, centered behind the flap.
Optional Lining
Cut lining as one rectangle for front/back/bottom and two side rectangles. Hand stitch to the inside just below Top Round 1. Add a plastic canvas bottom insert for a crisp base.
Finishing and Care
Finishing Steps
Care Instructions
Troubleshooting Common Issues
Square too small or large: Change hook size before making all 16 squares. Going up a hook size makes squares bigger, going down makes them smaller.
Flap curls: Add a second edging round or block with pins at the lower corners.
Top edge ruffles: Keep Top Round 1 at 132 sc. Too many stitches cause flare.
Straps stretch: Use cotton yarn, work with tighter tension, add lining tape, or surface slip stitch down the center for reinforcement.
Customization Ideas
Want to make it your own? Here are some ways to adjust the pattern:
The designer suggests making it yours with extra daisies, a contrast flap edge, or a fabric lining in a sweet floral print. Just keep the square size consistent so the finished panels fit together smoothly.
Final Thoughts on This Pink Daisy Backpack Pattern
This Pink Daisy Granny Square Backpack is the perfect blend of classic granny square construction and modern, cheerful design. The modular approach means you’re never overwhelmed. Just take it one square at a time, one panel at a time, one step at a time.
Whether you’re making this for yourself, a gift, or to sell at craft fairs, the finished backpack is sure to turn heads. The combination of the pink granny squares, dimensional daisies, and practical features like padded straps and a secure tuck lock makes this both beautiful and functional.
Thank you so much for choosing this pattern for your next project! I genuinely hope you love making it as much as I loved sharing it with you. If you make one, I would absolutely love to see it. Tag me on Instagram or share a photo in the Facebook group so we can all admire your work!
If you loved this pattern, go ahead and save it to your Pinterest boards so you can find it easily when you’re ready to start. And please drop a comment below if you make this backpack. I’d love to hear about your color choices and any creative tweaks you added!
Want a Quick & Easy Printable Version?
Get a clean, beautifully formatted PDF of this pattern — easy to follow step by step, ready to print or save on any device. No scrolling, no distractions, just the pattern.
Get the Printable PDF →