Last summer, I ruined my favorite sandals at a beach bonfire. One ember, one tiny hole, and suddenly I was mourning footwear like it was a beloved pet. I stood in my closet the next morning, staring at my yarn stash, and thought, "What if I just made my own?" That slightly unhinged moment turned into weeks of experimenting with granny squares, sandal soles, and buckle placement. Now I have these gorgeous sage green crochet sandals sitting on my bathroom floor, and honestly? They’re better than anything I could have bought.
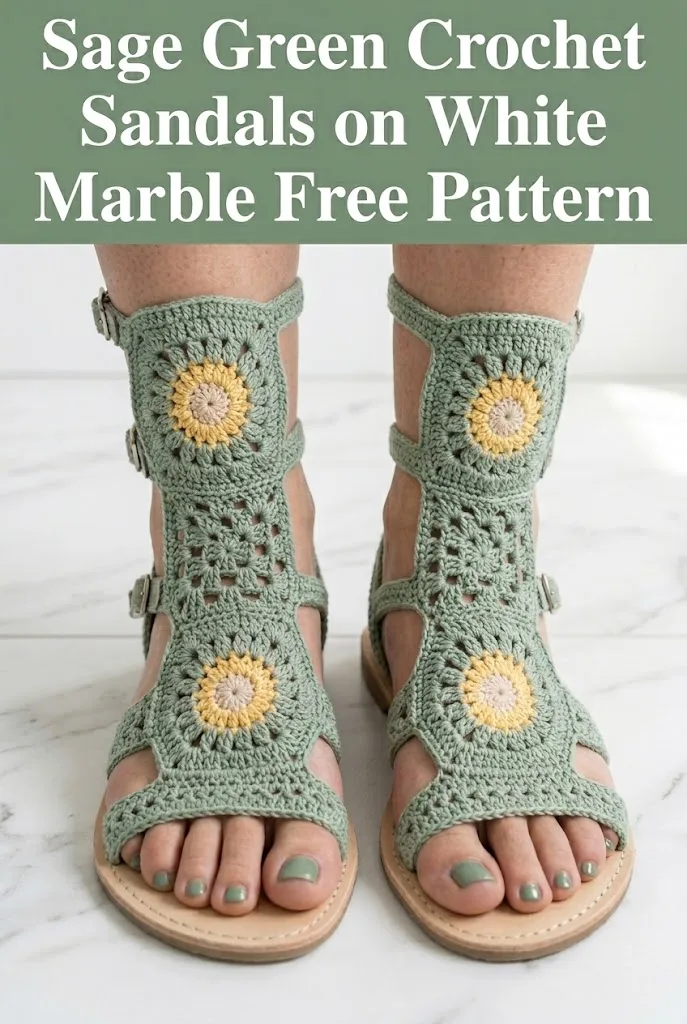
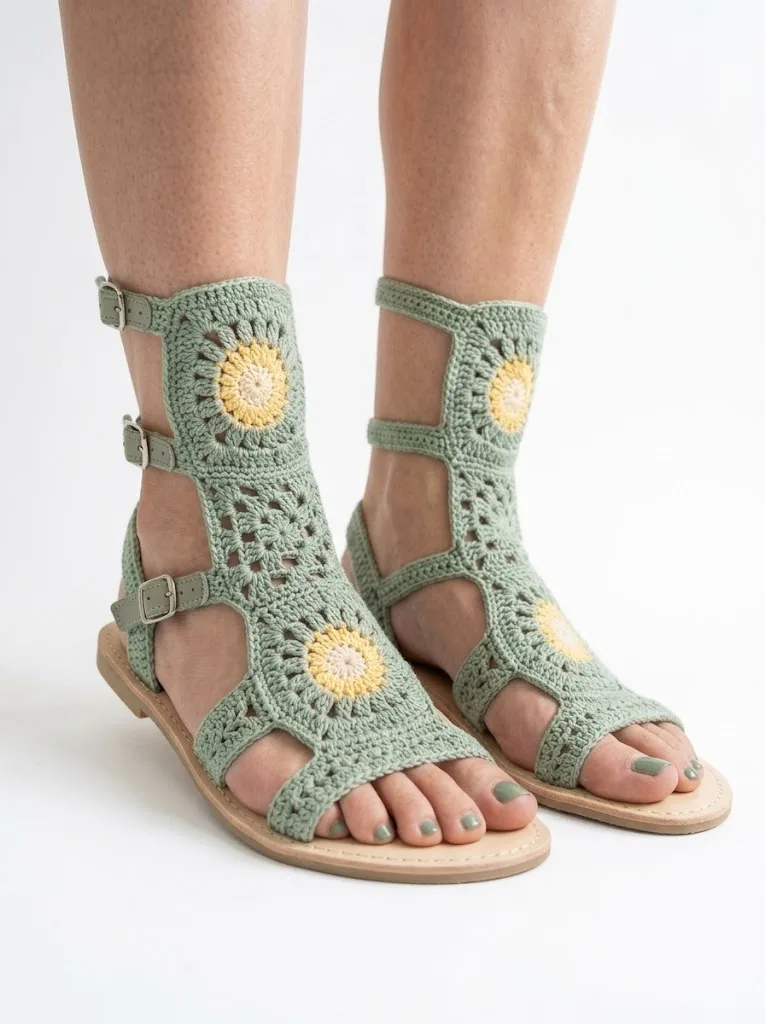
These gladiator-style crochet sandals combine the timeless appeal of granny square construction with a modern, wearable design. The sunburst centers in cream and golden yellow pop beautifully against the sage green border, creating a boho-chic look perfect for summer festivals, beach trips, or just running errands in style. If you’ve ever wanted to crochet something truly unique for your feet, this crochet pattern is your new best friend.
Why You’ll Love This Crochet Sandal Pattern
These aren’t your grandmother’s house slippers. This crochet tutorial walks you through creating actual wearable sandals that attach to a real sole. The construction uses classic granny square techniques you probably already know, assembled in a clever way that wraps around your foot and up your ankle.
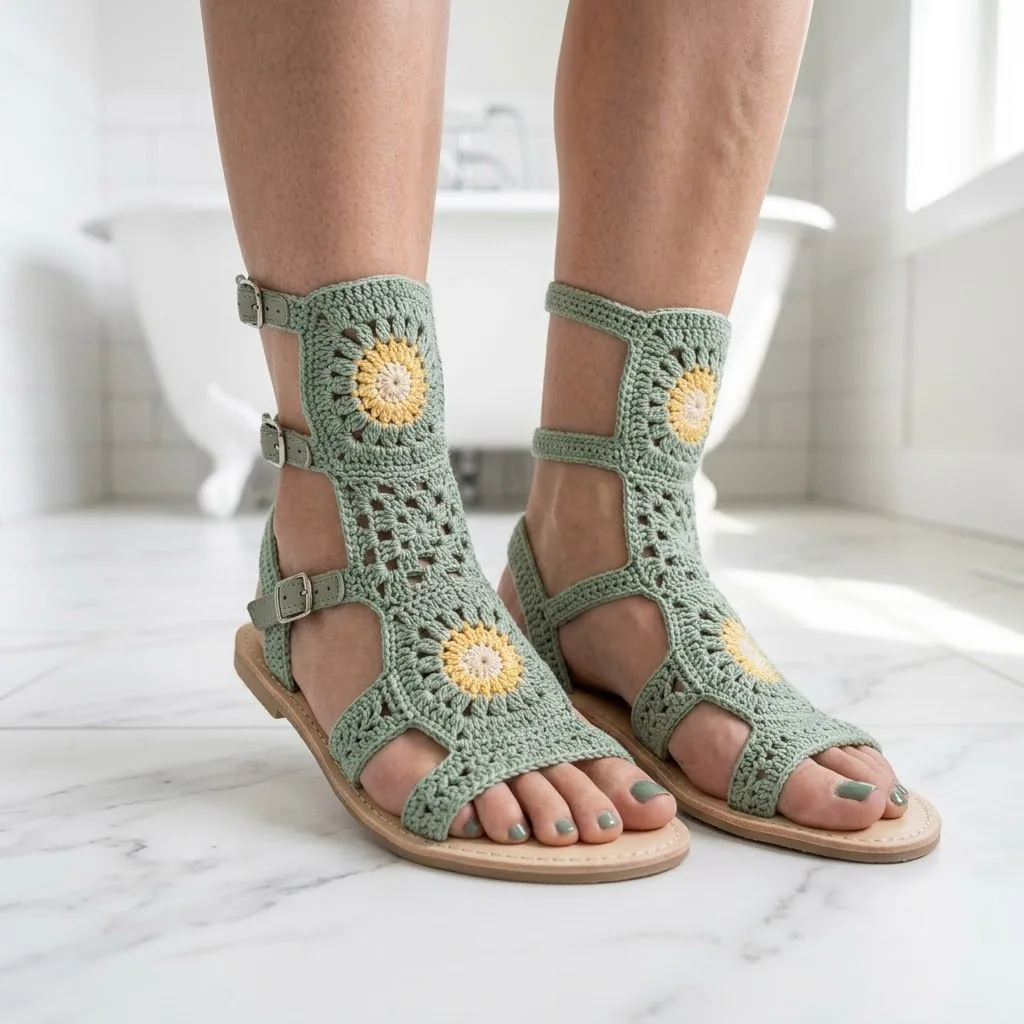
The gladiator silhouette features three adjustable buckle straps, open sides for breathability, and a toe loop that keeps everything secure. You’ll work individual granny squares with sunburst centers, then join them strategically to create the upper portion of the sandal. The whole thing attaches to a purchased leather or cork sandal sole.
Skill level: Intermediate. You should be comfortable with granny squares, working in the round, and basic assembly techniques. If you’ve made granny square slippers before, you can absolutely handle this step by step project.
Materials You’ll Need
Yarn:
I recommend 100% cotton or a cotton blend for durability and breathability. Mercerized cotton gives a lovely sheen. Look for yarns like Paintbox Cotton DK, Drops Safran, or similar.
Tools:
Gauge: Each completed granny square should measure approximately 3.5 inches (9cm) square after blocking.
Abbreviations and Stitch Definitions
Let me walk you through every stitch you’ll use in this pattern. Even if you know these by heart, a quick refresher never hurts.
Ch = Chain. Wrap yarn over hook, pull through loop on hook. This creates foundation stitches.
Sl st = Slip stitch. Insert hook, yarn over, pull through both the stitch and the loop on your hook in one motion. Used for joining rounds.
Sc = Single crochet. Insert hook into stitch, yarn over and pull up a loop (2 loops on hook), yarn over and pull through both loops. A short, tight stitch.
Dc = Double crochet. Yarn over, insert hook into stitch, yarn over and pull up a loop (3 loops on hook), yarn over and pull through 2 loops (2 loops remain), yarn over and pull through remaining 2 loops. A taller stitch that creates the classic granny square look.
3-dc cluster = Three double crochet stitches worked into the same stitch or space. This is the building block of granny squares.
Ch-sp = Chain space. The gap created by chain stitches, where you’ll insert your hook for the next round.
Sunburst Granny Square Pattern
You’ll need four squares per sandal (eight total). Each square features a cream center, golden yellow middle round, and sage green outer rounds.
Round 1 (Color C, Cream)
Create a magic ring. If magic rings intimidate you, you can chain 4 and slip stitch to form a loop instead.
Ch 3 (counts as first dc throughout), work 2 dc into ring, ch 2, *3 dc into ring, ch 2* repeat 3 more times. Sl st to top of beginning ch-3 to join. (12 dc, 4 ch-2 corner spaces)
Fasten off cream and weave in the end. Don’t skip this step. Weaving as you go saves headaches later.
Round 2 (Color B, Golden Yellow)
Join golden yellow with a sl st in any ch-2 corner space.
Ch 3, 2 dc in same corner space, ch 1, 3 dc in same corner space (first corner made), *ch 1, (3 dc, ch 2, 3 dc) in next ch-2 corner space* repeat around. Ch 1, sl st to top of beginning ch-3 to join. (24 dc, 4 ch-2 corner spaces, 4 ch-1 side spaces)
Fasten off golden yellow.
Round 3 (Color A, Sage Green)
Join sage green with a sl st in any ch-2 corner space.
Ch 3, 2 dc in same corner space, ch 2, 3 dc in same corner space (first corner made), *ch 1, 3 dc in next ch-1 space, ch 1, (3 dc, ch 2, 3 dc) in corner ch-2 space* repeat around. End with ch 1, 3 dc in last ch-1 space, ch 1, sl st to beginning ch-3 to join. (36 dc)
Round 4 (Color A, Sage Green)
Ch 3, 2 dc in same space between clusters, *ch 1, (3 dc, ch 2, 3 dc) in corner ch-2 space, ch 1, 3 dc in next ch-1 space, ch 1, 3 dc in next ch-1 space* repeat around, adjusting final stitches to end correctly. Sl st to join. (48 dc)
Round 5 (Color A, Sage Green)
Work one more round following the same pattern, adding another 3-dc cluster on each side between corners. (60 dc)
After completing Round 5, each square should have three clusters per side plus the corner clusters.
Fasten off, leaving a long tail on two of the squares for seaming later.
Assembling the Sandal Upper
Now comes the fun part. You’ll connect your squares to create the gladiator shape.
Toe Section
Take one square and fold it corner to corner to create a triangle shape. The fold creates your toe opening. Using sage green yarn and your tapestry needle, whip stitch approximately 1.5 inches along each folded edge, leaving the center open for your toe to peek through.
Instep Section
Position a second square directly above the toe section. Using whip stitch or slip stitch crochet, join the top edge of the toe section to the bottom edge of the instep square. Work through both layers, keeping your stitches neat and even.
Ankle Section
Join the remaining two squares vertically, one above the other, connecting to the top of the instep square. These will wrap around your ankle. Leave strategic gaps on the sides for the buckle straps. Each gap should be approximately 1 inch wide.
Creating the Straps
You’ll create three strap anchors on each side of the sandal.
Strap Bases
With sage green, join yarn at the edge of a side gap.
Row 1: Ch 1, sc 6 across the gap edge. Turn. (6 sts)
Row 2: Ch 1, sc in each sc across. Turn. (6 sts)
Rows 3-4: Repeat Row 2.
Fasten off. These provide stable anchor points for your buckles.
Repeat for all six strap positions (three on each side of each sandal).
Edging
Work a clean border around all exposed edges of the assembled upper.
Join sage green at any point along the outer edge.
Round 1: Ch 1, sc evenly around the entire perimeter, working 3 sc in each corner for smooth turning. Sl st to join.
Round 2: Ch 1, sc in each sc around, maintaining the 3-sc corners. Sl st to join.
Fasten off and weave in all remaining ends.
Attaching the Sole
This is where your sandals become actual footwear.
Positioning
Place your crocheted upper on top of the sandal sole. The toe section should align with the front of the sole, with your toe loop positioned over the front edge.
Securing to Sole
Using a tapestry needle and a doubled length of sage green yarn (or strong thread in a matching color), sew the crocheted upper to the sole through the pre-punched holes. Work small, tight stitches. Go around the perimeter twice for extra security.
If your soles don’t have pre-punched holes, you can use leather glue as an alternative, or carefully punch your own holes with an awl.
Attaching Buckles and Straps
Thread your leather straps through the buckles. Sew or rivet one end of each strap securely to the outer side of the sandal at each strap base. The buckle end should face outward.
On the inner side, create strap keepers by crocheting a small loop (ch 10, sl st to join, sc around the chain) and sewing it to each corresponding position. Your leather straps will thread through these loops and secure through the buckles.
Sizing Adjustments
The pattern as written fits approximately a women’s size 7-8 US. Here’s how to adjust:
For smaller sizes (5-6): Stop at Round 4 on your granny squares, or use a smaller hook (3.25mm).
For larger sizes (9-10): Add an additional round to each granny square, or use a slightly larger hook (3.75mm).
Always compare your assembled upper to your foot and sandal sole before final attachment. You can add or remove rounds of edging to fine-tune the fit.
Care Instructions
Cotton yarn is wonderful for summer footwear, but these sandals do require some care.
Spot clean when possible using a damp cloth and mild soap.
Hand wash in cool water with gentle detergent when needed. Reshape and lay flat to dry.
Avoid machine washing or drying, which can distort the granny squares and weaken the attachment to the sole.
Store flat or stuffed with tissue paper to maintain shape.
Tips for Success
A few things I learned while perfecting this design:
Block your squares before assembly. This makes joining much easier and gives you a polished final look.
Use stitch markers liberally when positioning pieces. Mark where the toe opening should be, where straps will attach, and where squares meet.
Try on frequently during assembly. Everyone’s feet are different, and what works for my size 8 feet might need tweaking for yours.
Consider your sole carefully. Cork soles are lightweight but less durable. Leather soles last longer but cost more. Rubber-soled flip flops can work in a pinch for a super budget-friendly option.
The buckles are optional. You can substitute ribbon ties, button loops, or even elastic for a slip-on style if you prefer.
Styling Your Crochet Sandals
These gladiator sandals pair beautifully with flowy maxi skirts, denim shorts, or linen pants. The sage green is incredibly versatile. It works with neutrals, pairs gorgeously with mustard or coral, and looks stunning against white.
I’ve worn mine to farmer’s markets, backyard barbecues, and casual outdoor weddings. They’re conversation starters every single time. People genuinely cannot believe these are handmade.
Thank you so much for choosing this pattern for your next crochet project. I really hope you love making these sandals as much as I loved designing them. When you finish your pair, please tag me on Instagram or share a photo in our Facebook group. I absolutely love seeing your color combinations and styling choices.
If this crochet sandal pattern inspired you, go ahead and save it to your Pinterest boards so you can find it when sandal season rolls around again. And please drop a comment below if you make them. I’d love to hear how they turned out and see which colors you chose for your sunburst centers!
