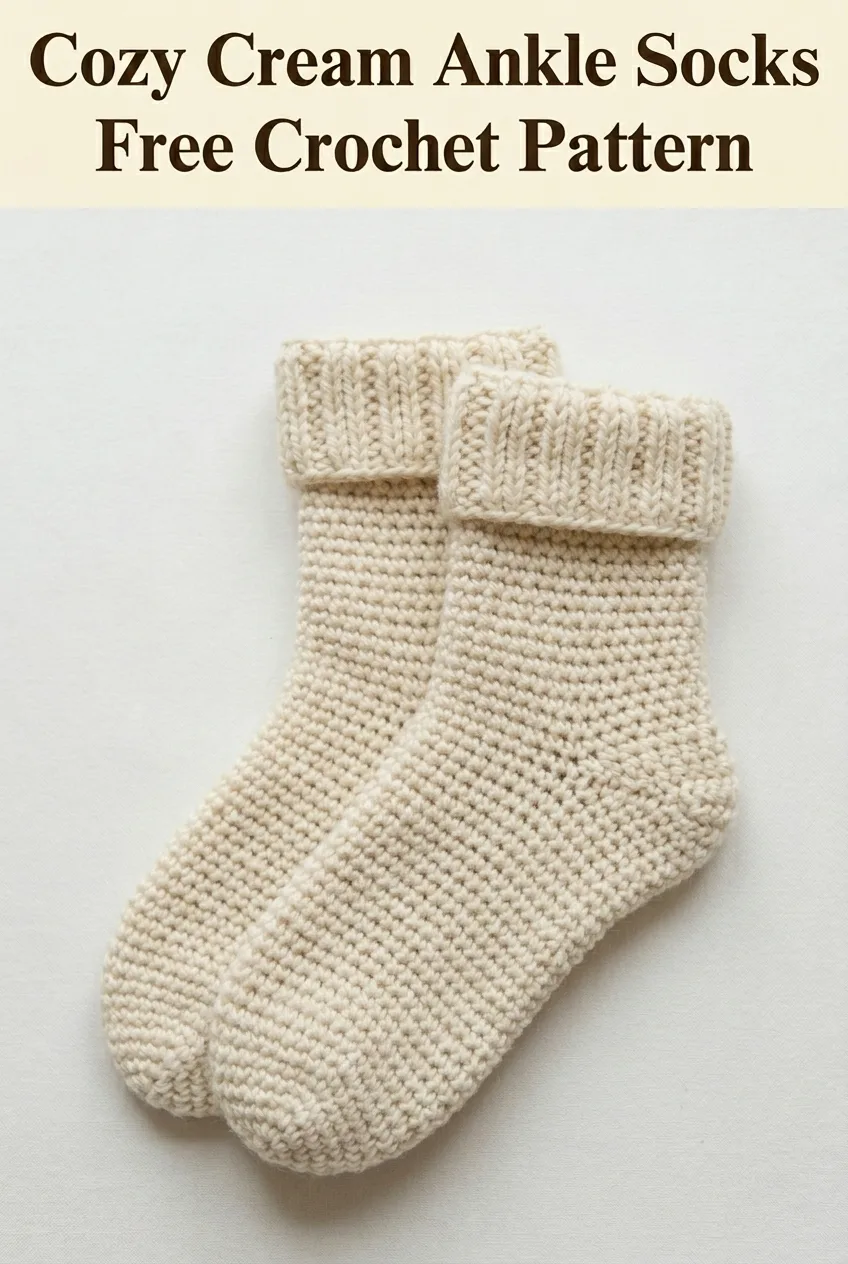
This is a classic pair of crochet ankle socks with a ribbed folded cuff. The construction uses basic stitches worked in the round. You will need intermediate skills and about 3 to 4 hours per sock. The result is a cozy, fitted sock perfect for lounging at home.
Why You Will Love This Crochet Sock Pattern
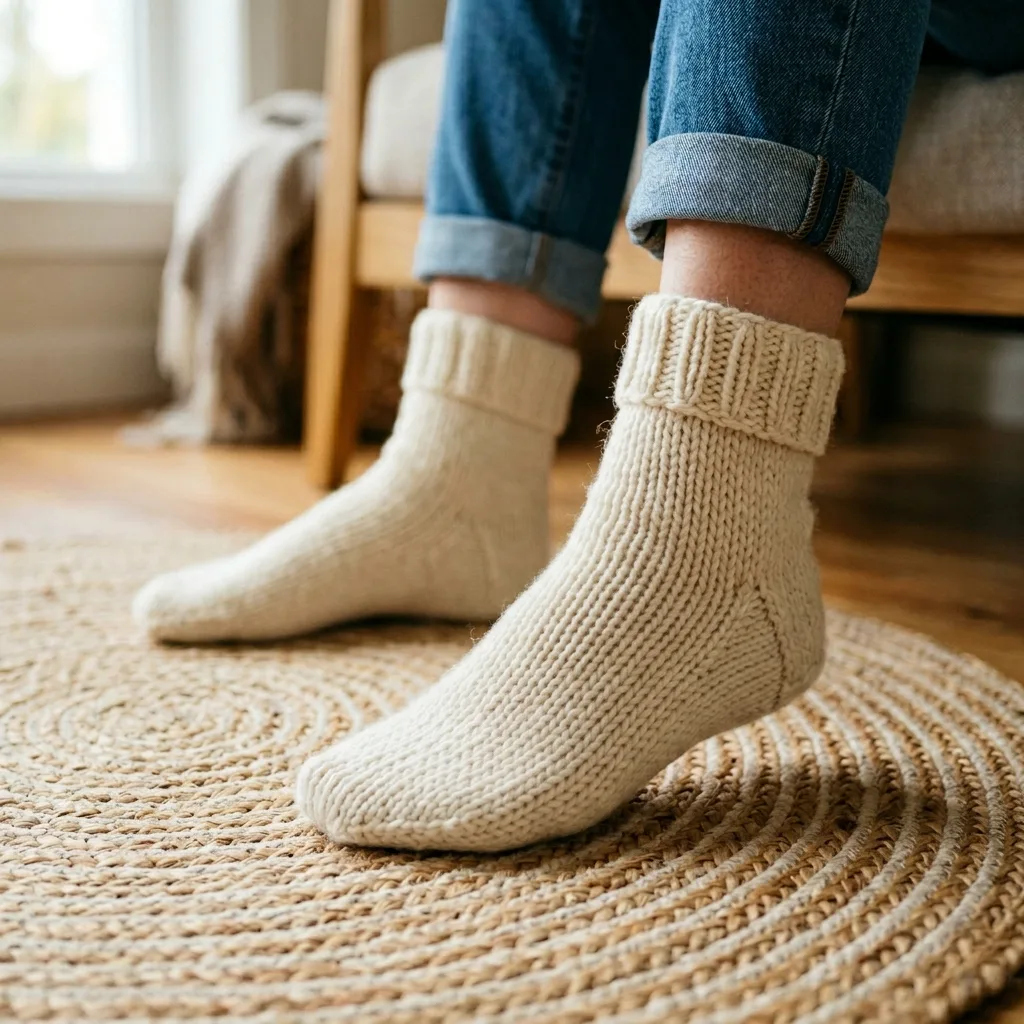
Crocheted socks have a reputation for being complicated, but this ankle sock pattern breaks everything down into manageable sections. You will work from the cuff down to the toe, shaping the heel with short rows. The ribbed cuff creates stretch and keeps the socks snug around your ankle. Once you understand the construction, you will want to make pair after pair.
These cream ankle socks work up in a lovely dense fabric that feels warm without being bulky. The neutral color makes them versatile, but you could easily swap in your favorite shade. They make a thoughtful handmade gift for anyone who appreciates cozy accessories.
Materials You Will Need
Yarn: Approximately 200 to 250 yards of fingering weight yarn (also called sock yarn or 4-ply) in cream or your preferred color. Look for a yarn with some nylon content for durability. A superwash wool blend works beautifully and can handle washing.
Hook: 3.25 mm crochet hook (US D/3). You may need to adjust your hook size to match gauge.
Notions:
Gauge: 24 stitches and 28 rows = 4 inches in single crochet worked in the round. Gauge matters for socks because they need to fit your foot. Take time to check yours before starting.
Finished Measurements
This pattern is written for a women’s medium foot (approximately US size 7 to 8).
Skill Level
Intermediate. You should be comfortable working in the round, increasing, decreasing, and following written instructions. The heel shaping requires short rows, which I will explain in detail.
Abbreviations and Stitch Definitions
Before we begin, let me define every stitch and abbreviation you will encounter.
Ch = Chain. Wrap yarn over hook, pull through loop on hook. This creates the foundation for most crochet projects.
Sl st = Slip stitch. Insert hook into stitch, yarn over, pull through both the stitch and the loop on your hook in one motion. Used for joining rounds and creating ribbing texture.
Sc = Single crochet. Insert hook into stitch, yarn over, pull up a loop (2 loops on hook), yarn over, pull through both loops. This creates the main fabric of the sock.
Sc2tog = Single crochet two together. A decrease that turns 2 stitches into 1. Insert hook into first stitch, pull up a loop, insert hook into next stitch, pull up a loop (3 loops on hook), yarn over, pull through all 3 loops.
BLO = Back loop only. Instead of inserting your hook under both loops of the stitch, insert it under only the back loop. This creates the ribbed texture on the cuff.
FLO = Front loop only. Insert hook under only the front loop of the stitch.
Inc = Increase. Work 2 single crochet stitches into the same stitch.
Rnd = Round
St(s) = Stitch(es)
Special Techniques
Working in the Round
This sock is worked continuously in a spiral without joining at the end of each round. Use a stitch marker to track the beginning of your rounds. Move the marker up as you work.
Short Row Heel Shaping
The heel is created using short rows. This means you will work back and forth across only a portion of your stitches, turning before completing the full round. I will walk you through each turn.
Ribbed Cuff
The cuff is worked separately in rows, then joined into a tube. Working in the back loop only creates vertical ridges that look like knit ribbing and provide excellent stretch.
Step by Step Crochet Pattern Instructions
Part 1: The Ribbed Cuff
The cuff is worked flat in rows, then seamed into a tube.
Foundation: Ch 14.
Row 1: Sc in 2nd ch from hook and in each ch across. Turn. (13 sts)
Row 2: Ch 1 (does not count as a stitch throughout), sc BLO in each st across. Turn. (13 sts)
Rows 3 through 48: Repeat Row 2. Turn at the end of each row. (13 sts each row)
You should have a long rectangle with visible horizontal ridges on one side and vertical ridges on the other. The vertical ridges will face outward on the finished sock.
Joining the Cuff:
Fold the rectangle so the short edges meet. Working through both layers, sl st across to join into a tube. Do not fasten off. You now have a circular cuff with 48 rows around the circumference.
Part 2: Joining the Leg
Turn the cuff so the seam is on the inside. You will now work into the row ends along one edge of the cuff.
Setup Round: Ch 1, work 48 sc evenly around the edge of the cuff, placing 1 sc into each row end. Place a stitch marker to mark the beginning of the round. Do not join. (48 sts)
Rounds 1 through 6: Sc in each st around, moving your marker up each round. (48 sts)
At this point, you have completed the leg portion. The fabric should measure approximately 1.5 inches from the base of the cuff ribbing.
Part 3: Heel Flap
The heel is worked back and forth across half of your stitches. The other half will become the instep.
Row 1: Sc in the next 24 sts. Turn. Leave remaining 24 sts unworked for now. (24 sts)
Row 2: Ch 1, sc in each st across. Turn. (24 sts)
Rows 3 through 18: Repeat Row 2. (24 sts each row)
You should have a rectangular flap measuring approximately 2 inches.
Part 4: Heel Turn (Short Rows)
This is where we shape the cup of the heel. Read through this section before starting.
Row 1: Ch 1, sc in the first 14 sts, sc2tog, sc 1. Turn. Leave remaining stitches unworked. (16 sts worked)
Row 2: Ch 1, skip the first st, sc in next 6 sts, sc2tog, sc 1. Turn. (8 sts worked)
Row 3: Ch 1, skip the first st, sc across to the gap (where you turned in the previous row), sc2tog (working into the last st before the gap and the first st after the gap), sc 1. Turn.
Row 4: Repeat Row 3.
Rows 5 through 8: Continue repeating Row 3 until all heel flap stitches have been incorporated. You should end with approximately 10 to 12 stitches across the heel.
Do not turn after the final row.
Part 5: Gusset
Now you will pick up stitches along the sides of the heel flap and rejoin the instep stitches.
Pickup Round:
Decrease Rounds:
Round 1: Sc to 3 sts before the instep, sc2tog, sc 1, sc across instep, sc 1, sc2tog, sc to end of round. (2 sts decreased)
Round 2: Sc in each st around.
Rounds 3 through 12: Repeat Rounds 1 and 2 until you have 48 sts remaining.
Part 6: Foot
Rounds 1 through 30: Sc in each st around. (48 sts)
Continue working even rounds until the foot measures approximately 2 inches less than your desired total foot length. For a women’s size 7 to 8, work until the foot measures about 7 inches from the back of the heel.
Part 7: Toe Shaping
Round 1: *Sc in next 10 sts, sc2tog* repeat around. (44 sts)
Round 2: Sc in each st around. (44 sts)
Round 3: *Sc in next 9 sts, sc2tog* repeat around. (40 sts)
Round 4: Sc in each st around. (40 sts)
Round 5: *Sc in next 8 sts, sc2tog* repeat around. (36 sts)
Round 6: *Sc in next 7 sts, sc2tog* repeat around. (32 sts)
Round 7: *Sc in next 6 sts, sc2tog* repeat around. (28 sts)
Round 8: *Sc in next 5 sts, sc2tog* repeat around. (24 sts)
Round 9: *Sc in next 4 sts, sc2tog* repeat around. (20 sts)
Round 10: *Sc in next 3 sts, sc2tog* repeat around. (16 sts)
Round 11: *Sc in next 2 sts, sc2tog* repeat around. (12 sts)
Round 12: *Sc 1, sc2tog* repeat around. (8 sts)
Fasten off, leaving a 6 inch tail. Thread tail through tapestry needle, weave through the front loops of the remaining 8 stitches, pull tight to close the toe. Weave in end securely on the inside.
Finishing Your Cozy Cream Ankle Socks
Weave in all remaining ends using your tapestry needle. For the cuff seam, weave the tail along the inside of the ribbing so it stays invisible.
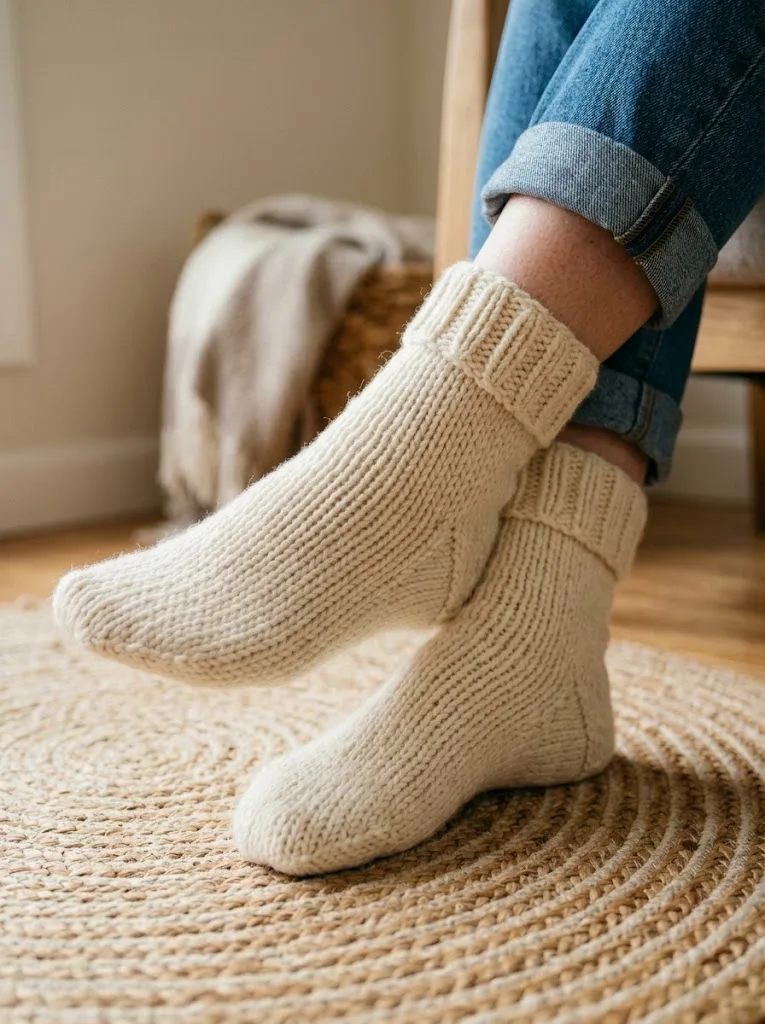
Blocking: Gently wash your socks in cool water with wool wash. Roll in a towel to remove excess water. Lay flat or place over sock blockers to dry. The ribbed cuff will naturally fold over once dry.
Making the Second Sock: Repeat the entire pattern for the second sock. I recommend making both socks at the same time if you have two balls of yarn. This helps ensure they match in gauge and size.
Tips for Success
If your socks feel too tight: Go up one hook size or add 4 to 8 stitches to the leg and foot sections. Adjust your toe decreases accordingly.
If your socks feel too loose: Go down one hook size or reduce the stitch count. You can also try a yarn with less stretch.
For larger sizes: Add 8 stitches to the foundation cuff (ch 16 instead of 14 and work 15 sts per row for 56 rows). Adjust the leg to 56 stitches and modify the heel and toe math accordingly.
For smaller sizes: Reduce the cuff rows to 40 and work 40 stitches around the leg.
Why This Crochet Sock Pattern Works
The dense single crochet fabric creates a sock that holds its shape and provides warmth. The ribbed cuff adds stretch without requiring complicated stitch patterns. By working from the cuff down, you can try the sock on as you go and adjust the foot length to your exact measurement.
This beginner friendly approach to sock construction breaks down what might seem intimidating into simple sections. Once you master this basic crochet sock tutorial, you will have the foundation to explore colorwork, texture patterns, and other variations.
More Ways to Customize
Color options: Try a self-striping sock yarn for automatic color changes. You could also work the cuff in a contrasting color for a fun accent.
Longer cuff: Simply work more rows on the ribbed cuff section for a higher sock. Add 16 to 20 rows for a crew sock height.
No-fold cuff: If you prefer a cuff that does not fold over, work fewer rows (about 24 to 30) on the ribbing section.
Add grip: Sew or glue fabric paint dots to the sole for non-slip socks. Let dry completely before wearing.
Thank you so much for choosing this cozy cream ankle socks crochet pattern. I hope the step by step instructions helped you feel confident tackling sock construction. There is something so satisfying about wearing handmade socks, and I know yours will turn out beautifully.
If you loved making these socks, I would be so grateful if you saved this pattern to your Pinterest boards so you can find it again later. And please drop a comment below if you make a pair. I genuinely love seeing what you create, and your photos always brighten my day. Happy crocheting!
