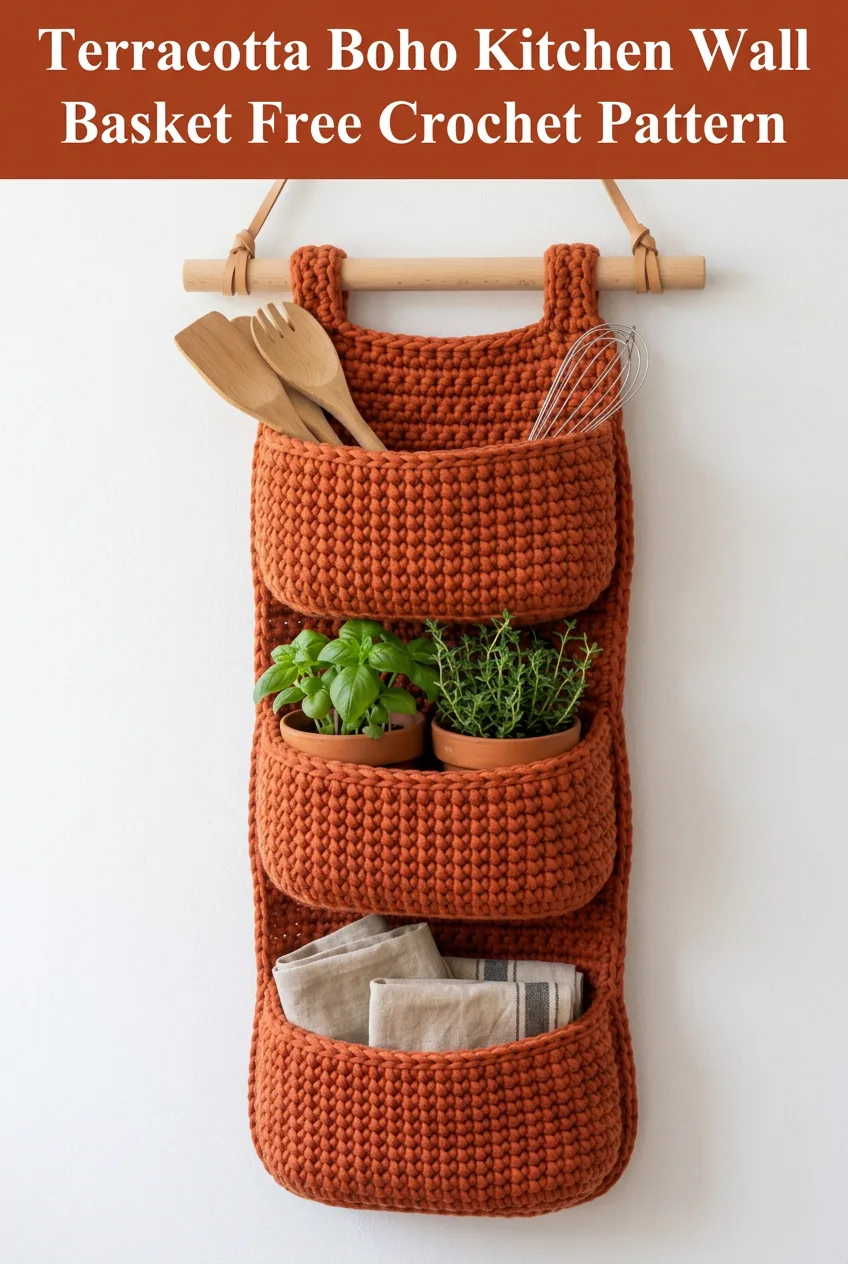
I have been dreaming about creating a wall organizer that looks like it belongs in a high-end home goods store but works up quickly with chunky yarn. My design goals were simple: three generous pockets, a sturdy construction that holds actual weight, and that gorgeous textured look you get from working with thick cotton cord. I wanted something practical enough for everyday kitchen storage but beautiful enough to leave on display. I am SO pleased with how this turned out! The terracotta color gives it that warm boho vibe, and the wooden dowel hanger adds the perfect natural touch.
Why You Will Love This Crochet Wall Basket Pattern
This hanging wall organizer is one of those projects that looks complicated but comes together faster than you might expect. The entire piece uses just two basic stitches worked in a simple construction method. You will create three identical pockets, join them to a backing panel, and add loops for the wooden dowel. That is it.
The single crochet (sc) stitch creates that dense, tightly woven texture you see in the photo. This tight fabric is exactly what you want for a storage basket because it holds its shape and supports weight without sagging or stretching.
I designed this pattern for confident beginners and intermediate crocheters. If you have made a basic bag or basket before, you can absolutely make this wall organizer.
Materials Needed for Your Crochet Wall Basket
Yarn:
Hook:
Notions:
Gauge:
10 single crochet stitches and 10 rows = 4 inches in single crochet
Gauge is important for this project to ensure your pockets are the correct size.
Skill Level and Techniques
Skill Level: Confident Beginner to Intermediate
Techniques Used:
Stitch Abbreviations and Definitions
Ch (Chain): The foundation stitch that creates your starting row. Yarn over, pull through the loop on your hook.
Sl st (Slip Stitch): A flat stitch used for joining. Insert hook, yarn over, pull through both loops at once.
Sc (Single Crochet): Insert hook into stitch, yarn over and pull up a loop (two loops on hook), yarn over and pull through both loops. This creates one short, dense stitch.
Inc (Increase): Work two single crochet stitches into the same stitch to add width.
Finished Dimensions
Pattern Notes Before You Begin
This wall basket is constructed in pieces and then assembled. You will make three identical pockets, one backing panel, and two hanging loops. Do not worry if the construction sounds complicated. I will walk you through each step.
The pockets are worked from the bottom up, starting with an oval base and then building the sides in continuous rounds. If you have ever crocheted a basket, this will feel familiar.
When working with chunky cotton cord, your hands may tire more quickly than with regular yarn. Take breaks as needed. The cord can be stiff at first but softens as you work with it.
I recommend using stitch markers to track the beginning of each round, especially on the pockets.
Crochet Pattern Instructions
Pocket (Make 3)
Base:
Round 1: Ch 15. Starting in the 2nd ch from hook, work 1 sc in each of the next 13 ch. Work 3 sc in the last ch (this is the end of the oval). Rotate to work along the opposite side of the foundation chain. Work 1 sc in each of the next 12 ch. Work 2 sc in the last ch. Sl st to the first sc to join. (30 sts)
Round 2: Ch 1 (does not count as a stitch here and throughout). Work 1 sc in each of the next 13 sts. Work 2 sc in each of the next 3 sts (increase at the curve). Work 1 sc in each of the next 12 sts. Work 2 sc in each of the next 2 sts. Sl st to join. (36 sts)
Round 3: Ch 1. Work 1 sc in each of the next 14 sts. Work [1 sc, inc] 3 times around the curve. Work 1 sc in each of the next 13 sts. Work [1 sc, inc] 2 times. Sl st to join. (42 sts)
Round 4: Ch 1. Work 1 sc in each st around. Sl st to join. (42 sts)
At this point, your base should measure approximately 6 inches long and 3.5 inches wide. Adjust hook size if needed.
Sides:
Round 5: Ch 1. Working in the back loops only (BLO) for this round, sc in each st around. Sl st to join. (42 sts)
This back loop round creates a defined edge where the base meets the sides. You will see a nice ridge form.
Rounds 6 through 15: Ch 1. Working through both loops, sc in each st around. Sl st to join. (42 sts each round)
That is 10 rounds of straight single crochet for the pocket walls. Your pocket should measure approximately 5 to 6 inches tall from the base.
Fasten off and weave in the end.
Repeat to make 3 pockets total. Set aside.
Backing Panel
The backing panel connects all three pockets and provides structure.
Row 1: Ch 27. Starting in the 2nd ch from hook, sc in each ch across. Turn. (26 sts)
Rows 2 through 70: Ch 1. Sc in each st across. Turn. (26 sts)
Your backing panel should measure approximately 10 inches wide and 28 inches long. This creates enough space for three pockets with room between them.
Fasten off and weave in ends.
Hanging Loops (Make 2)
Row 1: Ch 20. Starting in the 2nd ch from hook, sc in each ch across. (19 sts)
Fasten off, leaving a long tail for sewing.
These loops will wrap around your wooden dowel and attach to the top of the backing panel.
Assembly Instructions
Now comes the satisfying part where everything comes together.
Step 1: Block Your Pieces (Optional but Recommended)
Lay your backing panel flat and gently steam or wet block to even out your stitches. This step is especially helpful with cotton cord, which can be uneven. Allow pieces to dry completely.
Step 2: Position Your Pockets
Lay the backing panel flat with the right side facing up. Position your three pockets evenly spaced along the length:
Leave room at the very top for the hanging loops.
Step 3: Attach the Pockets
Using your yarn needle and a length of matching yarn, whip stitch the back of each pocket to the backing panel. Work through the back loops of the pocket edge and through the backing panel stitches.
Start at one side of the pocket opening and work all the way around the bottom and back up the other side. You are attaching the outer edge of each pocket, leaving the front open for storage.
Take your time with this step. Secure stitching ensures your pockets can hold weight without pulling away.
Step 4: Attach the Hanging Loops
Position one loop at each top corner of the backing panel, approximately 1 inch from the edge. Fold the loop in half to create a tab shape. Sew both ends securely to the back of the panel.
These loops should be large enough to slide over your wooden dowel.
Step 5: Add the Wooden Dowel
Slide the wooden dowel through both hanging loops. The loops should grip the dowel firmly.
Step 6: Add Your Hanging Cord
Tie your leather cord or jute twine to each end of the wooden dowel. Adjust the length based on where you want to hang your organizer. A simple knot or wrap works perfectly.
Customization Ideas
Change the Pocket Count: Want just two pockets? Simply make a shorter backing panel and omit one pocket.
Adjust the Width: For wider pockets, start with a longer foundation chain on the pocket base and add stitches to your backing panel.
Add Texture: Try working one round of front loop only stitches every few rounds on the pocket sides for a ridged effect.
Use Different Colors: Make each pocket a different shade for a colorful boho look, or keep everything neutral for a minimalist aesthetic.
Where to Use Your Crochet Wall Basket
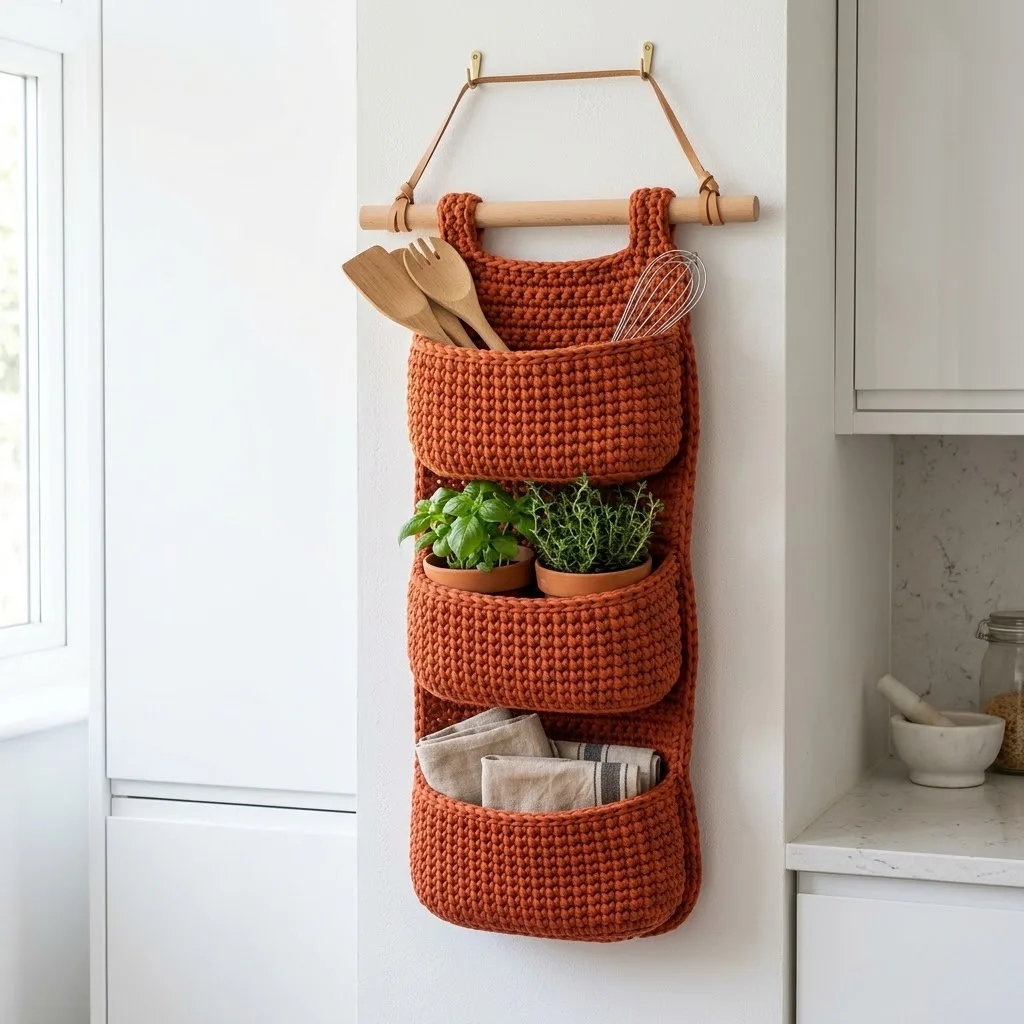
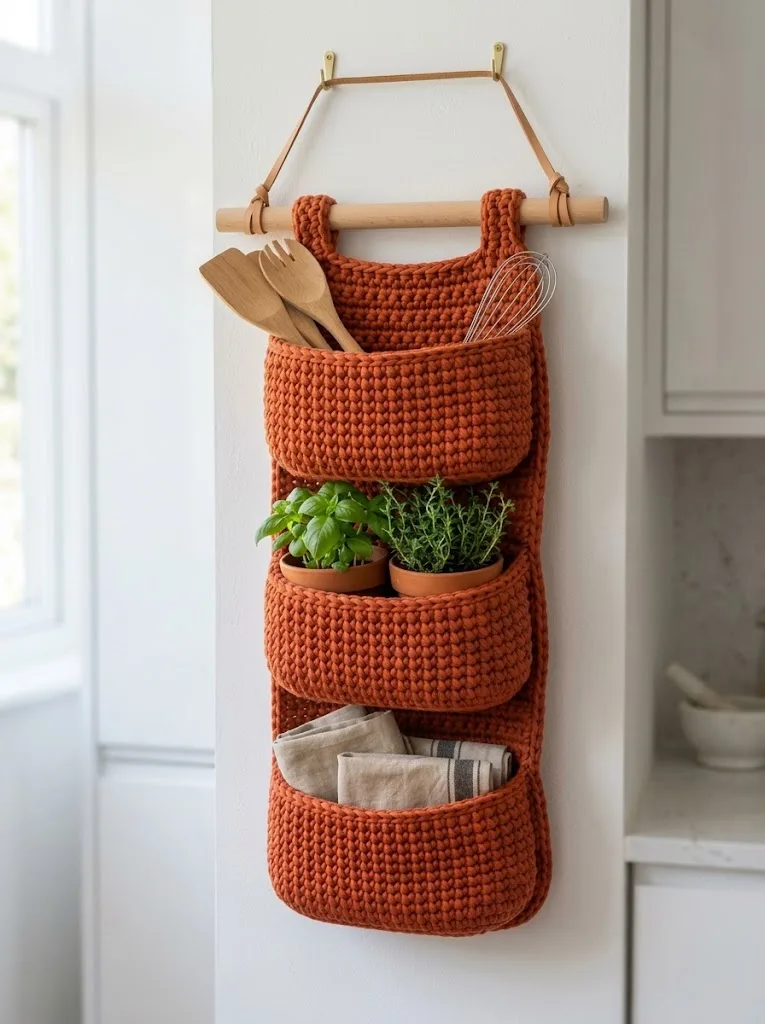
This organizer works beautifully in so many spaces. In the kitchen, fill the pockets with wooden utensils, fresh herbs in small pots, and linen towels like you see in the photo. The sturdy construction handles the weight easily.
Try it in your entryway for mail, keys, and sunglasses. Use it in your bathroom for rolled washcloths and small toiletries. Hang it in your craft room for scissors, markers, and notions.
The boho aesthetic fits right in with modern farmhouse, Scandinavian, and eclectic decor styles.
Tips for Success
Tension matters. Work tightly enough that your fabric is dense and sturdy. Loose stitches will create floppy pockets that cannot hold weight.
Count your stitches. Especially on the pocket base rounds, double check your stitch count before moving on. Mistakes in the base will throw off the entire pocket shape.
Test your dowel fit. Before attaching your loops permanently, slide them over the dowel to make sure they fit. Adjust the loop length if needed.
Weave ends thoroughly. Cotton cord can slip out more easily than fuzzy yarn. Weave each end through at least 2 inches of fabric in multiple directions.
Troubleshooting Common Issues
Pockets are floppy: Your tension may be too loose. Try going down one hook size and reworking a pocket.
Backing panel is curling: This happens with single crochet fabric. Blocking usually solves this completely. If curling persists, the weight of the pockets will pull it straight when assembled.
Loops do not fit the dowel: Simply add or subtract chains when making the hanging loops to adjust the size.
Final Thoughts on This Crochet Wall Basket Pattern
I absolutely love how this terracotta boho kitchen wall basket turned out, and I hope you do too. The combination of chunky texture, warm color, and practical design makes this piece both useful and beautiful. Once you make one, you will probably want to make more in different colors for every room.
This crochet pattern works up faster than you might expect, and the assembly is straightforward once you have all your pieces ready. It makes a thoughtful handmade gift for housewarmings, birthdays, or holidays.
Thank you so much for choosing this pattern for your next project. I genuinely appreciate you being here. If you make this wall basket, I would love to see it! Tag me on Instagram or share a photo in my Facebook group. Seeing your creations truly makes my day.
If you loved this pattern, save it to your Pinterest boards so you can find it easily when you are ready to start. And please drop a comment below if you make one. I love hearing which colors you choose and where you decide to hang your finished organizer!
