
I found this design tucked away in one of my old spiral notebooks from years ago. I had sketched it out for my niece’s first Christmas, scribbling notes in the margins about yarn colors and stitch counts. Back then I called it the "Ruby Dress" because of the deep red yarn I had my eye on.
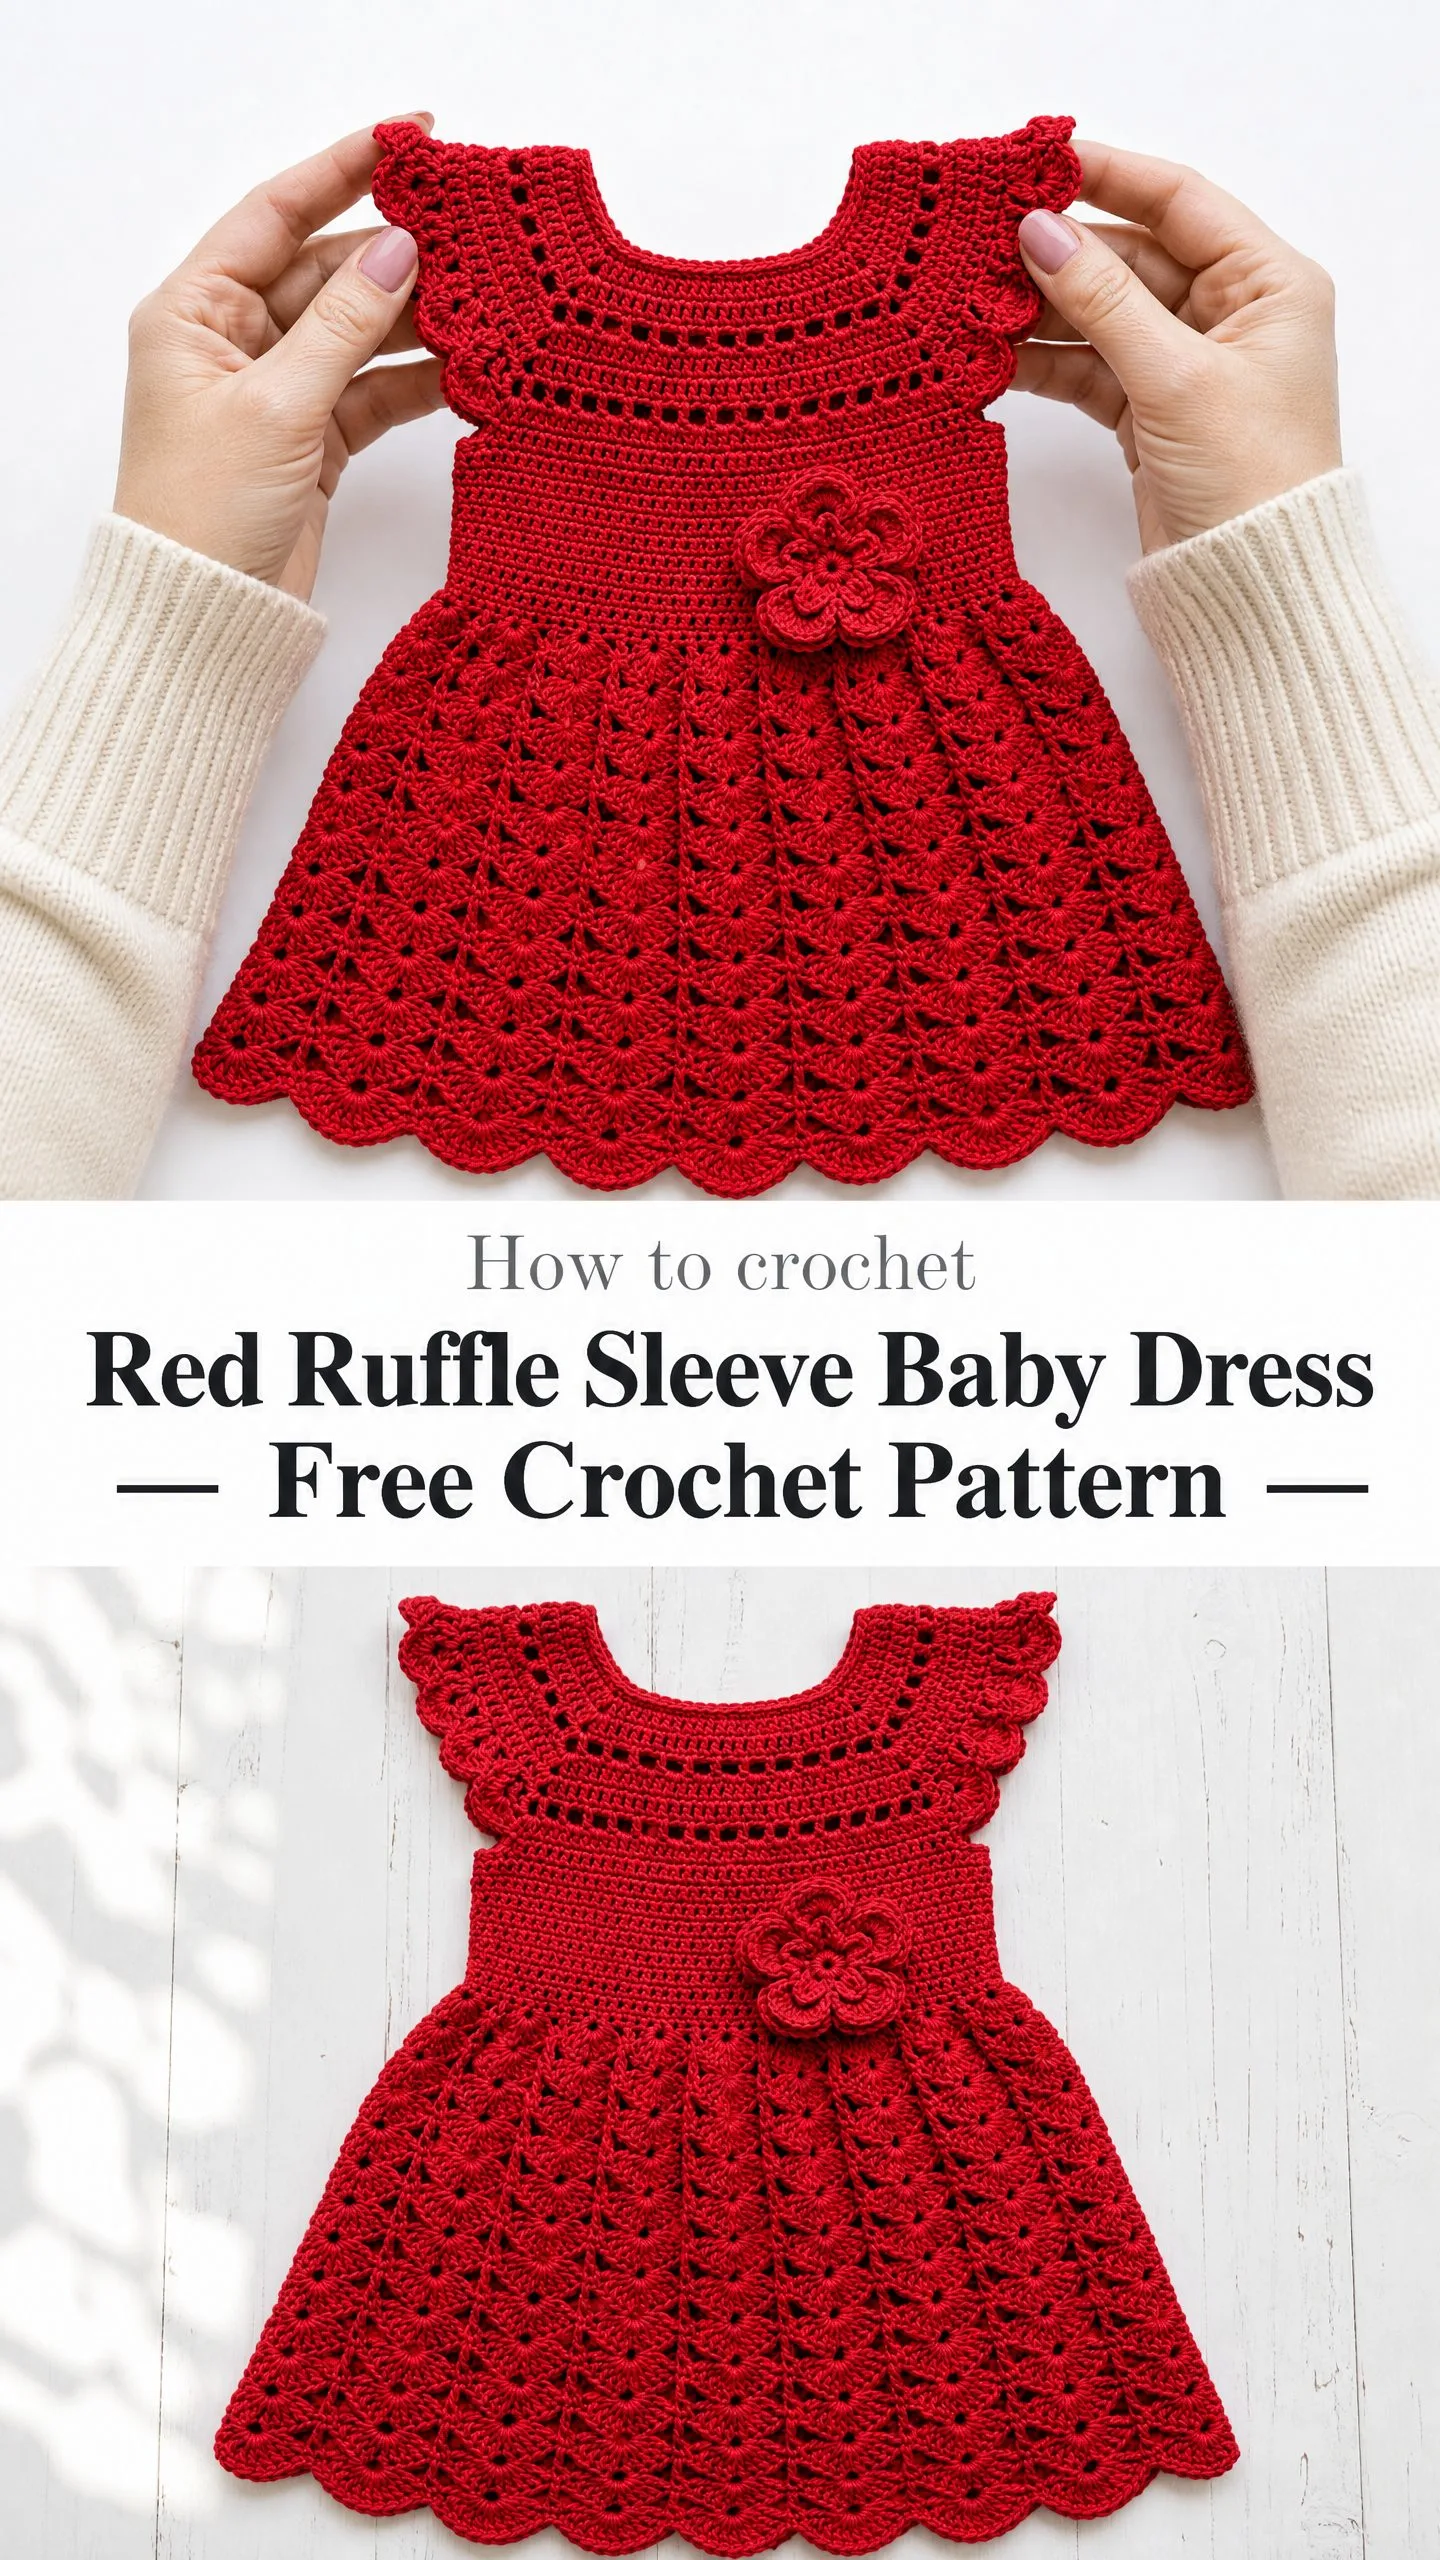
Life got busy and the pattern sat dormant until last month when a friend mentioned she needed something special for a holiday photo shoot. I pulled out that notebook, dusted off the instructions, and finally brought Ruby to life.
The result exceeded every expectation I had when I first dreamed it up. This red ruffle sleeve baby dress crochet pattern combines elegant lace work with practical construction, creating a garment that looks intricate but comes together smoothly once you understand the rhythm.
Why This Baby Dress Pattern Works So Well
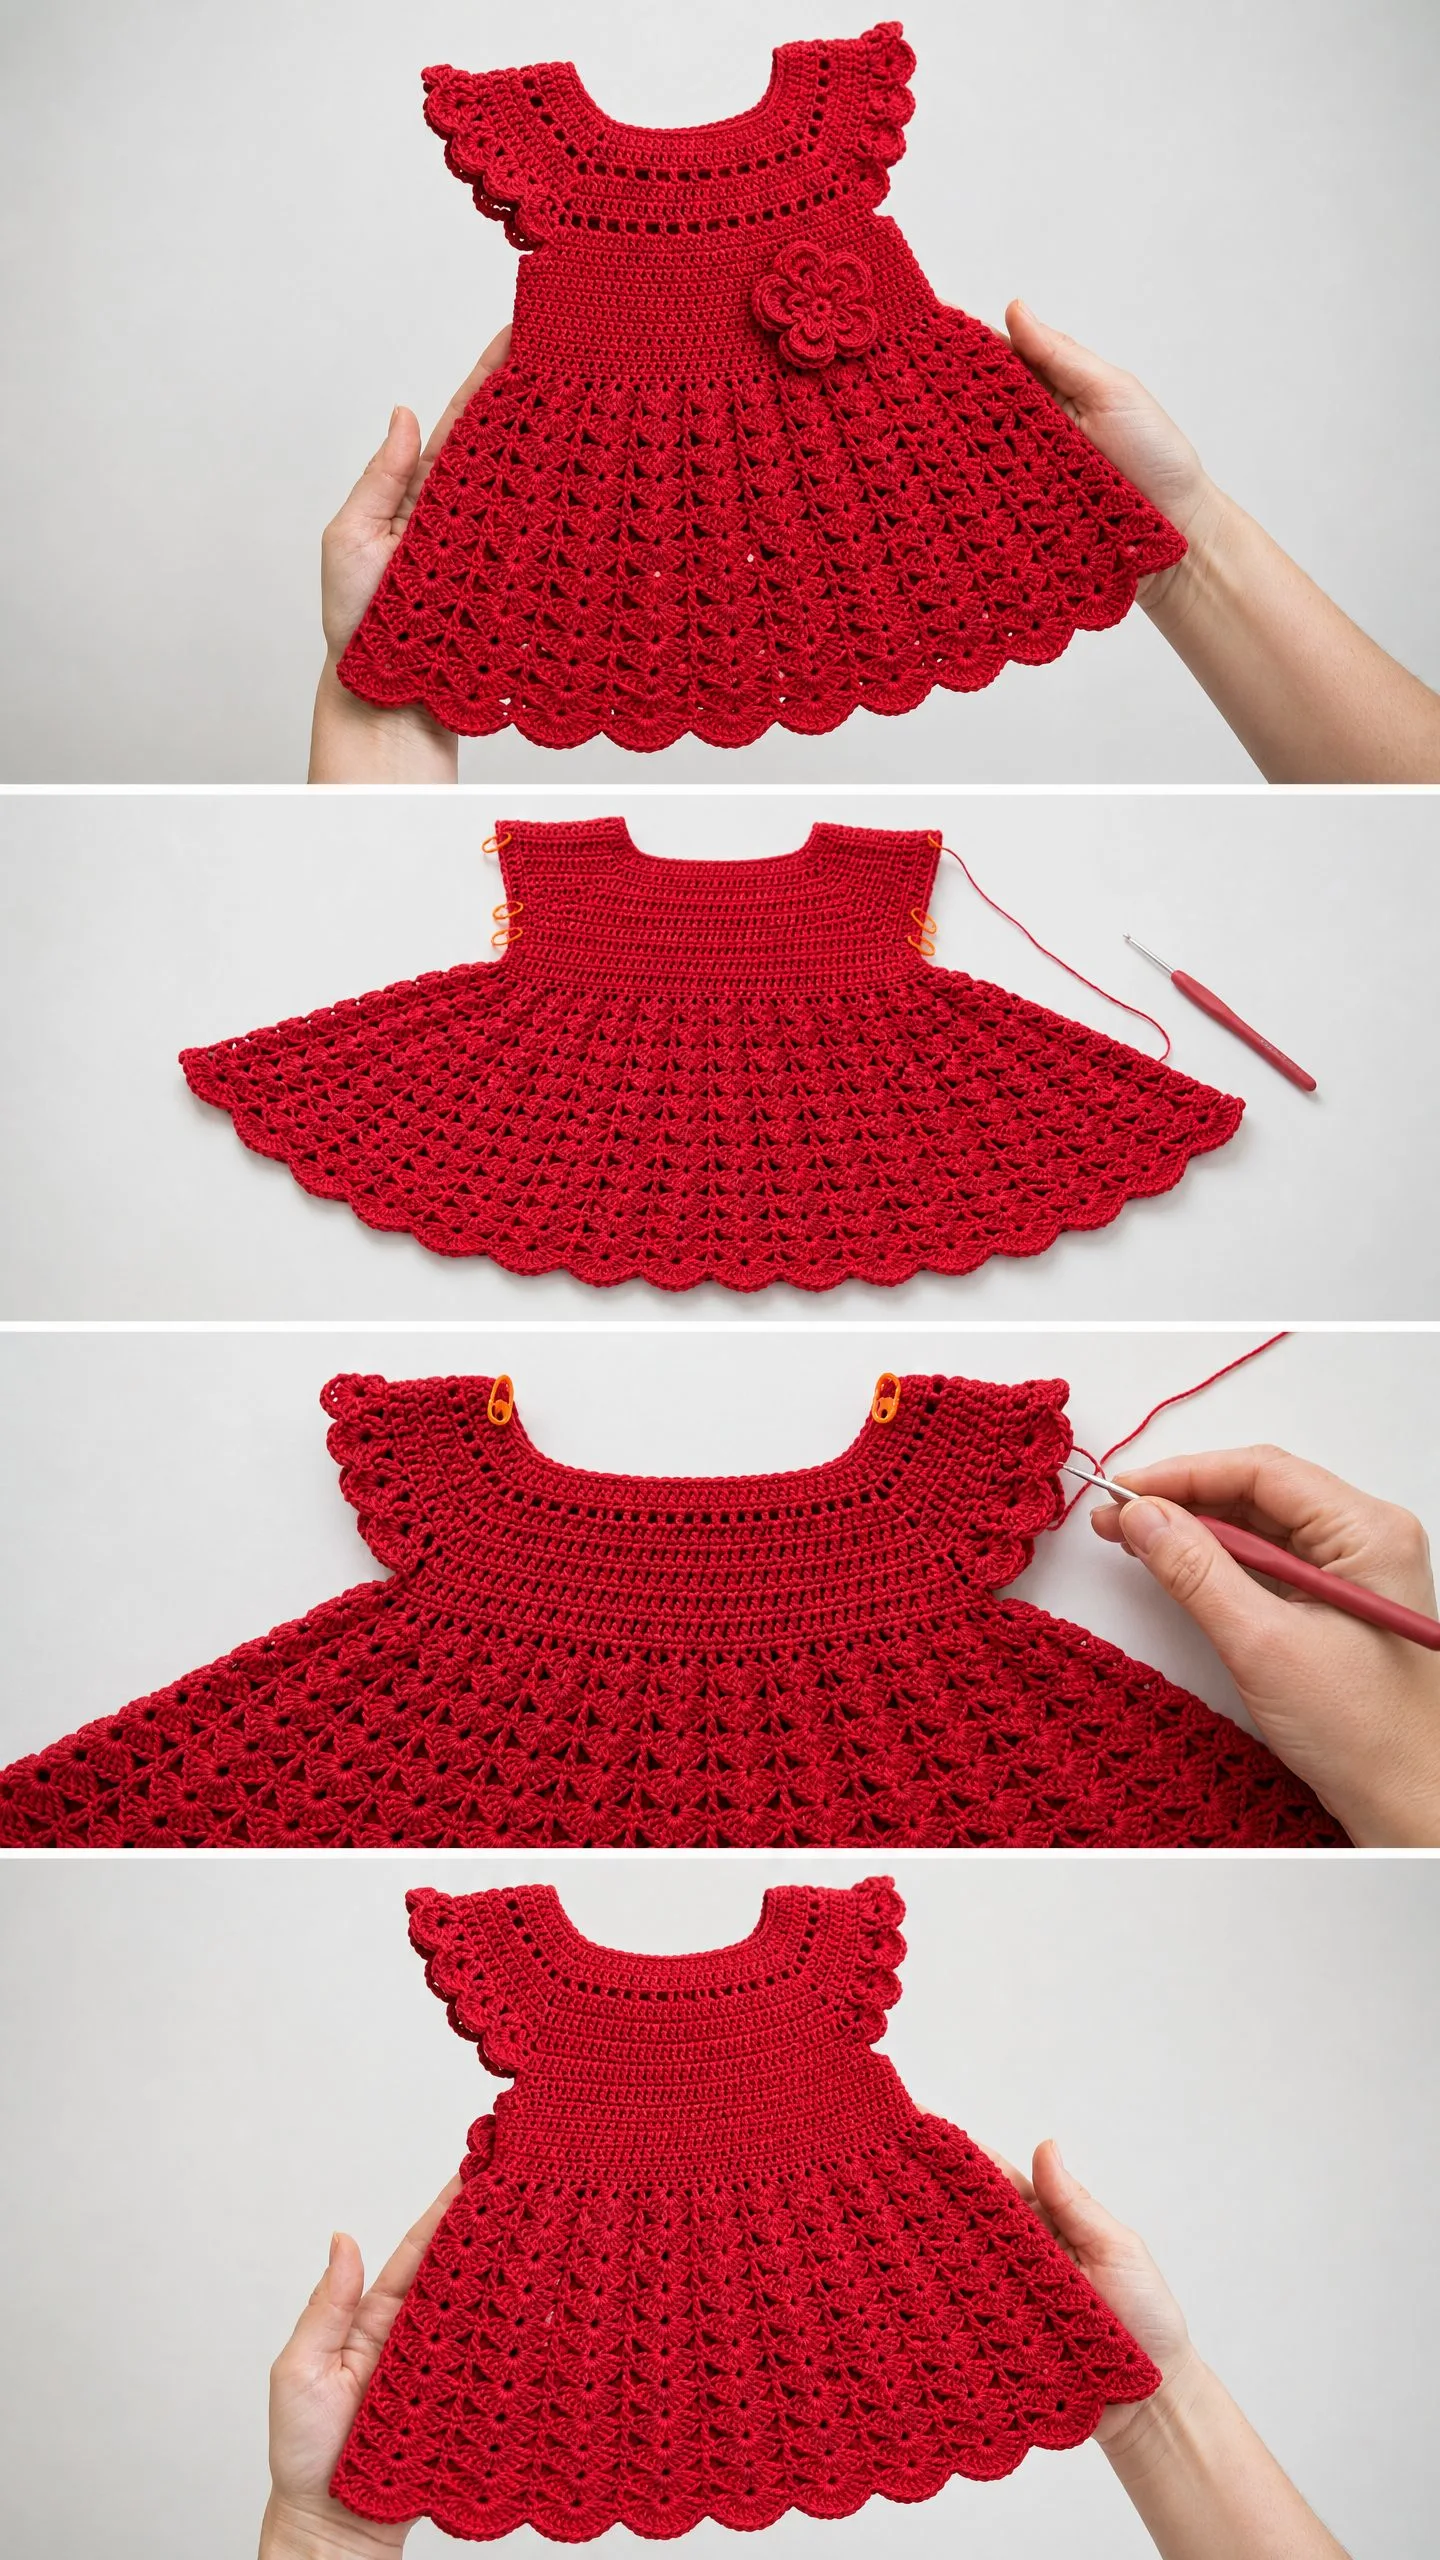
This crochet baby dress is worked top down in one continuous piece, which means minimal seaming and a satisfying flow from start to finish. You begin at the neckline with a shaped yoke that fans out naturally through strategic increases. The bodice provides structure with solid double crochet rows. Then the skirt blooms into a gorgeous shell lace pattern that creates that classic A-line silhouette.
The ruffle sleeves add a sweet feminine touch without complicated construction. You simply work extra stitches into the armhole opening, and the fabric gathers into soft ruffles all on its own. A small crocheted flower sewn at the waist completes the look.
I designed this for the 6 to 12 month size, though I have included notes at the end for sizing up or down. The finished dress measures approximately 17 inches around the chest and 13.5 inches from shoulder to hem. Perfect for holiday photos, special occasions, or simply making a tiny human look absolutely adorable.
Skill Level and Time Commitment
This is an intermediate level crochet pattern. You should be comfortable working in joined rounds, executing shell and fan stitches, and understanding how yoke shaping works. If you have completed at least two garment projects before, you will do just fine here.
Plan for approximately 12 to 18 hours of crochet time, depending on your speed and familiarity with the stitches. Blocking and finishing add another hour or two. This is not a weekend rush project, but every hour invested shows in the finished piece.
Materials You Will Need
Gather these supplies before you begin:
Yarn: Worsted weight yarn, category 4, approximately 250 to 300 yards in your chosen color. The sample uses a deep red.
Hook: US size G-6 (4.0 mm) crochet hook. Adjust if needed to meet gauge.
Notions:
Yarn Suggestions That Work Beautifully
Lion Brand Pound of Love is my top recommendation. This 100% acrylic worsted weight yarn is machine washable, soft against baby skin, and gives excellent stitch definition for the lace sections. It comes in a lovely rich red.
Paintbox Yarns Simply DK held double works wonderfully if you want a softer hand. Holding two strands together approximates worsted weight, and the color range is fantastic.
Cascade 220 Superwash is perfect for gift giving. This 100% superwash merino wool has beautiful drape and softness. Machine washable and worth the splurge for something special.
Avoid hairy or textured yarns like mohair or boucle. They obscure the pretty lace pattern in the skirt.
Gauge (Please Do Not Skip This)
18 double crochet stitches and 10 rows = 4 inches (10 cm) in double crochet, blocked.
One fan repeat in the skirt lace pattern (11 stitches) measures approximately 2.25 inches wide.
I know gauge swatches feel tedious. But for a fitted garment like this, even half a stitch difference per inch will throw off the sizing significantly. Work a 6 inch swatch, wash and block it, then measure the center 4 inches. Your future self will thank you.
Abbreviations and Stitch Definitions
Let me walk you through every abbreviation before we dive in. I define each one fully so you never have to guess.
Special Stitches You Will Use
These specialized stitch combinations create the beautiful textures throughout the dress.
Shell Stitch: Work 5 double crochet stitches all into the same stitch or space. This creates the fan shaped clusters in the skirt.
V-Stitch: Work (1 dc, ch 1, 1 dc) all into the same stitch or space. The chain in the middle creates a small opening.
Scallop Edging: Work (1 sc, 1 hdc, 3 dc, 1 hdc, 1 sc) all into the same stitch or space. This forms one decorative scallop unit for hems and edges.
Single Crochet Decrease (sc2tog): Insert hook into next stitch, pull up a loop (2 loops on hook). Insert hook into following stitch, pull up a loop (3 loops on hook). Yarn over and draw through all 3 loops at once.
Pattern Notes Before You Begin
Read these through before starting. They will save you confusion later.
1. The dress is worked in joined rounds from the neckline down to the hem. Most rounds have the right side facing you, joining with a slip stitch at the end of each round.
2. The yoke works like a flat circular panel with 4 increase points that shape the neckline. You add stitches at these 4 marked points every row until the yoke is wide enough to separate for sleeves.
3. The back opening is created by working the first 12 rounds of the yoke back and forth in rows rather than joined rounds. This creates a 2.5 inch opening at center back for easy dressing.
4. All chain 3 at the beginning of a double crochet round counts as 1 dc.
5. The skirt lace pattern uses an 11 stitch repeat. Stitch counts given for skirt rounds are working stitches, not counting chain spaces.
6. Block the finished dress before sewing on the flower. The lace skirt needs blocking to open fully and lay flat.
Step by Step Instructions
Neckline and Yoke
The yoke is worked back and forth in rows first to create the back opening, then joined to work in rounds.
Foundation Chain: Ch 64.
Row 1 (RS): Dc in 4th ch from hook (counts as 2 dc), dc in next 9 ch, pm in next st (right back shoulder marker), dc in next 10 ch, pm in next st (right front shoulder marker), dc in next 18 ch, pm in next st (left front shoulder marker), dc in next 10 ch, pm in next st (left back shoulder marker), dc in last 10 ch. Turn. (62 dc)
The 4 markers divide your yoke into 5 sections: right back (10 sts), right sleeve (10 sts), front (18 sts), left sleeve (10 sts), left back (10 sts). Move markers up each row.
Row 2 (WS): Ch 3, turn. Dc in same st (increase at edge), dc across to first marker, (2 dc in marked st, dc in next st, 2 dc in next st) at each of 4 marker points, dc to last st, 2 dc in last st. (70 dc)
At each marker point, work 2 dc in the stitch before the marker AND 2 dc in the stitch after the marker. This adds 10 stitches total per row.
Row 3 (RS): Ch 3, turn. Work increases as Row 2. (80 dc)
Row 4 (WS): Ch 3, turn. Work increases as Row 2. (90 dc)
Row 5 (RS): Ch 3, turn. Work increases as Row 2. (100 dc)
Row 6 (WS): Ch 3, turn. Work increases as Row 2. (110 dc)
Lace Row (Row 7, RS): Ch 4, turn. Sk 1 st, (dc in next st, ch 1, sk 1 st) across to last st, dc in last st. (55 dc + 55 ch-1 sps)
Row 8 (WS): Ch 3, turn. Dc in each dc and each ch-1 sp across. (110 dc)
Row 9 (RS): Work increases as Row 2. (120 dc)
Row 10 (WS): Work increases as Row 2. (130 dc)
Row 11 (RS): Work increases as Row 2. (140 dc)
Row 12 (WS): Work increases as Row 2. (150 dc)
Your section counts should now be: Right back 22 sts, Right sleeve 22 sts, Front 40 sts, Left sleeve 22 sts, Left back 22 sts. Total 150 dc.
Joining Round (Rnd 13): Do not turn. Ch 1, sc in first st, sc across right back sts to sleeve marker (22 sc). Ch 4, skip all 22 right sleeve sts (armhole chain made), sc across all 40 front sts, ch 4, skip all 22 left sleeve sts (armhole chain made), sc across 22 left back sts, ch 1, sl st to first sc of right back to join in the round. (84 sc + 8 ch = 92 working positions)
Checkpoint: The piece should measure approximately 4 inches from the foundation chain to the joining round. Chest circumference at the join should be approximately 15 to 16 inches unstretched.
Bodice
Work in joined rounds with RS facing. Ch 3 at beginning of each round counts as first dc. Join each round with sl st to top of ch-3.
Rnd 1: Ch 3, dc in each sc around, working 5 dc into each ch-4 armhole sp. Join. (94 dc)
Rnds 2 through 5: Ch 3, dc in each st around. Join. (94 dc)
Checkpoint: The piece should measure approximately 6 inches from the foundation chain to the bottom of the last bodice round.
Transition to Skirt
The skirt needs a stitch count divisible by 11. Current count is 94. We need 99.
Increase Round: Ch 3, dc in same st as join (increase), dc in next 18 sts, 2 dc in next st, dc in next 19 sts, 2 dc in next st, dc in next 18 sts, 2 dc in next st, dc in next 18 sts, 2 dc in next st, dc in next 17 sts, 2 dc in last st. Join. (99 dc)
Skirt Lace Pattern
Skirt Rnd 1: Ch 3, sk next 2 sts, shell (5 dc) in next st, sk next 2 sts, V-st (dc, ch 1, dc) in next st; rep from start around, ending with sl st to top of ch-3. (63 dc + 9 ch-sps)
Skirt Rnd 2 (and all even rnds): Ch 3, into each ch-1 sp of V-st from previous round work a shell (5 dc); into the center dc (3rd dc) of each shell from previous round work a V-st (dc, ch 1, dc); rep around. Join. (63 dc + 9 ch-sps)
Continue alternating the lace pattern for Rnds 1 through 10.
Expansion Rnd 11: Into each V-st ch-sp work (dc, ch 2, dc); into each shell center work shell as before. Join. (63 dc + 9 ch-2 sps)
Expansion Rnd 12: Into each ch-2 sp work shell (5 dc); into center of each shell work V-st (dc, ch 1, dc). Join. (63 dc + 9 ch-sps)
Rnds 13 and 14: Work alternating lace round as established. Join at end of each. (63 dc + 9 ch-sps)
Scallop Hem Edging
Final Rnd: Ch 1, into each ch-sp of V-sts work scallop (sc, hdc, 3 dc, hdc, sc); sl st into center dc of each shell between scallops. Join with sl st to first sc. Fasten off. (9 scallops)
Sleeve Ruffle
Work this on both armholes.
Setup: With RS facing, attach yarn to center underarm ch-4 sp.
Rnd 1: Ch 1, work 2 sc into each ch of the ch-4 underarm space (8 sc), then sc evenly around the armhole edge. Aim for approximately 36 sc total. Join with sl st to first sc. (36 sc)
Ruffle Rnd 2: Ch 3, work 2 dc in same st as join, 3 dc in each sc around. Join with sl st to top of ch-3. (108 dc)
Ruffle Rnd 3 (scallop): Ch 1, (sc in next st, hdc in next st, dc in next 3 sts, hdc in next st, sc in next st, sl st in next st) around, ending sl st in last st. Join. Fasten off.
Repeat for second sleeve.
Back Opening Edging
With RS facing, attach yarn to bottom right corner of back opening.
Row 1: Ch 1, sc evenly along right back opening edge (approximately 14 sc up the right side), sc across the back neckline foundation chain, sc down the left back opening edge (approximately 14 sc). Fasten off.
For a button closure, work a button loop at the top right corner: ch 5, sl st into the corner sc to form the loop, fasten off. Sew button to corresponding position on left back edge.
For a ribbon closure, weave 12 inches of narrow ribbon through the dc stitches on the top 2 rows of each back opening edge, leaving tails to tie in a bow.
Flower Applique
Step 1: Make a magic ring or ch 4 and join with sl st to form a ring.
Step 2: Ch 1, work 10 sc into the ring, join with sl st to first sc. (10 sc)
Step 3: (Ch 3, sk 1 st, sl st into next st) 5 times. (5 ch-3 loops)
Step 4: Into each ch-3 loop work (1 sc, 1 hdc, 3 dc, 1 hdc, 1 sc). (5 petals)
Step 5: Fasten off, leaving a 10 inch tail for sewing.
Sew the flower to the left side of the bodice at the waist, centered on the left front.
Blocking and Finishing
Weave in all ends on the wrong side, securing each with at least two direction changes.
Wet blocking: Soak the dress in cool water with a drop of gentle detergent for 20 minutes. Squeeze gently without wringing. Lay flat on a blocking mat, pin the scallop hem points out to open the lace, and stretch the skirt to finished measurements. Allow to dry completely before removing pins.
Blocking is not optional for this pattern. The lace skirt will not achieve its full beauty without it.
Size Customization Tips
Newborn to 3 months: Start with ch 54, reduce yoke increase rows to 10 total, target 77 skirt stitches (7 repeats).
12 to 18 months: Start with ch 70, work 14 yoke increase rows, target 110 skirt stitches (10 repeats).
To add length, insert additional plain lace rounds before the expansion rounds. Each lace round adds approximately 0.6 to 0.7 inches of length.
Care Instructions
Machine wash cold on gentle cycle inside a mesh laundry bag. Lay flat to dry. Do not tumble dry. If pressing is needed, use a damp pressing cloth and low heat. Store folded flat rather than on a hanger to prevent the lace from stretching.
I hope you love making this baby dress crochet pattern as much as I loved finally bringing Ruby to life after all these years. Every stitch in that lace skirt, every flutter in those ruffle sleeves, tells a story of patience and creativity coming together beautifully.
If this pattern caught your eye, go ahead and save it to your Pinterest boards so you can find it when you are ready to start. And please leave a comment below if you make one. I would absolutely love to see your version of Ruby out in the world, making some little one look picture perfect.
