
This is a granny square baby blanket made from 12 daisy motifs joined in a grid with a scalloped border. You will work double crochet clusters, treble crochet petals, and simple slip stitch joins. The finished blanket measures approximately 24 inches by 32 inches.
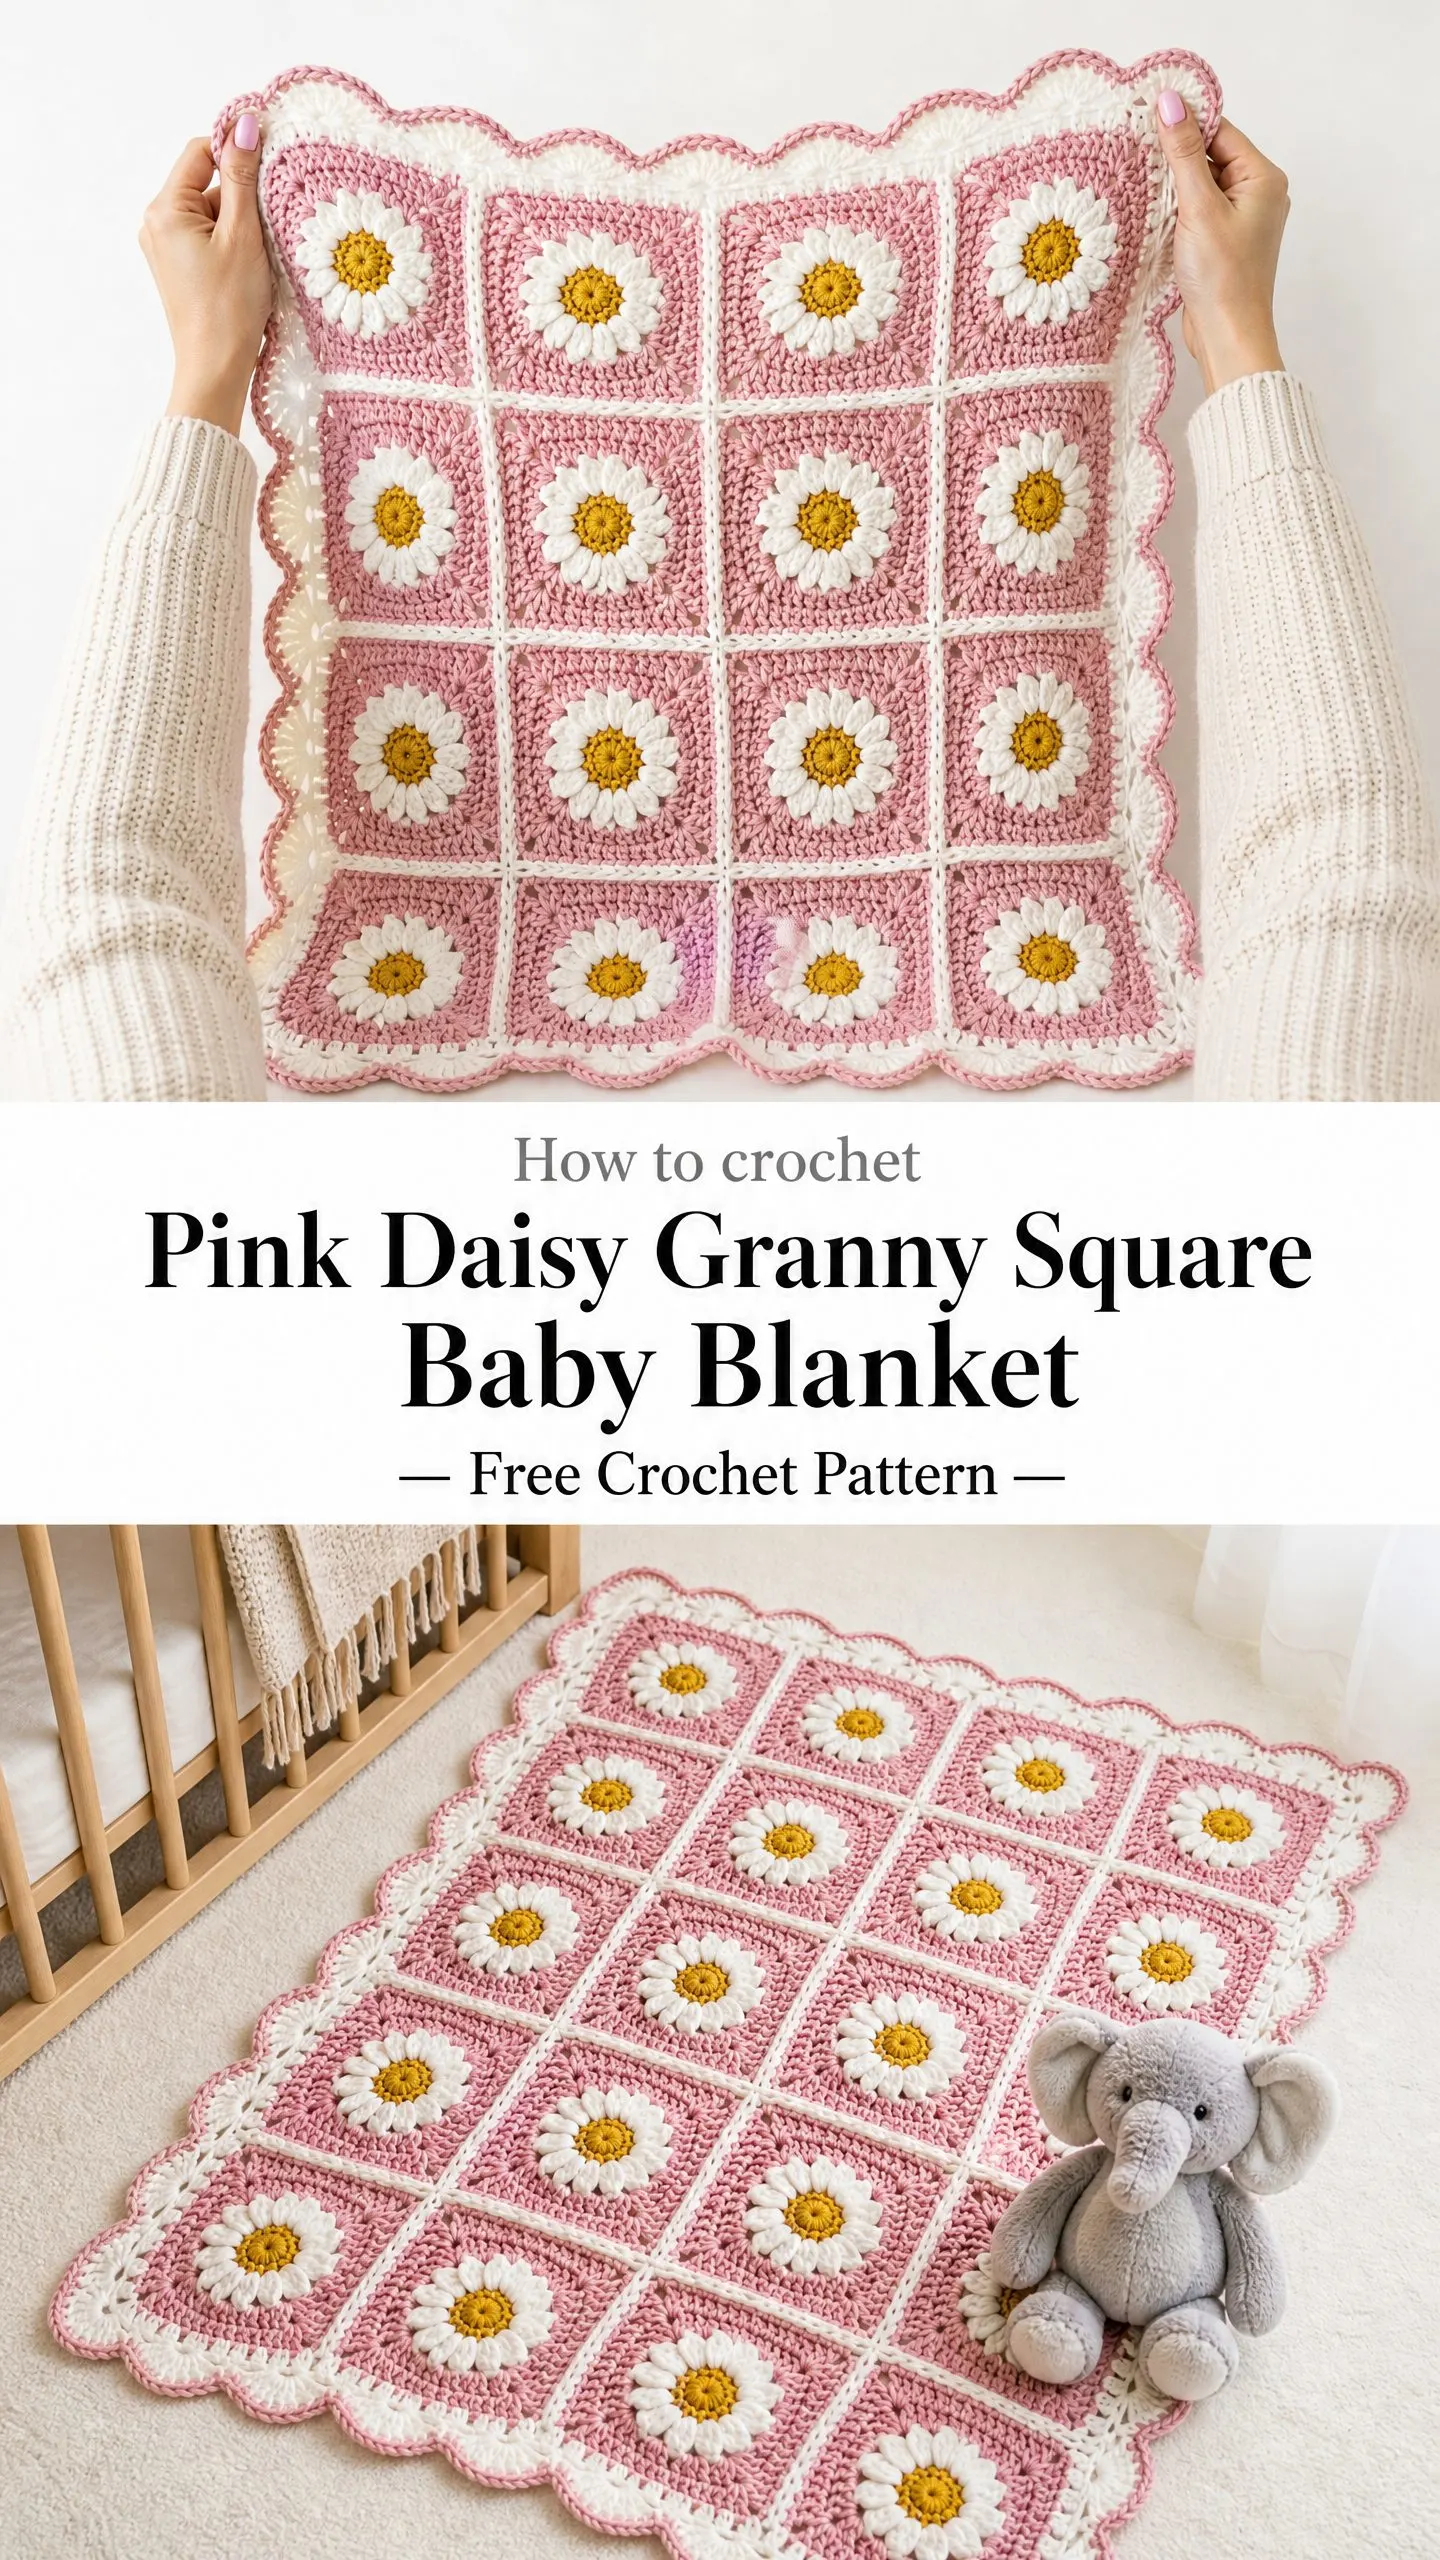
If you have made a basic granny square before, you can absolutely make this blanket. The daisy centers add a cheerful raised texture, and the dusty rose pink background keeps everything soft and sweet. Each square takes about 45 to 70 minutes, so you can work through this project one flower at a time.
I love how the white seams create a clean grid effect on the front, making those golden centered daisies really pop. This blanket works beautifully as a newborn gift, a toddler snuggle blanket, or even a decorative throw for a nursery chair.
Why This Daisy Granny Square Pattern Works So Well
The construction is straightforward once you understand the flow. You make 12 identical squares, join them together, then add a border. That is it. No complicated shaping, no increasing or decreasing to track, no seaming nightmares.
Each daisy granny square starts with a golden yellow center worked in single crochet. Then you add white treble crochet petals that fan out like a real daisy. Finally, you build the square shape with dusty rose pink double crochet clusters. The color changes happen at natural stopping points, so you never have to carry yarn awkwardly across your work.
The scalloped border echoes the petal shapes from the daisy centers. It frames the whole blanket with that same soft, rounded look. The final result is cohesive and polished.
Materials You Will Need
Yarn: Worsted weight yarn (weight 4), 100% cotton or cotton blend recommended
Hook: US size J-10 / 6.0 mm crochet hook
Notions: Yarn needle for weaving ends and seaming, scissors, blocking mats and pins, spray bottle or wet towel for blocking, stitch markers (optional but helpful)
Yarn Suggestions
Lion Brand 24/7 Cotton in Gold, White, and Dusty Pink works beautifully here. It is 100% mercerized cotton, holds stitch definition well, and is machine washable. Perfect for baby items.
Paintbox Yarns Simply DK held double in Banana Cream, Pure White, and Dusty Rose creates a similar weight with excellent stitch clarity.
Cotton or cotton blend yarns are strongly preferred for the crisp petal definition. Avoid fuzzy or halo yarns because they will blur the daisy details.
Gauge
One completed daisy granny square through Round 5 should measure 7.5 inches by 7.5 inches after blocking.
Alternatively, 14 double crochet stitches and 8 rows in standard double crochet should equal 4 inches by 4 inches using Color C and a J-10 hook.
Gauge matters here. If your squares come out too big, try a smaller hook. Too small? Go up a hook size. Matching gauge ensures your finished blanket hits the stated dimensions.
Skill Level
This pattern is rated intermediate. You should be comfortable working in the round, reading multi-round motifs, managing three colors within a single motif, joining granny squares neatly, and executing a scalloped border.
If you are a confident beginner who has completed at least one motif project, you can work through this with patience. Take it one round at a time.
Finished Size
This size works well for newborns through toddlers. It is big enough to swaddle or snuggle, but not so large that it overwhelms a little one.
Abbreviations (US Terms)
Before we dive into the pattern, here are all the abbreviations you will encounter:
Bracket notation: Work all instructions within brackets [ ] into the same stitch or space. Parentheses ( ) indicate stitch counts at the end of a round.
Special Stitches
Petal Stitch (Used in Round 2)
This creates the raised daisy petals. Work all of the following into one chain-2 space:
1. Insert hook into the chain space
2. Yarn over, pull up a loop, yarn over, pull through both loops (this is one single crochet to anchor the petal)
3. Work 4 treble crochet stitches into the same chain space
4. Work one final single crochet into the same chain space
The entire sequence (sc, 4 tr, sc) all worked into one ch-2 space forms one petal. Each petal creates a raised, leaf-shaped point.
Scallop (Used in Border)
1. Skip 2 stitches
2. Work 5 double crochet into the next stitch
3. Skip 2 stitches
4. Slip stitch into the next stitch
This 6-stitch grouping forms one scallop unit.
Flat Join (Used to Join Squares)
With wrong sides of two squares facing each other, insert hook through the back loop only of corresponding stitches on each square simultaneously. Slip stitch them together. This creates a raised seam on the wrong side that reads as a neat white grid line on the right side.
Individual Daisy Granny Square Instructions
Make 12 squares total.
Round 1 (Color A, Golden Yellow)
Make a magic ring or chain 4 and join with slip stitch to form a ring.
Chain 1.
Work 8 single crochet into the ring.
Join with slip stitch to first single crochet.
(8 sc)
Round 2 (Color B, White, Petals)
Fasten off Color A. Join Color B with slip stitch to any single crochet from Round 1.
Chain 4 (counts as first treble crochet), work 3 more treble crochet into the same stitch.
[Chain 2, work 4 treble crochet into next single crochet] 7 times.
Chain 2.
Join with slip stitch to top of beginning chain-4.
(8 petal clusters of 4 tr each, 8 ch-2 spaces)
Each group of 4 treble crochet worked into one single crochet of Round 1 forms one petal. The chain-2 between petals creates the separation. If you want more pronounced petals, work 5 treble crochet per cluster instead of 4, but check your square size afterward.
Round 3 (Color C, Dusty Rose Pink, First Square Round)
Fasten off Color B. Join Color C with slip stitch to any chain-2 space between petals.
Chain 3 (counts as first double crochet).
Work 2 double crochet into same chain-2 space.
[Chain 2 (corner), work 3 double crochet into next chain-2 space, chain 1, work 3 double crochet into next chain-2 space] 3 times.
Chain 2 (corner), work 3 double crochet into next chain-2 space, chain 1.
Join with slip stitch to top of beginning chain-3.
(4 corners each with ch-2 space, 8 groups of 3 dc, 4 ch-1 side spaces, 24 dc total)
Round 4 (Color C, Dusty Rose Pink, Second Square Round)
Do not fasten off. Slip stitch across to reach the first corner chain-2 space.
Chain 3 (counts as first double crochet).
Work [2 double crochet, chain 2, 3 double crochet] into same corner chain-2 space.
Chain 1.
Work 3 double crochet into the chain-1 side space.
Chain 1.
[Work (3 double crochet, chain 2, 3 double crochet) into corner chain-2 space, chain 1, work 3 double crochet into chain-1 side space, chain 1] 3 times.
Join with slip stitch to top of beginning chain-3.
(4 corners each with ch-2 space, 3 groups of 3 dc per side, 36 dc total)
Round 5 (Color C, Dusty Rose Pink, Third Square Round)
Slip stitch across to reach first corner chain-2 space.
Chain 3 (counts as first double crochet).
Work [2 double crochet, chain 2, 3 double crochet] into same corner chain-2 space.
[Chain 1, 3 double crochet into next chain-1 space] twice.
Chain 1.
[Work (3 double crochet, chain 2, 3 double crochet) into corner chain-2 space, chain 1, (3 double crochet into next chain-1 space, chain 1) twice] 3 times.
Join with slip stitch to top of beginning chain-3.
Fasten off Color C. Weave in all ends.
(4 corners each with ch-2 space, 4 groups of 3 dc per side, 48 dc total, 12 ch-1 side spaces, 4 ch-2 corner spaces)
Checkpoint
Each completed square should measure approximately 7 to 7.5 inches before blocking and 7.5 inches after blocking. Adjust your hook size if needed.
Joining the Squares
Arrange your 12 squares in a 3 by 4 grid on a flat surface with right sides facing up. All daisies should face the same direction for a uniform look, though the circular motifs look the same from all angles.
Use the Flat Join method described in Special Stitches.
Horizontal Joins (Joining Squares Side by Side into Rows)
1. Hold two adjacent squares with wrong sides together, aligned at one shared edge
2. Join Color B with slip stitch through the back loops of the corner chain-2 spaces of both squares simultaneously
3. Chain 1
4. Working through back loops of both layers simultaneously, slip stitch evenly across the shared edge, working into each double crochet and each chain-1 space
5. Work [slip stitch, chain 1, slip stitch] into the corresponding corner chain-2 spaces at each end to maintain flatness
6. Fasten off
Repeat to join all three squares in a row. Make 4 rows of 3 squares each.
Vertical Joins (Joining Rows Together)
With wrong sides of adjacent rows together, repeat the flat join process along the long edges where two rows meet. Match corners carefully. Fasten off after each seam. Continue until all 4 rows are joined into one rectangle.
Checkpoint
After all squares are joined, the blanket should measure approximately 22 to 23 inches wide by 29 to 30 inches tall. The white seam lines should be visible on the right side creating a clean grid.
Border
The border is worked around the entire perimeter of the joined blanket in a scalloped pattern. It consists of three rounds.
Border Round 1 (Color B, White, Preparation Round)
Join Color B with slip stitch to any corner chain-2 space of the blanket.
Chain 1.
Work 1 single crochet into same corner space.
Work single crochet evenly around the entire blanket perimeter, working 1 single crochet into each double crochet, 1 single crochet into each chain-1 space, and 3 single crochet into each outer corner chain-2 space to keep corners flat.
When you reach each interior corner where a seam joins, work single crochet across consistently.
Target stitch counts:
Adjust your stitch count so each side is divisible by 6 for clean scallop repeats in Round 2.
Join with slip stitch to first single crochet.
Border Round 2 (Color C, Dusty Rose Pink, Scallop Round)
Join Color C with slip stitch to the first single crochet of any corner group (the single crochet immediately before the center corner single crochet).
Slip stitch into the center corner single crochet.
Slip stitch into the single crochet after the center corner single crochet.
Now begin scallop pattern along the side:
[Skip 2 single crochet, work 5 double crochet into next single crochet, skip 2 single crochet, slip stitch into next single crochet] across the entire side to the next corner.
At each corner, slip stitch into each of the 3 corner single crochet.
Continue scallop pattern along next side.
Repeat for all 4 sides.
Join with slip stitch to first slip stitch at beginning of round.
Fasten off Color C.
Scallop counts:
Border Round 3 (Color B, White, Scallop Trim, Optional but Recommended)
Join Color B with slip stitch to the top of any center double crochet of any 5-dc scallop fan.
Chain 1, single crochet into same stitch.
Work 1 single crochet into each of the next 2 double crochet going down the scallop.
Work 1 single crochet into the slip stitch valley between scallops.
Work 1 single crochet into each of the next 2 double crochet going up the next scallop.
Work 1 single crochet into the center double crochet of the next fan.
Continue in this manner around the entire border perimeter, working 1 single crochet into each slip stitch corner.
Join with slip stitch to first single crochet.
Fasten off Color B.
Weave in all ends.
This final round outlines the scalloped edge in white, giving the blanket that clean white and pink scallop look.
Checkpoint
After the border, the blanket should measure approximately 24 inches by 32 inches. The scalloped edge should lie flat without ruffling or pulling. If it ruffles, work the scallop round at a tighter tension or with a smaller hook. If it pulls inward, work more loosely or with a larger hook.
Size Customization Tips
Smaller lap blanket (approximately 18 by 24 inches): Make 6 squares and join in a 2 by 3 grid. Adjust border stitch counts accordingly.
Larger toddler blanket (approximately 32 by 40 inches): Make 20 squares and join in a 4 by 5 grid. Multiply per-square yardage by 20 and add approximately 15% for the larger border.
Larger individual squares: Work additional rounds of 3 double crochet clusters in Color C before joining. Each additional round adds approximately 1 to 1.25 inches to the square size.
Gender neutral version: Substitute dusty rose with sage green, soft gray, or pale yellow. The white and golden yellow center work with any background color.
Finishing and Blocking
Weave in all remaining yarn ends securely using a yarn needle. Run each tail at least 1 inch in two different directions through the wrong side of the work.
Wet blocking is strongly recommended for cotton yarn. Soak the finished blanket in cool water for 15 to 20 minutes until fully saturated. Gently press out excess water with a towel. Do not wring. Lay flat on blocking mats.
Pin the blanket to the stated dimensions, pinning corners and the points of each scallop outward to define the shape.
Allow to dry completely before unpinning. This process opens up the daisy motifs, evens out the grid lines, and defines the scalloped border beautifully.
For acrylic blend yarn: Use steam blocking instead. Hold a steam iron 1 to 2 inches above the surface and apply steam without touching the iron to the yarn. Pin and allow to cool and set.
Care Instructions
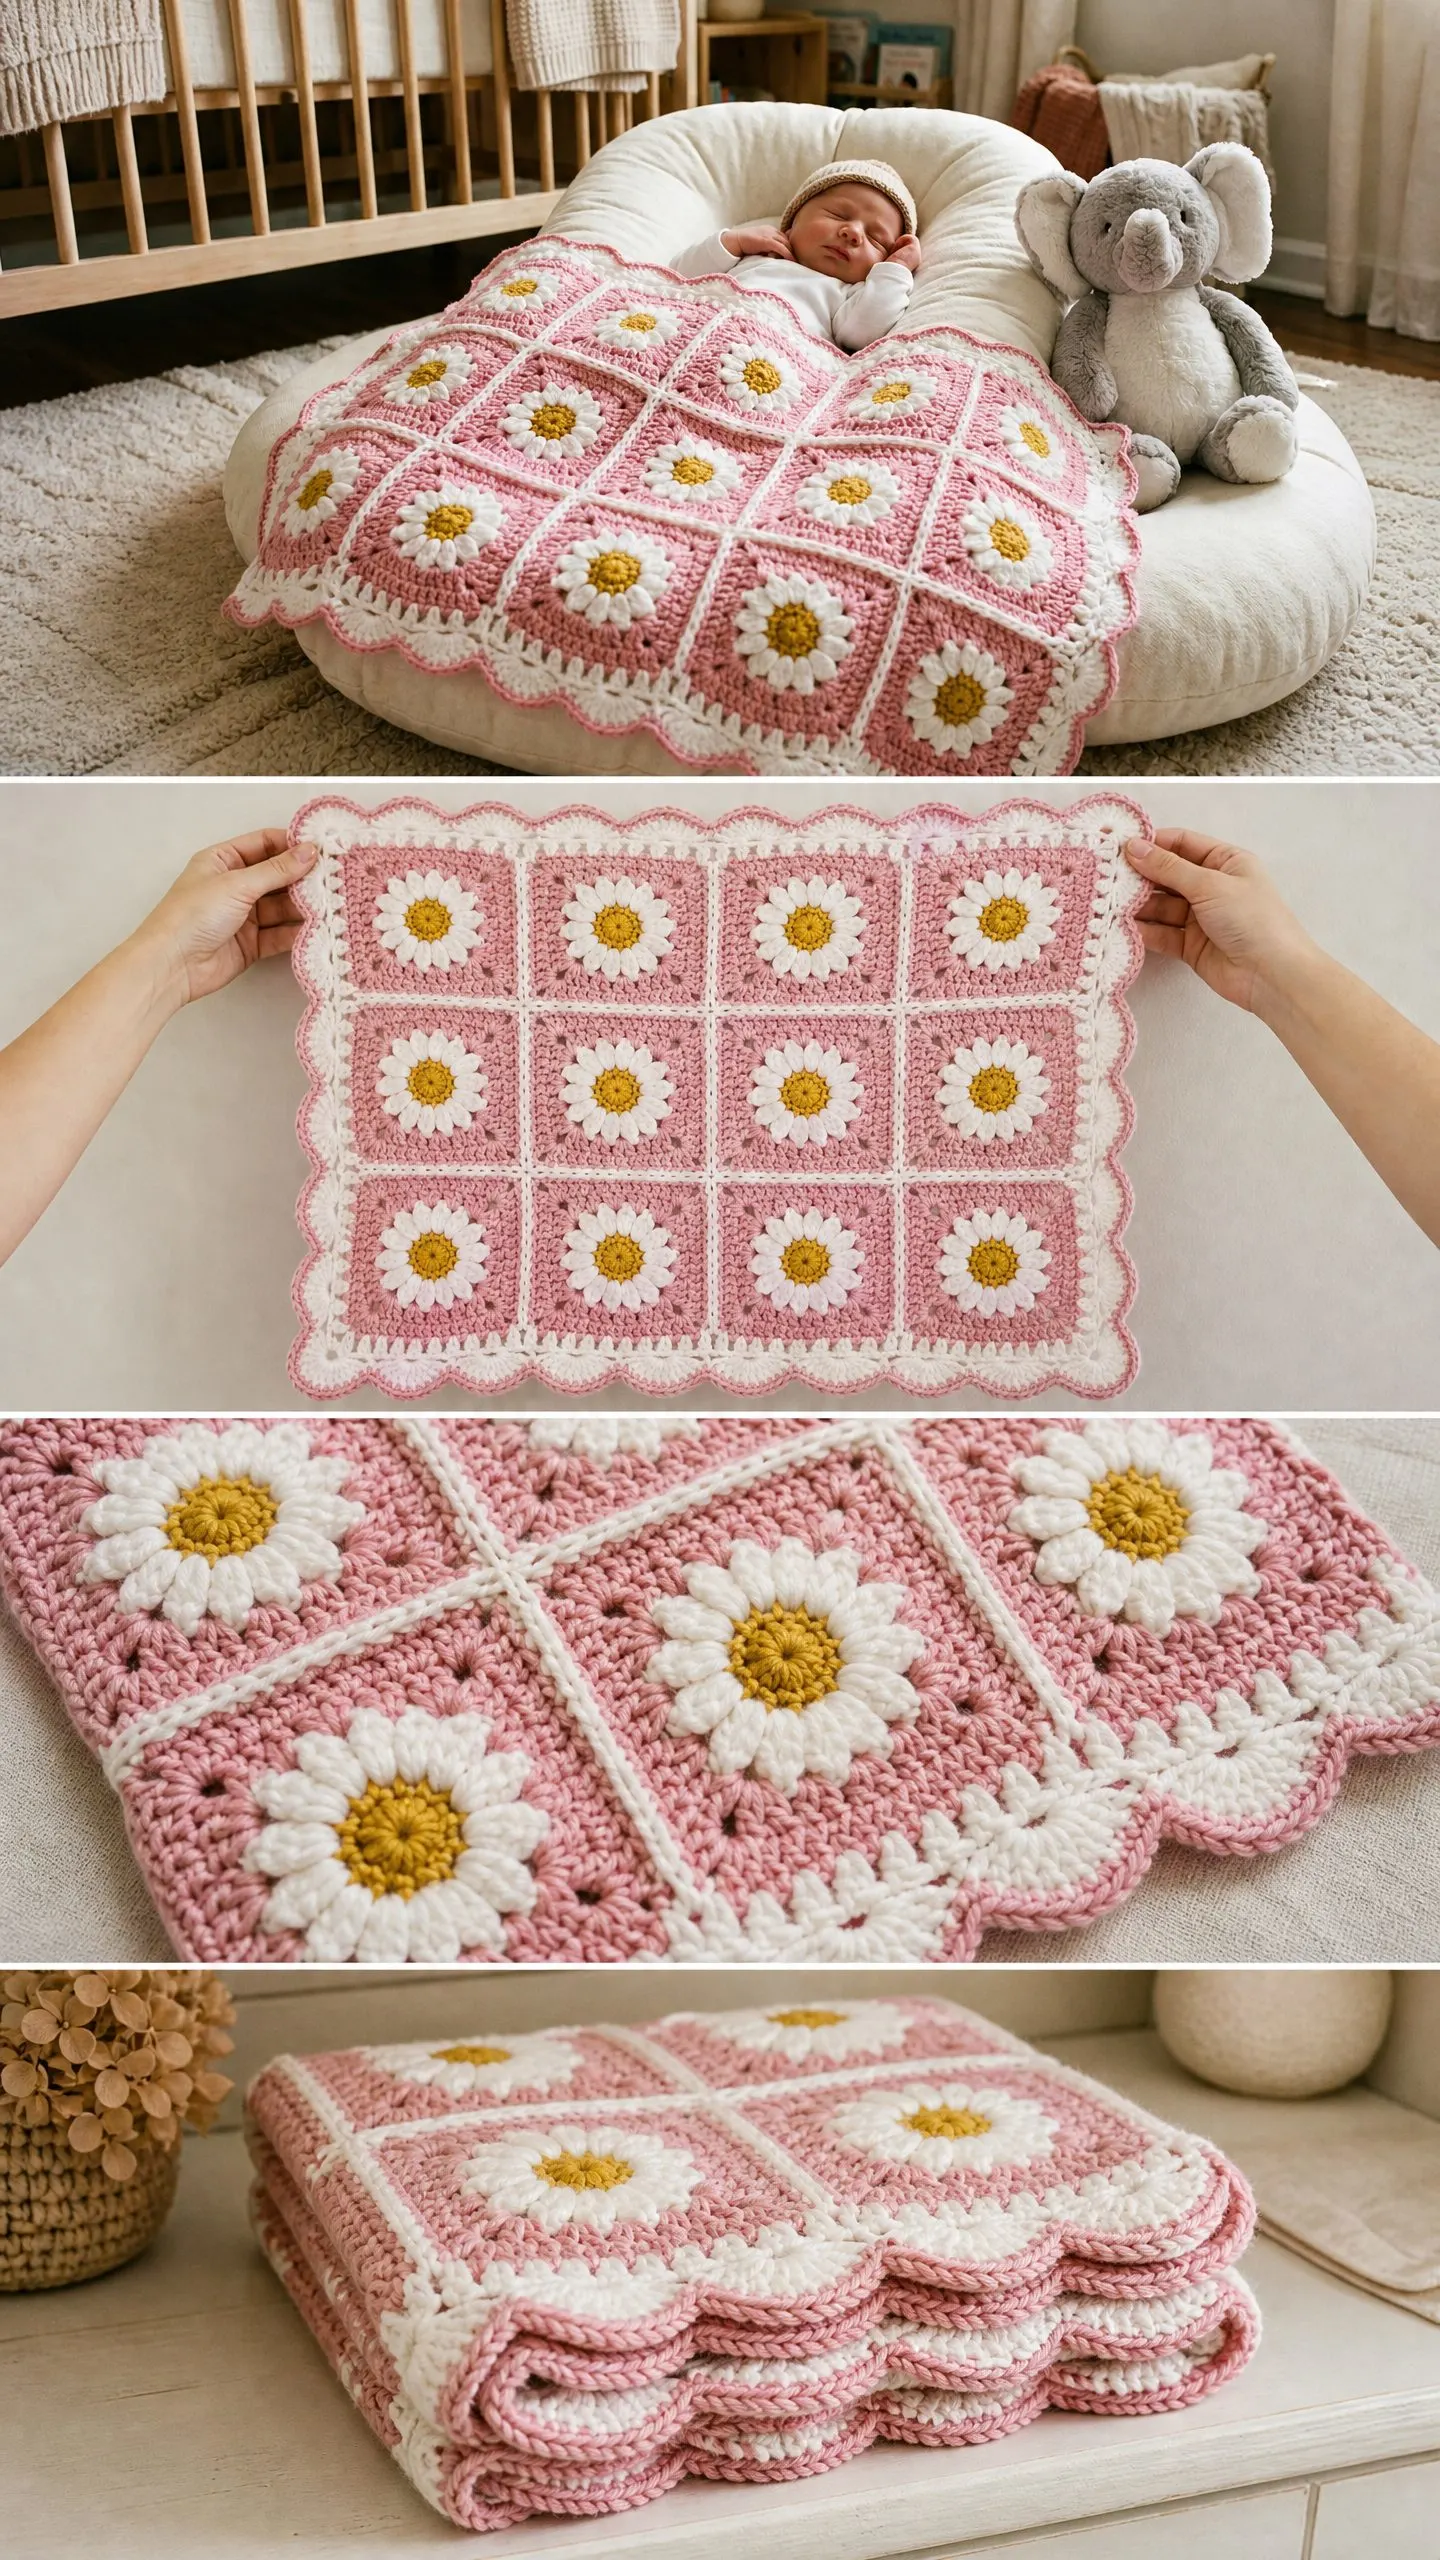
Machine wash on the gentle or delicate cycle in cool or lukewarm water. Lay flat to dry or tumble dry on the lowest heat setting. Do not iron directly on the textured daisy motifs because this will flatten the raised petals. Store flat or loosely rolled to preserve the scalloped border shape.
Time Estimate
Plan for approximately 15 to 22 hours total, depending on your experience with joining motifs and working decorative borders. Each individual square takes roughly 45 to 70 minutes. This makes it a great project to work on during evening television time or weekend crafting sessions.
Thank you so much for choosing this pink daisy granny square baby blanket crochet pattern for your next project. I hope the step by step instructions make it easy to follow, and I cannot wait to see your finished blankets. These make such thoughtful handmade gifts, and every stitch carries a little bit of love.
If you enjoyed this pattern, save it to your Pinterest boards so you can find it easily when you are ready to start. And please leave a comment below if you make one. I would love to hear how it turned out for you!
