Soft mint green hexagons scattered across crisp white, with the sweetest little bunny faces peeking out from the joining points. This baby blanket stopped me in my tracks the moment I finished the last scalloped edge. If you have a baby shower coming up or simply want to create something that will become a treasured keepsake, this is the crochet pattern you have been looking for.
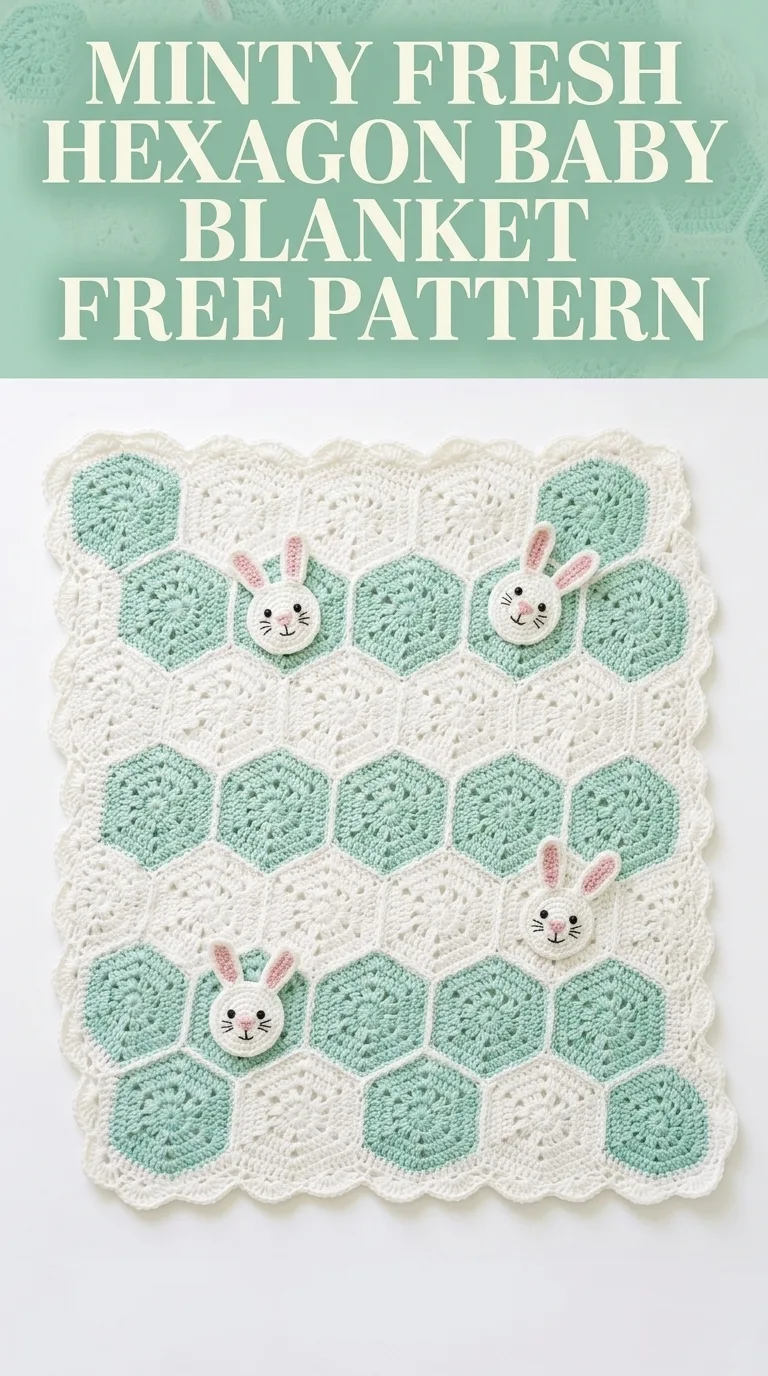
The Minty Fresh Hexagon Baby Blanket combines classic hexagon motifs with adorable bunny appliqués for a look that is both modern and timeless. The construction is simpler than it appears. You will make individual hexagon motifs, join them together, then add the bunny faces as sweet finishing touches. Even if you have never worked with hexagons before, this step by step crochet tutorial will walk you through every single round.
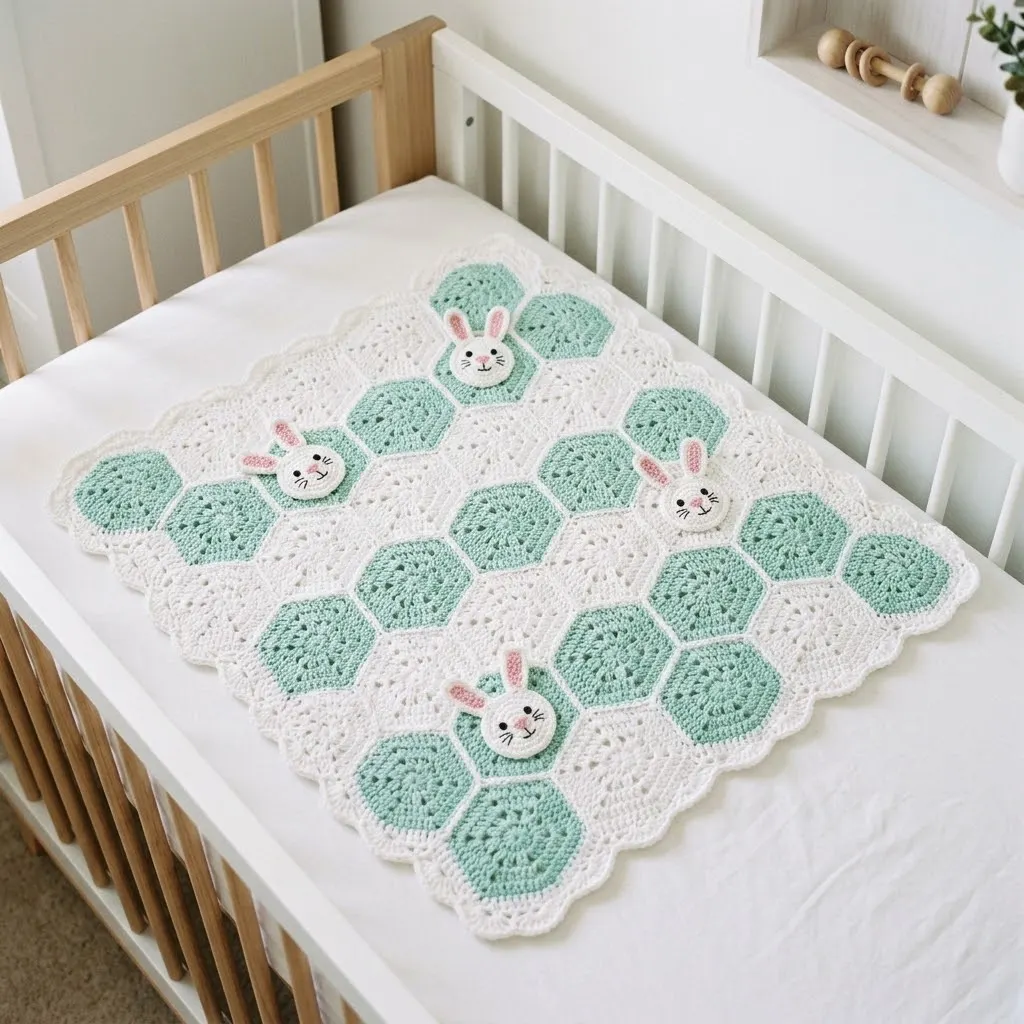
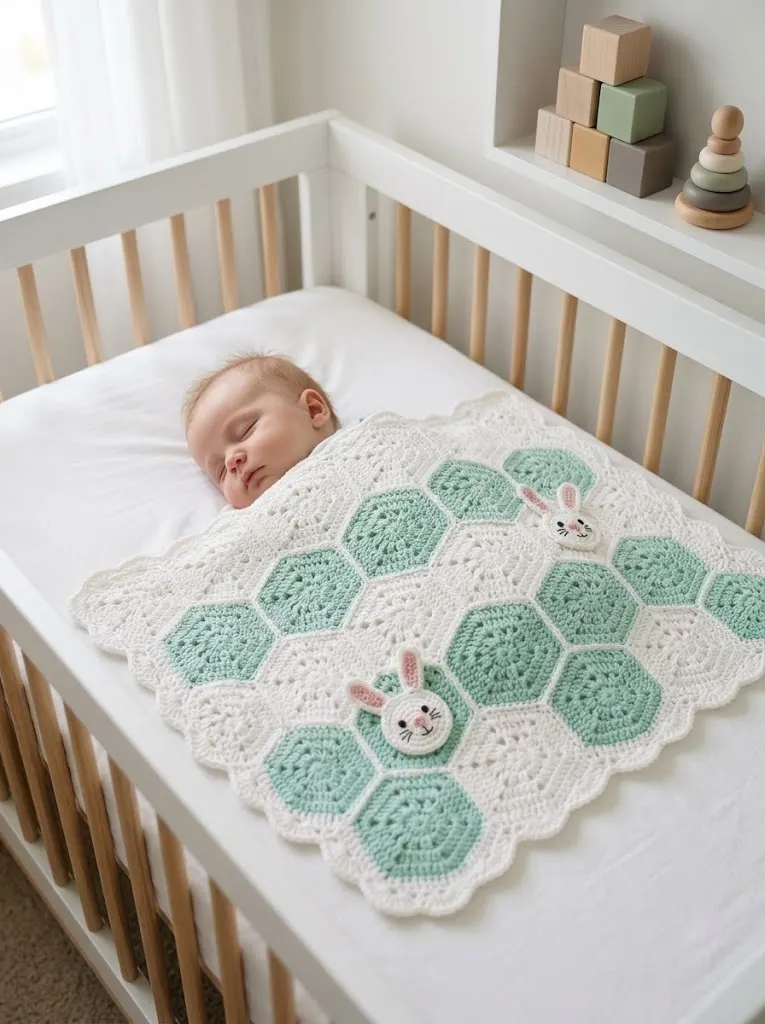
This blanket measures approximately 34 inches by 38 inches when finished, making it the perfect size for a crib or stroller. The lacy openwork design keeps it lightweight while still providing warmth, and those scalloped edges give it a polished heirloom quality.
Why You Will Love This Crochet Pattern
Let me tell you what makes this baby blanket special. The hexagon motifs work up quickly once you get the rhythm down. Each one takes about 20 to 30 minutes, which makes this an excellent project to pick up during naptime or while watching your favorite show.
The color combination of mint green and white feels fresh and gender neutral. You could easily swap in soft yellow, peachy pink, or even a rainbow of colors if you want to customize it for a specific nursery theme.
And those bunny faces? They are separate appliqués that you sew on at the end. This means you can add as many or as few as you like. The blanket in the photos shows four bunnies strategically placed, but you could do more for extra whimsy or skip them entirely for a more classic look.
Materials Needed
Before you start crocheting, gather these supplies:
Yarn:
I recommend a soft acrylic or cotton blend for baby items. Something machine washable will make life easier for new parents. Look for yarn labeled as baby safe with no loose fibers.
Hook:
Notions:
Skill Level
This crochet pattern is intermediate beginner friendly. You should be comfortable with basic stitches and working in the round. If you have made a granny square before, you can absolutely make this blanket.
The hexagon shape might look intimidating, but it is simply a matter of increasing evenly around a center ring. Once you complete your first hexagon, the rest will fly off your hook.
Abbreviations and Stitch Definitions
Let me define every stitch you will encounter in this pattern:
ch — Chain: Wrap yarn over hook, pull through loop on hook. The foundation for most crochet work.
sl st — Slip stitch: Insert hook into stitch, yarn over, pull through both the stitch and the loop on your hook in one motion. Used for joining rounds.
sc — Single crochet: Insert hook into stitch, yarn over and pull up a loop (two loops on hook), yarn over and pull through both loops. Creates a short, dense stitch.
dc — Double crochet: Yarn over, insert hook into stitch, yarn over and pull up a loop (three loops on hook), yarn over and pull through two loops, yarn over and pull through remaining two loops. Creates a taller stitch with nice drape.
tr — Treble crochet: Yarn over twice, insert hook into stitch, yarn over and pull up a loop (four loops on hook), yarn over and pull through two loops three times until one loop remains. Even taller than double crochet.
ch-sp — Chain space: The gap created by a chain in the previous round. You work into this space, not into the chain stitches themselves.
sk — Skip: Pass over the indicated stitch without working into it.
inc — Increase: Work two stitches into the same stitch or space.
Gauge
Gauge matters for this project if you want your blanket to match the finished size.
Work one complete hexagon motif. It should measure approximately 5 inches from flat edge to flat edge.
If your hexagon is too large, try going down a hook size. If it is too small, go up a hook size. Do not skip this step. It will save you frustration later.
Pattern Instructions
Mint Green Hexagon Motif (Make 13)
These solid mint hexagons create the beautiful color contrast throughout your blanket.
Round 1: Using mint green yarn, make a magic ring. Ch 3 (counts as first dc throughout), work 11 dc into the ring. Sl st to top of ch-3 to join. Pull ring closed. (12 dc)
Round 2: Ch 3, dc in same st (increase made). 2 dc in each st around. Sl st to join. (24 dc)
Round 3: Ch 3, dc in same st. Dc in next st. *2 dc in next st, dc in next st.* Repeat from * to * around. Sl st to join. (36 dc)
Round 4: Ch 3, dc in same st. Dc in next 2 sts. *2 dc in next st, dc in next 2 sts.* Repeat from * to * around. Sl st to join. (48 dc)
Round 5: Ch 3, dc in next 3 sts. *Ch 2, sk 2 sts, dc in next 6 sts.* Repeat from * to * around, ending with dc in last 2 sts. Sl st to join. (36 dc, 6 ch-2 spaces)
The chain spaces create the lacy openwork effect and define your hexagon corners.
Round 6: Ch 3, dc in next 3 sts. *(2 dc, ch 2, 2 dc) in ch-2 sp (corner made), dc in next 6 sts.* Repeat from * to * around, working corner in each ch-sp. Sl st to join. Fasten off, leaving a 12-inch tail for joining. (60 dc, 6 corner ch-2 spaces)
Take a breath here. You have completed one hexagon. Set it aside and make 12 more in mint green.
White Hexagon Motif (Make 18)
The white hexagons work exactly the same way as the mint ones.
Rounds 1 through 6: Follow instructions for Mint Green Hexagon Motif using white yarn. (60 dc, 6 corner ch-2 spaces)
Make 18 white hexagons total. These will form the background and frame your mint hexagons beautifully.
Bunny Face Appliqué (Make 4)
Now for the adorable part. These bunny faces sit on top of the hexagon joining points.
Face (White):
Round 1: Using white yarn and smaller hook, make a magic ring. Ch 1, work 6 sc into the ring. Do not join. Work in a continuous spiral. Place a stitch marker in the first stitch of each round and move it up as you go. (6 sc)
Round 2: 2 sc in each st around. (12 sc)
Round 3: *Sc in next st, 2 sc in next st.* Repeat around. (18 sc)
Round 4: *Sc in next 2 sts, 2 sc in next st.* Repeat around. (24 sc)
Round 5: *Sc in next 3 sts, 2 sc in next st.* Repeat around. (30 sc)
Round 6: Sc in each st around. (30 sc)
Sl st to next st. Fasten off, leaving a long tail for sewing.
Ears (Make 2 per bunny, 8 total):
Row 1: Using white yarn, ch 8. Sc in 2nd ch from hook and in each ch across. (7 sc)
Row 2: Ch 1, turn. Sk first st, sc in next 5 sts, sk last st. (5 sc)
Row 3: Ch 1, turn. Sk first st, sc in next 3 sts, sk last st. (3 sc)
Row 4: Ch 1, turn. Sk first st, sc in next st, sk last st. (1 sc)
Fasten off, leaving a tail for sewing.
Inner Ears (Make 2 per bunny, 8 total):
Using light pink yarn, ch 6. Sc in 2nd ch from hook, sc in next 3 ch, 3 sc in last ch. Working on opposite side of chain, sc in next 4 sts. Fasten off.
Sew inner ears to white outer ears, slightly offset toward the bottom.
Facial Features:
Using black yarn and yarn needle, embroider two small eyes with French knots or satin stitch circles. Alternatively, attach 6mm safety eyes before closing the face.
Embroider a small pink nose using pink yarn. Add whiskers with long straight stitches in black yarn, three on each side of the nose.
Assembly
Lay out your hexagons according to this arrangement: Create a grid approximately 5 hexagons wide and 7 hexagons tall, alternating mint and white. Offset each row so the hexagons nestle together like honeycomb.
Joining Method (Flat Slip Stitch Join):
Hold two hexagons with right sides facing. Using white yarn, insert hook through both corner ch-2 spaces. Sl st to join. Working through both layers, sl st in each stitch along the edge until you reach the next corner. Sl st through both corner spaces. Fasten off.
Repeat for all hexagon connections. Work in rows first, then join the rows together.
Take your time with joining. Consistent tension here makes your blanket lie flat and look polished.
Border
Once all hexagons are joined, add the scalloped border.
Round 1: Join white yarn in any corner ch-sp of an outer hexagon. Ch 1, 3 sc in corner sp. Sc evenly around entire blanket, working 3 sc in each outer corner ch-sp and 1 sc in each st along edges. Sl st to join.
Round 2: Ch 1, sc in first st. *Sk 2 sts, 5 dc in next st (shell made), sk 2 sts, sc in next st.* Repeat from * to * around, adjusting as needed to end evenly. Sl st to join. Fasten off.
The scalloped shell border gives your blanket that beautiful wavy edge you see in the photo.
Finishing
Attaching Bunny Faces:
Position your four bunny faces at joining points where hexagons meet, spacing them evenly across the blanket. Pin in place first to ensure balanced placement.
Using white yarn and yarn needle, whipstitch around the edge of each bunny face, securing it to the blanket. Attach ears at the top of each face, angling them slightly outward.
Weaving Ends:
Weave in all remaining yarn tails using your yarn needle. Work the tails through several stitches on the wrong side, then trim close.
Blocking (Optional but Recommended):
Wet block your finished blanket by soaking it in lukewarm water, gently squeezing out excess moisture, and laying it flat on a towel. Pin edges if needed. Let dry completely. This evens out your stitches and helps the blanket lie flat.
Tips for Success
If your hexagons are curling, you are crocheting too tightly. Relax your grip and try again.
Count your stitches at the end of every round. Catching a mistake early saves hours of frustration.
When joining hexagons, work from the center outward. This helps you manage the bulk better.
For the bunny faces, stuff a tiny bit of fiberfill behind them before sewing them down completely. This gives them a subtle 3D effect that is absolutely precious.
Customization Ideas
This crochet baby blanket pattern adapts beautifully to different styles:
I truly hope you enjoy making this Minty Fresh Hexagon Baby Blanket as much as I enjoyed designing it. There is something so satisfying about watching those hexagons stack up and knowing you are creating something that will wrap a little one in handmade love.
Thank you so much for choosing this pattern for your next project. If you make this blanket, I would absolutely love to see it. Tag me on Instagram or share your finished photo in my Facebook group. Seeing your creations honestly makes my whole day.
If this pattern caught your eye, go ahead and pin it to your favorite Pinterest board so you can find it when you are ready to start. And please drop a comment below if you give it a try. I love hearing how your projects turn out and answering any questions along the way. Happy crocheting, friend.
