Soft pinks, buttery yellows, mint greens, and creamy whites all spiraling out from a single center point. That is what you are looking at with this classic granny square baby blanket, and I promise it is easier to make than it looks.
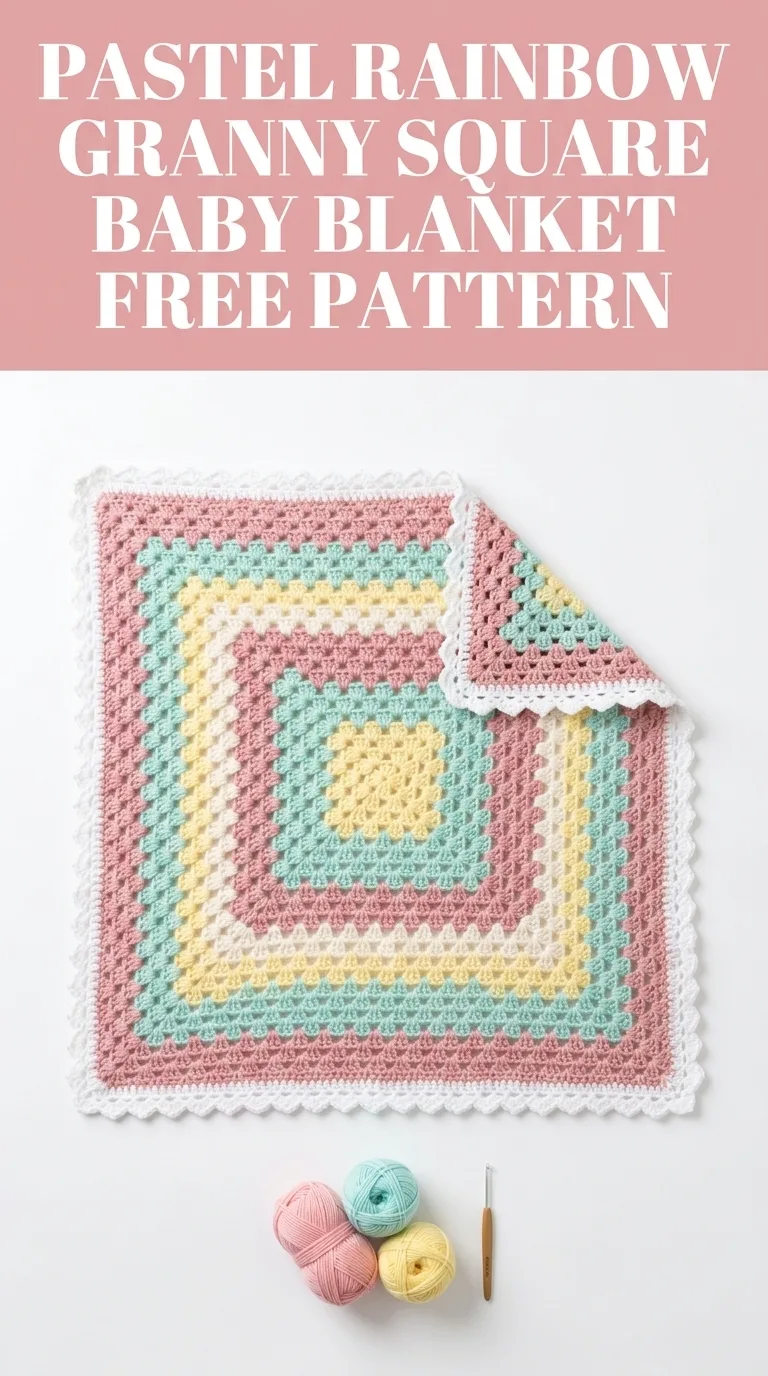
This pastel rainbow granny square baby blanket crochet pattern works up as one continuous square from the center outward. No joining. No sewing. Just round after round of the most satisfying stitch clusters you will ever make. If you have never tried a granny square before, this is your sign. If you have made dozens, you already know why this technique never gets old.
The finished blanket measures approximately 30 inches by 30 inches, making it the perfect size for a crib, stroller, or tummy time mat. The open lacework of the granny stitch creates a lightweight but cozy texture. And that scalloped white border? It adds just the right amount of polish without being fussy.
Let me walk you through everything you need to recreate this beauty from scratch.
Why This Granny Square Baby Blanket Works So Well
The granny square is one of the most beloved structures in crochet history for good reason. It grows quickly, uses simple stitches, and creates beautiful visual impact with minimal effort.
This particular design uses a continuous granny square method. Instead of making many small squares and joining them together, you work one large square that expands outward round by round. Each color change creates those gorgeous concentric rings you see in the finished piece.
For baby items, this construction method is ideal. Fewer seams means fewer places for little fingers to catch. The fabric stays soft and drapey without becoming stiff from joining techniques.
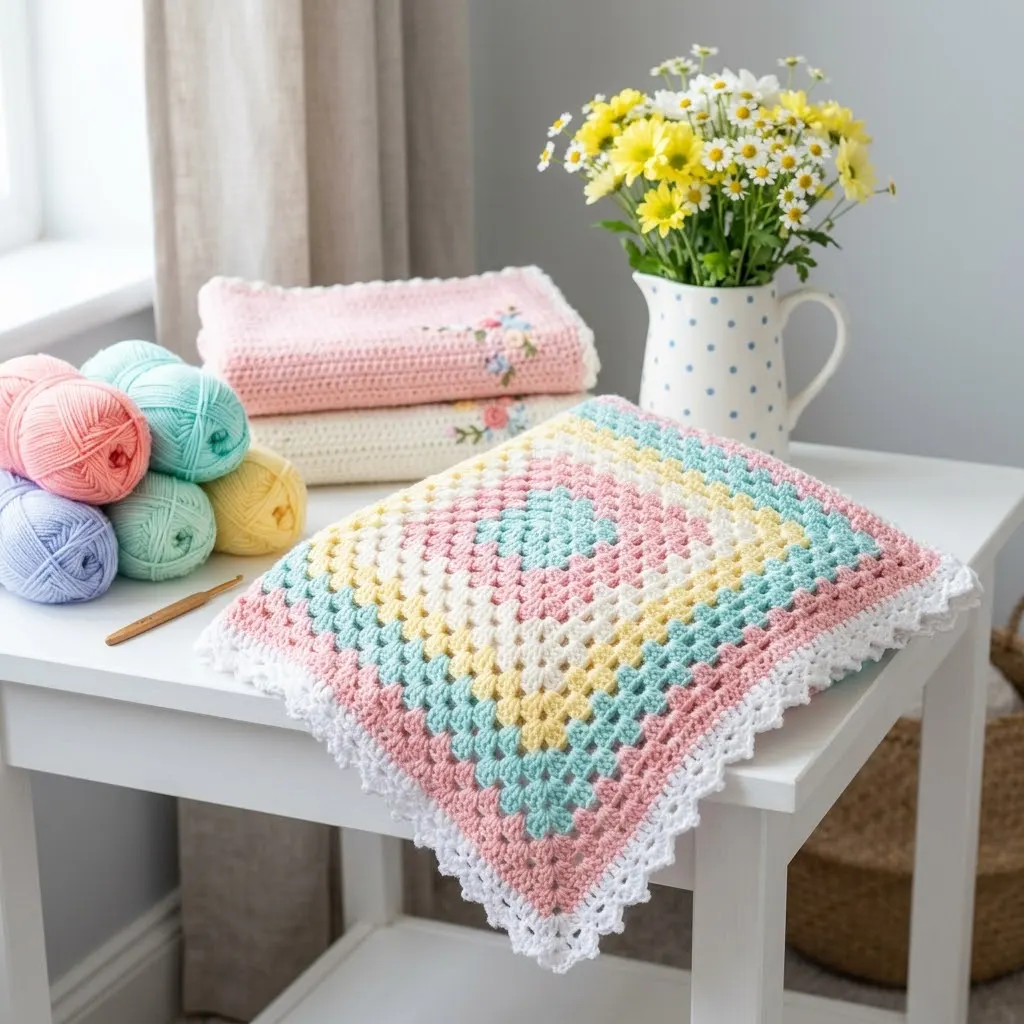
Materials You Will Need
Gathering your supplies before you start makes the whole process smoother. Here is what I used for this blanket.
Yarn:
Hook:
Notions:
Gauge:
Stitches and Abbreviations
Let me define every stitch you will use so there is no confusion.
Ch = Chain. Wrap yarn over hook, pull through loop on hook. This creates the foundation and spacing.
Sl st = Slip stitch. Insert hook, yarn over, pull through both the stitch and loop on hook in one motion. Used to join rounds.
Dc = Double crochet. Yarn over, insert hook into stitch, yarn over and pull up a loop (3 loops on hook), yarn over and pull through 2 loops (2 loops remain), yarn over and pull through last 2 loops. This is the main stitch in granny squares.
3-dc cluster = Three double crochet stitches worked into the same space or stitch. This creates the signature granny square grouping.
Corner space = The chain-3 space at each corner of the square where you work two clusters separated by chain stitches.
Sk = Skip. Pass over the indicated stitch or space without working into it.
Understanding Granny Square Construction
Before diving into the pattern, let me explain how this works so you can visualize it.
A granny square grows from a center ring. You work clusters of double crochet stitches into spaces rather than into individual stitches. The chains between clusters create the characteristic holes.
At each corner, you work two clusters with chains between them. This creates the turn that keeps your square flat and square shaped.
Each round adds one more cluster per side. Round 1 has one cluster per side. Round 2 has two clusters per side. Round 3 has three. And so on.
The color changes happen at the end of rounds. You simply fasten off one color and join the next in any corner space.
Step by Step Crochet Pattern
Getting Started: The Magic Ring
Round 1 (Yellow):
Make a magic ring. If you prefer, you can chain 4 and slip stitch to form a ring instead.
Ch 3 (counts as first dc throughout), work 2 dc into the ring, ch 2.
*Work 3 dc into ring, ch 2.* Repeat 3 more times. (4 clusters total)
Sl st to top of beginning ch-3 to join.
Stitch count: 12 dc, 4 ch-2 corner spaces
Building the Square
Round 2 (Yellow):
Sl st into next 2 dc and into corner ch-2 space.
Ch 3, 2 dc in same corner space, ch 2, 3 dc in same corner space (first corner made).
Ch 1, *(3 dc, ch 2, 3 dc) in next corner space, ch 1.* Repeat around.
Sl st to top of ch-3 to join. Fasten off yellow.
Stitch count: 24 dc, 4 corner spaces, 4 ch-1 side spaces
Round 3 (Cream):
Join cream in any corner ch-2 space with a sl st.
Ch 3, 2 dc in same corner space, ch 2, 3 dc in same space.
Ch 1, 3 dc in next ch-1 space, ch 1, *(3 dc, ch 2, 3 dc) in corner, ch 1, 3 dc in next ch-1 space, ch 1.* Repeat around.
Sl st to join. Fasten off cream.
Stitch count: 36 dc, 4 corners, 8 side clusters
Round 4 (Mint Green):
Join mint in any corner space.
Work corner as established: (3 dc, ch 2, 3 dc).
Ch 1, *3 dc in each ch-1 space along side with ch 1 between each cluster,* work corner, repeat around.
Sl st to join. Fasten off.
Stitch count: 48 dc
Round 5 (Mint Green):
Join mint in corner. Continue pattern, adding one more side cluster per side.
Stitch count: 60 dc
Rounds 6-7 (Pink):
Continue in pattern for 2 rounds.
Round 6: 72 dc
Round 7: 84 dc
Rounds 8-9 (Cream):
Continue in pattern for 2 rounds.
Round 8: 96 dc
Round 9: 108 dc
Rounds 10-11 (Lavender):
Continue in pattern for 2 rounds.
Round 10: 120 dc
Round 11: 132 dc
Rounds 12-13 (Yellow):
Continue in pattern for 2 rounds.
Round 12: 144 dc
Round 13: 156 dc
Rounds 14-15 (Mint Green):
Continue in pattern for 2 rounds.
Round 14: 168 dc
Round 15: 180 dc
Rounds 16-18 (Pink):
Continue in pattern for 3 rounds.
Round 16: 192 dc
Round 17: 204 dc
Round 18: 216 dc
Adjusting Your Size
Want a bigger blanket? Keep going. Each additional round adds approximately 1.5 inches to each side. For a larger receiving blanket, work 22 to 24 rounds. For a toddler blanket, aim for 28 to 30 rounds.
The Scalloped Border
This delicate white border gives the blanket a finished, heirloom quality. It looks fancy but uses only basic stitches.
Border Round 1 (White):
Join white in any corner ch-2 space.
Ch 1, 3 sc in corner space, *sc in each dc and each ch-1 space across side,* 3 sc in corner. Repeat around.
Sl st to join. Do not fasten off.
Border Round 2 (White):
Ch 1, sc in first st.
*Sk 2 sts, 5 dc in next st (shell made), sk 2 sts, sc in next st.* Repeat around, adjusting at corners to place shells evenly.
At corners: work (sc, ch 2, sc) in center corner stitch, then continue shell pattern.
Sl st to join. Fasten off.
If you find the shells not lining up perfectly, that is normal. Adjust your skipped stitches as needed. The eye forgives small variations in borders.
Color Arrangement Tips
The blanket in the image follows a specific color sequence that creates visual rhythm. Here is the breakdown:
You can absolutely customize this. Other combinations that work beautifully:
Finishing Your Blanket
Weaving in Ends
With color changes, you will have several yarn tails. Thread each tail onto your yarn needle and weave through the backs of stitches for at least 2 inches. Weave in different directions to secure. Trim close to the fabric.
For extra security on baby items, I weave each end in two different directions before trimming.
Blocking (Optional)
Granny squares benefit from blocking, which evens out your stitches and opens up the lacework. Wet the blanket thoroughly, squeeze out excess water (do not wring), and lay flat on a towel or blocking mats. Gently stretch to shape and pin corners if desired. Let dry completely.
For a quicker option, steam blocking with an iron held above the fabric works too. Never press directly on acrylic yarn.
Washing Instructions
Share these with anyone you gift this blanket to:
Troubleshooting Common Issues
Blanket is cupping or curling:
Your tension might be too tight. Try going up a hook size. Blocking also helps flatten curling edges.
Blanket is ruffling:
Too loose. Try a smaller hook or pulling your stitches slightly snugger.
Corners look wonky:
Make sure you are working (3 dc, ch 2, 3 dc) consistently in every corner. The ch-2 space is what creates the turn.
Losing count of clusters:
Place a stitch marker in each corner ch-2 space at the start of each round. This helps you see where you are.
Color changes look messy:
On your last stitch before a color change, work until two loops remain on hook. Drop old color, yarn over with new color, pull through. This makes the first stitch of the new color look cleaner.
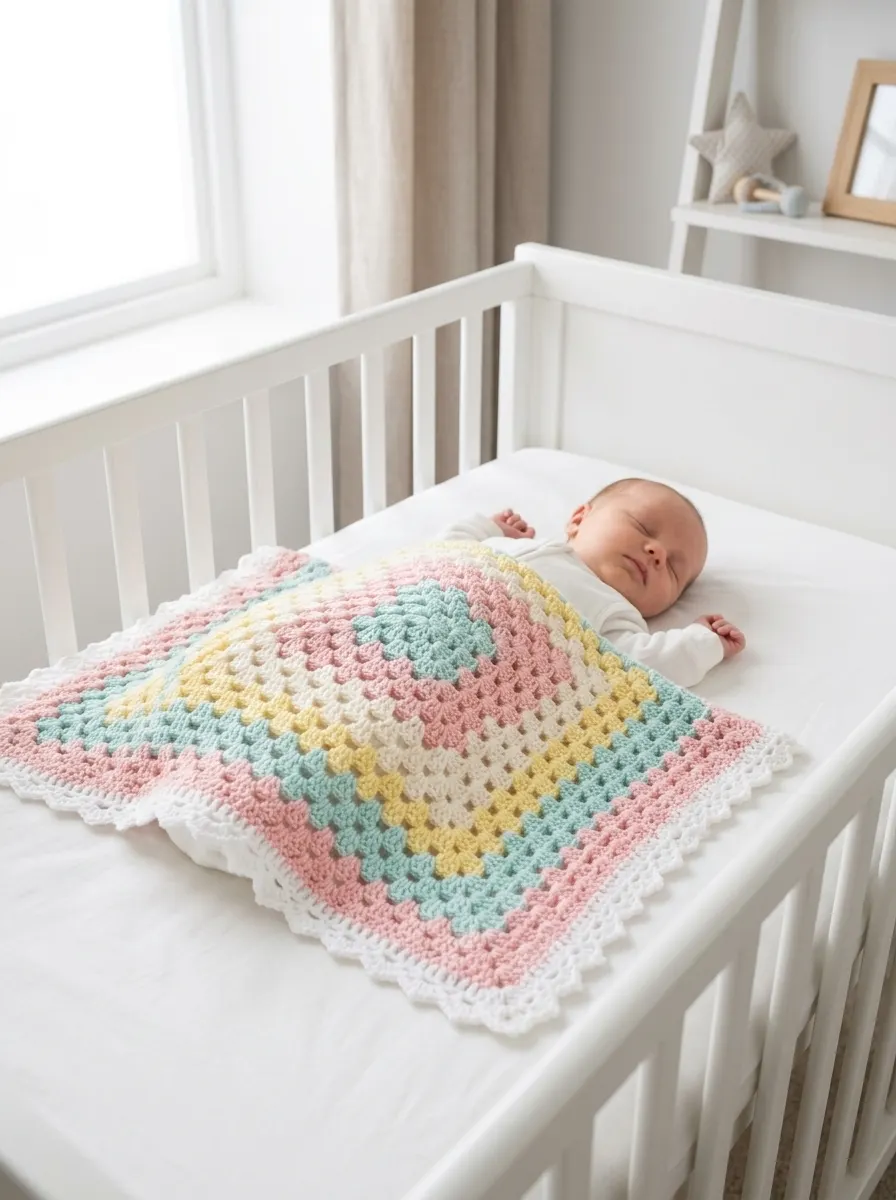
Who This Blanket Is Perfect For
This pastel rainbow granny square baby blanket makes an ideal gift for:
The skill level sits comfortably in the beginner friendly range. If you can make a double crochet and count to three, you can make this blanket. The repetitive nature of granny squares is almost meditative once you get going.
Pattern Notes and Final Tips
A few last thoughts before you cast on:
Work in good lighting. Those pastel colors look similar in dim rooms and you might grab the wrong yarn ball.
Take breaks. Your hands will thank you, and you will catch mistakes more easily with fresh eyes.
Do not stress about perfection. Handmade means hand loved. Small variations add character.
Keep your yarn tails at least 6 inches long. Short tails are harder to weave in and more likely to work loose.
This crochet pattern is written in US crochet terms. If you typically use UK terms, remember that US double crochet equals UK treble crochet.
Your Next Steps
You have everything you need now. Yarn, hook, pattern, and confidence. This step by step crochet tutorial will guide you through every round, and before you know it, you will be holding a finished blanket that someone is going to treasure.
I would absolutely love to see your finished pastel rainbow granny square baby blankets. The color combinations people choose always inspire me. Tag me on Instagram or share in my Facebook group so I can cheer you on.
Thank you so much for choosing this pattern for your next project. It means everything when you trust me with your crafting time. Happy hooking, and may your yarn never tangle.
If this pattern made you smile or you are planning to make it for someone special, I would love it if you saved it to your Pinterest boards so you can find it again easily. And please drop a comment below when you finish yours. Hearing about your projects honestly makes my whole day.
