I call her Rosie. She started as a sketch in my old notebook about three years ago, back when I was obsessed with vintage handbags from the 1950s. You know the ones with the structured shapes and those gorgeous printed fabrics? I wanted to create something that captured that elegance but felt handmade and personal. The original sketch sat there for ages until I finally found the perfect dusty rose cotton and a scrap of floral fabric that made everything click. Now Rosie is ready to share with you, and I could not be more excited to see what you create.
Get the Ad-Free PDF Pattern
You can find the free pattern below, or you can purchase the ad-free printable PDF from my shop.
Get the Printable PDF →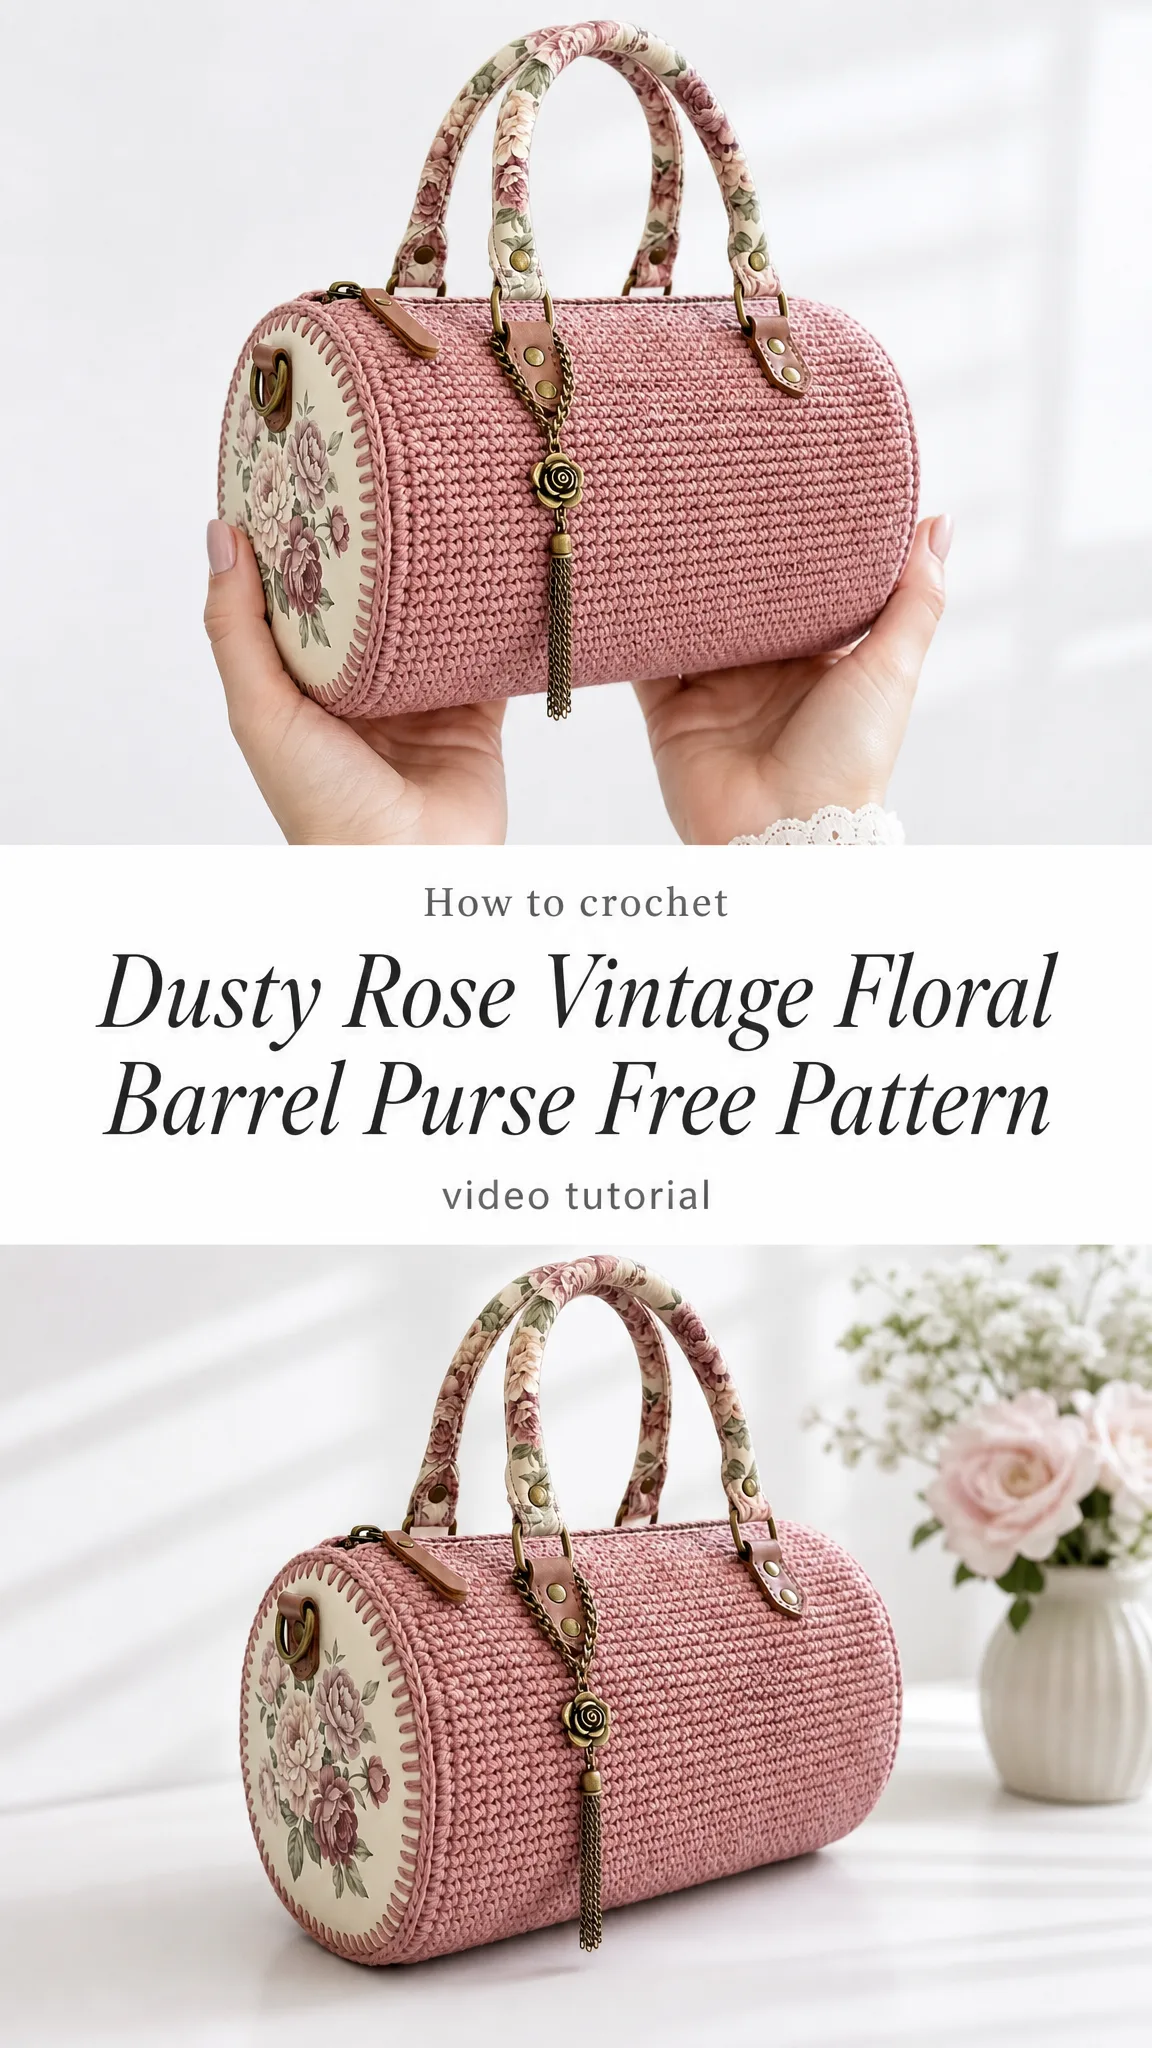
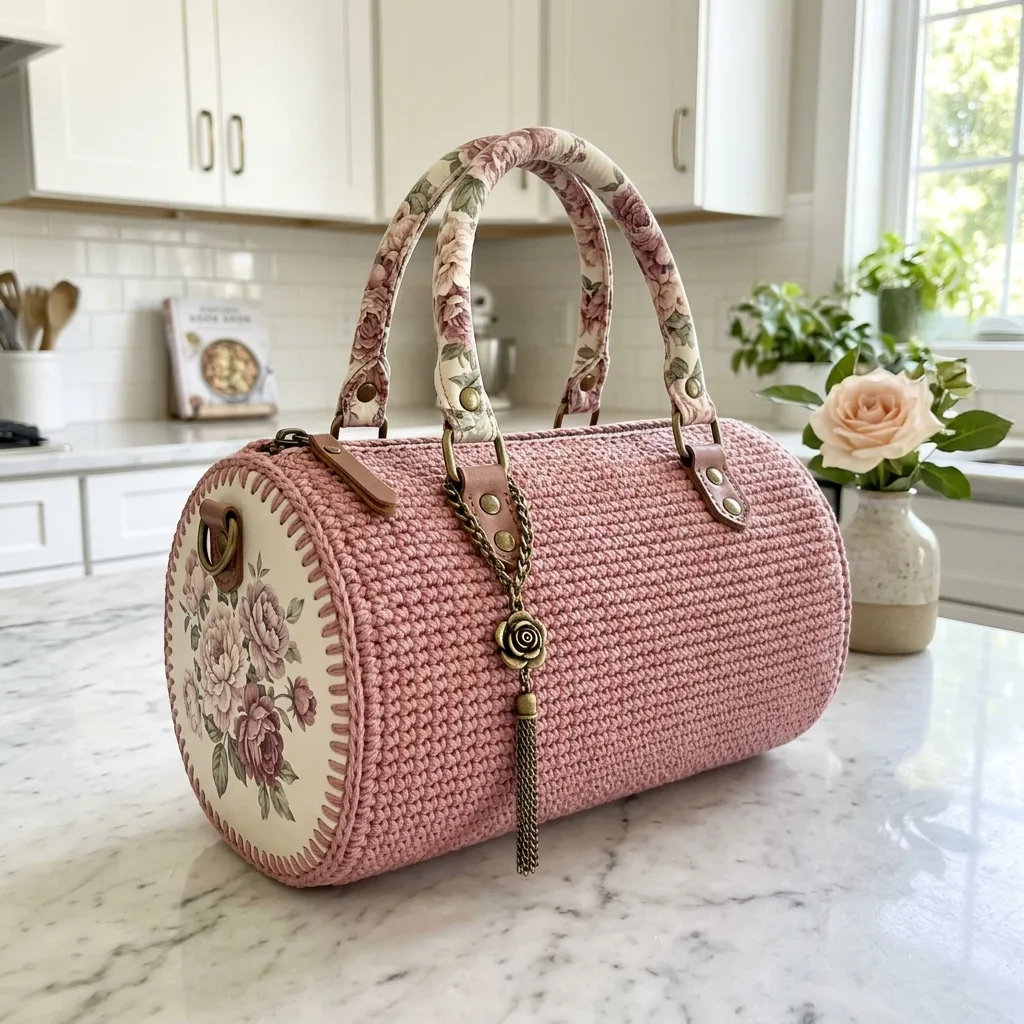
This Dusty Rose Vintage Floral Barrel Purse crochet pattern combines simple single crochet texture with beautiful finishing details to create a handbag that looks far more complicated than it actually is. The cylindrical shape, the romantic floral end panels, those arched handles with their vintage print covering, and that sweet little tassel charm all come together into something truly special.
Why You Will Love This Pattern
The beauty of this barrel purse pattern is that the crochet itself is wonderfully straightforward. We are talking single crochet (sc) and single crochet through the back loop only (sc blo) worked in rows and spiral rounds. That is it. The elevated, boutique-quality finish comes from careful assembly, neat seaming, and thoughtful hardware placement.
If you can crochet a rectangle and a circle, you can absolutely make this purse. The skill level sits comfortably at adventurous beginner to intermediate. Most of the challenge lies in the finishing work rather than complex stitches.
The finished purse measures approximately 9.5 inches long by 5 inches in diameter by 5 inches high, not including the handles. The handle drop is about 4.25 inches, making it perfect for carrying on your arm or in your hand.
Materials You Will Need
Let me walk you through everything required to bring this pattern to life. Having your supplies ready before you start makes the whole process so much smoother.
Yarn:
Suggested yarns: Lion Brand 24/7 Cotton, Paintbox Yarns Cotton Aran, or Lily Sugar’n Cream. You want a firm cotton that holds its structure and shows beautiful stitch definition. Soft acrylic can work in a pinch, but you will need stronger internal stabilizers to maintain the shape.
Hook and Tools:
Hardware and Notions:
Optional Lining:
Gauge
Getting your gauge right matters for this project because the pieces need to fit together precisely.
16 sc by 16 rows equals 4 inches (10 cm) in textured single crochet, blocked.
For the end circles, 16 stitches around equals 4 inches (10 cm) of circumference.
Work a swatch of at least 20 stitches by 20 rows in the textured sc blo stitch. Your fabric should feel firm but not stiff. If your swatch is too tight, go up a hook size. Too loose? Go down a size.
Stitch Guide and Abbreviations
Let me define every stitch and abbreviation before we begin. No confusion, no guessing.
UK crocheters, please note: US sc equals UK dc.
Invisible finish: This technique creates a seamless ending to your rounds. Cut your yarn, pull the tail through the final loop, thread the tail onto your needle, insert under both loops of the first stitch of the round, then back into the center of the last stitch. Pull gently to mimic a regular stitch.
Whipstitch join: Hold your pieces with wrong sides together. Using a long yarn tail, sew from back to front through the outer loops only. Keep your stitches evenly spaced and not too tight.
Left-handed note: Work the same stitch counts. Your spiral direction and tassel side may mirror the photos, and that is perfectly fine. Place your zipper pull and charm wherever they feel natural to you.
Pattern Notes
The turning chain never counts as a stitch in this pattern. Count your first and last stitch of every row carefully. Place a marker in the first stitch of each spiral round to keep track of your progress.
For the best structure, block your body rectangle before assembly and insert stabilizer circles inside the ends.
Body Panel Instructions
This panel forms the main barrel shape of your purse. It is worked flat in rows, back and forth.
With your dusty rose yarn, chain 39.
Row 1: Sc in 2nd ch from hook and in each ch across. Ch 1, turn. (38 sc)
Rows 2 through 64: Sc blo in each st across. Ch 1 and turn after rows 2 through 63 only. Do not chain or turn after row 64. (38 sc each row)
Checkpoint: Your panel should measure approximately 9.5 inches wide by 16 inches tall after blocking. The 64 row ends form the circumference of each side of your barrel.
Important: Do not seam the first and last rows together. This opening becomes where your zipper goes. Weave in only the starting tail and leave the ending tail long for later alignment if you wish.
End Circles Instructions
Make 2 of these circles in dusty rose. Work in a continuous spiral without joining rounds unless specified.
Rnd 1: Magic ring, 8 sc in ring. (8 sc)
Rnd 2: Inc in each st around. (16 sc)
Rnd 3: [Sc in next st, inc] 8 times. (24 sc)
Rnd 4: [Sc in next 2 sts, inc] 8 times. (32 sc)
Rnd 5: [Sc in next 3 sts, inc] 8 times. (40 sc)
Rnd 6: [Sc in next 4 sts, inc] 8 times. (48 sc)
Rnd 7: [Sc in next 5 sts, inc] 8 times. (56 sc)
Rnd 8: [Sc in next 6 sts, inc] 8 times. Invisible finish. (64 sc)
Checkpoint: Each circle should measure approximately 5 inches across after blocking.
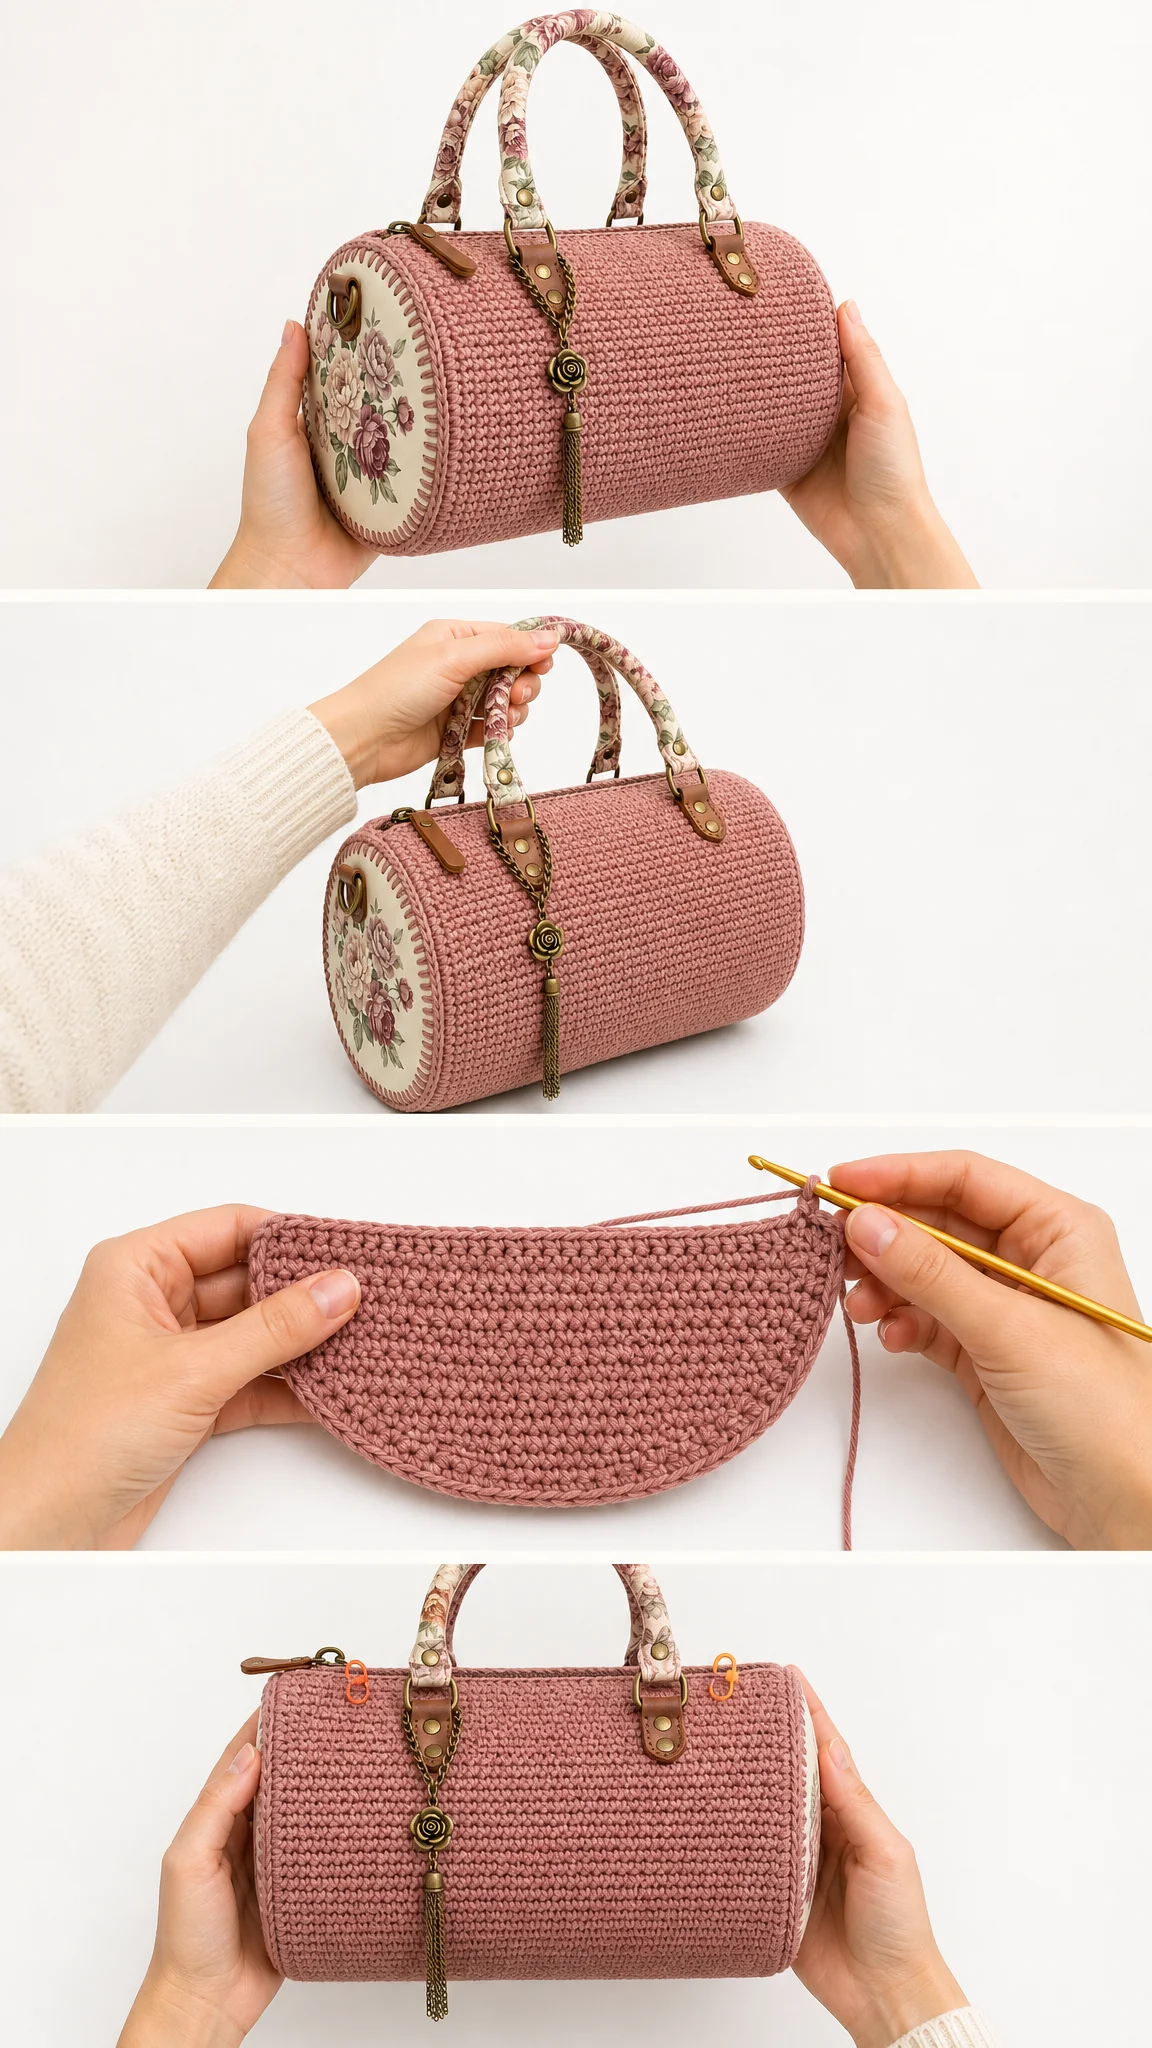
Floral Panel Application
This is where the vintage magic happens.
Cut two 4.25 inch diameter fabric circles from your floral cotton. Turn under about 1/8 inch around the edge, press with an iron, then stitch or glue one fabric circle centered on each crochet end circle.
Optional decorative rim: With your cream yarn, work surface slip stitches around the floral circle edge. Then add evenly spaced rose colored whipstitches over the rim for a beautiful vintage blanket stitch look.
Handles Instructions
Make 2 handles.
With dusty rose yarn, chain 61.
Row 1: Sc in 2nd ch from hook and in each ch across. (60 sc)
Rows 2 through 4: Ch 1, turn, sc blo in each st across. (60 sc)
Fasten off, leaving a long tail. Wrap each strip around soft cord or folded floral ribbon and seam the long edge closed. This creates a padded handle approximately 11 inches long. Cover with floral fabric or ribbon for that gorgeous vintage print effect.
Handle Tabs Instructions
Make 4 tabs.
Chain 9.
Row 1: Sc in 2nd ch from hook and in each ch across. (8 sc)
Rows 2 through 8: Ch 1, turn, sc blo in each st across. (8 sc)
Fasten off. Fold each tab over a D-ring and sew through both layers at the base.
Zipper Installation
Pin your zipper between Row 1 and Row 64 along the top opening, centering it from end to end. Sew by hand using small backstitches through the crochet edge and zipper tape. Keep the zipper flat and do not stretch the crochet as you work.
Front Charm Assembly
Cut 8 strands of embroidery floss or fine yarn, each 8 inches long. Fold through a small ring, wrap the neck tightly, and trim to approximately 2.5 inches. Add a rose charm or decorative bead above the tassel.
Placement checkpoint: Position your handle tabs about 1.5 inches in from each end and approximately 1 inch down from the zipper edge. Place your charm at the front center, hanging from the zipper pull or a small ring stitched just below the opening.
Assembly Steps
Step 1: Block the crochet. Lightly steam or wet block the body panel and end circles to the measurements listed. Let everything dry completely before continuing.
Step 2: Mark quarters. On each end circle, mark four quarter points: top, bottom, left, and right. On each side edge of the body panel, mark every 16 row ends.
Step 3: Join first end. With wrong sides together and dusty rose yarn, whipstitch or sc join the 64 stitches of one circle to the 64 row ends on one side of the body panel. Match your quarter markers as you go for even distribution.
Step 4: Join second end. Repeat on the opposite side, checking that the zipper edge stays centered at the top.
Step 5: Add structure. Slide plastic canvas or round bag bases inside the ends. Add your lining if using, then stitch the lining to the zipper tape by hand.
Step 6: Attach handles. Sew tabs firmly through the crochet and lining/stabilizer. Add decorative studs or buttons over the tab bases for that polished look.
Step 7: Final shaping. Steam lightly from a distance and stuff the purse with towels until fully dry to set the barrel shape.
Assembly checkpoint: Your finished barrel should be smooth, not twisted. The top opening should zip cleanly, the ends should sit round and flat, and the handles should stand in a soft arch.
Customization Options
To change the length: Add or subtract foundation chains in multiples of 2. Every 4 stitches changes the length by about 1 inch at gauge.
To change the diameter: Add or remove body rows in multiples of 8 and adjust the final end circle round to match the new circumference.
To adjust handle length: Add or remove chains before Row 1. A 60 stitch handle gives approximately an 11 inch padded strip before shaping.
Troubleshooting Common Issues
Body curls: Block before assembly, loosen your tension, or go up a hook size.
End circle cups: Relax your tension on increase rounds, block flat, and add a light steam.
End circle ripples: Go down a hook size for the circles or block with pins at quarter points.
Zipper waves: Baste first, do not pull the zipper tape, and sew from center outward.
Handles lean: Reinforce tabs through lining and stabilizer, not through crochet only.
Care Instructions
Spot clean your finished purse with cool water and mild soap. Do not machine wash if fabric glue, hardware, or cardboard stabilizer is used. Reshape while damp and dry flat.
Thank you so much for choosing this pattern. I genuinely hope you love making Rosie as much as I loved designing her. There is something incredibly satisfying about creating a handbag that looks like it came from a vintage boutique but was made entirely by your own hands.
If you make this Dusty Rose Vintage Floral Barrel Purse, I would absolutely love to see it! Tag me on Instagram or share in my Facebook group. Seeing your finished projects is honestly the best part of designing patterns.
If you enjoyed this pattern, please save it to your Pinterest boards so you can find it easily when you are ready to start. And drop a comment below to let me know if you have any questions or just to say hello. I read every single one and love hearing from you!
Want a Quick & Easy Printable Version?
Get a clean, beautifully formatted PDF of this pattern — easy to follow step by step, ready to print or save on any device. No scrolling, no distractions, just the pattern.
Get the Printable PDF →