
This rectangular table runner combines a cream grid stitch center with a dimensional dusty blue leaf border. It uses single crochet, chain spaces, and a straightforward leaf stitch sequence. The finished piece measures 13 inches wide by 36 inches long.
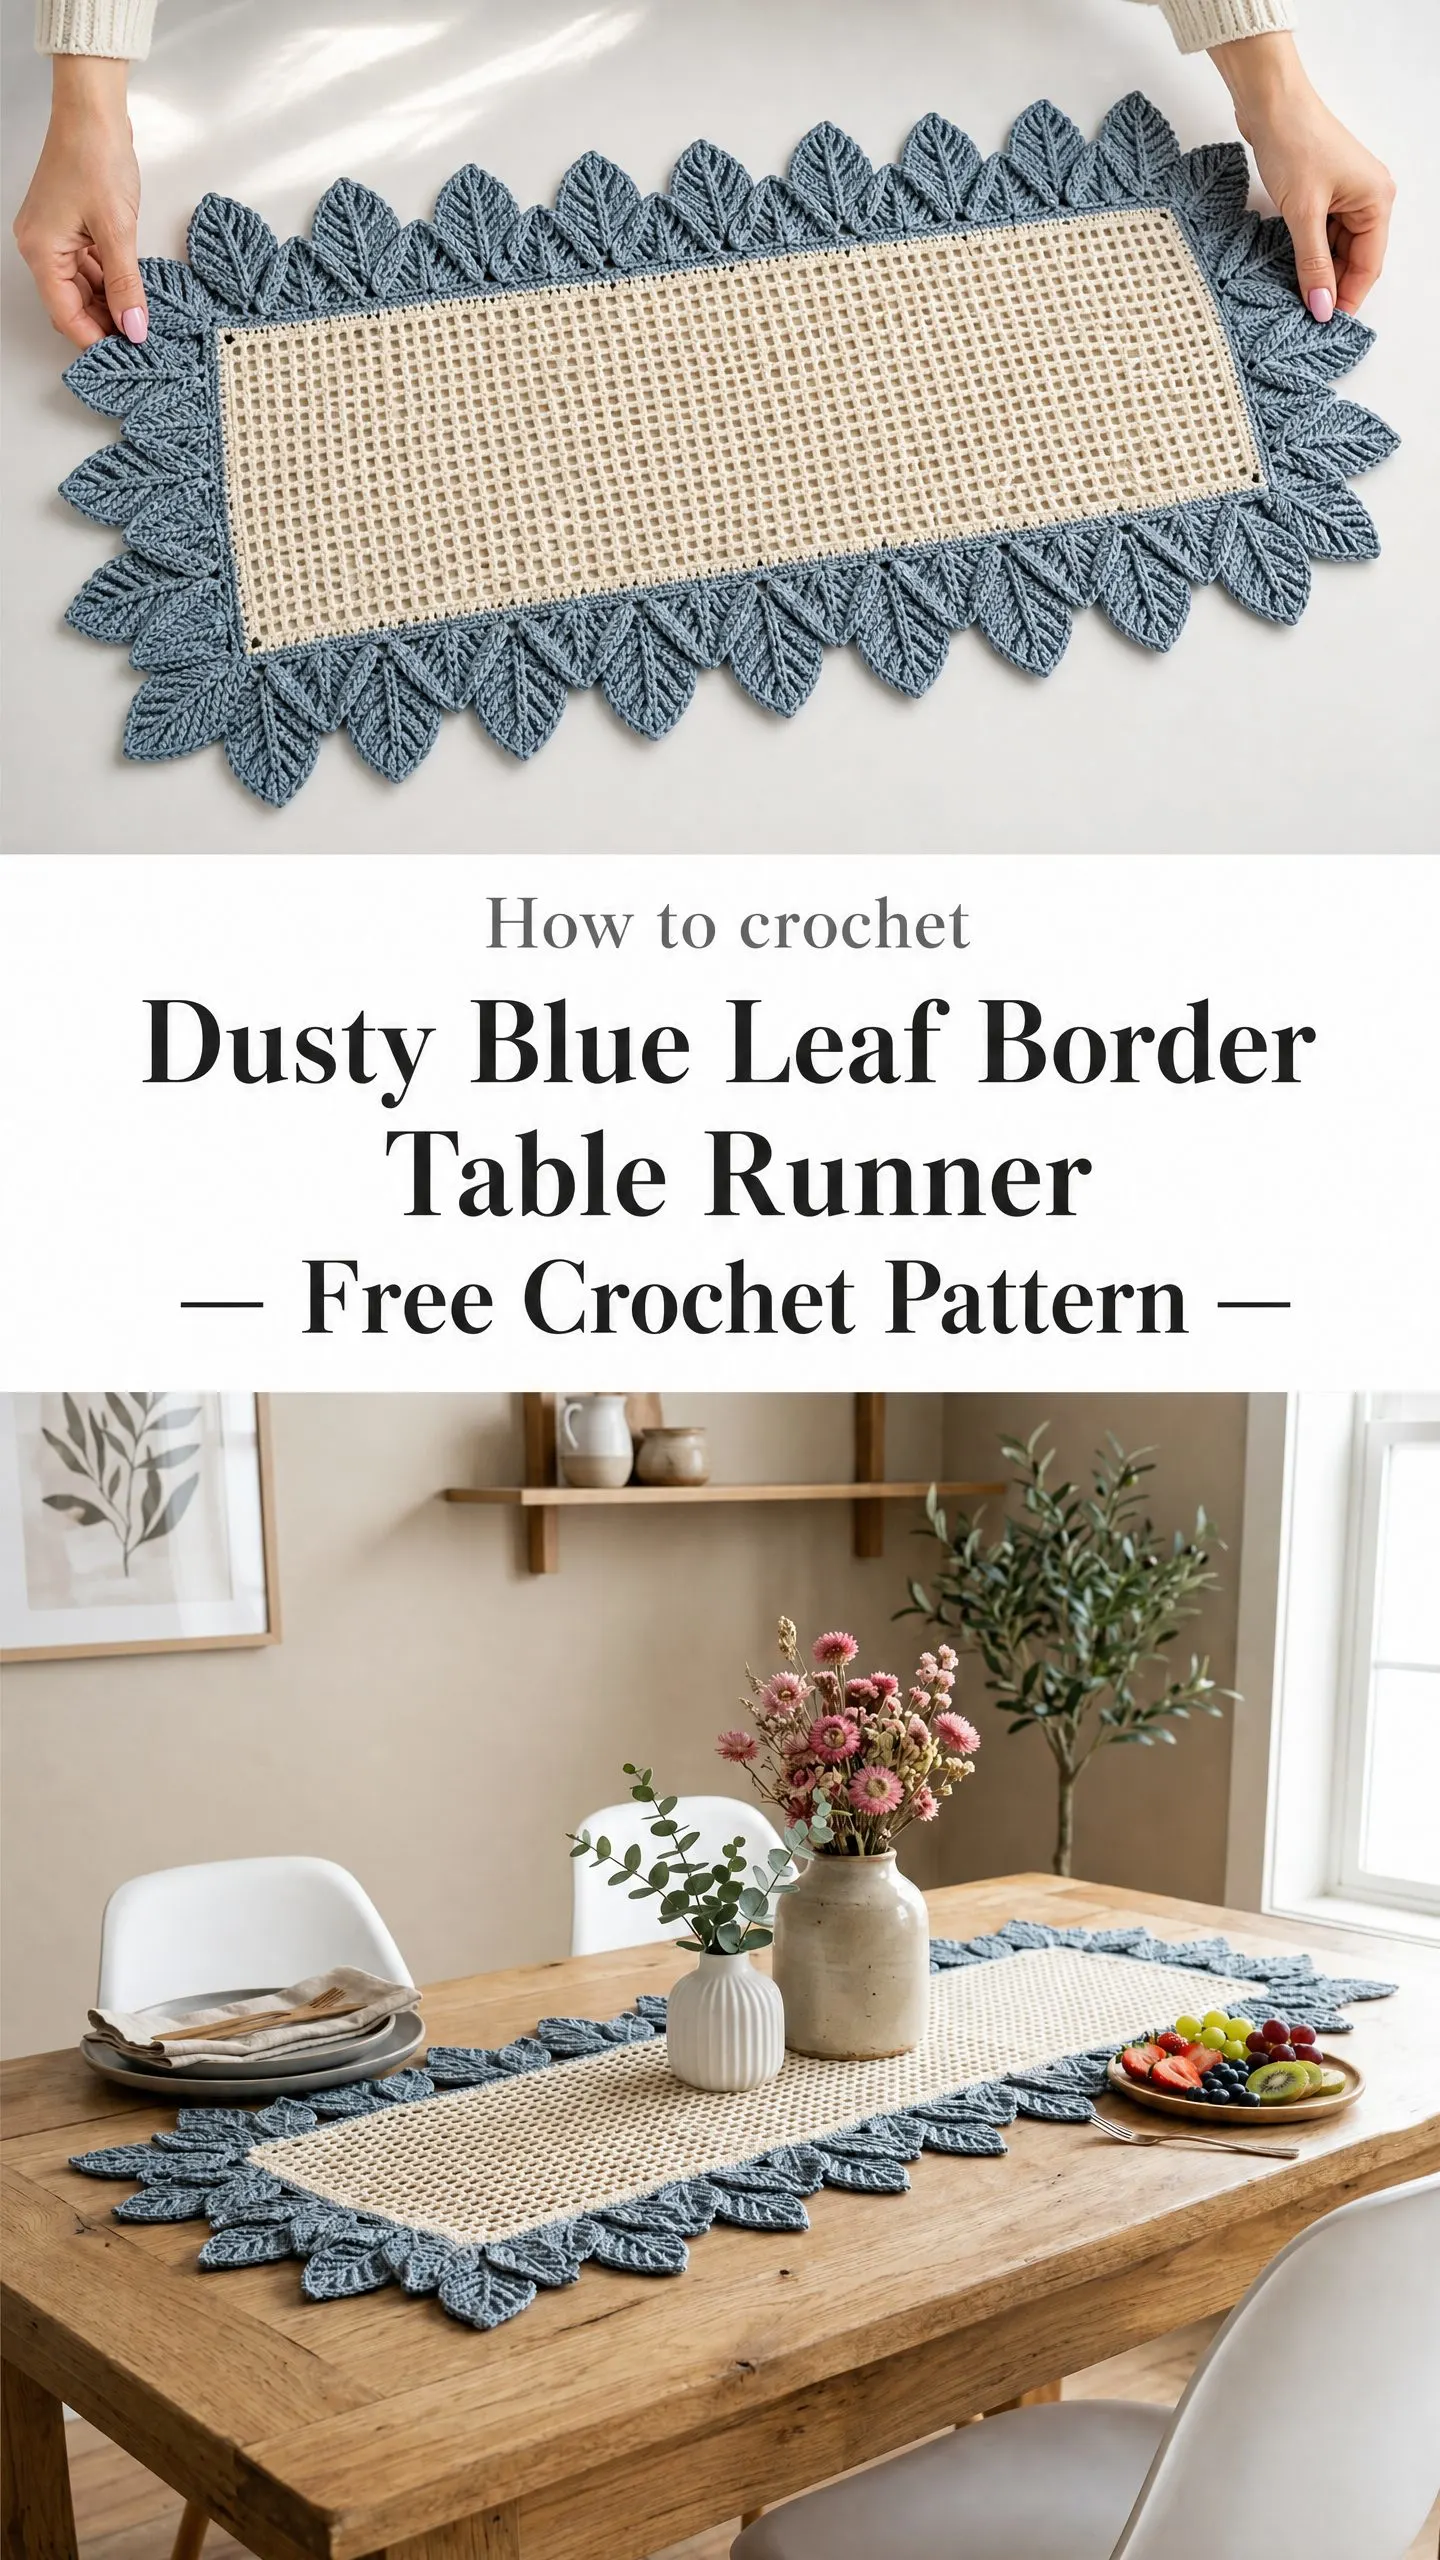
I love how the botanical leaf edging transforms a simple grid pattern into something that looks far more impressive than the skill level suggests. The construction is logical. You work the center panel flat in rows, add a foundation round, then crochet each leaf directly into place.
If you can single crochet and count stitches, you can make this runner. The intermediate rating comes from the repetition and attention to even spacing, not from complicated techniques.
Why This Table Runner Works So Well
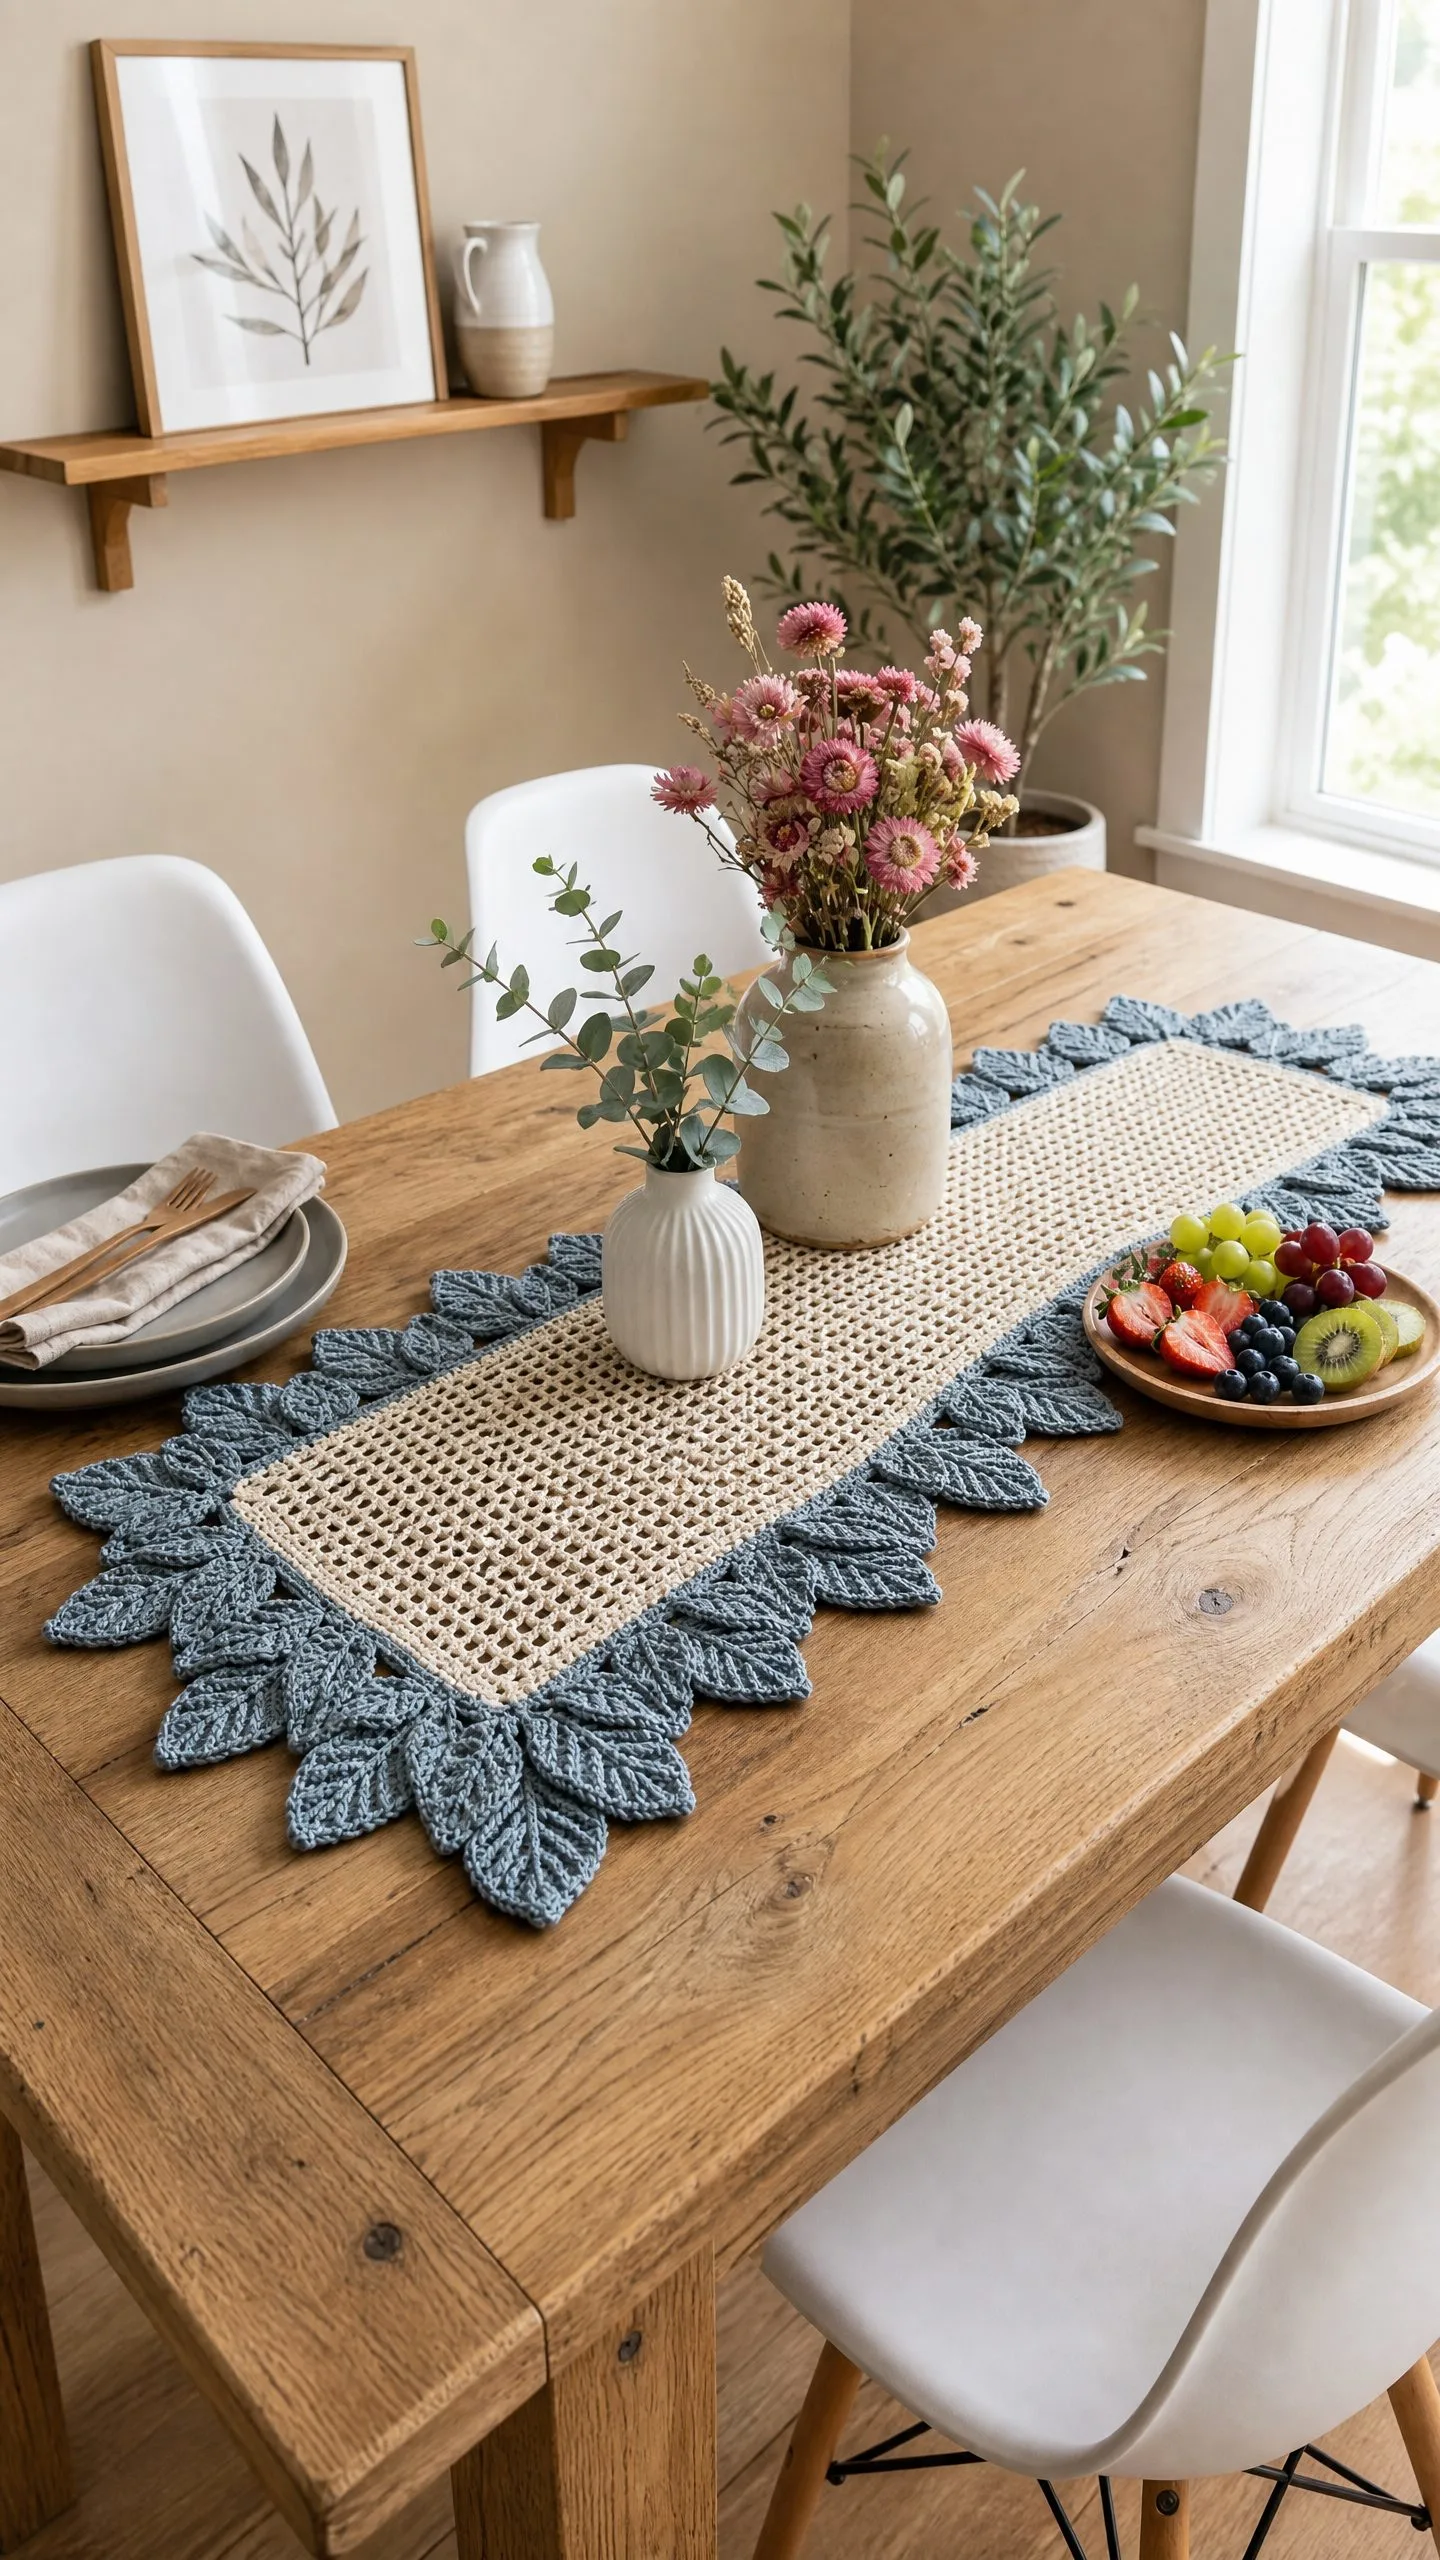
The contrast between the natural cream center and the slate blue leaves creates a modern farmhouse aesthetic that suits so many decorating styles. I designed this runner to lie flat without aggressive blocking, thanks to the structured grid center. The leaf border provides a gentle decorative lift at the edges without curling or bunching.
What makes this design special: The grid stitch center creates an open, woven cloth appearance that feels light and airy. The dimensional leaves stand upright and point outward all around the perimeter. Both sides of the runner look identical, so you never have to worry about flipping it the wrong way.
This runner works beautifully as a centerpiece for dining tables, console tables, or even as a dresser scarf in a bedroom. The botanical feel suits Scandinavian and farmhouse interiors particularly well.
Materials You Will Need
Gathering your supplies before you start makes the whole project flow more smoothly. Here is everything you need:
Yarn Color A (Cream): approximately 250 yards of DK weight cotton or cotton blend yarn
Yarn Color B (Dusty Blue): approximately 350 yards of DK weight cotton or cotton blend yarn
Hook: US size E-4 (3.50 mm) crochet hook
Additional Tools:
Yarn Suggestions
Option 1: Lion Brand 24/7 Cotton in Cream and Steel Blue. This mercerized cotton holds stitch definition beautifully, is machine washable, and gives a slightly lustrous finish.
Option 2: Paintbox Yarns Simply DK in Paper White and Denim Blue. An affordable, consistent yarn with excellent stitch definition. True DK weight makes gauge easy to achieve.
Option 3: Drops Safran in Off White and Jeans Blue. A 100 percent cotton DK weight yarn with a soft matte finish that suits the natural aesthetic of the runner.
Substitution Note: Any smooth DK weight cotton or cotton blend yarn will work. Avoid fuzzy or highly textured yarns because the grid center and leaf shaping both rely on visible stitch definition.
Gauge Information
Getting gauge right matters here. The center panel dimensions and the leaf count around the border depend on accurate stitch counts.
With Color A and US E-4 (3.50 mm) hook, in Grid Stitch pattern:
Gauge swatch: Chain 31. Work Grid Stitch for 20 rows. Piece should measure approximately 4.25 inches wide by 5 inches tall. Adjust hook size to match.
Work the grid center with consistent, relaxed tension. Cotton yarn can tighten up. If your swatch is smaller than gauge, go up half a hook size.
Abbreviations and Stitch Definitions
Let me walk you through every abbreviation you will encounter in this crochet pattern. Understanding these terms before you start will make the instructions much easier to follow.
Special Stitches Explained
Grid Stitch (worked in rows over a multiple of 2 stitches plus 1)
This creates the checkerboard pattern you see in the cream center panel. The combination of single crochet stitches and chain 1 spaces gives that lovely open, woven appearance.
Grid Row: Chain 2, turn. Skip first sc, sc in next sc, (ch 1, skip 1 sc, sc in next sc) across, end sc in top of turning chain.
The ch 2 turning chain counts as a ch 1 space plus the height needed to turn. Every subsequent row of the center panel follows this Grid Row instruction.
Leaf Stitch (worked into a single ch-2 space of the border foundation round)
Each leaf is self contained and worked as follows:
Step 1: Sl st into ch-2 sp
Step 2: Ch 1 (this is the base, does not count as a stitch)
Step 3: Sc 1 into same sp
Step 4: Hdc 1 into same sp
Step 5: Dc 1 into same sp
Step 6: Tr 1 into same sp
Step 7: Ch 1 (tip of leaf)
Step 8: Tr 1 into same sp
Step 9: Dc 1 into same sp
Step 10: Hdc 1 into same sp
Step 11: Sc 1 into same sp
Step 12: Sl st into same sp to close leaf
The graduated stitch heights create the pointed oval leaf shape. Do not fasten off between leaves. Carry the yarn along by slip stitching through the border foundation to reach the next ch 2 space.
Step by Step Crochet Pattern Instructions
Section 1: Center Panel (Color A)
Foundation Chain: With Color A and E-4 hook, chain 113.
Row 1 (RS): Sc in 2nd ch from hook and in each ch across. Turn. (112 sc)
Row 2 (Grid Row): Ch 2 (counts as ch-1 sp here and throughout), turn. Skip first sc. Sc in next sc. (Ch 1, skip 1 sc, sc in next sc) 55 times. (56 sc, 55 ch-1 sps, plus the starting ch-2 counts as the 56th ch-1 sp = 112 stitch positions)
Rows 3 through 128 (Grid Rows): Repeat Row 2 pattern with the following alternation:
Odd numbered rows (3, 5, 7…): Ch 2, turn. Skip first sc from previous row. Sc in first ch-1 sp, (ch 1, skip sc, sc in next ch-1 sp) across, end sc in sp formed by beg ch-2 of previous row. (112 stitch positions)
Even numbered rows (4, 6, 8…): Ch 2, turn. Skip ch-1 sp from previous row. Sc in next sc, (ch 1, skip ch-1 sp, sc in next sc) across, end sc in last sc before beg ch-2 of previous row. (112 stitch positions)
Continue rows 3 through 128 in this manner. After Row 128, do not fasten off.
CHECKPOINT: The center panel should measure approximately 9 inches wide by 32 inches long. Count 56 sc and 56 ch-1 sps across the width to confirm.
Section 2: Border Foundation Round (Color B)
Join Color B with a sl st to the top right corner of the finished center panel. This round places exactly 112 ch-2 spaces evenly around the perimeter: 32 spaces along each long side and 24 spaces along each short side.
Setup: Join Color B with sl st at top right corner stitch. Ch 3.
Right long side (working down the right edge, 32 spaces):
(Sc into side of row-end post, ch 2, skip 3 row-end posts) 32 times, placing the 32nd space at the bottom right corner. (32 ch-2 sps)
Bottom short side (working across the foundation chain edge, 24 spaces):
(Sc into foundation chain, ch 2, skip appropriate stitches) 24 times, placing the 24th space at the bottom left corner. (24 ch-2 sps)
For even distribution across the 112 stitch positions, work (sc, ch 2) into every 5th stitch position 16 times and every 4th stitch position 8 times.
Left long side (working up the left edge, 32 spaces):
(Sc into side of row-end post, ch 2, skip 3 row-end posts) 32 times, placing the 32nd space at the top left corner. (32 ch-2 sps)
Top short side (working across Row 128, 24 spaces):
(Sc into stitch or sp of Row 128, ch 2, skip appropriate stitches) 24 times, placing the 24th space at the top right corner. (24 ch-2 sps)
Join with sl st to the first sc of the round. (112 ch-2 sps total)
CHECKPOINT: Count all ch-2 spaces before proceeding. You must have exactly 112 spaces.
Section 3: Leaf Border Round (Color B, continued)
Work one Leaf Stitch into each of the 112 ch-2 spaces from the border foundation round. Begin at any ch-2 sp and work continuously around. Do not turn. Do not fasten off between leaves.
Leaf Round:
(Work Leaf Stitch into next ch-2 sp, sl st into sc post between this sp and next sp) 112 times.
When all 112 leaves are complete, sl st into the base of the first leaf to close the round. (112 leaves)
CHECKPOINT: You should have 112 leaves surrounding the center panel. Each leaf should stand upright and point away from the center.
Fasten off Color B. Weave in all ends securely.
Finishing and Blocking Your Table Runner
Weave in all yarn ends using a tapestry needle. Bury ends at least 1.5 inches into the surrounding stitches and trim close.
Wet blocking is strongly recommended. Submerge the finished runner in cool water for 10 minutes until fully saturated. Gently press out excess water in a towel. Do not wring. Lay flat on a blocking mat. Pin the corners square, then pin between every 3 to 4 leaves along the long sides to straighten the leaf border. Pin the short sides straight. Allow to dry completely (12 to 24 hours) before removing pins.
After blocking, the runner will hold its shape for repeated use without repinning.
Size Customization Tips
For a shorter runner (approximately 24 inches long): Work the same foundation chain of 113 stitches. Work only 84 rows of Grid Stitch instead of 128. Adjust the long side leaf count to 21 per side and keep 24 per short side. Total leaf count becomes 90.
For a wider runner (approximately 16 inches wide including leaves): Increase the foundation chain to 145 stitches. Adjust short side leaf count to 30 per side. Keep long side count at 32.
General rule: Aim for one ch-2 space per approximately 3.5 to 4.5 row end posts on long sides, and one space per approximately 4 to 5 stitches on short sides.
Care Instructions
Machine wash on a gentle cold cycle in a mesh laundry bag. Lay flat to dry. Do not tumble dry, as heat will shrink cotton fibers and distort the leaf border. Do not iron directly on the leaves. Steam from above is acceptable if needed to refresh the runner between uses. Store flat or rolled, not folded along the leaf border, to preserve leaf shape.
Time Estimate
Plan for 12 to 18 hours total, spread over several sessions. The center panel takes approximately 6 to 8 hours. The border foundation and all leaves take approximately 6 to 10 hours depending on your speed. This is a wonderful project for working on while watching your favorite shows.
Thank you so much for choosing this dusty blue leaf border table runner crochet pattern for your next project. I genuinely hope you enjoy making it as much as I enjoyed designing it. If you create one, I would absolutely love to see it. Tag me on Instagram or share a photo in my Facebook group.
If this pattern caught your eye, go ahead and save it to your Pinterest boards so you can find it when you are ready to start. And please drop a comment below if you make one. I love hearing how projects turn out and seeing the color combinations you choose.
