I call this one "Marmalade," named after my grandmother’s orange tabby who used to curl up on her lap while she crocheted. I found the original sketch tucked into an old notebook last winter, and I knew it was finally time to bring this design to life. The little red bow was Gran’s signature touch on everything she made for that cat, so it felt right to include it here. This sweater took me back to Saturday afternoons in her living room, learning my first chain stitch while Marmalade purred beside us.
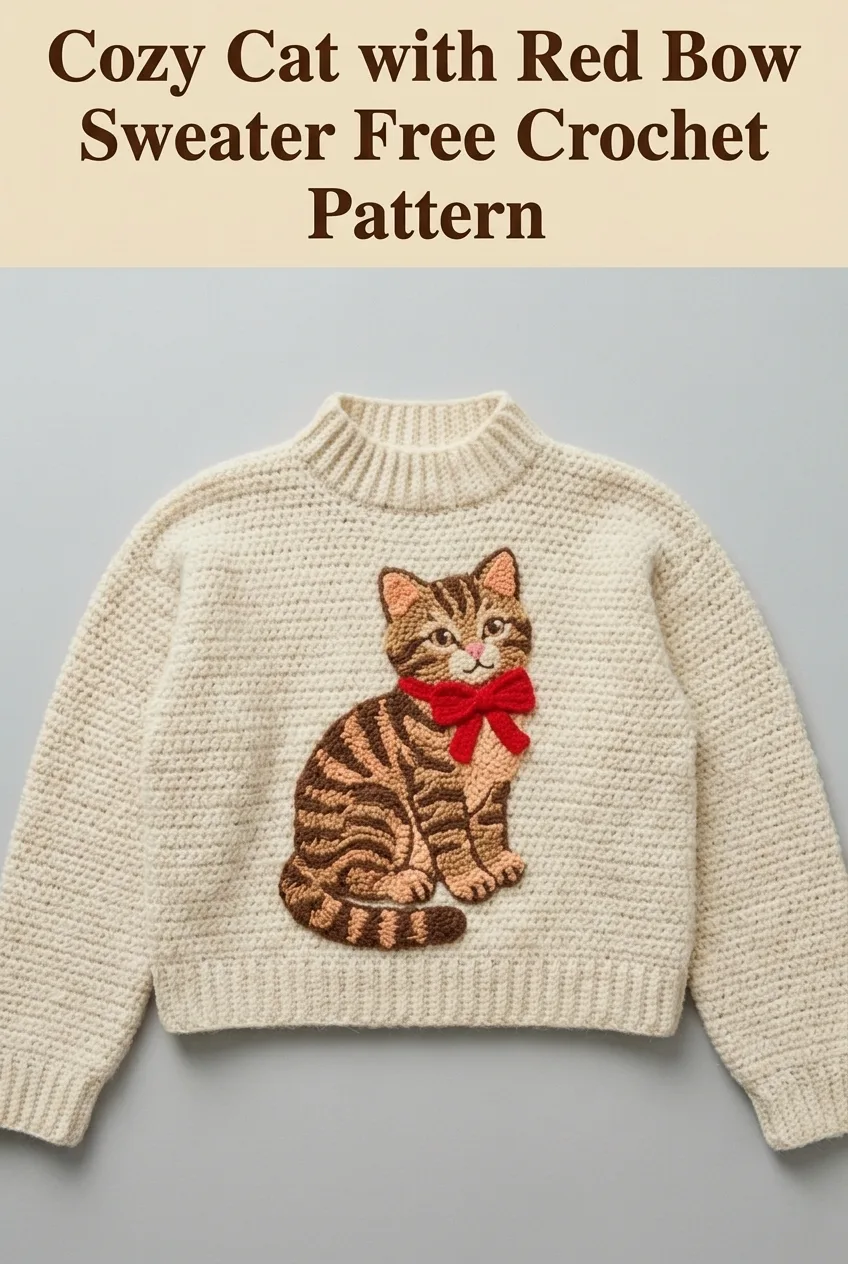
This crochet cat sweater pattern combines a classic raglan construction with an adorable appliqué motif that will make you smile every time you wear it. Whether you are making this for yourself or as a heartfelt gift, the finished piece looks far more complicated than it actually is. I promise you can do this.
Why You Will Love This Crochet Pattern
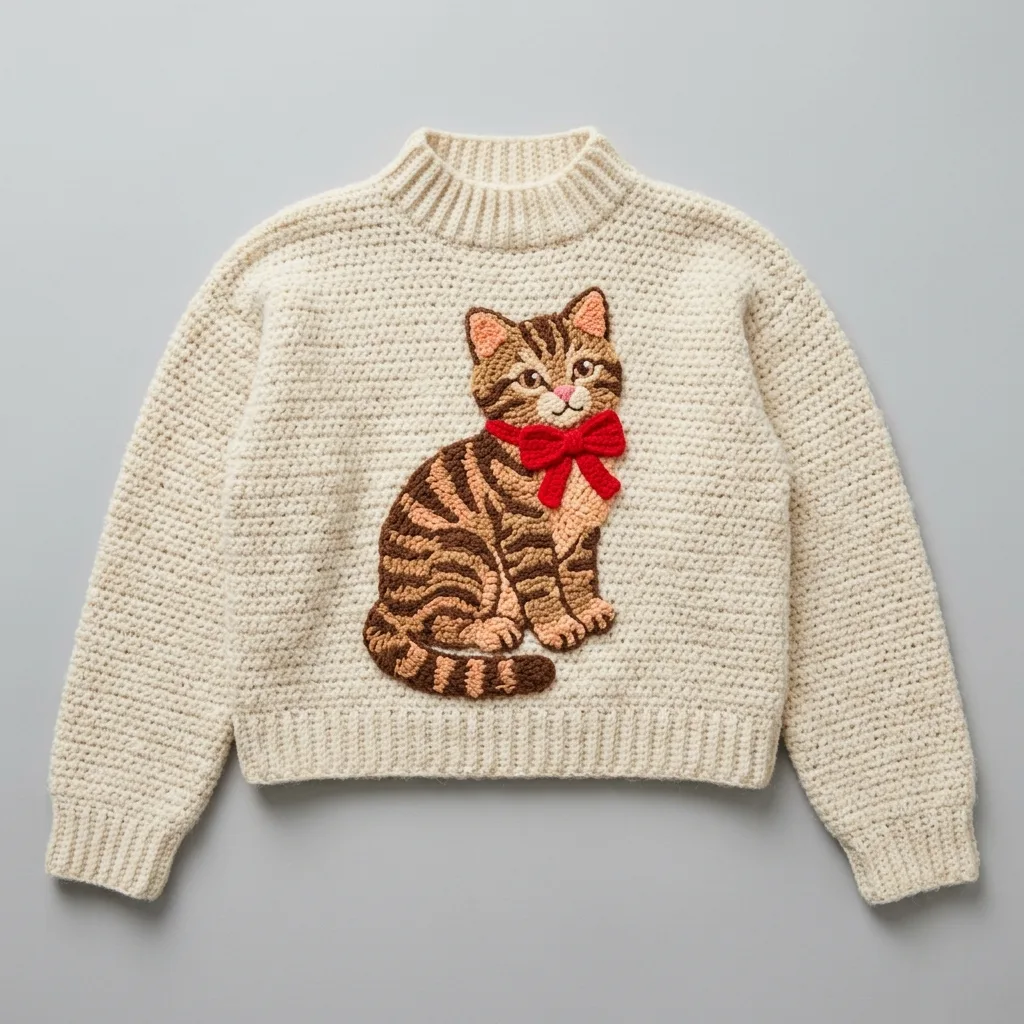
This cozy pullover works up in a sturdy yet soft single crochet fabric that drapes beautifully without being too stiff. The cream colored base creates a perfect canvas for the tabby cat appliqué, and the ribbed neckline and cuffs add a polished, professional finish.
The cat itself is crocheted separately and sewn on, which means you can customize the placement and even make extras for other projects. Imagine this little guy on a tote bag, a pillow, or a baby blanket. The possibilities are endless.
What makes this pattern special:
Skill Level
Intermediate beginner. If you can single crochet, work in rows, and sew pieces together, you can absolutely make this sweater. The cat appliqué requires a bit more attention to shaping, but I will walk you through every step.
Materials Needed
Yarn:
Hook:
Notions:
Gauge
16 stitches and 18 rows = 4 inches in single crochet using the H/8 hook with main color yarn.
Please check your gauge before starting. A sweater that does not fit is a heartbreaking thing. Take five minutes now to save yourself hours later.
Finished Measurements
This pattern is written for size Medium. The finished bust measures approximately 40 inches with 4 to 6 inches of positive ease for a relaxed, cozy fit. Length from shoulder to hem is approximately 22 inches. Sleeve length is approximately 18 inches from underarm.
Abbreviations and Stitch Definitions
Let me break down every abbreviation you will see in this crochet tutorial:
ch = chain. Wrap yarn over hook, pull through loop on hook. This creates the foundation and is used for turning.
sc = single crochet. Insert hook into stitch, yarn over, pull up a loop (two loops on hook), yarn over, pull through both loops. This is the main fabric stitch for the entire sweater.
sl st = slip stitch. Insert hook into stitch, yarn over, pull through both the stitch and the loop on hook in one motion. Used for joining and surface details.
inc = increase. Work two single crochets into the same stitch. This adds one stitch to your total count.
dec = decrease. Insert hook into first stitch, pull up a loop, insert hook into next stitch, pull up a loop (three loops on hook), yarn over, pull through all three. This removes one stitch from your total count.
BLO = back loop only. Insert your hook under just the back loop of the stitch instead of both loops. Creates the ribbed texture.
FLO = front loop only. Insert your hook under just the front loop.
st(s) = stitch(es)
RS = right side (the outside of your work)
WS = wrong side (the inside)
The Sweater Body Pattern
This sweater is constructed in pieces and seamed together. You will make a front panel, back panel, and two sleeves. Then you will add the ribbed neckline and cuffs.
Back Panel
With MC and H/8 hook, ch 81.
Row 1 (RS): Sc in 2nd ch from hook and in each ch across, turn. (80 sts)
Rows 2 to 72: Ch 1, sc in each st across, turn. (80 sts)
Your back panel should measure approximately 20 inches wide and 16 inches tall at this point.
Armhole Shaping:
Row 73: Ch 1, sl st in first 6 sts, ch 1, sc in next 68 sts, leave remaining 6 sts unworked, turn. (68 sts)
Row 74: Ch 1, dec, sc across to last 2 sts, dec, turn. (66 sts)
Row 75 to 76: Repeat Row 74. (62 sts after Row 76)
Rows 77 to 100: Ch 1, sc in each st across, turn. (62 sts)
Shoulder Shaping:
Row 101: Ch 1, sc in first 18 sts, leave remaining sts unworked, turn. (18 sts)
Row 102: Ch 1, dec, sc to end, turn. (17 sts)
Row 103: Ch 1, sc across to last 2 sts, dec, turn. (16 sts)
Fasten off.
Skip the center 26 stitches for the neck opening. Rejoin yarn to work the second shoulder, working Rows 101 to 103 in reverse shaping.
Front Panel
Work exactly as the Back Panel through Row 90.
Neck Shaping:
Row 91: Ch 1, sc in first 25 sts, leave remaining sts unworked, turn. (25 sts)
Row 92: Ch 1, dec, sc to end, turn. (24 sts)
Rows 93 to 100: Continue decreasing 1 st at neck edge every row. (16 sts after Row 100)
Rows 101 to 103: Work even in sc. Fasten off.
Rejoin yarn and work second side of neck in mirror image.
Sleeves (Make 2)
With MC and H/8 hook, ch 41.
Row 1: Sc in 2nd ch from hook and in each ch across, turn. (40 sts)
Rows 2 to 4: Ch 1, sc in each st across, turn. (40 sts)
Row 5: Ch 1, inc in first st, sc across to last st, inc in last st, turn. (42 sts)
Rows 6 to 8: Ch 1, sc in each st across, turn. (42 sts)
Continue increasing 2 stitches every 4th row until you have 60 stitches. Then work even until sleeve measures 18 inches from beginning.
Sleeve Cap Shaping:
Work the same armhole decreases as the body panels. Fasten off, leaving a long tail for seaming.
Ribbed Neckline
After seaming shoulder seams, join MC at back neck edge.
Round 1: Ch 1, work 80 sc evenly around neck opening, sl st to first sc to join. (80 sts)
Round 2 to 10: Ch 1, sc in BLO of each st around, sl st to join. (80 sts)
The BLO creates that lovely ribbed texture you see in the photo. Fasten off and weave in ends.
Ribbed Cuffs
Join MC at sleeve seam.
Rounds 1 to 8: Ch 1, sc in BLO around, sl st to join. (40 sts)
Fasten off.
Bottom Ribbing
Join MC at side seam.
Rounds 1 to 8: Ch 1, sc in BLO around, sl st to join.
Fasten off.
The Cat Appliqué Pattern
Now for the fun part. This adorable tabby cat is worked in several pieces and assembled before being sewn onto the sweater.
Cat Body
With Color A and G/6 hook, ch 2.
Round 1: 6 sc in 2nd ch from hook, do not join. Place marker. (6 sts)
Round 2: Inc in each st around. (12 sts)
Round 3: *Sc 1, inc* around. (18 sts)
Round 4: *Sc 2, inc* around. (24 sts)
Continue increasing 6 stitches per round until you have 48 stitches. Then work even for 8 rounds.
Begin decreasing for the chest and neck area. *Sc 6, dec* around until you have 24 stitches. Work even for 4 rounds for the neck area.
Cat Head
With Color A, ch 2.
Round 1: 6 sc in 2nd ch from hook. (6 sts)
Continue increasing as for the body until you have 36 stitches. Work even for 6 rounds. Shape the top of the head by decreasing gradually.
Ears (Make 2)
With Color A, ch 4.
Row 1: Sc in 2nd ch from hook and next 2 ch, turn. (3 sts)
Row 2: Ch 1, sc 3, turn. (3 sts)
Row 3: Ch 1, dec, sc 1. (2 sts)
Row 4: Ch 1, dec. (1 st)
Fasten off. Add a small inner ear piece with Color E (pink) using the same method but smaller.
Tail
With Color A, ch 16.
Row 1: Sc in 2nd ch from hook and each ch across. (15 sts)
Fasten off. This creates a flat tail that curls nicely when sewn on.
Stripes
Using Color B and Color C, work surface slip stitches across the body, head, and tail pieces to create the tabby stripes. Follow the natural curves of the shapes. You do not need to be precise. Real cats have imperfect stripes, and that is what makes them beautiful.
Red Bow
With Color D, ch 15.
Row 1: Sc in 2nd ch from hook and each ch across, turn. (14 sts)
Rows 2 to 6: Ch 1, sc 14, turn. (14 sts)
Fasten off. Pinch the center and wrap yarn around it several times to create the bow shape. Make a small center piece by chaining 6 and working 4 rows of sc 5.
Facial Features
With Color F (black), embroider the eyes using satin stitch. Add a small pink nose with Color E. Use straight stitches for the whiskers and mouth line.
Assembly and Finishing
Seaming the Sweater:
Pin and sew shoulder seams using mattress stitch for an invisible join. Sew sleeves into armholes, matching center of sleeve cap to shoulder seam. Sew side seams and sleeve seams in one continuous line.
Attaching the Cat:
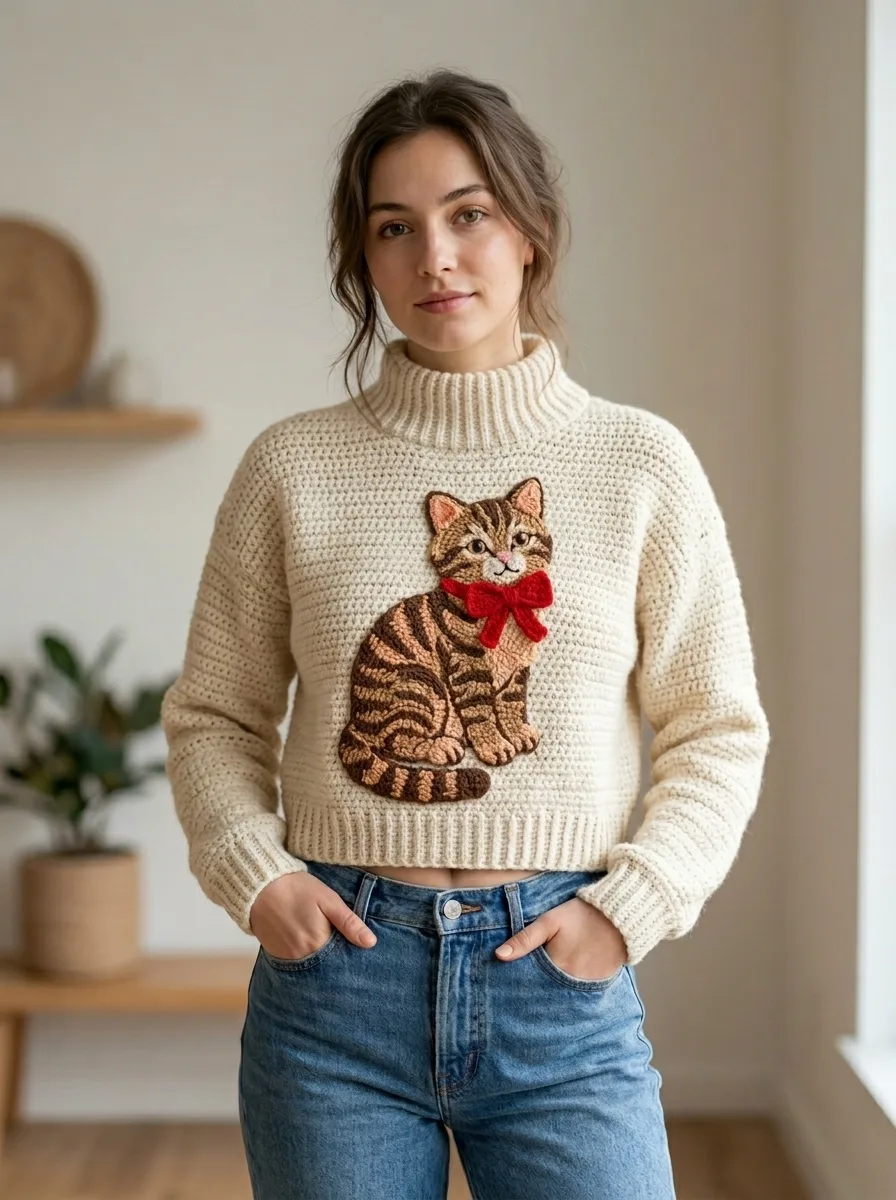
Lay your sweater flat on a blocking board or towel. Arrange all cat pieces in position on the front panel. The cat should sit centered, with the bottom of the body about 3 inches above the bottom ribbing.
Pin everything in place. Step back and look at the overall composition. Adjust as needed.
Using matching yarn colors and a tapestry needle, whip stitch each piece to the sweater, starting with the body, then the head, ears, tail, and finally the bow.
Blocking:
Wet block your finished sweater by soaking it in lukewarm water for 20 minutes. Gently squeeze out excess water (never wring) and lay flat to dry, shaping to measurements.
Tips for Success
Tension matters. Try to keep your single crochet stitches consistent throughout. If your tension varies a lot, your fabric will look uneven.
Count your stitches. I know it sounds tedious, but counting at the end of each row saves frustration later. Trust me on this one.
Take breaks. This is a larger project. Do not try to finish it in a weekend unless you want very sore hands.
Customize the cat. Want a gray cat? Black cat? Calico? Go for it. Use whatever colors speak to you.
Care Instructions
Hand wash in cool water with gentle detergent. Lay flat to dry away from direct sunlight. Store folded, never hanging, to prevent stretching.
I hope you love making this cozy cat sweater crochet pattern as much as I loved designing it. Every time I wear mine, I think of Gran and Marmalade and those quiet afternoons learning to crochet. That is the magic of handmade things. They carry our stories with them.
If you make your own Marmalade sweater, I would absolutely love to see it. Tag me on Instagram or share a photo in our Facebook group. Your versions always inspire me and other makers in our community.
Save this pattern to your Pinterest boards so you can find it when you are ready to start, and please leave a comment below to let me know you are making one. I read every single comment and it truly makes my day to hear from you. Happy hooking, friend.
