Bobble bags look intimidating, right? All that texture, the structured shape, the fancy bow and flower on top. I get it. But here’s the truth: this bag is built from basic single crochet rounds, simple increases, and a bobble stitch that you’ll master after the first few repeats. If you can single crochet in the round and follow a straightforward repeat, you can absolutely make this bag. The bobbles pop out naturally as you work, the shaping happens almost on autopilot, and by the time you’re sewing on that tropical flower, you’ll wonder why you ever hesitated. Whether you’re an adventurous beginner ready to level up or an intermediate crocheter looking for a satisfying weekend project, this pattern meets you where you are.
Get the Ad-Free PDF Pattern
You can find the free pattern below, or you can purchase the ad-free printable PDF from my shop.
Get the Printable PDF →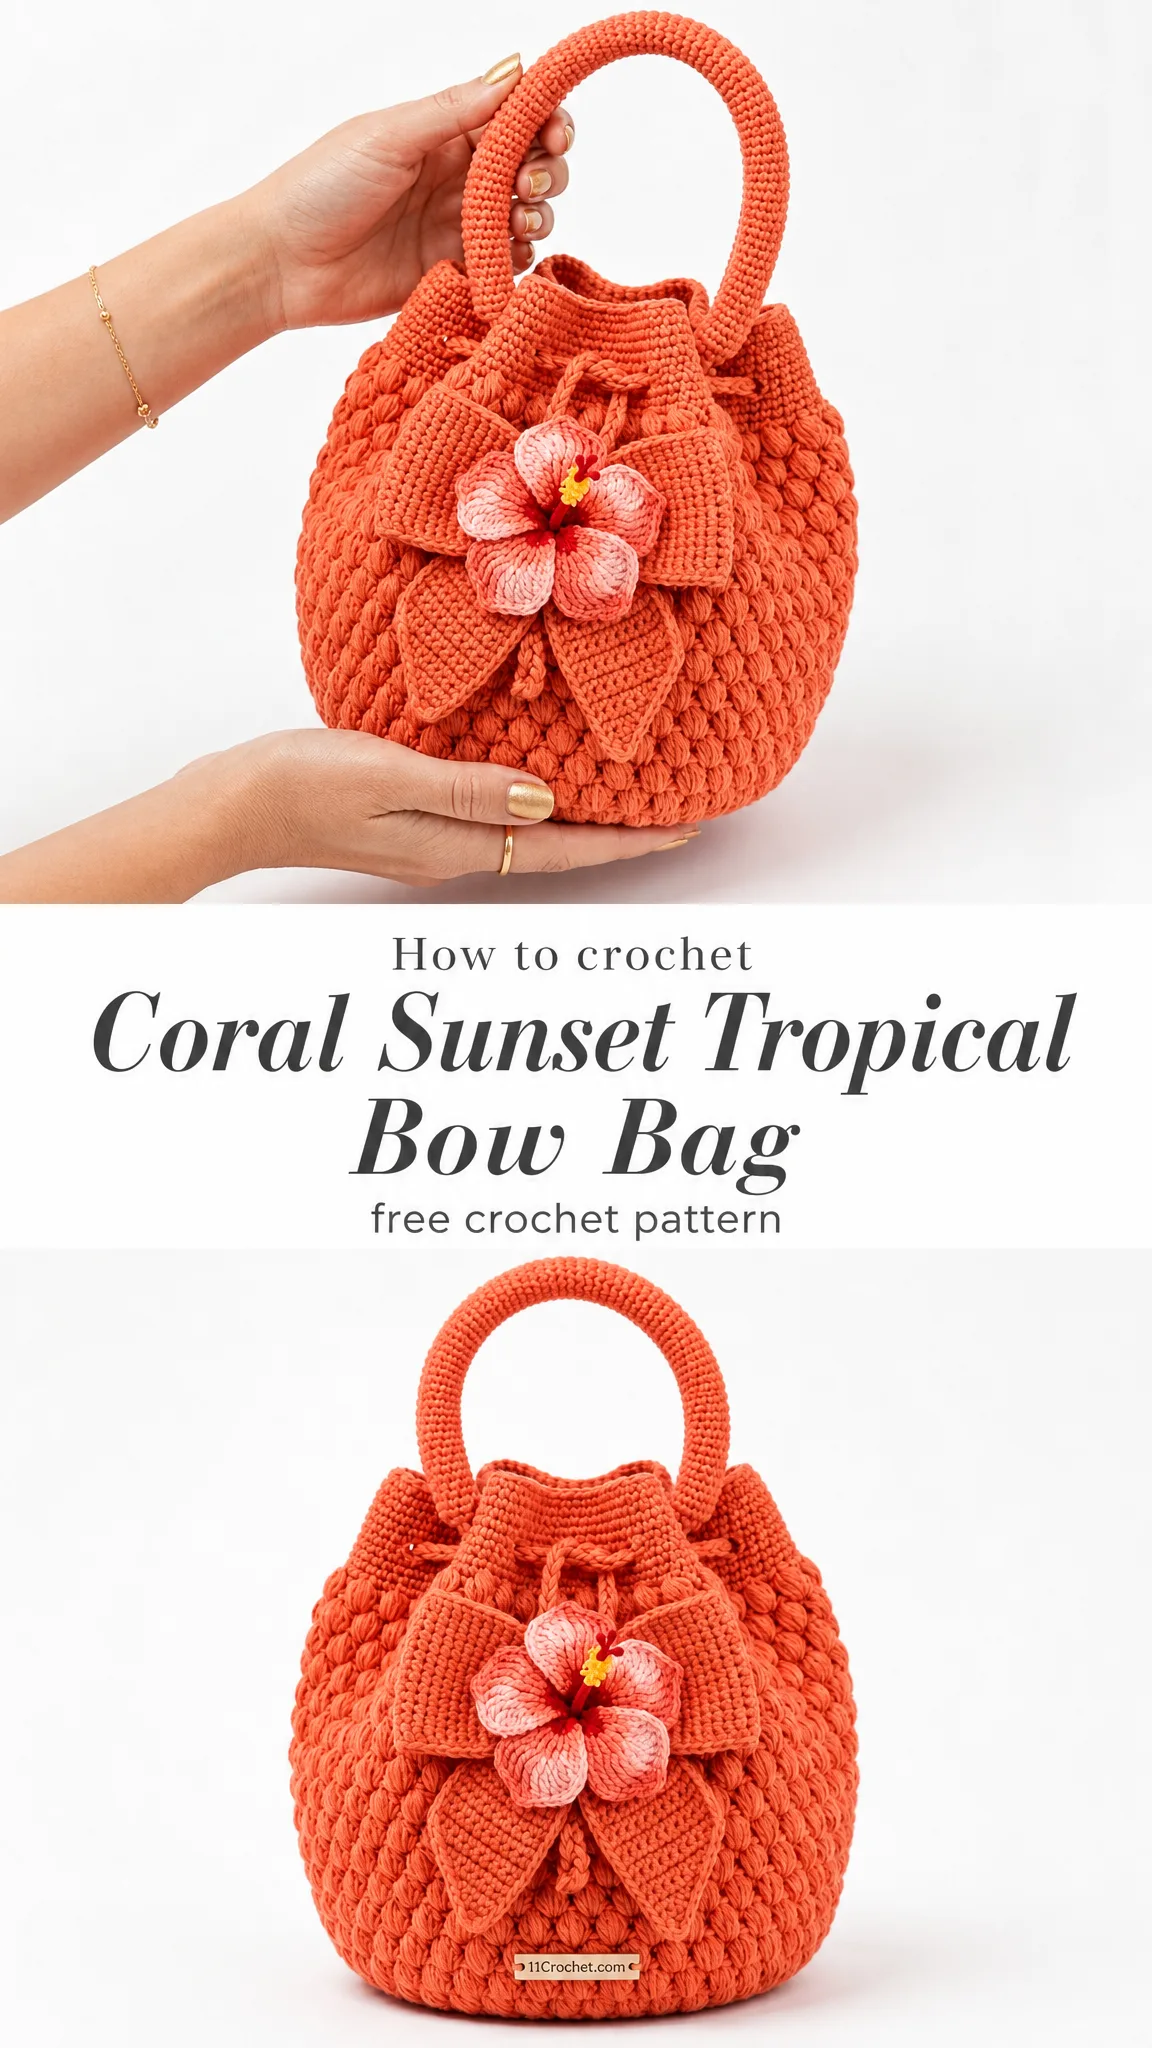
About This Coral Sunset Tropical Bow Bag Crochet Pattern
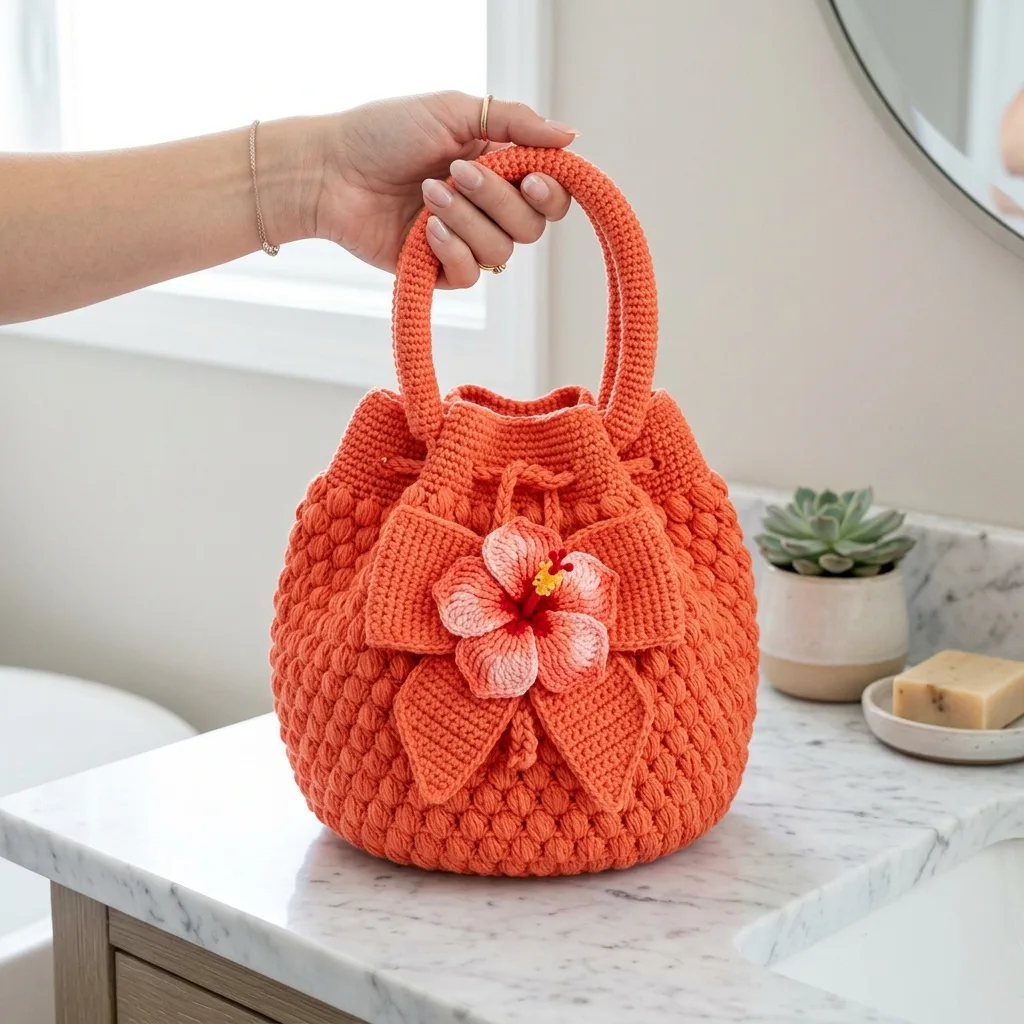
This structured bucket-style crochet bag features plush bobble texture across the body, rounded handles with internal support, a soft drawstring closure at the top, a statement bow, and a tropical hibiscus flower accent. The construction starts from a flat circular base and works upward in joined rounds. The textured body uses offset bobbles over 64 stitches, creating that beautiful staggered diamond effect you see in the photos.
Skill Level: Adventurous beginner to intermediate
Time Estimate: 8 to 12 hours, depending on your bobble speed and finishing work
Finished Dimensions:
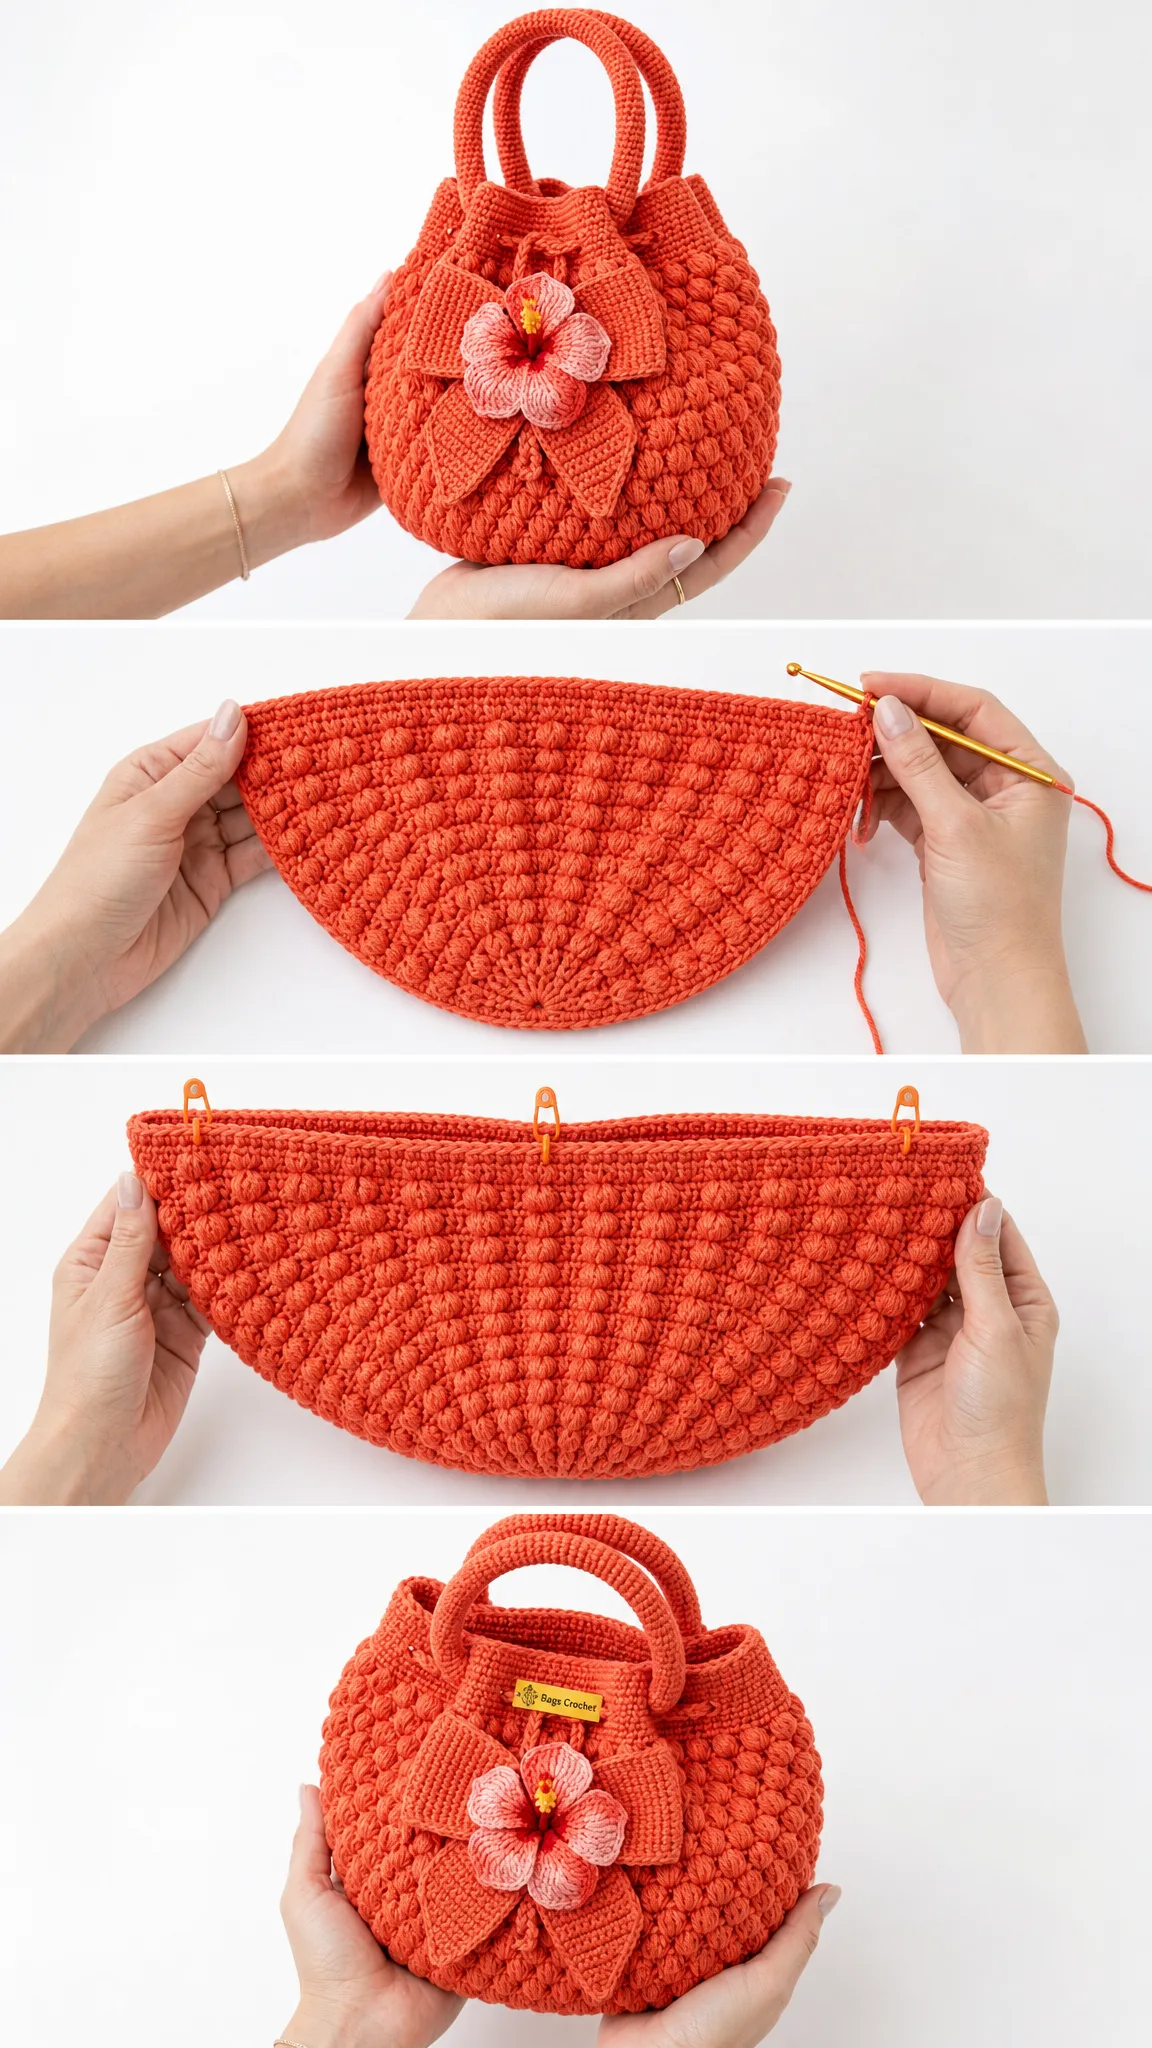
The bag is worked from the bottom up, starting with a magic ring and increasing outward to form a flat circular base. Then you’ll turn the work upward using the back loop only technique and build the textured body with alternating bobble and single crochet rounds. The bow, flower, drawstring, and handles are all made separately and sewn on during assembly.
Materials You’ll Need
Yarn: Bulky weight cotton or cotton-blend cord yarn, category 5
Hook: US 7 / 4.5 mm for the bag and all embellishments, or the size needed to match gauge
Additional Supplies:
Yarn Suggestions
Choose a smooth bulky cotton, cord, ribbon, or T-shirt yarn that creates a firm fabric. The structure of this bag depends on the yarn holding its shape, so avoid very stretchy acrylics unless you plan to add a lining and reinforce the handles.
Bernat Maker Home Dec works beautifully here. It’s a soft tubular cotton/nylon blend with excellent structure and bold stitch definition.
Hoooked RibbonXL is a recycled cotton blend with sculptural body, perfect for bags like this one.
Paintbox Recycled T-Shirt Yarn gives you a smooth, firm fabric with a modern handmade aesthetic.
Gauge
14 single crochet stitches x 13 rounds = 4 inches / 10 cm in firm joined single crochet
For the bobble section: 8 bobble rounds + 8 single crochet rounds = approximately 4.5 inches / 11.5 cm tall
Please swatch before starting and adjust your hook size if needed. A firm gauge is essential for this bag to stand upright on its own.
Abbreviations and Special Stitches
Let me walk you through every abbreviation and special technique used in this pattern.
ch = chain: wrap yarn over hook and pull through the loop on your hook
sl st = slip stitch: insert hook, yarn over, pull through both the stitch and the loop on your hook in one motion
sc = single crochet: insert hook in stitch, yarn over and pull up a loop (2 loops on hook), yarn over and pull through both loops
blo = back loop only: instead of inserting your hook under both loops at the top of the stitch, insert it only under the back loop (the loop furthest from you)
dc = double crochet: yarn over, insert hook in stitch, yarn over and pull up a loop, yarn over and pull through 2 loops, yarn over and pull through remaining 2 loops
st/sts = stitch/stitches
sk = skip
rep = repeat
rnd = round
yo = yarn over
Bobble Stitch
This is the star of the textured body. Here’s how to work it:
(Yarn over, insert hook in indicated stitch, yarn over and pull up a loop, yarn over and pull through 2 loops) 5 times in the same stitch. You’ll have 6 loops on your hook. Yarn over and pull through all 6 loops. Chain 1 gently to close the bobble. This closing chain does not count as a stitch.
The key is to push each bobble to the right side (the outside of the bag) as you close it. Keep that closing chain small so the bobbles stay neat.
Invisible Join
This technique gives you a seamless finish at the end of a round. Cut your yarn and pull the tail through the final stitch. Thread your yarn needle under both loops of the first stitch of the round, then back down through the center of the final stitch. Tighten gently for an invisible connection.
Standing Single Crochet
Make a slip knot on your hook, insert hook in the indicated stitch, yarn over and pull up a loop, yarn over and pull through both loops. This lets you join yarn without a chain.
Pattern Notes Before You Begin
Use a firm tension throughout so the bag stands upright without flopping. Join every round with a slip stitch unless a specific step says otherwise. The chain 1 at the beginning of single crochet rounds does not count as a stitch.
Work all bobbles on the right side of the fabric, pushing each bobble outward before continuing to the next stitch. Place a stitch marker in the first stitch of each round to keep track of your position.
Checkpoint after Round 8: Your base should measure approximately 5.75 inches / 14.6 cm across.
Checkpoint after Round 30: The bag body should measure approximately 7.25 inches / 18.4 cm from the base edge to the top of the bobble section.
Left-Handed Crocheters
Work the same stitch counts and rounds. Your direction around the bag will be opposite, so place markers by measured positions rather than by visual left/right when attaching the bow, handles, and drawstring.
Bag Base Instructions
Start with a magic ring.
Round 1: Chain 1, work 8 single crochet in the ring, join with slip stitch. (8 sc)
Round 2: Chain 1, work 2 single crochet in each stitch around, join. (16 sc)
Round 3: Chain 1, (single crochet in next stitch, 2 single crochet in next stitch) 8 times, join. (24 sc)
Round 4: Chain 1, (single crochet in next 2 stitches, 2 single crochet in next stitch) 8 times, join. (32 sc)
Round 5: Chain 1, (single crochet in next 3 stitches, 2 single crochet in next stitch) 8 times, join. (40 sc)
Round 6: Chain 1, (single crochet in next 4 stitches, 2 single crochet in next stitch) 8 times, join. (48 sc)
Round 7: Chain 1, (single crochet in next 5 stitches, 2 single crochet in next stitch) 8 times, join. (56 sc)
Round 8: Chain 1, (single crochet in next 6 stitches, 2 single crochet in next stitch) 8 times, join. (64 sc)
Round 9: Chain 1, working in back loop only, single crochet in each stitch around, join. (64 sc)
This back loop only round is what turns your flat base upward and creates the transition to the bag body. Make sure to flatten Round 8 before working this round to prevent the base from cupping too early.
Textured Body Instructions
Now we build the beautiful bobble texture. Remember to push each bobble to the outside as you work.
Round 10: Chain 1, single crochet in each stitch around, join. (64 sc)
Round 11: Chain 1, (bobble in next stitch, single crochet in next 3 stitches) 16 times, join. (16 bobbles + 48 sc)
Round 12: Chain 1, single crochet in each stitch around, join. (64 sc)
Round 13: Chain 1, (single crochet in next 2 stitches, bobble in next stitch, single crochet in next stitch) 16 times, join. (16 bobbles + 48 sc)
Rounds 14 through 25: Repeat Rounds 12 and 13 six more times. End with an offset bobble round. (64 sts each round)
Round 26: Chain 1, single crochet in each stitch around, join. (64 sc)
Round 27: Chain 1, (bobble in next stitch, single crochet in next 3 stitches) 16 times, join. (16 bobbles + 48 sc)
Round 28: Chain 1, single crochet in each stitch around, join. (64 sc)
Texture checkpoint: You should have 9 bobble rounds total, with 16 bobbles per bobble round. The bobbles should sit in staggered columns rather than perfectly stacked vertical lines.
Top Band and Eyelets
Round 29: Chain 1, single crochet in each stitch around, join. (64 sc)
Round 30: Chain 1, (single crochet in next 6 stitches, chain 2, skip next 2 stitches) 8 times, join. (48 sc + 8 chain-2 spaces)
These chain-2 spaces create the eyelets for your drawstring.
Round 31: Chain 1, (single crochet in next 6 single crochet, 2 single crochet in next chain-2 space) 8 times, join. (64 sc)
Rounds 32 through 34: Chain 1, single crochet in each stitch around, join. (64 sc each round)
Round 35: Work reverse single crochet (also called crab stitch) in each stitch around. Fasten off with an invisible join. (64 reverse sc)
The reverse single crochet creates a decorative corded edge at the top of your bag.
Drawstring Cord
Chain 90, then slip stitch in the back bump of each chain back to the beginning. Fasten off and weave in the ends.
Starting at center front, weave the cord in and out through the 8 eyelets on Round 30. Tie a small bow or knot at center front.
Rounded Handles (Make 2)
Step 1: Using coral yarn, chain 56. Without twisting, join with a slip stitch to the first chain to form a ring. (56 ch)
Step 2 (Round 1): Chain 1, single crochet in each chain around, join. (56 sc)
Step 3 (Rounds 2 through 5): Chain 1, single crochet in each stitch around, join. Insert your support cord before closing Round 5. (56 sc each round)
Step 4: Flatten the seam gently at the bottom of the oval. Sew each handle to the inside top edge, centered over the side panels, with approximately 4 inches / 10 cm between the attachment points.
Handle placement checkpoint: Attach one handle to the front inside edge and one to the back inside edge. Each handle should arch above the top band and sit clear of the drawstring holes.
Statement Bow
Use coral yarn and maintain a firm tension throughout. The bow gets sewn to the center front, just below the drawstring line. Steam the pieces lightly before attaching for crisp edges.
Bow Loops (Make 2)
Chain 13. Row 1: Single crochet in 2nd chain from hook and across, turn. (12 sc)
Rows 2 through 14: Chain 1, single crochet across, turn. (12 sc)
Fasten off. You’ll have a rectangle measuring 12 sc x 14 rows.
Center Band
Chain 7. Row 1: Single crochet in 2nd chain from hook and across. (6 sc)
Rows 2 through 12: Chain 1, single crochet across. (6 sc)
Fasten off. You’ll have a small rectangle measuring 6 sc x 12 rows.
Bow Tails (Make 2)
Chain 13. Row 1: Single crochet in 2nd chain from hook and across. (12 sc)
Rows 2 through 8: Chain 1, single crochet 2 together (sc2tog), single crochet across to last 2 stitches, sc2tog. (Decreasing from 12 stitches down to 0)
Fasten off after Row 8.
Bow Assembly
Pinch the inner short end of each loop piece and overlap them slightly to create the bow shape. Wrap the center band around the pinched middle, then sew securely. Sew the tails behind the bow with the pointed ends angled downward.
Tropical Flower
Center
With red yarn, make a magic ring. Chain 1, work 5 single crochet in the ring, join. Change to pale pink. (5 sc)
Petals
(Chain 4, work 3 double crochet in the same stitch, chain 4, slip stitch in the same stitch, slip stitch in the next stitch) 5 times. Fasten off. (5 petals)
Stamen
With yellow yarn, attach at the center. Chain 5, slip stitch in the 2nd chain from hook and in the next 3 chains. Fasten off and tack the stamen upright in the center of the flower.
Finishing the Flower
Sew the completed flower to the center of your bow. Add a few red straight stitches at the petal bases if you want extra detail.
Assembly and Finishing Your Coral Sunset Tropical Bow Bag
1. Weave in all ends on the inside of the bag.
2. Shape the base flat with your hands. Steam lightly from a distance, avoiding direct pressure on the bobbles.
3. Attach the handles first, sewing through several layers for strength.
4. Center the bow on the front of the bag. Sew through the bow center band, bow loops, and bag body so the bow stays upright and secure.
5. Add the flower to the bow center.
6. Weave in the drawstring last.
7. Optional: sew in a fabric lining and add a magnetic snap below the top band for secure closure.
Care Instructions
Spot clean with cool water and mild soap. Reshape while damp and dry flat. Do not hang the wet bag by the handles. If you’re using T-shirt or cord yarn, test steam on a swatch first to make sure it responds well.
Size Customization Tips
For a wider bag: Add base increase rounds following the same formula, keeping your final stitch count divisible by 4 for the bobble repeats and by 8 for the eyelets. Example for the next round: (single crochet in next 7 stitches, increase) 8 times = 72 stitches.
For a taller bag: Add pairs of rounds: one single crochet round plus one bobble round. Keep the bobble placement alternating between stacked and offset positions.
For longer handles: Add chains in multiples of 2. For every extra 4 chains, your handle drop grows approximately 0.6 inches / 1.5 cm.
Troubleshooting Common Issues
Bag flares outward: Use a smaller hook for the top band or tighten the drawstring. The bobble section should be firm, not loose.
Base cups too early: Flatten Round 8 before working the back loop only Round 9. If it still cups, loosen your base tension slightly.
Base ripples: Your increases are too loose or your yarn is very stretchy. Try a smaller hook or stop one increase round earlier for a narrower base.
Bobbles sink inward: Push each bobble to the right side as you close it. Keep that closing chain small.
Handles stretch: Use support cord inside each handle and sew with multiple passes through the top band.
Bow droops: Block the bow pieces flat before assembly, then sew through the center band and the bag body several times for a secure attachment.
Final Thoughts on This Crochet Bag Pattern
This Coral Sunset Tropical Bow Bag combines satisfying texture work with a stunning finished look that turns heads. The bobble stitch creates that luxurious plush surface, the structured base keeps everything upright, and the tropical flower adds the perfect finishing touch. Once you’ve made one, you’ll probably want to make more in different colors. It makes an incredible gift, and honestly, it’s just as fun to keep for yourself.
I hope you love making this bag as much as I loved designing it. If you try this pattern, please save it to your Pinterest boards so you can find it easily later. And I would absolutely love to see your finished bag, so drop a comment below or tag me on social media when you complete yours. Happy crocheting!
Want a Quick & Easy Printable Version?
Get a clean, beautifully formatted PDF of this pattern — easy to follow step by step, ready to print or save on any device. No scrolling, no distractions, just the pattern.
Get the Printable PDF →