
I found this design tucked away in one of my old notebooks from a spring trip to see the cherry blossoms in full bloom. I had sketched out the basic idea on a napkin at a little cafe, watching the petals drift past the window, and I called it my "blossom crown" in the margin notes. It took me a few years to finally sit down and work out the details, but I am so glad I did.
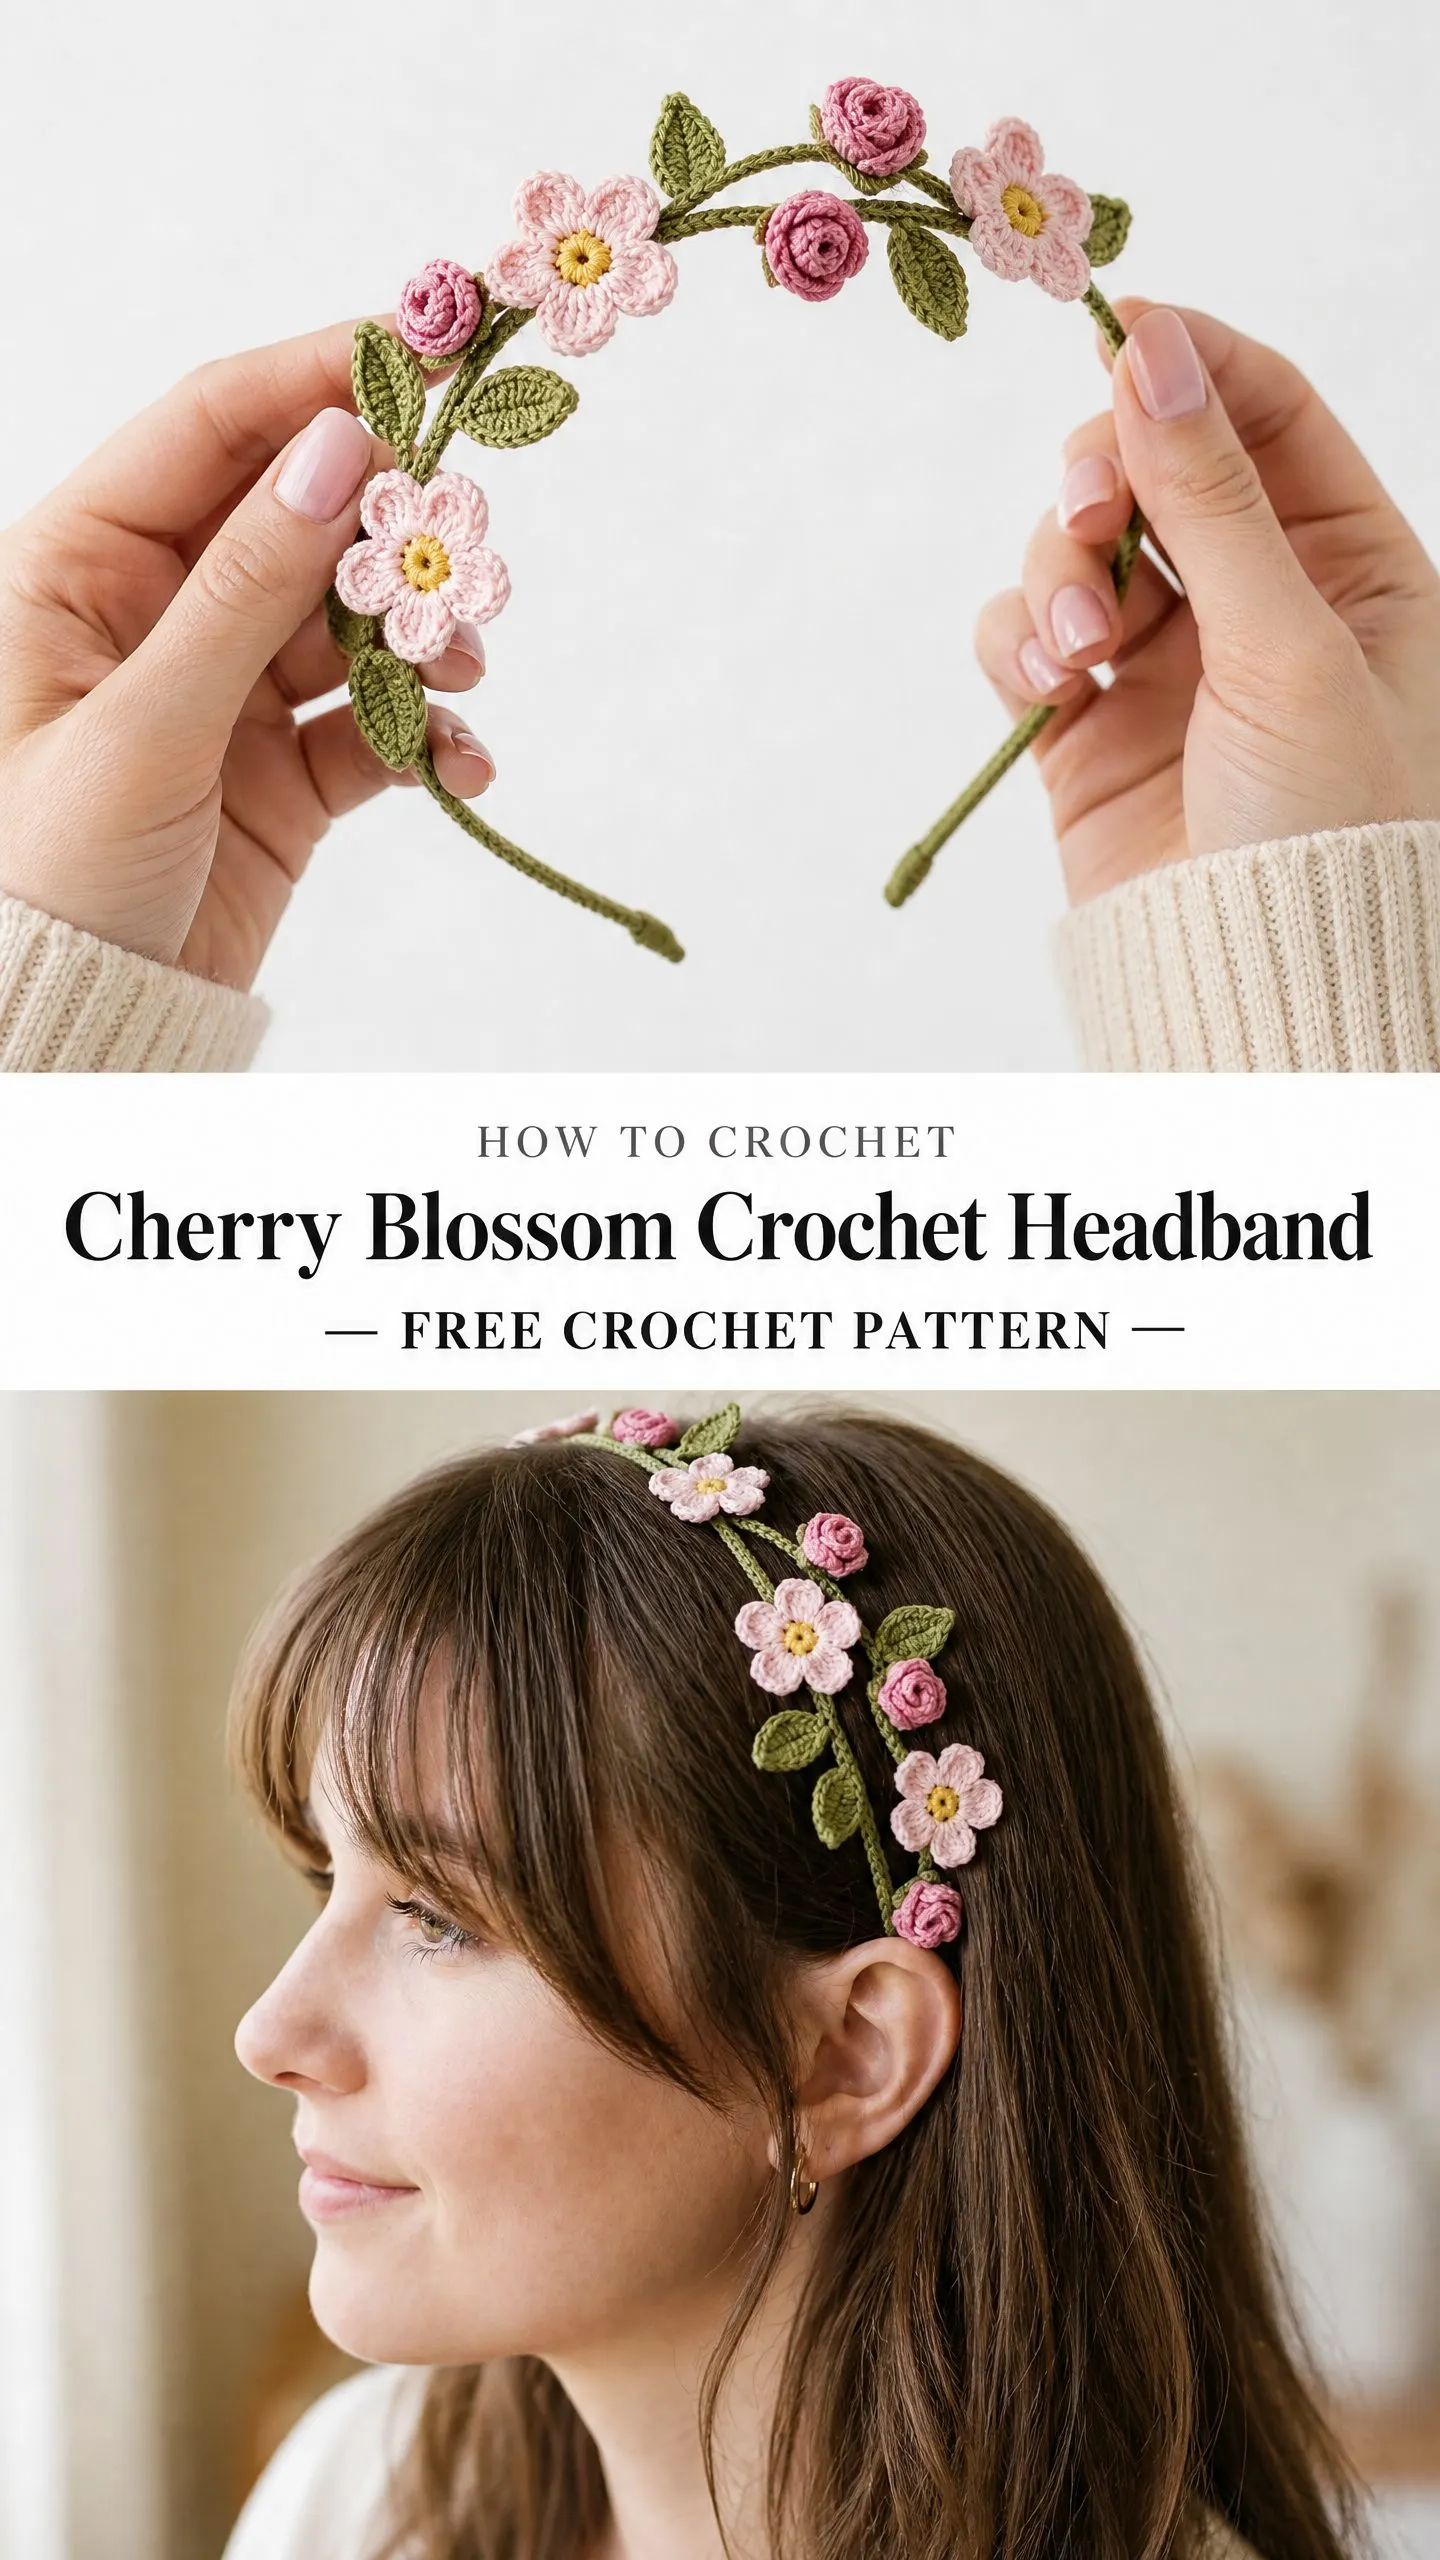
This Cherry Blossom Crochet Headband has become one of my most treasured makes. The combination of delicate open-faced blossoms, tightly spiraled rosebuds, and sculptural leaves creates something that feels almost like wearable art. Every time I put it on, I think of that quiet afternoon and the promise of warmer days.
If you have been looking for a project that lets you practice working small motifs in the round while creating something genuinely beautiful, this is it. The headband comes together piece by piece, each element worked separately before being assembled onto a yarn-covered frame. It is the kind of project that rewards patience and attention to detail.
About This Crochet Pattern
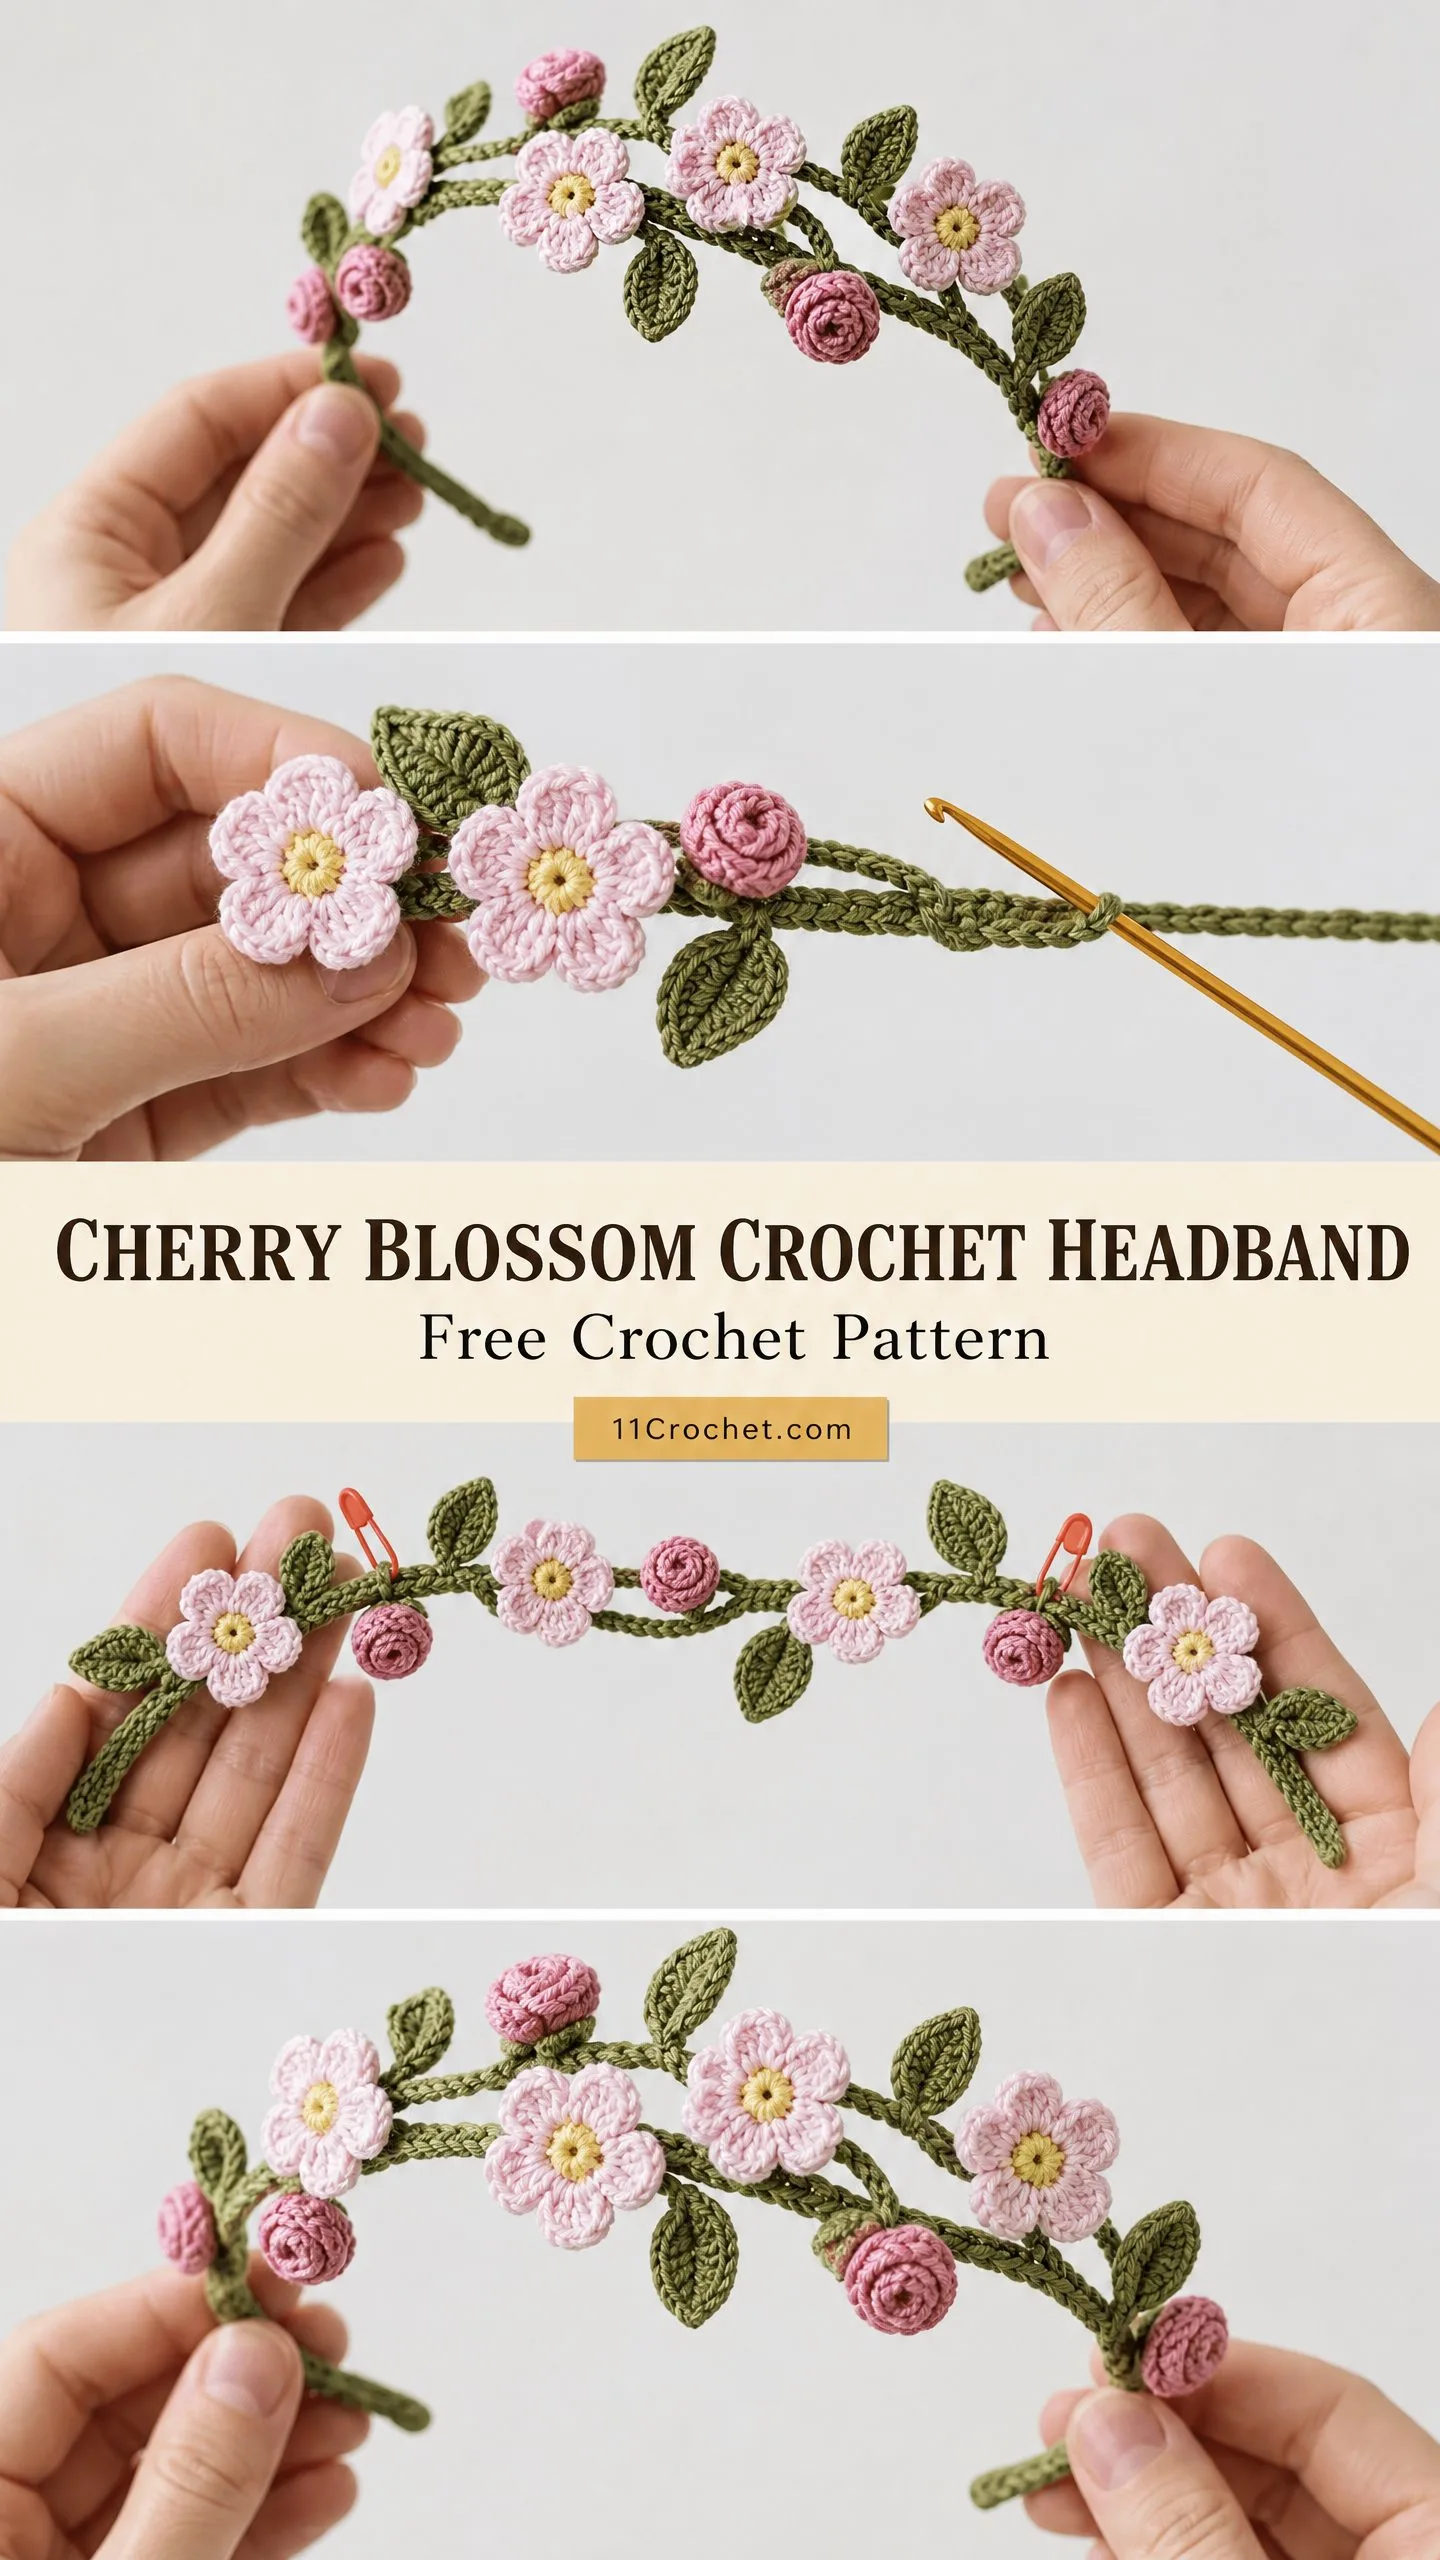
This botanical headband features three distinct crochet elements: cherry blossoms with sunny yellow centers, spiral rosebuds in dusty rose, and layered leaves in mossy green. All of these pieces are worked individually and then sewn onto a plastic headband frame that you cover with single crochet stitches.
The finished piece measures approximately 15 inches along the outer curve, with the decorated portion spanning about 10 inches across the top of your head. The blossoms measure roughly 1.25 inches across, while the tiny rosebuds come in at about half an inch in diameter. This creates a lovely sense of scale and variety.
Skill level sits at intermediate. If you are comfortable working in the round, shaping with increases and decreases, and joining small pieces with precision, you will do wonderfully. The base headband cover uses only basic single crochet (sc), so even that portion is approachable for confident beginners willing to try something new.
Plan for about 8 to 12 hours total to complete this project. I like to break it up over several evenings: one session for the headband cover, a few sessions for all the blossoms and rosebuds, another for leaves, and then a final satisfying session for assembly.
Materials You Will Need
Gathering your supplies before you start makes the whole process smoother. Here is everything you need to create your own cherry blossom headband.
Yarn (sport weight or fingering weight cotton):
Hook: US B-1 / 2.25 mm
Notions:
For yarn, I recommend 100% cotton in a fingering or light sport weight. Cotton holds its structure beautifully for small motifs and gives the petals a crisp, defined edge. Paintbox Yarns Cotton Fingering, DMC Natura Just Cotton, or Scheepjes Catona all work wonderfully. Avoid acrylic or wool blends here, as they tend to stretch and may not hold the sculptural shape of those sweet little rosebuds.
Gauge
Gauge matters most for the headband cover, so take a moment to check yours before diving in.
12 sc x 14 rows = 2 inches / 5 cm in single crochet worked in rows with your US B-1 / 2.25 mm hook.
If your cover fits snugly on the frame without gaps or buckling, you are good to go. For the motifs themselves, exact gauge is less critical. Just keep your tension consistent across all the blossoms and leaves so they look uniform when assembled.
Abbreviations and Special Stitches
Let me walk you through all the abbreviations and techniques you will encounter. I have included plain-English definitions so nothing feels mysterious.
ch: chain. Wrap yarn over hook and pull through the loop. This creates the foundation for most crochet work.
sl st: slip stitch. Insert hook into stitch, yarn over, pull through both the stitch and the loop on your hook in one motion. Used for joining and moving across stitches without adding height.
sc: single crochet. Insert hook into stitch, yarn over and pull up a loop (2 loops on hook), yarn over and pull through both loops. The most basic and commonly used stitch.
hdc: half double crochet. Yarn over, insert hook into stitch, yarn over and pull up a loop (3 loops on hook), yarn over and pull through all 3 loops. Slightly taller than sc.
dc: double crochet. Yarn over, insert hook into stitch, yarn over and pull up a loop (3 loops on hook), yarn over and pull through 2 loops, yarn over and pull through remaining 2 loops. Creates a taller stitch with nice drape.
MR: magic ring (also called adjustable ring). A technique for starting work in the round that allows you to pull the center hole completely closed.
st/sts: stitch/stitches
RS/WS: right side/wrong side
Standing sc: Begin with a slip knot on hook. Insert hook into indicated stitch, yarn over and pull up a loop, yarn over and pull through both loops. This replaces joining yarn with a slip stitch and creates a cleaner first stitch.
Spiral Rosebud Petal: Work (sc, hdc, 2 dc, hdc, sc) all into a single chain space or stitch. This six-stitch sequence creates a gentle curve. When the full strip is complete, roll it from one end to the other with the right side facing out and secure at the base.
Headband Cover Instructions
This is where we start. You will work directly around the plastic headband frame in continuous spiral rounds, completely encasing the plastic in yarn.
With Color A and your 2.25 mm hook, make a slip knot and leave a 6 inch tail.
Foundation: Insert your hook under the plastic frame near one tip. Yarn over and pull up a loop. Chain 1 (this does not count as a stitch). Begin working single crochet around the frame, inserting your hook under the frame for each stitch.
Round 1 and onward: Work sc continuously around the full circumference of the frame cross-section. The frame is roughly oval in cross-section. Work approximately 8 sc per inch of frame length. Continue in a spiral without joining until the entire frame is covered from tip to tip.
For a standard 14 inch frame, you will work approximately 112 sc total along the outer arc before reaching the second tip.
When you reach the second tip, slip stitch to close, leaving a 6 inch tail. Fasten off. Weave in both tails through the stitches at each tip, wrapping around several times to form a clean point.
Checkpoint: Your covered headband should be entirely green with no plastic visible from any angle. If you see gaps, your tension is too loose. Try working more stitches per inch.
Large Cherry Blossom (Make 3)
These beautiful five-petaled flowers form the focal points of your headband.
Round 1: With Color D (yellow), make a magic ring. Work 5 sc into the ring. Pull ring closed firmly. Do not join. (5 sc)
Round 2: Working in continuous spiral, work 2 sc in each stitch around. (10 sc)
Fasten off Color D, leaving a 4 inch tail. Join Color B (blush pink) with a standing sc in any stitch.
Round 3 (petal round): Working into each pair of adjacent stitches from Round 2, work the following for each petal: slip stitch in first stitch of pair, chain 1, sc in same stitch, hdc in same stitch, (2 dc, ch 1, 2 dc) in second stitch of pair (this forms the shell top), hdc in second stitch, sc in second stitch, slip stitch in second stitch.
Repeat this petal sequence 5 times total, working into each pair of stitches around. (5 petals complete)
Fasten off, leaving a 6 inch tail for assembly.
Block each blossom flat before assembly.
Small Cherry Blossom (Make 2)
These are slightly smaller versions that add variety to your arrangement.
Round 1: With Color D, make a magic ring. Work 5 sc into the ring. Pull ring closed. (5 sc)
Round 2: Work 2 sc in each stitch around. (10 sc)
Fasten off Color D. Join Color B.
Round 3 (small petals): For each petal, working into each pair of stitches: slip stitch in first stitch, chain 1, sc in same stitch, (hdc, dc, hdc) in second stitch, sc in second stitch, slip stitch in second stitch.
Repeat 5 times total. (5 small petals complete)
Fasten off, leaving a 6 inch tail.
Checkpoint: Large blossoms should measure approximately 1.25 inches across. Small blossoms should measure approximately 0.9 inches across. All petals should lie flat with the yellow center visible from the front.
Rosebud (Make 5)
These tightly spiraled buds add romantic texture to your headband. Each one is made from a short petal strip that gets rolled and secured.
Foundation chain: Chain 14.
Row 1 (petal strip, right side): Sc in 2nd chain from hook. For the remaining chains, work the following petal sequence:
Petal 1: sc in chain 2, hdc in chain 3, 2 dc in chain 4, hdc in chain 5, sc in chain 6, slip stitch in chain 7. (6 stitches used)
Petal 2: sc in chain 8, hdc in chain 9, 2 dc in chain 10, hdc in chain 11, sc in chain 12, slip stitch in chain 13. (6 stitches used)
Finishing: sc in last chain (chain 14). (13 stitches total across strip)
Fasten off, leaving a 10 inch tail.
Assembly of rosebud: With the right side facing outward (where the dc arch is most prominent), begin rolling the strip from the first petal end. Roll snugly for the first full petal to form the bud center, then wrap the second petal loosely around to form the outer layer. Thread the long tail onto a yarn needle. Pass the needle through the base of the bud several times to secure all layers, wrapping thread around the bottom and stitching through. This creates a firm, flat-bottomed bud. Keep the tail attached for sewing to the headband.
Checkpoint: Each rosebud should be firm and compact, approximately 0.5 inches in diameter. When viewed from above, you should see a spiral of petals.
Large Leaf (Make 4)
Foundation chain: Chain 8.
Row 1: Sc in 2nd chain from hook, sc in next chain, hdc in next chain, dc in next chain, hdc in next chain, sc in next chain, 3 sc in last chain (this forms the tip). Rotate work 180 degrees to work along the opposite side of the foundation chain. Sc in next chain, hdc in next chain, dc in next chain, hdc in next chain, sc in next 2 chains. Slip stitch in first sc to close the leaf outline. (17 stitches around)
Fasten off, leaving a 6 inch tail.
Small Leaf (Make 5)
Foundation chain: Chain 6.
Row 1: Sc in 2nd chain from hook, hdc in next chain, dc in next chain, hdc in next chain, 3 sc in last chain (tip). Rotate 180 degrees. Hdc in next chain, dc in next chain, hdc in next chain, sc in last chain. Slip stitch to first sc to close. (13 stitches around)
Fasten off, leaving a 6 inch tail.
Checkpoint: Large leaves should measure approximately 0.75 inches long. Small leaves should measure approximately 0.5 inches long.
Vine Detail
You have two options for creating the vine that runs along the top of your headband.
Method A (couched yarn): Cut two lengths of Color A, each approximately 12 inches long. Lay them side by side along the top arc of the covered headband, curving gently. Thread a separate length of Color A on a yarn needle and couch the two strands down with small whip stitches spaced approximately 0.25 inches apart.
Method B (surface chain): With Color A and your hook, work a surface slip stitch chain along the outer top arc of the headband, working into the sc stitches of the cover. Work one chain along the outer edge and a second parallel chain about 0.2 inches below it.
Assembly
This is where everything comes together. Take your time with the layout before committing to any stitches.
Step 1: Lay the covered headband on a flat surface. Position the vine along the top arc (the center 10 inches of the band). Sew or couch in place.
Step 2: Pin all motifs to the headband before sewing. Follow this layout:
Center of arc: 1 large blossom flanked by 2 large leaves on each side.
Moving left from center: 1 rosebud, 1 small leaf, 1 small blossom, 1 rosebud, 1 large leaf.
Moving right from center: 1 rosebud, 1 small leaf, 1 large blossom, 1 rosebud, 1 small blossom, 1 large leaf.
Distribute remaining small leaves at the outer edges and nestled between rosebuds and blossoms.
Step 3: Once satisfied, sew motifs in place starting from the center. Use each long tail threaded onto a yarn needle. Pass through the base of each motif and into the headband cover several times, anchoring from 3 to 4 points around each motif base. Knot securely on the underside and trim tails.
Step 4: Tuck leaves slightly under the edges of blossoms and rosebuds where they overlap. This adds depth and a naturalistic appearance.
Step 5: Bend each leaf gently at the center spine so it curves slightly upward at the tip.
Blocking and Finishing
Wet block each motif before assembly. Soak in cool water for 10 minutes, press gently in a towel, and pin flat on a blocking mat. For blossoms, use pins to open each petal to its fullest width. Allow to dry completely before removing pins.
Do not wet block the assembled headband. Once motifs are sewn on, light steam blocking with a steam iron held 1 to 2 inches above the surface will relax any remaining curl without damaging the plastic frame.
Care instructions: Hand wash in cool water with gentle detergent. Do not machine wash or tumble dry. Reshape while damp and lay flat to dry. Store flat or hanging to prevent crushing.
Size Customization Tips
For a child-size headband (approximately 11 inches): Reduce all motif quantities by one and concentrate the arrangement into an 8 inch decorated arc.
For a wider statement headband: Use a larger hook (US D-3 / 3.25 mm) and light DK weight cotton. This scales everything up by about 20 percent.
To add more blossoms: Each additional large blossom requires approximately 8 yards of Color B and 2 yards of Color D.
You Did It!
Thank you so much for choosing this Cherry Blossom Crochet Headband pattern. I hope the process of creating each tiny blossom and leaf brought you as much joy as it brought me when I first worked out the design in that little cafe. This is the kind of project that reminds me why I fell in love with crochet in the first place.
If you make this headband, I would absolutely love to see it! Tag me on Instagram or share a photo in my Facebook group. Seeing your finished pieces is genuinely one of my favorite parts of sharing patterns.
If this pattern caught your eye, go ahead and pin it to your Pinterest boards so you can find it when you are ready to start. And please drop a comment below if you make one. I read every single comment and love hearing about your color choices, your customizations, and who you made it for. Happy hooking!
