
Looking for a handmade gift that feels truly special? This beaded butterfly ornament delivers that wow factor while using only basic single crochet stitches. The finished piece works beautifully as a tree ornament, brooch, gift topper, or hair accessory.
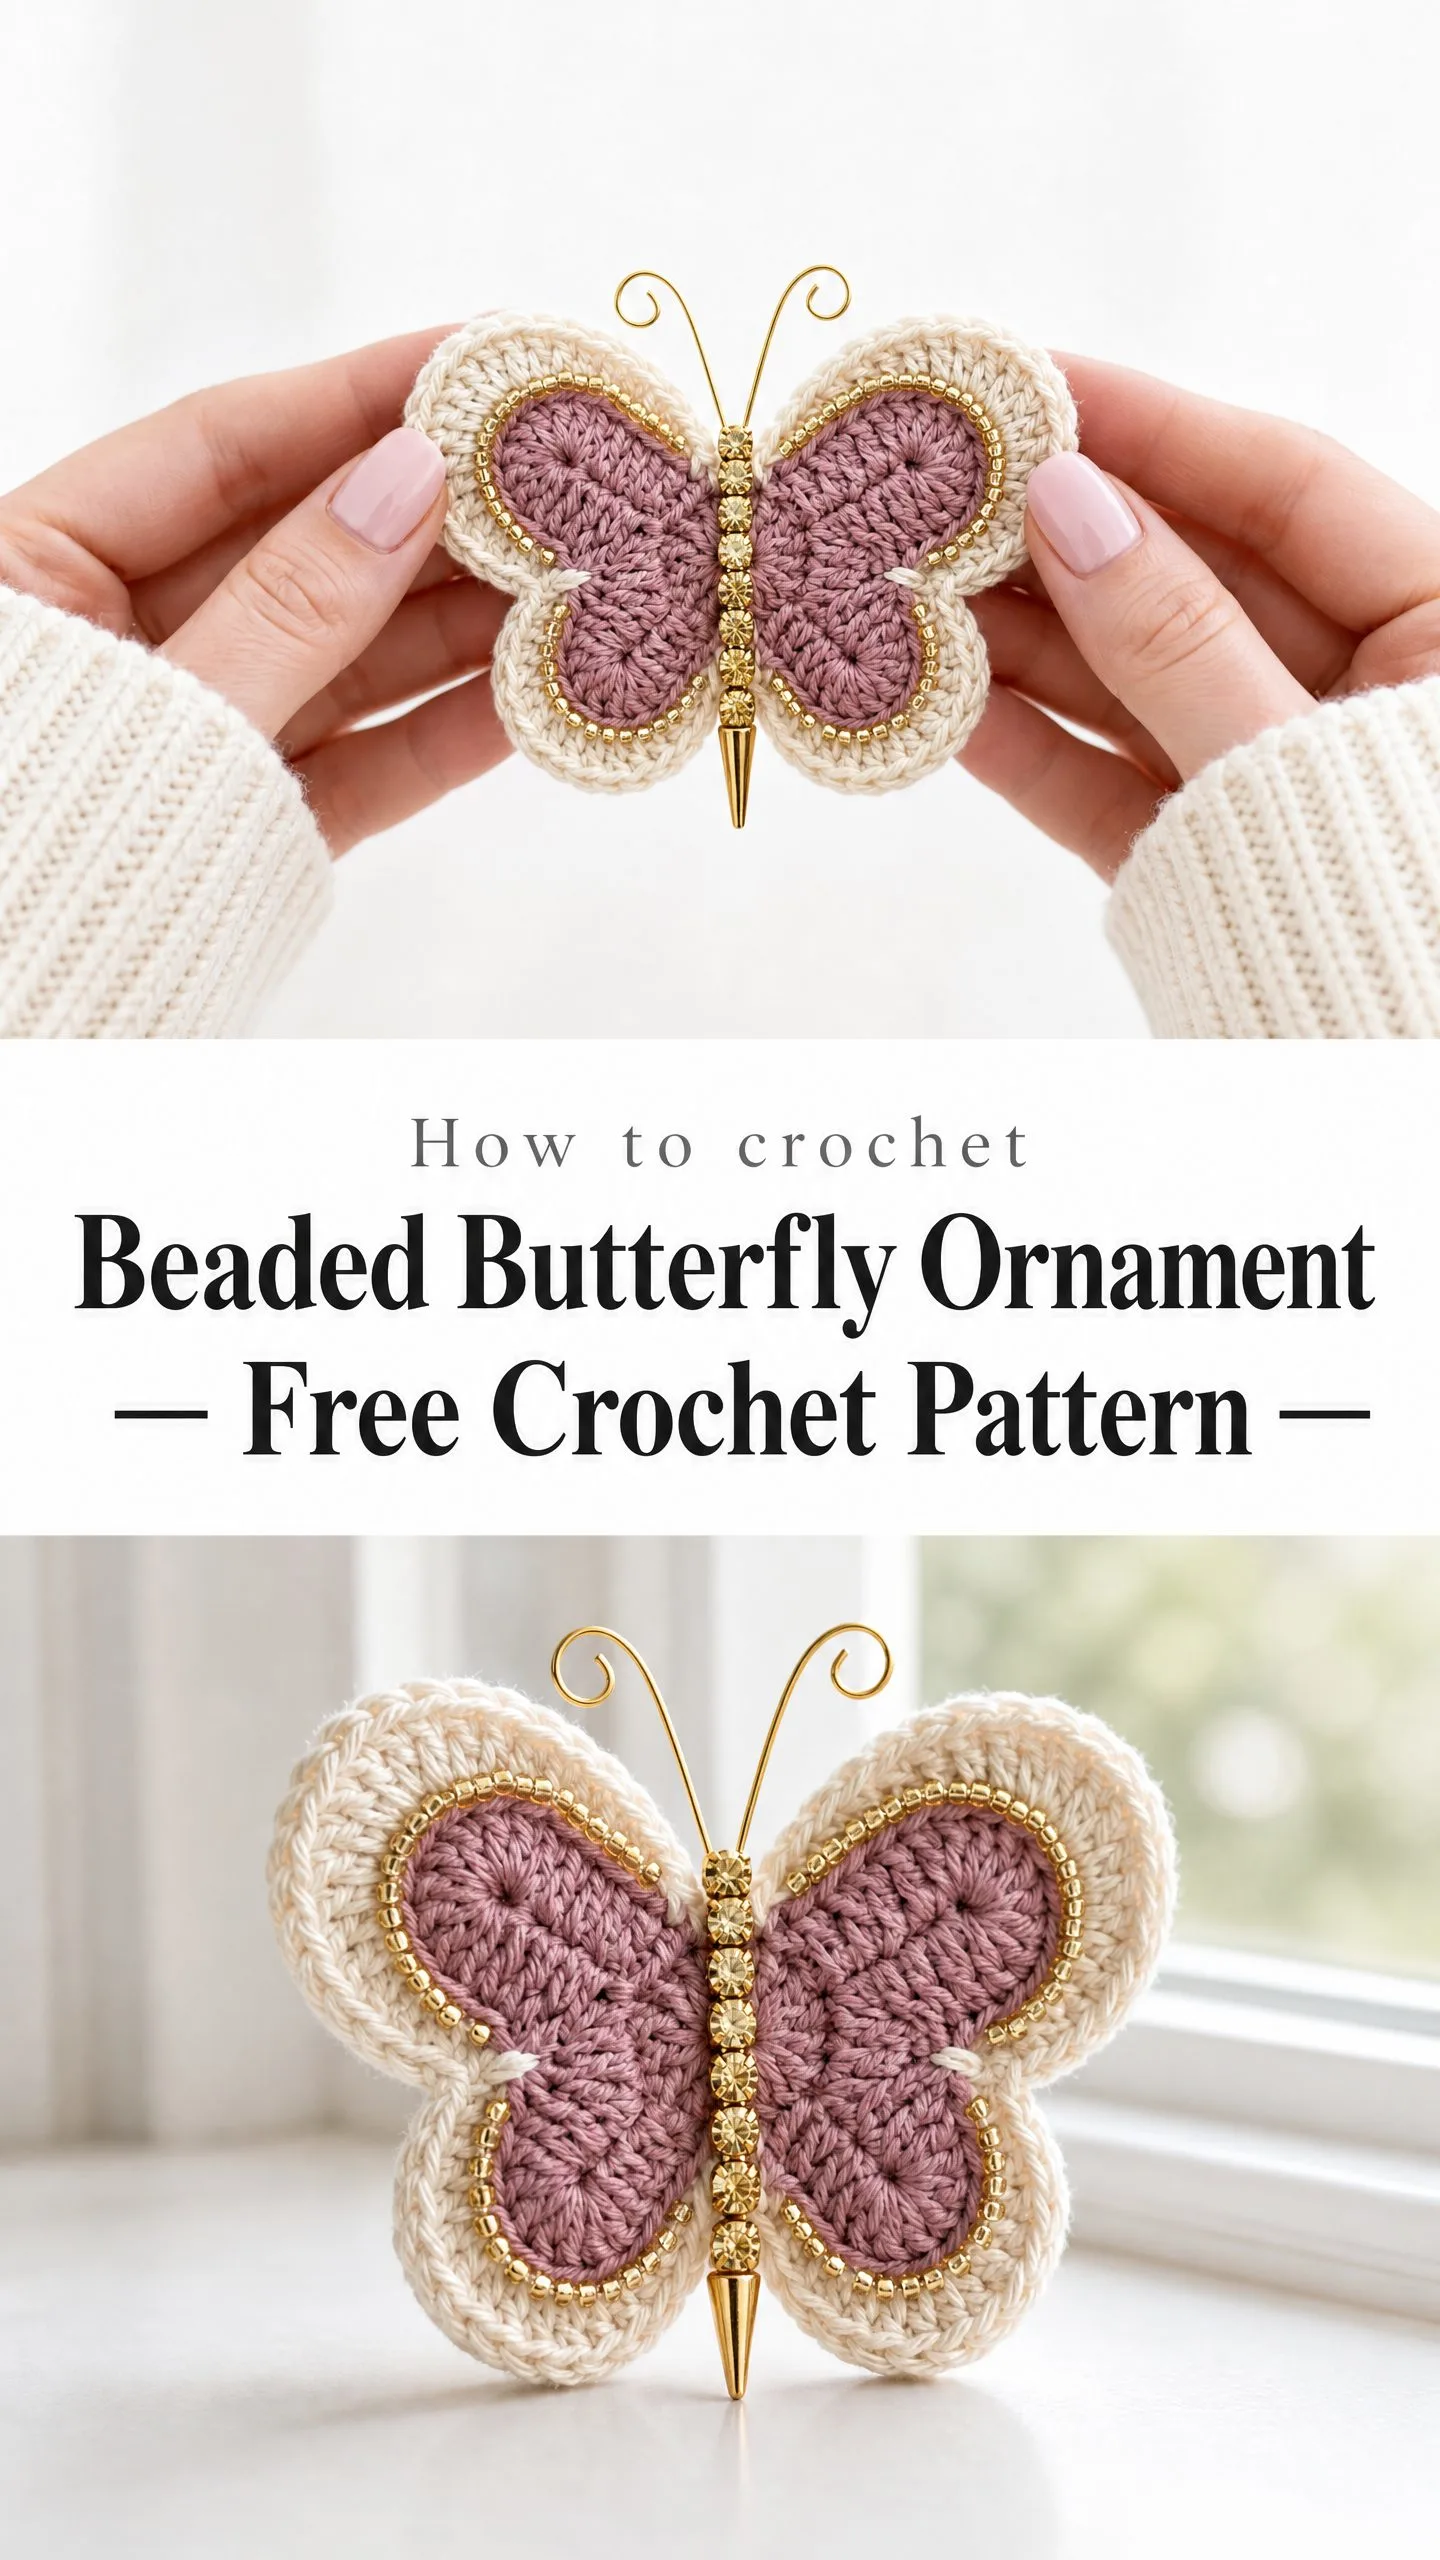
The construction is simpler than it looks. You will crochet four flat circles in two colors, attach them to a beaded body spine, then add gold seed bead embellishment along the wing edges. The whole project takes about three to five hours from start to finish.
Whether you are making one for yourself or gifting it to someone who loves butterflies, this pattern creates a keepsake piece. The combination of soft crochet wings and sparkly gold accents makes it perfect for weddings, baby showers, or holiday decorating. Let me walk you through every step.
About This Beaded Butterfly Crochet Pattern
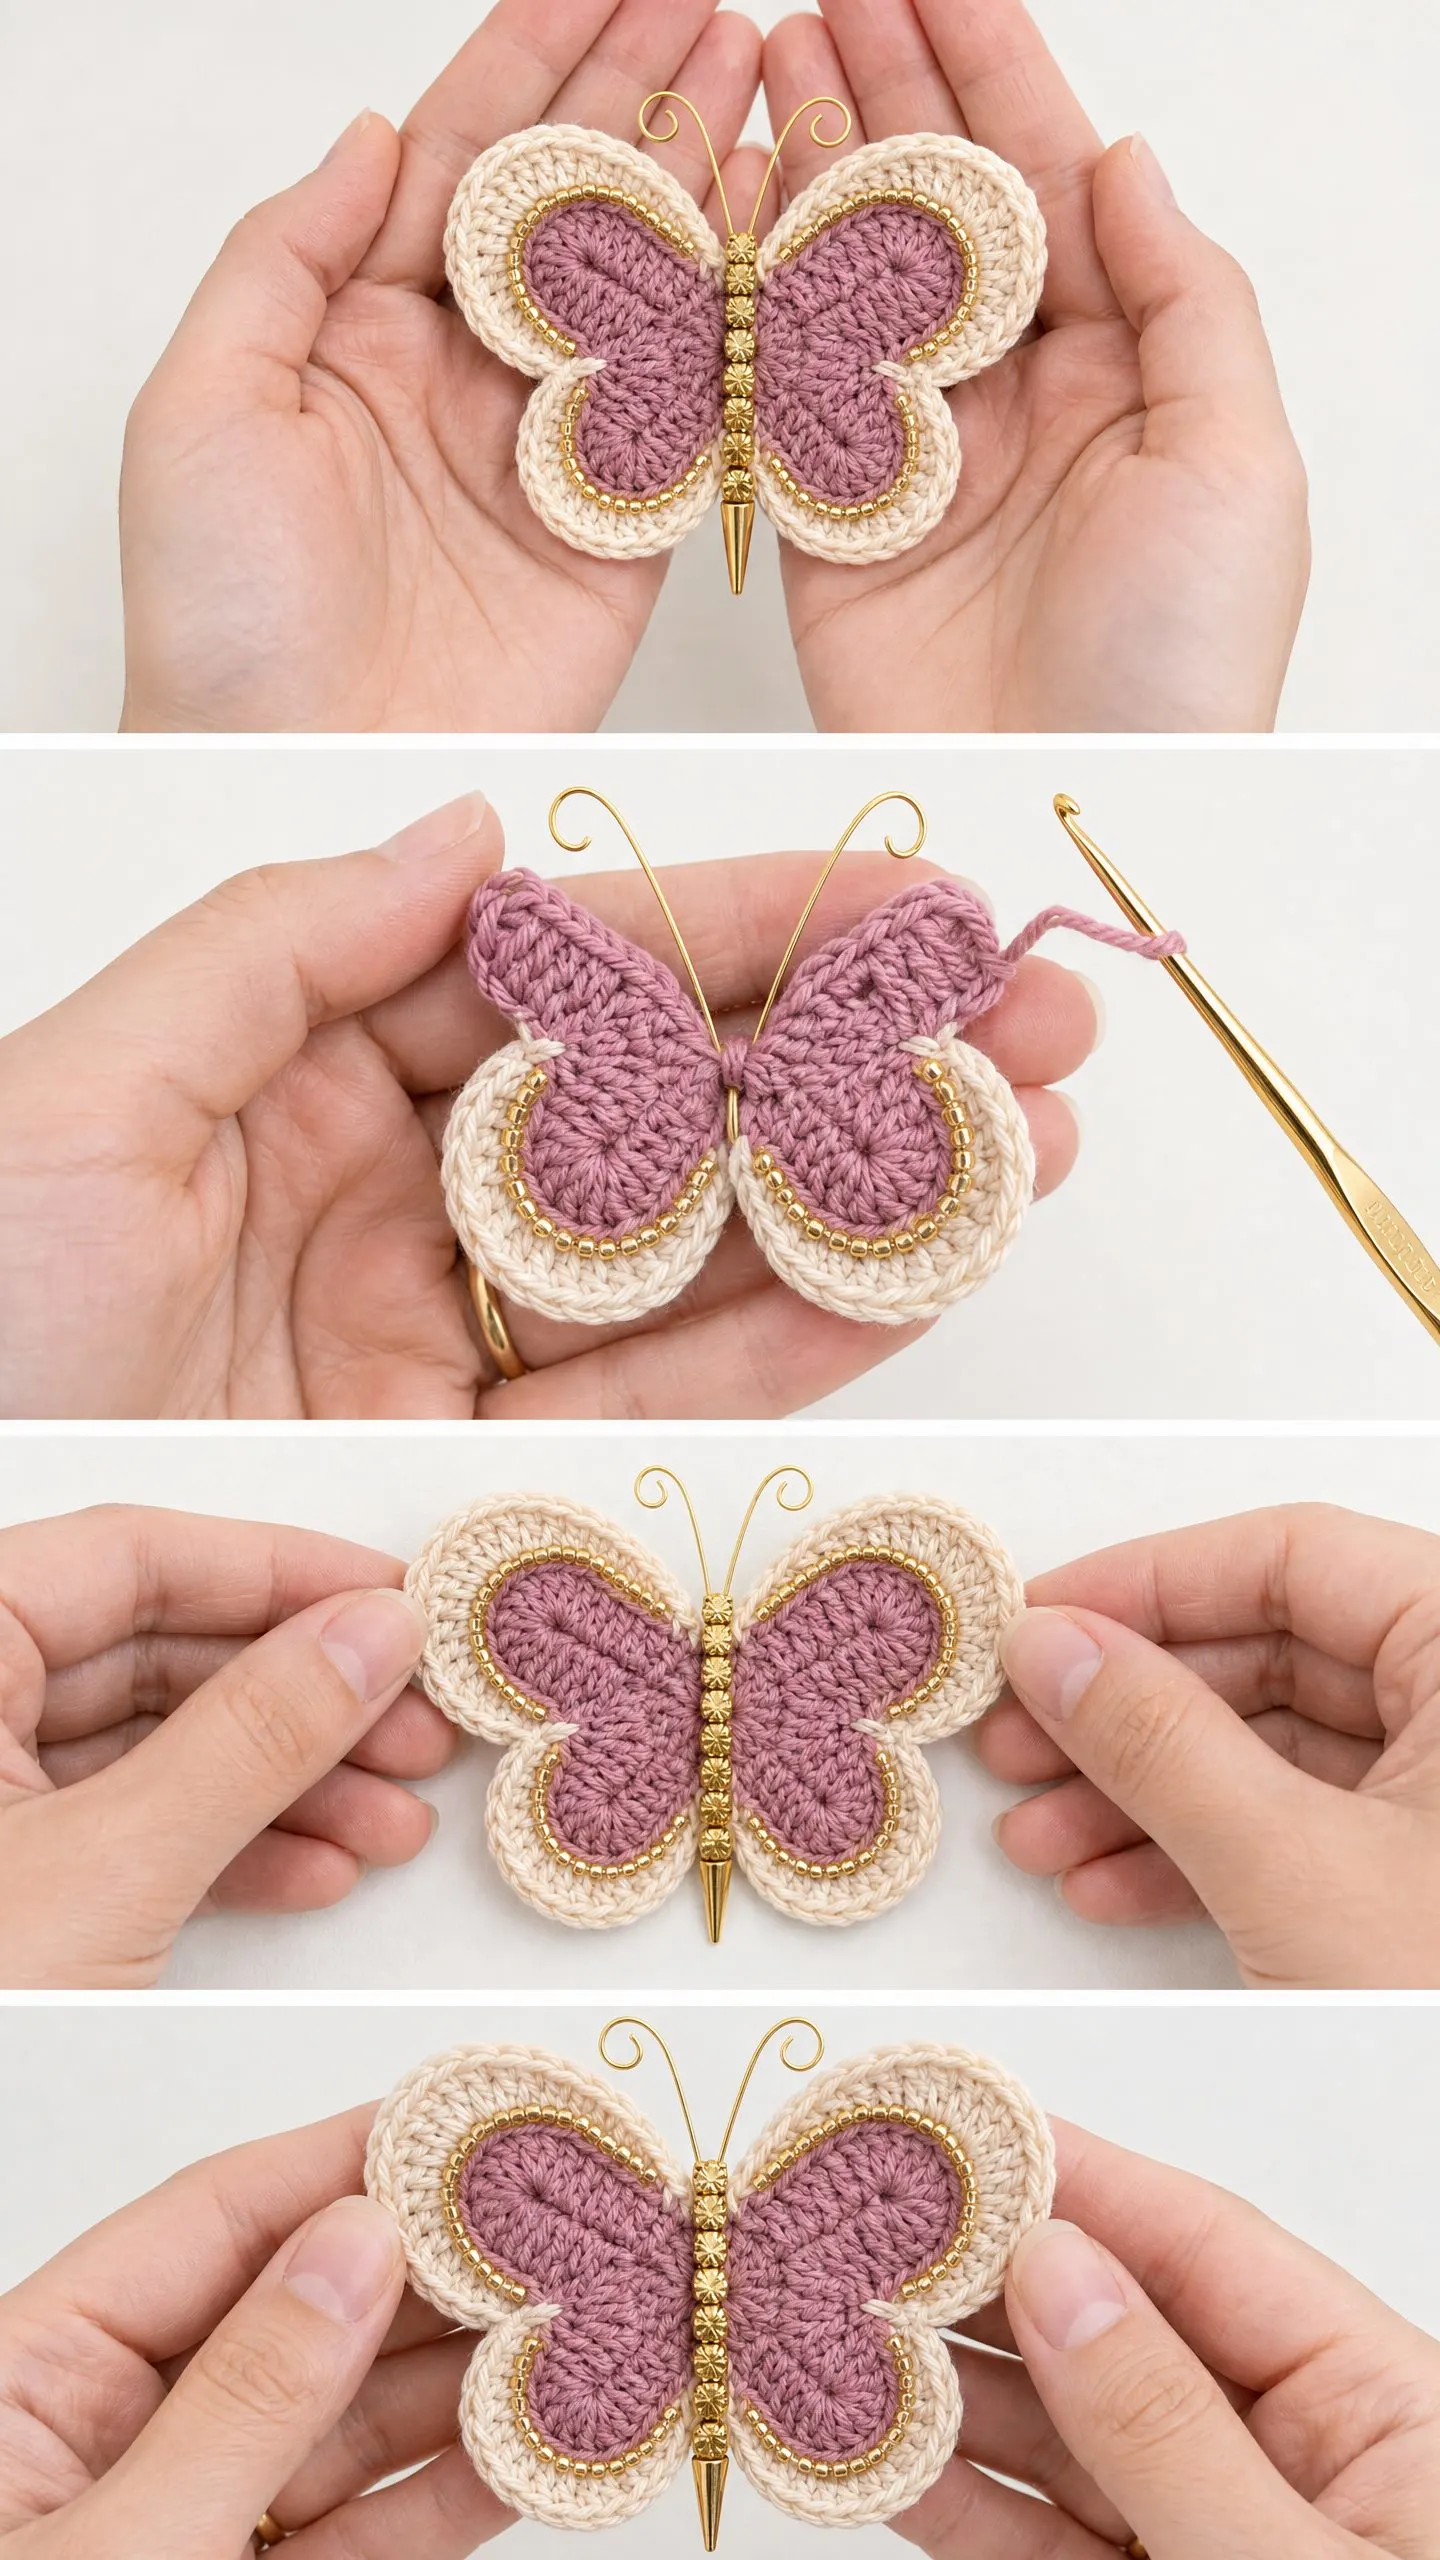
This ornament features a flat crocheted butterfly worked in two yarn colors. A cream outer border frames a dusty rose inner wing on each of the four wing sections. Two upper wings and two lower wings are crocheted as individual flat circles, then joined at a central body column made from stacked gold beads on a headpin.
The body spine provides the structural backbone of the butterfly. Gold seed beads stitched along the inner edge of each wing add that beautiful beaded detail you see in the finished piece. Wire antennae bent into spiral curls complete the look.
Finished size: Approximately 4 inches wide by 3 inches tall, measured wing tip to wing tip and top wing tip to body point.
Skill level: Intermediate. The individual stitches are beginner level, but the pattern requires comfort with working in continuous rounds, joining separate pieces, sewing on seed beads neatly, and basic wire manipulation.
Time estimate: Approximately 3 to 5 hours total, including all four wing pieces, bead embellishment, assembly, and finishing.
Materials Needed
Yarn
You will need two colors of worsted weight or DK weight yarn held single:
Choose a smooth, tightly plied cotton or cotton blend yarn. Avoid fuzzy, textured, or very stretchy fibers. The yarn must hold a crisp edge so the circular wing shapes remain defined and the seed bead embellishment sits flat against the surface.
Yarn suggestions:
Hook
Hardware and Embellishments
Tools and Notions
Gauge
With US D-3 (3.25 mm) hook and worsted weight cotton:
6 rounds of single crochet (sc) in the round equals approximately 2.5 inches (6.5 cm) diameter flat circle.
After Round 5 of the Upper Wing, the piece should measure approximately 1.75 to 2 inches (4.5 to 5 cm) in diameter. Adjust hook size up or down one size to achieve this measurement.
Abbreviations
Before we dive in, here are all the abbreviations you will encounter. I am defining each one so you can reference this section anytime.
Special Stitches
Magic Ring (MR):
Make a loop with the yarn, crossing the working end over the tail end. Insert hook through the center of the loop from front to back. Pull up a working loop. Chain the required number of stitches to begin, then work stitches into the center of the ring. Pull the tail end firmly to close the ring before continuing.
Standing Single Crochet:
Used to join a new color without a slip stitch and starting chain. Make a slip knot in the new color and place it on the hook. Insert hook into the designated stitch, yarn over and pull up a loop, yarn over and draw through both loops. This counts as the first sc of the round.
Pattern Notes
Read through these notes before starting. They will help everything make sense as you work.
1. All wing pieces are worked in continuous rounds unless otherwise stated. Use a stitch marker to track the beginning of each round and move it up as you go.
2. Each wing piece begins with a magic ring and expands outward using evenly spaced increases to create a flat circle.
3. The butterfly has four wing pieces total: two upper wings (larger) and two lower wings (smaller).
4. Each wing piece is worked in two colors. The dusty rose inner section is crocheted first, then the cream outer border is joined and worked as additional rounds.
5. The wings are not stuffed. They remain flat. Blocking is recommended.
6. Right side of all wing pieces faces outward (away from the back of the butterfly).
7. When joining the two wing halves (left and right), the wrong sides of the wings face each other with the body spine sandwiched between them.
Upper Wing Instructions (Make 2)
This wing creates a larger flat circle approximately 2 to 2.25 inches (5 to 5.75 cm) in diameter.
Section 1: Dusty Rose Inner Wing
Round 1: With dusty rose yarn, make a MR. Work 6 sc into the ring. Pull tail to close ring. Do not join. Pm in last st. (6 sc)
Round 2: Work 2 sc in each st around. (12 sc)
Round 3: (1 sc in next st, 2 sc in next st) rep 6 times around. (18 sc)
Round 4: (1 sc in each of next 2 sts, 2 sc in next st) rep 6 times around. (24 sc)
Round 5: (1 sc in each of next 3 sts, 2 sc in next st) rep 6 times around. (30 sc)
Round 6: (1 sc in each of next 4 sts, 2 sc in next st) rep 6 times around. (36 sc)
Fasten off dusty rose, leaving a 4 inch tail for weaving.
Checkpoint: After Round 6, the rose circle should measure approximately 1.75 to 2 inches (4.5 to 5 cm) in diameter. If it is cupping (forming a bowl shape), your tension is too tight. Go up one hook size. If it is ruffling, go down one hook size.
Section 2: Cream Outer Border
Join cream yarn with a standing sc in any stitch of Round 6 of the rose inner wing.
Round 7: Work 1 sc in the same st as join, then 1 sc in each rem st around. (36 sc)
Round 8: (1 sc in each of next 5 sts, 2 sc in next st) rep 6 times around. (42 sc)
Round 9: (1 sc in each of next 6 sts, 2 sc in next st) rep 6 times around. (48 sc)
Round 10: Work 1 sc in each st around. (48 sc)
Slip stitch in next st to finish round cleanly. Fasten off cream. Weave in all ends on WS.
Checkpoint: The completed upper wing should measure approximately 2 to 2.25 inches (5 to 5.75 cm) in diameter and lie completely flat.
Lower Wing Instructions (Make 2)
This wing creates a smaller flat circle approximately 1.5 to 1.75 inches (4 to 4.5 cm) in diameter.
Section 1: Dusty Rose Inner Wing
Round 1: With dusty rose yarn, make a MR. Work 6 sc into the ring. Pull tail to close ring. Do not join. Pm in last st. (6 sc)
Round 2: Work 2 sc in each st around. (12 sc)
Round 3: (1 sc in next st, 2 sc in next st) rep 6 times around. (18 sc)
Round 4: (1 sc in each of next 2 sts, 2 sc in next st) rep 6 times around. (24 sc)
Fasten off dusty rose.
Section 2: Cream Outer Border
Join cream yarn with a standing sc in any stitch of Round 4.
Round 5: Work 1 sc in the same st as join, then 1 sc in each rem st around. (24 sc)
Round 6: (1 sc in each of next 3 sts, 2 sc in next st) rep 6 times around. (30 sc)
Round 7: (1 sc in each of next 4 sts, 2 sc in next st) rep 6 times around. (36 sc)
Round 8: Work 1 sc in each st around. (36 sc)
Slip stitch in next st to finish round cleanly. Fasten off cream. Weave in all ends on WS.
Checkpoint: The completed lower wing should measure approximately 1.5 to 1.75 inches (4 to 4.5 cm) in diameter and lie completely flat.
Body Spine Assembly
This is the beaded center that gives your butterfly its structure and sparkle.
Step 1: Thread the large hole spacer beads onto the eye pin or headpin, one at a time, filling the length of the pin from the eye end downward. Leave approximately 0.25 inch (6 mm) clear at the pointed or tail end.
Step 2: Slide the cone bead or spike bead onto the tail end of the pin last, so it points downward and forms the abdomen tip of the butterfly. If using a headpin, bend the very tip slightly with flat nose pliers after adding the cone bead to secure it.
Step 3: The eye at the top of the pin will serve as the attachment point for the antennae wire. Set the body aside.
The body column should measure approximately 1.25 to 1.5 inches (3 to 4 cm) from the top of the eye to the point of the cone bead.
Antenna Assembly
Step 1: Cut two pieces of 24 gauge gold craft wire, each approximately 4 to 5 inches (10 to 12.5 cm) long.
Step 2: Using round nose pliers, curl one end of each wire into a tight spiral (2 to 3 rotations inward). This forms the decorative curl at the tip of each antenna.
Step 3: Thread the straight end of each wire through the eye loop at the top of the body spine from opposite sides, so both antennae emerge from the same point and diverge outward.
Step 4: Bend each wire to form a gentle outward and upward curve resembling a natural butterfly antenna arc.
Step 5: Trim excess wire length from the straight ends if needed and tuck them inside the bead stack or fold them against the back of the body column and press flat with flat nose pliers.
Wing Arrangement and Attachment
Now comes the exciting part where your butterfly takes shape!
Step 1: Lay the four wing pieces flat. For each side of the butterfly (left and right), you will attach one upper wing and one lower wing to the body spine.
Step 2: On the right side of the butterfly: hold the right upper wing and right lower wing with RS facing outward. Overlap their inner edges slightly at the point where they will meet the body spine. The upper wing sits above the midpoint of the body column and the lower wing sits below the midpoint.
Step 3: Using a tapestry needle and a doubled length of cream yarn or matching thread, whipstitch the inner edge of the upper wing to the inner edge of the lower wing along a span of 4 to 5 stitches where they overlap. This joins them into a single right side wing panel.
Step 4: Repeat for the left side, mirroring the arrangement.
Step 5: Hold the right wing panel and left wing panel with WS facing each other and the body spine column sandwiched between them at the center.
Step 6: Using cream yarn and a tapestry needle, stitch the two wing panels to the body column by passing thread around the bead column and through the inner edge stitches of each wing at 3 evenly spaced points: near the top spacer bead, at the middle bead, and near the cone bead junction. Pull snugly but not so tight that the beads crack or the wings bunch.
Step 7: The bead column should be visible at the center front between the two wing halves, running vertically from the antenna eye down to the cone bead point.
Checkpoint: After wing attachment, the butterfly should measure approximately 4 inches (10 cm) across from left outer wing edge to right outer wing edge, and approximately 3 inches (7.5 cm) from the top of the upper wings to the tip of the cone bead.
Seed Bead Embellishment
This step adds the beautiful gold outline around each wing’s inner section.
Step 1: Thread a beading needle with a 24 inch (60 cm) length of beading thread or doubled fine sewing thread. Knot the end securely.
Step 2: Bring the needle up through the back of the wing at the point where the cream outer border meets the dusty rose inner section (the color change round) on one upper wing.
Step 3: Thread one gold seed bead onto the needle and push it down to rest against the surface of the wing at the color join line.
Step 4: Take a small stitch through the yarn at the base of the bead to anchor it, then bring the needle up at the position for the next bead, spacing beads approximately 1 stitch apart along the entire inner circumference of the wing.
Step 5: Continue adding seed beads in a continuous line all the way around the color change boundary of the upper wing. You will use approximately 24 to 28 beads per upper wing.
Step 6: Fasten thread securely on the WS and trim.
Step 7: Repeat for the second upper wing, then for both lower wings, using approximately 18 to 22 beads per lower wing.
Step 8: Using remaining seed beads, add a single line of beads along the body column by stitching them between the spacer beads or alongside the bead column on both the front right and front left edges of the body, anchoring each seed bead to the wing fabric adjacent to the body column with individual stitches. This creates the beaded body outline visible in the finished piece. Use 5 to 8 beads on each side of the body for a total of 10 to 16 seed beads on the body section.
Finishing and Blocking
Blocking: Pin each crochet wing piece to a foam blocking board or towel before assembly. Dampen with cool water using a spray bottle or by gently pressing a damp cloth against the surface. Pin the outer edges at intervals to achieve a true circle. Allow to dry completely (2 to 4 hours) before removing pins. Do not steam block if using acrylic. Light steam is fine for cotton or cotton blends.
Weaving ends: All yarn tails must be woven diagonally through at least 4 to 6 stitches on the WS of the fabric before trimming. Do not trim flush. Leave 0.25 inch (6 mm) for security.
Optional hanging loop: If using as a hanging ornament, loop a 6 inch (15 cm) length of matching thread or fine ribbon through the eye loop of the body pin alongside the antennae wire before assembly. Knot it securely and trim to desired hanging length.
Optional brooch finish: Sew or glue a brooch pin back to the WS of the assembled butterfly, centering it horizontally across both upper wings at a point about one third of the way down from the top.
Size Customization Tips
To make a larger butterfly: Add one additional increase round to each wing section using the established increase pattern (1 sc in each of the next N sts, 2 sc in next st) rep 6 times, where N increases by one each round. Each additional round adds approximately 6 sts and increases the diameter by approximately 0.25 to 0.33 inch (6 to 8 mm). Add beads proportionally.
To make a smaller butterfly: Eliminate the final round of the cream border on each wing piece. The upper wing will end at Round 9 (42 sc) and the lower wing at Round 7 (30 sc). Shorten the body pin accordingly.
To change proportions: Work more additional rounds on the upper wings than the lower wings to create a larger upper to lower wing ratio, which produces a silhouette closer to a swallowtail.
Care Instructions
If made with cotton yarn: Hand wash in cool water with a small amount of gentle soap. Do not wring. Press flat between two towels to remove excess water. Reshape and allow to dry flat. Do not machine wash, as the bead embellishments and wire antennae will not survive agitation.
If made with acrylic yarn: Spot clean only with a damp cloth. The hardware and beads make machine washing inappropriate regardless of yarn fiber.
Store flat or hanging to prevent the wire antennae from bending out of shape. If antennae bend, gently reshape with fingers or pliers.
You Did It!
Thank you so much for making this beaded butterfly ornament with me! I hope you love how yours turned out. The combination of soft crochet and sparkly gold details makes this such a lovely keepsake piece. I would absolutely love to see your finished butterflies. Tag me on Instagram or share in our Facebook group so I can admire your work!
If you enjoyed this crochet pattern, go ahead and save it to your Pinterest boards so you can find it again later. And please leave a comment below if you make one. I read every single comment and it makes my day to hear from you!
