I’ve been looking for the perfect character tote bag pattern for months, and I finally decided to just design my own. This adorable kitty face tote bag is my new favourite project, and I’m so excited to share it with you today. The construction is simpler than it looks, the finished bag is sturdy enough for everyday use, and honestly, it just makes me smile every time I pick it up.
Why You’ll Love This Kitty Face Crochet Pattern
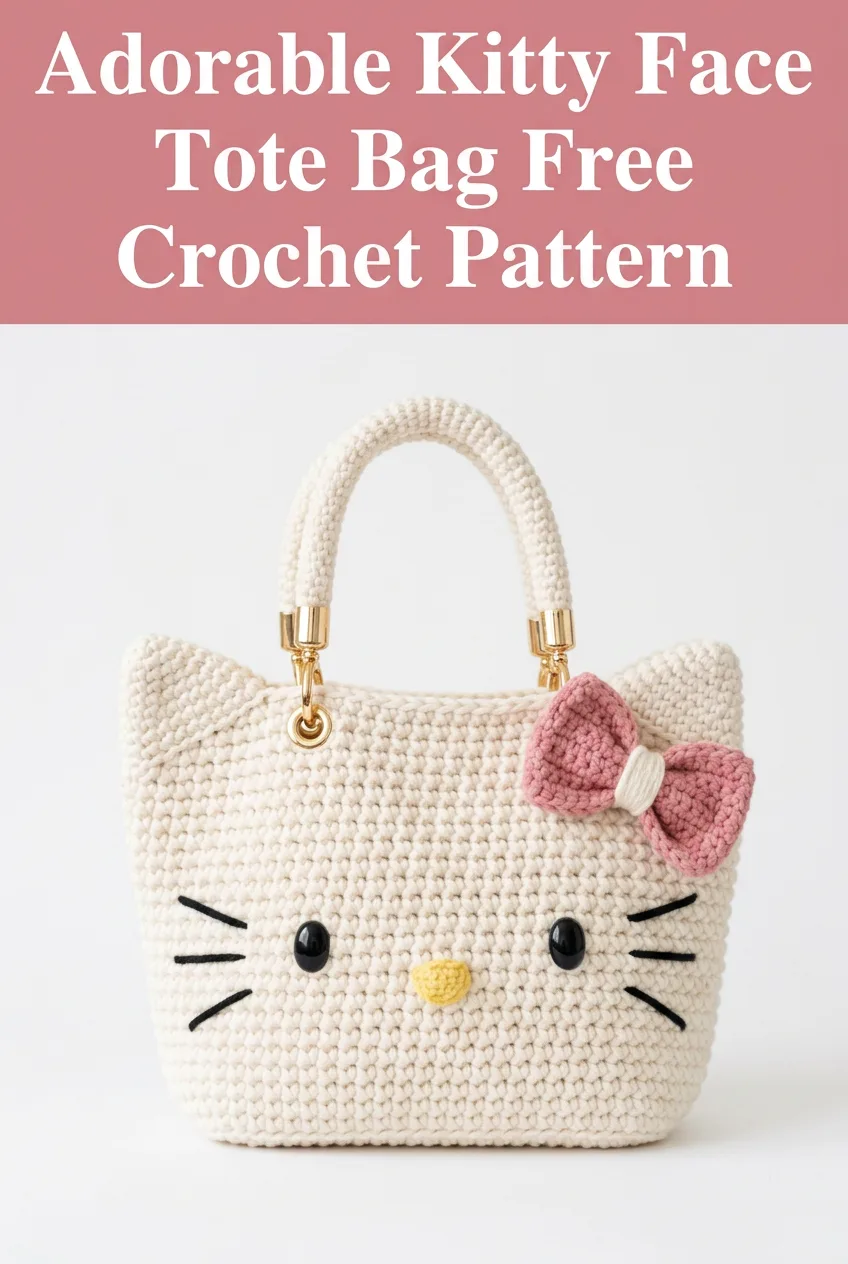
This crochet tutorial creates an absolutely charming tote bag that’s practical and whimsical at the same time. The bag features a sweet kitty face complete with pointed ears, a tiny nose, embroidered whiskers, and a darling pink bow. It’s the kind of project that gets compliments everywhere you go.
What makes this beginner friendly? The main body uses just one stitch throughout. If you can single crochet, you can make this bag. The shaping for the ears happens naturally as you work, and all the facial features are added at the end, so there’s no tricky color work to worry about.
The finished bag measures approximately 12 inches wide by 10 inches tall, not including the ears and handles. It’s roomy enough for your essentials, a small book, your phone, and all those little things that somehow multiply in your purse.
Materials Needed for Your Kitty Tote Bag
Before you start crocheting, gather everything you’ll need. Having all your supplies ready makes the process so much smoother.
Yarn:
Hook:
Notions:
Gauge: 14 single crochet stitches and 16 rows equals 4 inches. Gauge matters here because it affects your final bag size and how sturdy the fabric feels.
Abbreviations and Stitch Definitions
Let me walk you through every stitch abbreviation you’ll see in this pattern. Even if you know these by heart, a quick refresher never hurts.
Ch = Chain. This is your foundation. Wrap yarn over hook, pull through the loop on your hook. That’s one chain.
Sc = Single crochet. Insert your hook into the stitch, yarn over, pull up a loop (two loops on hook), yarn over, pull through both loops. Done.
Inc = Increase. Work two single crochet stitches into the same stitch. This adds one stitch to your count.
Dec = Decrease. Also called sc2tog or single crochet two together. Insert hook into first stitch, pull up a loop, insert hook into next stitch, pull up a loop (three loops on hook), yarn over, pull through all three. This removes one stitch.
Sl st = Slip stitch. Insert hook, yarn over, pull through stitch and loop on hook in one motion. Used for joining and invisible movement.
Sk = Skip. Just skip over that stitch and work into the next one.
Step by Step Crochet Pattern for the Kitty Tote Bag
Now let’s get into the actual pattern. Take a deep breath. You’ve got this.
Front Panel
The front and back panels are worked flat in rows, then joined together.
Row 1: Ch 43. Sc in second ch from hook and in each ch across. (42 sts)
Rows 2 through 40: Ch 1, turn. Sc in each st across. (42 sts)
At this point, you have a nice rectangle. Now we shape the top and create those cute ears.
Shaping the Ears
This is where the magic happens. Don’t worry, it’s just increases and decreases in the right spots.
Row 41: Ch 1, turn. Sc in first 10 sts, dec, sc in next 18 sts, dec, sc in last 10 sts. (40 sts)
Row 42: Ch 1, turn. Sc in first 9 sts, dec, sc in next 18 sts, dec, sc in last 9 sts. (38 sts)
Row 43: Ch 1, turn. Sc in first 8 sts, dec, sc in next 18 sts, dec, sc in last 8 sts. (36 sts)
Row 44: Ch 1, turn. Sc in first 7 sts, dec, sc in next 16 sts, dec, sc in last 7 sts. (34 sts)
Now we split for the ears. You’ll work each ear separately.
Left Ear
Row 45: Ch 1, turn. Sc in first 12 sts only. Leave remaining stitches unworked. (12 sts)
Row 46: Ch 1, turn. Dec, sc in next 8 sts, dec. (10 sts)
Row 47: Ch 1, turn. Dec, sc in next 6 sts, dec. (8 sts)
Row 48: Ch 1, turn. Dec, sc in next 4 sts, dec. (6 sts)
Row 49: Ch 1, turn. Dec, sc in next 2 sts, dec. (4 sts)
Row 50: Ch 1, turn. Dec twice. (2 sts)
Row 51: Ch 1, turn. Dec. (1 st)
Fasten off and weave in your end.
Right Ear
Skip the center 10 stitches on Row 44. Join yarn to the 23rd stitch from the beginning.
Row 45: Ch 1, sc in same st and next 11 sts. (12 sts)
Rows 46 through 51: Repeat the same shaping as the left ear.
Fasten off.
Back Panel
Make a second panel exactly like the front. Yes, both panels get ears. This gives the bag that adorable rounded kitty head shape from every angle.
Joining the Panels
Place both panels together with wrong sides facing (so the right sides face outward). Using your main color, single crochet around the sides and bottom edges, going through both layers to join them.
Start at one side of the head, just below where the ear shaping begins. Work down the side, across the bottom, and up the other side. Do not join across the top or ears, that’s your opening.
When you reach the ears, continue single crocheting around each ear edge, working through both layers to give them a finished look and keep them together.
Slip stitch to join. Fasten off.
The Handles
You’ll make two matching handles. These are worked in rounds around a chain foundation for a sturdy, tube-like handle.
Foundation: Ch 50. Being careful not to twist, sl st to first ch to form a ring.
Round 1: Ch 1, sc in each ch around. Sl st to join. (50 sts)
Rounds 2 through 6: Ch 1, sc in each st around. Sl st to join. (50 sts)
Fasten off, leaving a long tail for attaching.
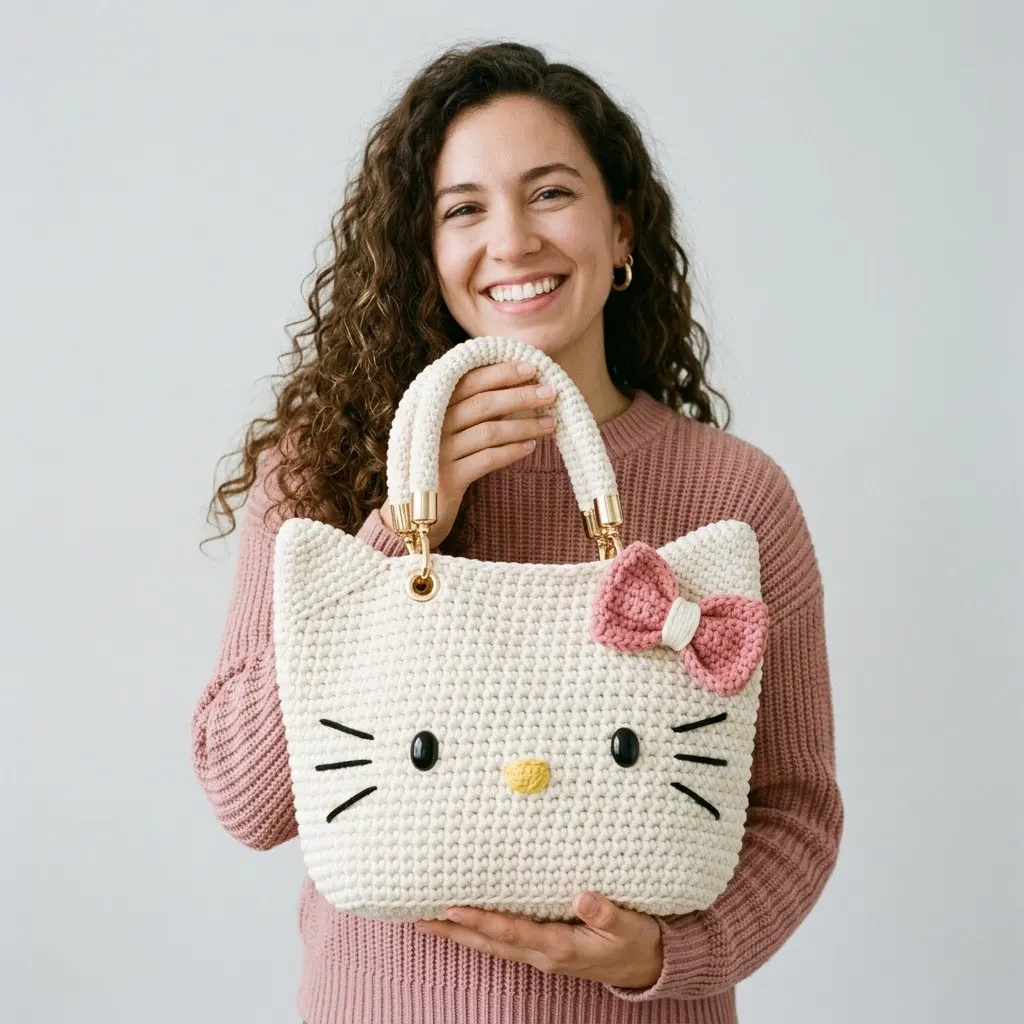
If you’re using gold hardware attachments like the ones in the photo, thread the handle through the ring portion before sewing it closed. Position each handle about 3 inches from the outer edge of the bag and stitch securely in place.
Making the Bow
The bow sits on the right ear and adds that signature sweetness. This how to crochet section uses pink yarn.
Bow Center
Ch 7. Sc in second ch from hook and in each ch across. (6 sts)
Rows 2 through 4: Ch 1, turn. Sc in each st across. (6 sts)
Fasten off, leaving a tail.
Bow Loops
Ch 21. Sc in second ch from hook and in each ch across. (20 sts)
Rows 2 through 6: Ch 1, turn. Sc in each st across. (20 sts)
Fasten off.
Fold this rectangle so the short ends meet in the middle, overlapping slightly. Wrap the small center piece around the middle and stitch in place on the back. This creates that pinched bow look.
Sew the bow onto the right ear of your kitty bag.
Adding the Face
Now for the fun part. This is where your kitty comes to life.
Eyes
Position your safety eyes about 3 inches down from the top of the head (not counting ears) and roughly 3 inches apart. Before securing them, hold the bag up and look at it from the front. Adjust until the placement looks right to you. There’s no single perfect spot, trust your instincts.
If using buttons instead of safety eyes, sew them on securely with matching thread.
Nose
Using yellow yarn and your smaller hook:
Round 1: Magic ring. 6 sc into ring. Pull tight. Sl st to join. (6 sts)
Round 2: Inc in each st around. Sl st to join. (12 sts)
Round 3: Sc in each st around. Sl st to join. (12 sts)
Fasten off, leaving a tail. Stuff lightly with a tiny bit of yarn scraps or fiberfill if desired. Sew the nose centered below the eyes.
Whiskers
Thread a tapestry needle with black yarn or embroidery floss. Working from the inside of the bag to hide knots, embroider three straight whiskers on each side of the nose. Keep them roughly equal in length, about 1.5 inches each.
Optional Fabric Lining
A lining isn’t required, but it adds structure and hides all your ends. Cut two pieces of fabric slightly smaller than your panels. Sew them together along the sides and bottom, then hand stitch the fabric lining inside the bag along the top edge.
Tips for Success
Tension matters. Keep your stitches consistent and moderately tight. A loose fabric will stretch and sag when you put items in the bag.
Block your panels. Before joining, wet block or steam block each panel. This evens out your stitches and helps the ears lay flat.
Count your stitches. Especially during the ear shaping rows. One missed decrease throws everything off.
Try it on. Before permanently attaching handles, pin them in place and hold the bag to check the length works for you.
Customization Ideas
Want to make this kitty tote bag crochet pattern your own? Here are some ideas:
I really hope you love making this kitty face tote bag as much as I loved designing it. It’s one of those projects that looks impressive but feels relaxing to create. The repetitive single crochet rows are almost meditative, and watching those little ears take shape is so satisfying.
If you make one, I would absolutely love to see it. Tag me on Instagram or share your finished bag in our Facebook group. Your creativity always inspires me, and seeing your versions of my patterns genuinely makes my day.
Save this pattern to your Pinterest boards so you can find it whenever you’re ready to start. And please drop a comment below if you have any questions or just want to say hi. I read every single one. Happy crocheting, friend.
