This stunning two-tone bucket bag might just be the most satisfying project you make all season. I designed this piece to combine the timeless beauty of lace crochet with a practical, everyday bag shape. The result is something that looks incredibly intricate but comes together more smoothly than you might expect.
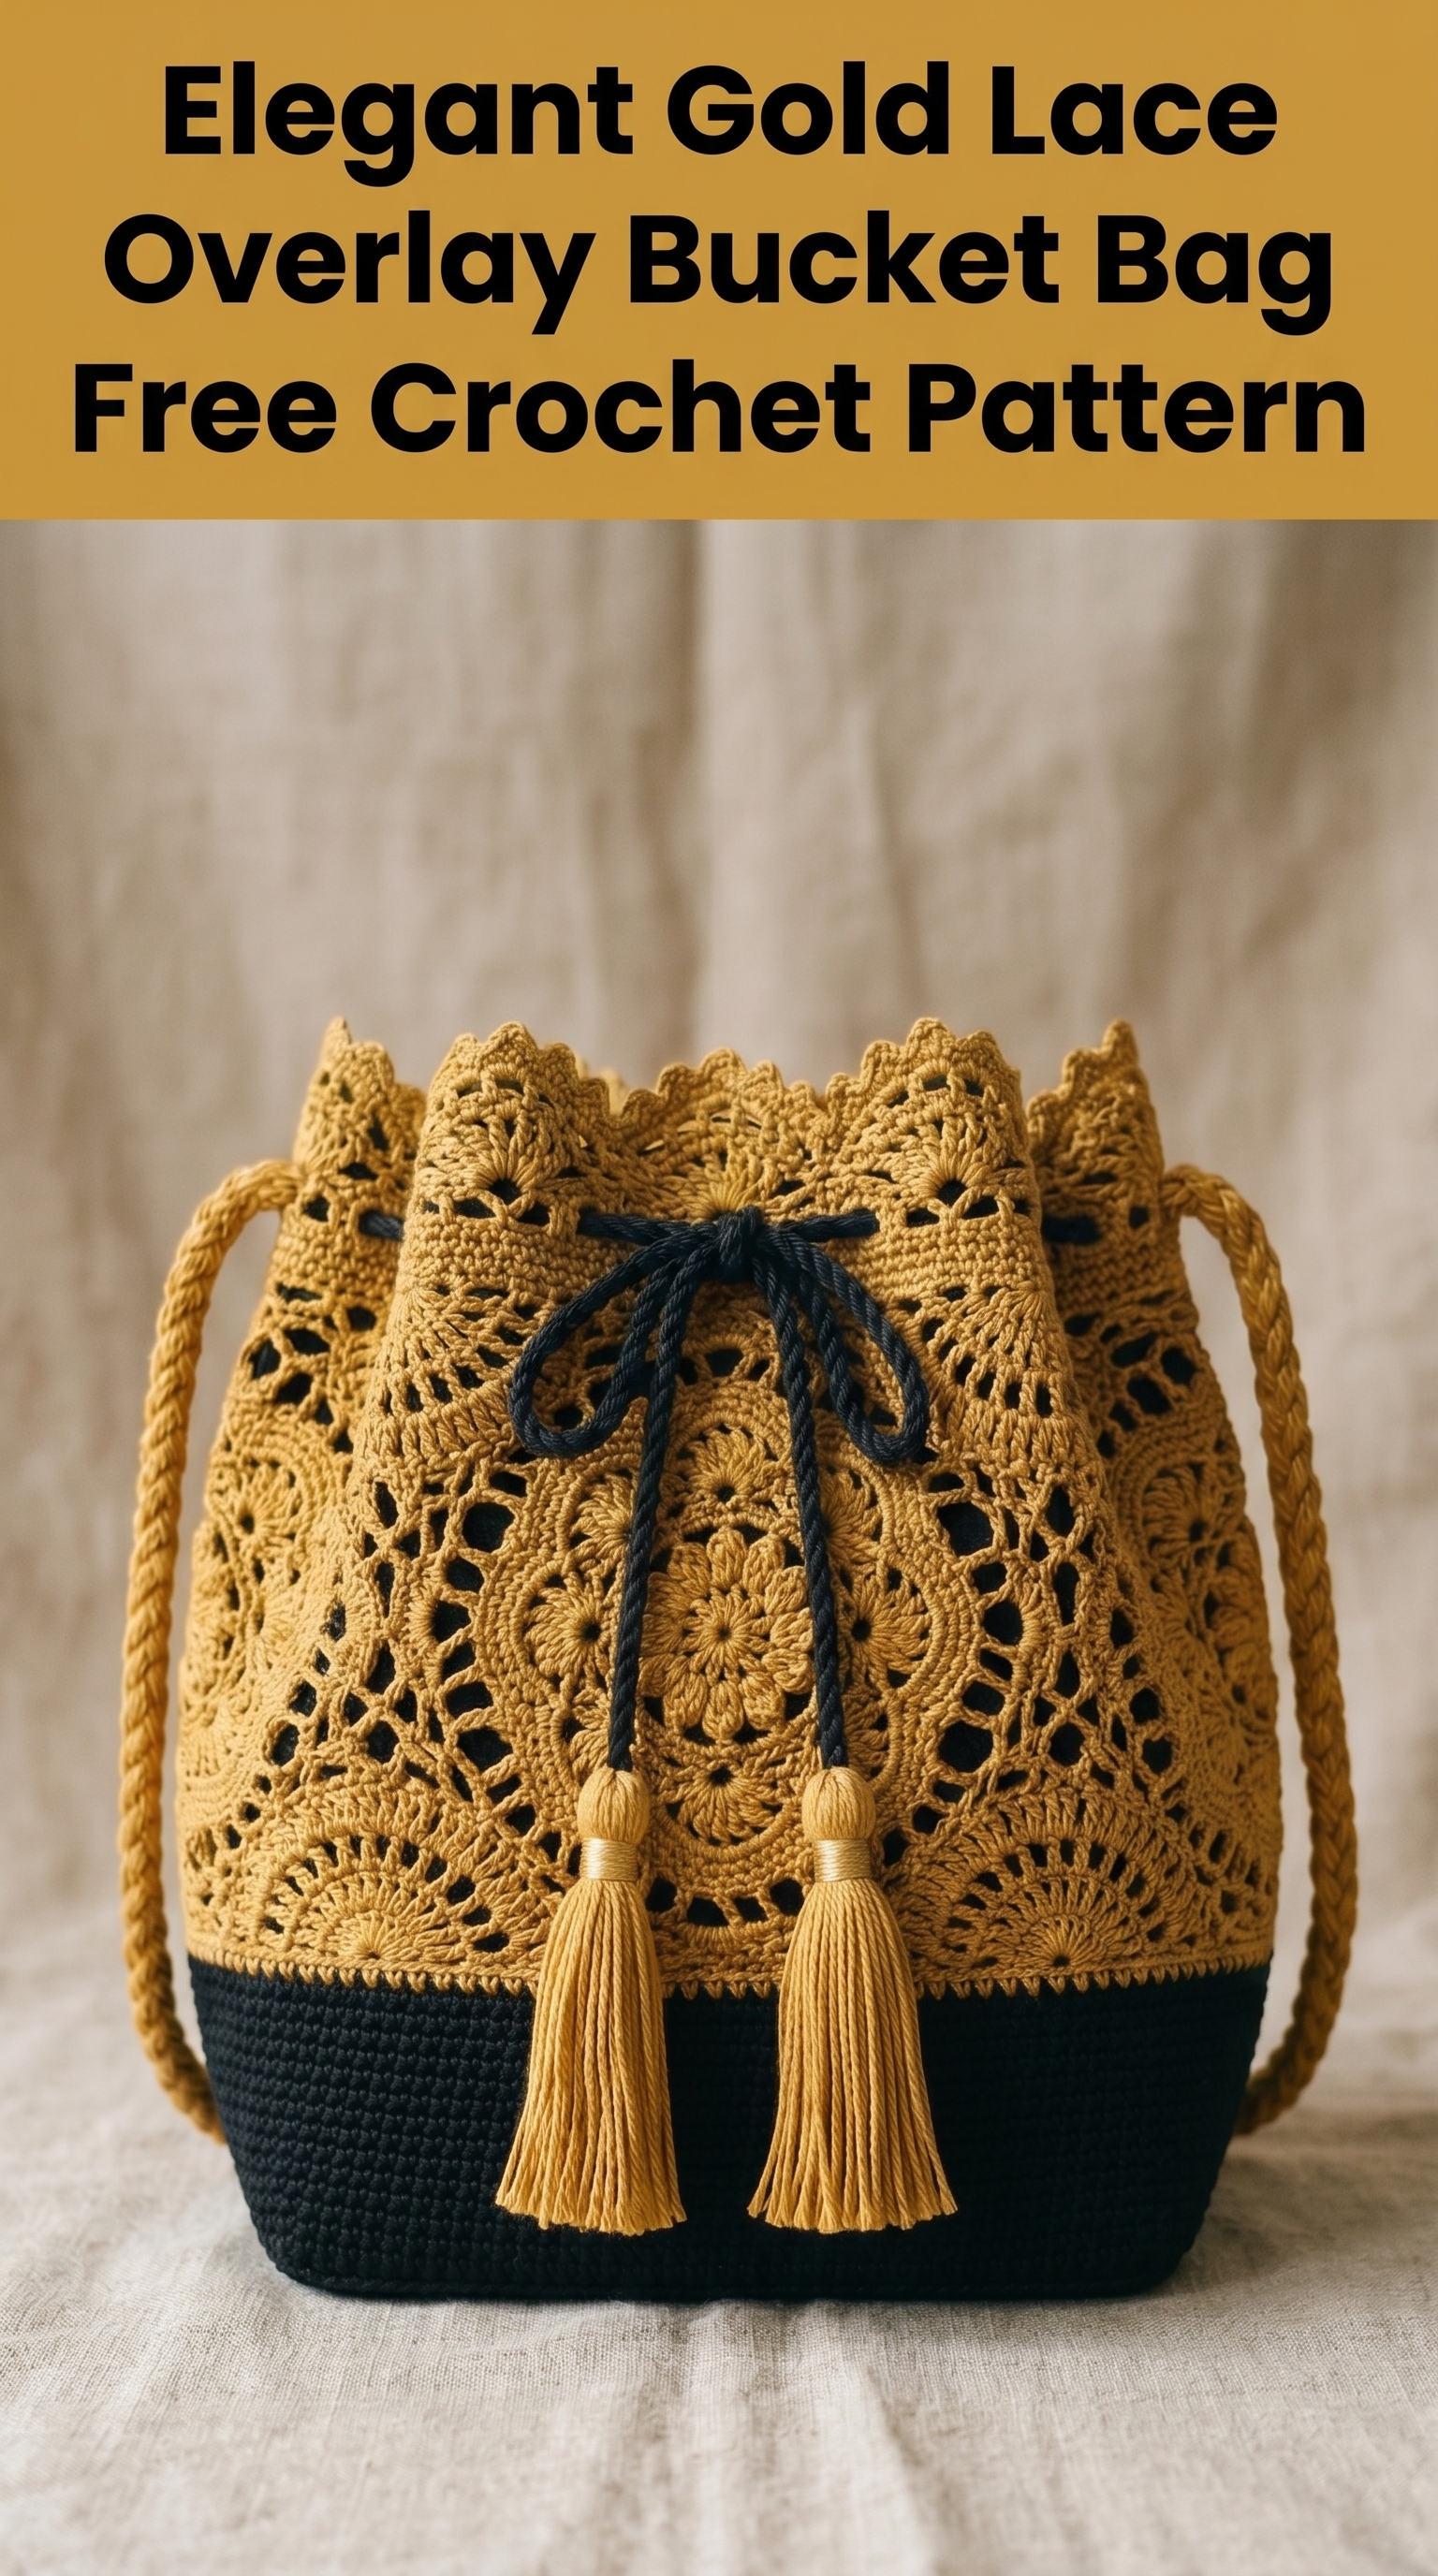
The gold lace overlay against that deep navy base creates such a striking contrast. And those tassels? Total showstoppers. If you have solid experience with basic crochet stitches and feel comfortable reading patterns, you can absolutely make this bag. I would call it an intermediate level project because of the lace motif assembly and the overlay construction. But I will walk you through every single step.
Let me show you exactly how to recreate this elegant gold lace overlay bucket bag crochet pattern from start to finish.
Why This Bucket Bag Pattern Works So Well
The design uses a clever construction method. You create a solid base section in navy, then separately crochet lace motifs in gold. These motifs join together and attach to the base like a decorative jacket over the structure. This means your belongings stay secure inside the solid portion while the lace provides all that gorgeous visual texture.
The braided strap coordinates beautifully with the gold lace. The navy drawstring creates both function and a color callback to the base. Everything feels intentional and polished.
Materials You Will Need
Yarn:
- Color A (Gold/Mustard): Approximately 250 yards of DK weight cotton yarn. I recommend mercerized cotton for that lovely sheen you see in the finished piece.
- Color B (Navy): Approximately 150 yards of the same DK weight cotton yarn.
Hook:
- 3.5mm (US E/4) crochet hook for the lace motifs and overlay
- 3.25mm (US D/3) crochet hook for the solid base (optional, for tighter fabric)
Notions:
- Tapestry needle for weaving ends
- Stitch markers
- Scissors
- Cardboard scrap for tassel making (approximately 3 inches wide)
- Fabric liner (optional but recommended for structure)
Gauge
Using 3.5mm hook and DK weight cotton:
- One lace motif measures approximately 4 inches across at widest point
- Solid single crochet base: 20 stitches and 22 rows = 4 inches
Please check your gauge. The motifs need to match up properly when joined, and the base needs enough density to hold items securely.
Finished Dimensions
- Height: Approximately 10 inches (not including strap)
- Width at base: Approximately 7 inches diameter
- Strap length: Approximately 44 inches (adjustable)
Abbreviations and Stitch Definitions
Let me define every stitch before we begin. I know some of these might be familiar, but I want everyone on the same page.
- ch = chain: Yarn over, pull through loop on hook. Creates foundation or spacing.
- sl st = slip stitch: Insert hook, yarn over, pull through stitch AND loop on hook in one motion. Used for joining.
- sc = single crochet: Insert hook, yarn over, pull up loop (2 loops on hook), yarn over, pull through both loops.
- dc = double crochet: Yarn over, insert hook, yarn over, pull up loop (3 loops), yarn over, pull through 2 loops, yarn over, pull through remaining 2 loops.
- tr = treble crochet: Yarn over twice, insert hook, yarn over, pull up loop (4 loops), [yarn over, pull through 2 loops] three times.
- ch-sp = chain space: The gap created by chains in previous row. You work into this space, not into individual chains.
- sk = skip: Miss the indicated stitch(es).
- rep = repeat
Step by Step Crochet Pattern Instructions

Part 1: The Solid Navy Base
This forms the bottom and lower sides of your bucket bag. We work in continuous rounds with a stitch marker to track rounds.
Using Color B (Navy) and 3.25mm hook:
Round 1: Create a magic ring. Ch 1 (does not count as stitch), work 8 sc into ring. Pull tight. Place marker. (8 sts)
Round 2: Work 2 sc in each st around. (16 sts)
Round 3: *Sc in next st, 2 sc in next st.* Rep from * around. (24 sts)
Round 4: *Sc in next 2 sts, 2 sc in next st.* Rep from * around. (32 sts)
Round 5: *Sc in next 3 sts, 2 sc in next st.* Rep from * around. (40 sts)
Round 6: *Sc in next 4 sts, 2 sc in next st.* Rep from * around. (48 sts)
Round 7: *Sc in next 5 sts, 2 sc in next st.* Rep from * around. (56 sts)
Round 8: *Sc in next 6 sts, 2 sc in next st.* Rep from * around. (64 sts)
Round 9: *Sc in next 7 sts, 2 sc in next st.* Rep from * around. (72 sts)
Your flat circle should measure approximately 5.5 inches across. Now we build the sides.
Round 10: Working in back loops only this round, sc in each st around. (72 sts)
This creates that nice defined edge where the base meets the sides.
Rounds 11 through 25: Sc in each st around. (72 sts per round)
That gives you 15 rounds of solid sides, approximately 3 inches tall. Fasten off and weave in ends.
Part 2: The Lace Flower Motifs
This is where the magic happens. You will make 8 identical lace motifs that join together to form the overlay.
Using Color A (Gold) and 3.5mm hook:
Motif Center (Rounds 1 through 3):
Round 1: Create magic ring. Ch 3 (counts as dc), work 11 dc into ring. Sl st to top of ch-3 to join. (12 dc)
Round 2: Ch 1, sc in same st. *Ch 5, sk next st, sc in next st.* Rep from * around, ending with ch 5, sl st to first sc. (6 ch-5 loops)
Round 3: Sl st into first ch-5 sp. Ch 3, 4 dc in same sp, ch 2, 5 dc in same sp (first petal made). *In next ch-5 sp, work (5 dc, ch 2, 5 dc).* Rep from * around. Sl st to top of ch-3. (6 petals)
Lace Border (Rounds 4 through 6):
Round 4: Ch 1, sc in same st. Sc in next 4 dc. *3 sc in ch-2 sp (petal tip). Sc in next 5 dc. Ch 3, sk joining between petals. Sc in next 5 dc.* Rep from * around, adjusting at end. Sl st to first sc.
Round 5: Ch 4 (counts as dc plus ch 1). *Sk next st, dc in next st, ch 1.* Rep from * around, working (dc, ch 2, dc) in center sc of each petal tip for corners. Sl st to 3rd ch of beginning ch-4.
Round 6: Ch 1, sc in same st. *Ch 5, sk next ch-1 sp, sc in next dc.* Rep from * around, working sc in corner ch-2 sps. The ch-5 loops create those beautiful open lacework arches. Sl st to first sc. Fasten off.
Make 8 total motifs.
Part 3: Joining the Motifs
Lay out your 8 motifs in a ring formation. They will connect side to side to create a cylinder.
Join as you go method: On the 8th motif (and all subsequent joins), instead of completing the final ch-5 loop independently, work ch 2, sl st to corresponding ch-5 loop of adjacent motif, ch 2, then continue with pattern.
You want each motif connected on two sides, forming a continuous ring of lace.
Part 4: The Scalloped Top Edging
With motifs joined in a ring, attach Color A to any top point.
Row 1: Ch 1, sc evenly around top edge, working approximately 3 sc per ch-5 loop. Aim for a multiple of 6 stitches. Sl st to join. (approximately 96 sts)
Row 2: Ch 1, sc in same st. *Sk 2 sts, 5 dc in next st (shell made), sk 2 sts, sc in next st.* Rep from * around. Sl st to first sc.
This creates those gorgeous scallops you see along the top edge of the bag. Fasten off.
Part 5: Attaching the Overlay to the Base
Slip the lace cylinder over the navy base. The bottom edge of the lace should overlap the top of the navy section by approximately 1 inch.
Using Color A and tapestry needle, whipstitch the lace to the navy base along the inside. Keep stitches small and invisible from the outside. Work all the way around.
Alternatively, you can sl st the pieces together using your hook.
Part 6: The Drawstring
Using Color B (Navy):
Ch 150 (or desired length to wrap around bag opening with room to tie). Sc in 2nd ch from hook and each ch across. (149 sc)
Fasten off. Weave this cord through the ch-5 spaces in the second to last round of lace, entering and exiting at center front.
Part 7: The Braided Strap
Cut 9 strands of Color A, each approximately 60 inches long. Divide into 3 groups of 3 strands each.
Knot all strands together at one end. Braid tightly. Knot the other end. Trim excess.
Attach strap: Sew each end securely to the inside of the bag at opposite sides, just below the lace overlay.
Part 8: Making the Tassels
Make 2 tassels using Color A:
1. Wrap yarn around 3-inch cardboard approximately 40 times.
2. Cut a 10-inch strand. Thread under wrapped yarn at top and tie tightly.
3. Cut bottom loops.
4. Wrap another strand around tassel about 1/2 inch below top. Tie securely.
5. Trim ends evenly.
Attach tassels to ends of drawstring cord.
Helpful Tips for Success
Blocking matters. Steam block your lace motifs before joining. They will lie flat and join much more easily.
Count your stitches at the end of every round on the base. Losing or gaining stitches will throw off the cylinder shape.
Use stitch markers generously. Mark the first stitch of each round and mark joining points on motifs before you start connecting.
The overlay should fit snugly but not pull. If your lace ring is too tight, add a 9th motif. Too loose? Try going down a hook size on the motifs.
Customization Ideas
Want to make this bucket bag crochet pattern your own? Here are some variations:
- Solid color version: Use the same color for base and overlay for a tone-on-tone elegant look
- Longer base: Add more rounds before the lace for a taller bag
- Crossbody length: Simply make your braided strap longer
- Skip the tassels: Wooden beads at drawstring ends offer a different aesthetic
Final Thoughts on This Lace Overlay Bucket Bag
I hope this step by step crochet tutorial gives you everything you need to create your own stunning bucket bag. The combination of structured base and delicate lace overlay really does photograph beautifully. It is the kind of project that looks impressive but teaches you valuable skills along the way.
Take your time with those lace motifs. Pour yourself a cup of tea between sections. This is meant to be enjoyed, not rushed.
Thank you so much for choosing this pattern for your next project. I genuinely cannot wait to see your finished bags.
When you complete yours, please tag me on Instagram or share in my Facebook group. I feature reader makes regularly, and your color choices always inspire me and others in our community. Seeing your creativity brings me so much joy.
Happy crocheting, friend. You have got this.
