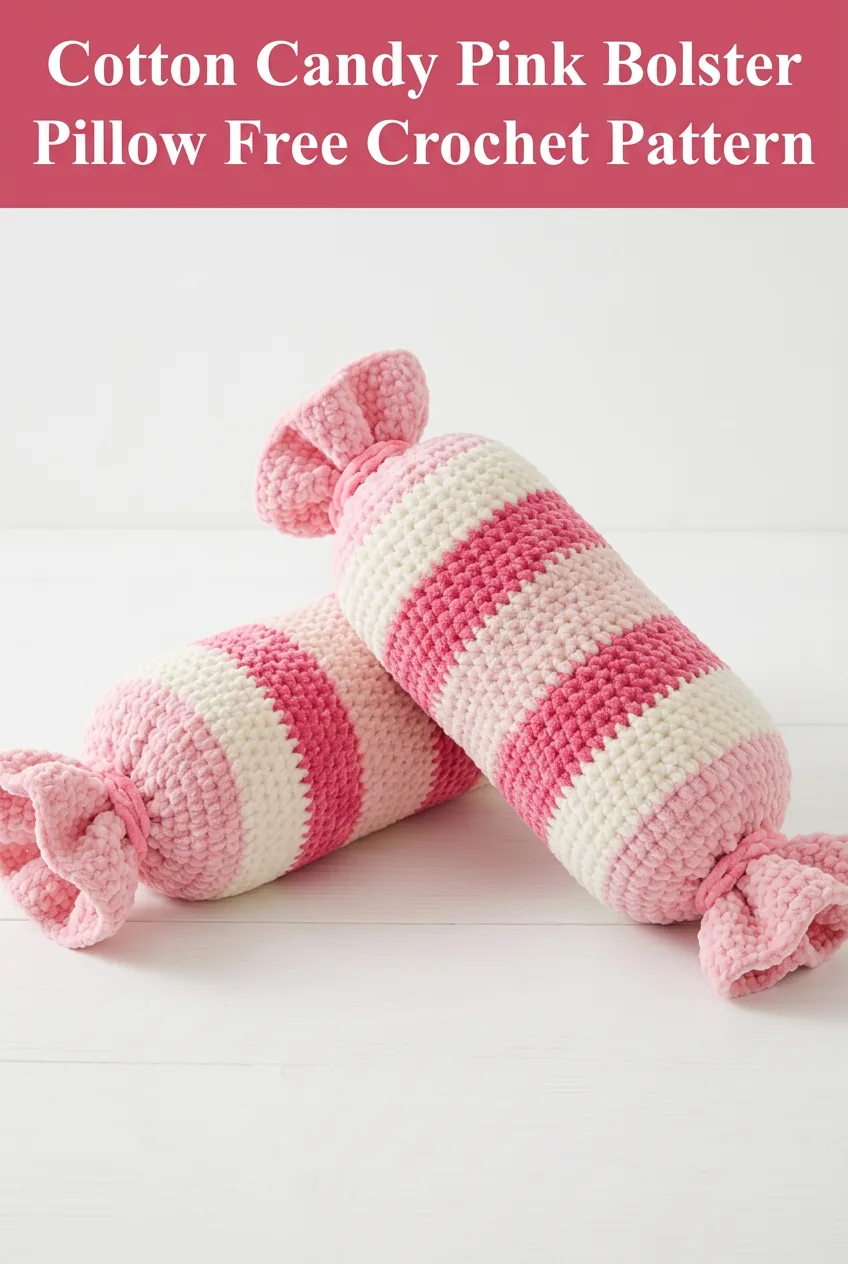
This is HANDS DOWN one of the cutest and quickest pillow projects you will ever make! Seriously, if you have been searching for a crochet pattern that looks impressive but works up in a single weekend, you just found it. This cotton candy pink bolster pillow is SUPER easy, uses basic stitches, and makes the most adorable gift for anyone who loves sweet, whimsical home decor. The chunky chenille yarn does all the heavy lifting here, giving you that plush, squishy texture without any fancy techniques. You could honestly finish one of these in an afternoon and have a second one done before bedtime!
Why You Will Love This Bolster Pillow Crochet Pattern
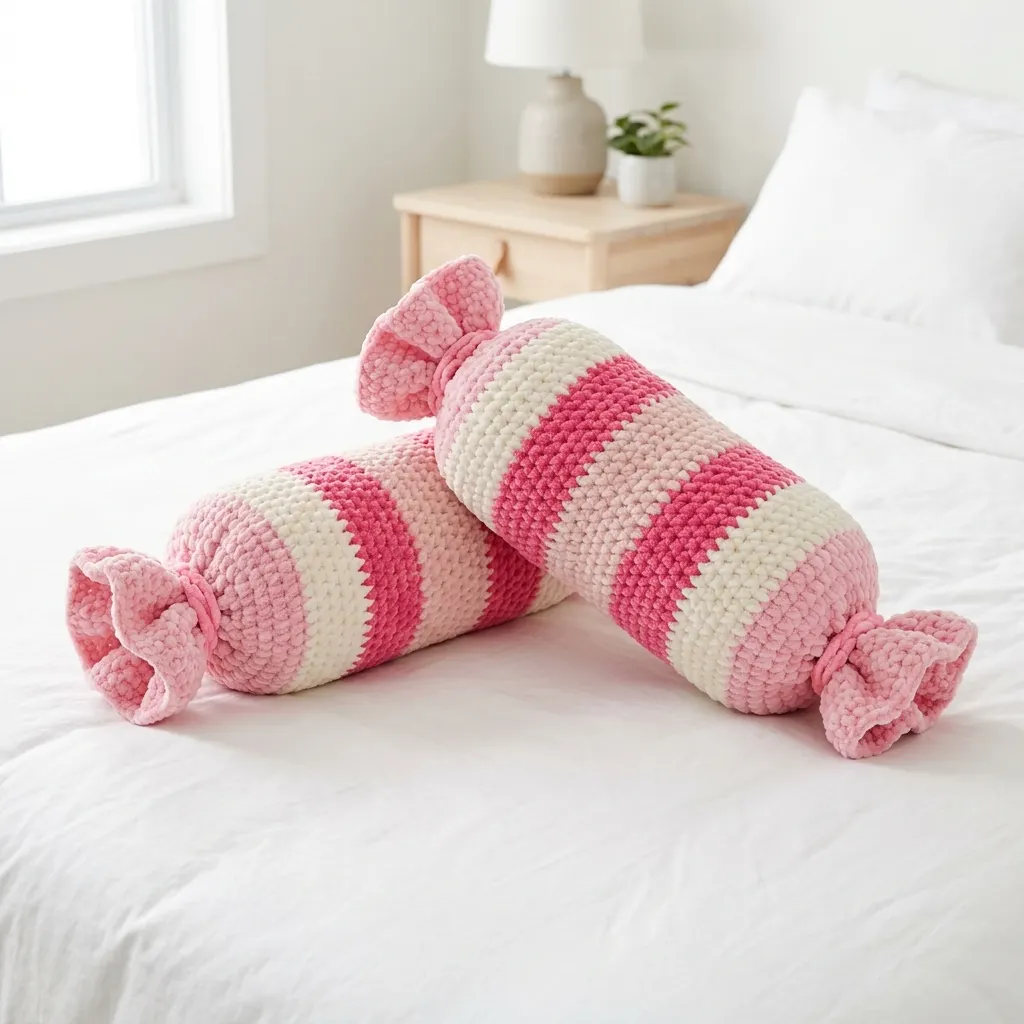
Let me tell you, bolster pillows are having a major moment in home decor right now. They add instant charm to any bed, couch, or reading nook. And this candy-shaped version? It takes things to a whole new level of adorable.
The striped body mimics a wrapped piece of candy, complete with gathered "wrapper" ends that cinch together with a simple tie. The pink and cream color combination gives it that cotton candy vibe that works beautifully in nurseries, kids’ rooms, or anywhere you want a pop of playful color.
What makes this crochet tutorial so beginner friendly:
Whether you are making this for yourself or as a gift, this step by step bolster pillow pattern delivers maximum impact with minimum stress.
Materials Needed for Your Candy Bolster Pillow
Before you dive in, gather these supplies. Having everything ready makes the whole process smoother.
Yarn:
The sample uses a soft chenille-style yarn that creates that marshmallow-like texture you see in the photos. Bernat Blanket, Loops & Threads Chunky Chenille, or similar brands all work beautifully.
Hook:
Notions:
Gauge and Finished Measurements
Gauge: 8 single crochet stitches and 9 rows = 4 inches in single crochet using 8mm hook
Gauge is not critical for this project, but checking it helps ensure your pillow matches the expected size.
Finished Dimensions:
Abbreviations and Stitch Definitions
Let me break down every stitch abbreviation you will see in this pattern. Even if you are familiar with these, a quick refresher never hurts!
ch = chain: Wrap yarn over hook and pull through the loop on your hook. This creates one chain stitch.
sc = single crochet: Insert hook into stitch, yarn over and pull up a loop (two loops on hook), yarn over and pull through both loops.
inc = increase: Work two single crochet stitches into the same stitch. This adds one stitch to your count.
dec = invisible decrease: Insert hook through front loops only of next two stitches, yarn over and pull through both front loops, yarn over and pull through both loops on hook. This removes one stitch and creates a nearly invisible decrease.
sl st = slip stitch: Insert hook into stitch, yarn over and pull through both the stitch and the loop on your hook in one motion.
st(s) = stitch(es)
FO = fasten off
Step by Step Crochet Pattern Instructions
Part 1: The Main Body
The body is worked in continuous rounds from one end to the other. You will create a tube shape, then stuff it before closing.
Starting with Color A (Bright Pink):
Round 1: Make a magic ring. Work 6 sc into the ring. Pull tight to close. Place stitch marker in first stitch. (6 sts)
A magic ring is simply an adjustable loop that lets you work stitches into a center point, then pull it closed. If magic rings intimidate you, chain 2 and work 6 sc into the first chain instead.
Round 2: Inc in each st around. (12 sts)
Round 3: *Sc 1, inc* repeat around. (18 sts)
Round 4: *Sc 2, inc* repeat around. (24 sts)
Round 5: *Sc 3, inc* repeat around. (30 sts)
Round 6: *Sc 4, inc* repeat around. (36 sts)
Round 7: *Sc 5, inc* repeat around. (42 sts)
At this point, you have a flat circle about 5 to 6 inches across. Now we stop increasing and work straight to form the tube.
Rounds 8 through 15: Sc in each st around. (42 sts)
That is 8 rounds of plain single crochet in bright pink.
Change to Color B (Cream):
To change colors cleanly, work the last stitch of round 15 until you have two loops on your hook. Drop bright pink, yarn over with cream, and pull through both loops. Continue with cream.
Rounds 16 through 23: Sc in each st around. (42 sts)
That is 8 rounds of cream.
Change to Color A (Bright Pink):
Rounds 24 through 31: Sc in each st around. (42 sts)
Change to Color B (Cream):
Rounds 32 through 39: Sc in each st around. (42 sts)
Change to Color A (Bright Pink):
Rounds 40 through 47: Sc in each st around. (42 sts)
You now have a striped tube with the following stripe sequence: pink, cream, pink, cream, pink.
Part 2: Closing the Body
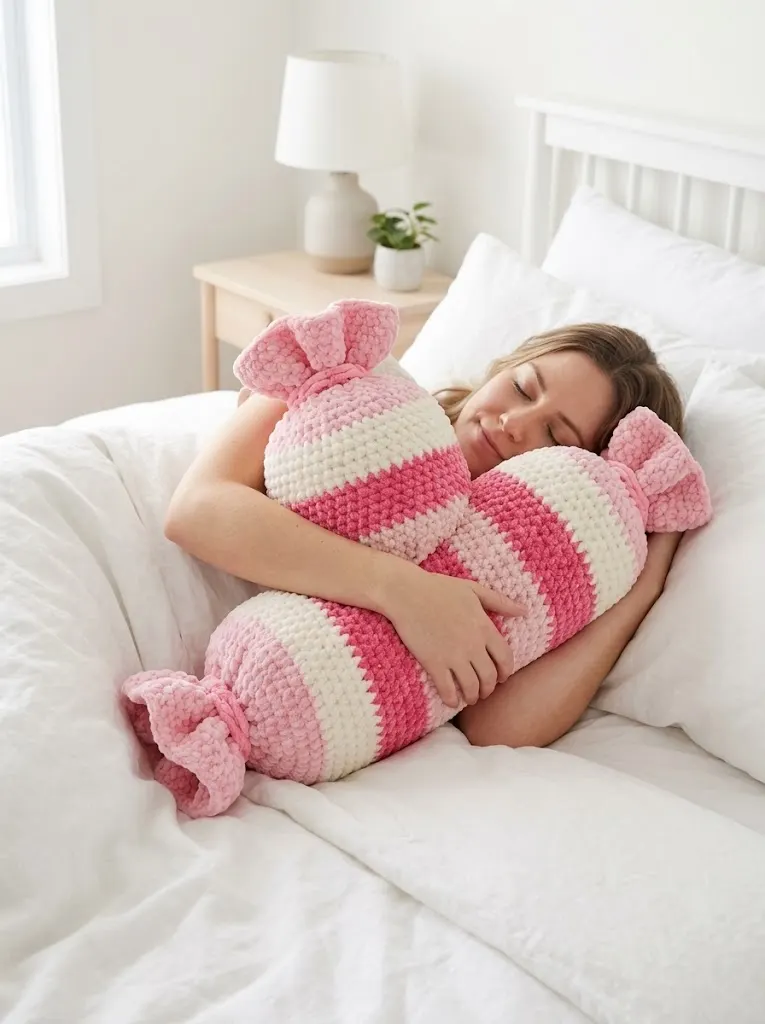
Before closing, stop and stuff your pillow firmly with polyester fiberfill. Really pack it in there. Chenille yarn is forgiving, but you want the pillow to hold its shape and feel huggable.
Quick tip: Some makers like to insert a cardboard tube or cut pool noodle for extra structure. This is totally optional but can help maintain the cylindrical shape.
Round 48: *Sc 5, dec* repeat around. (36 sts)
Round 49: *Sc 4, dec* repeat around. (30 sts)
Round 50: *Sc 3, dec* repeat around. (24 sts)
Add more stuffing now if needed. You want it firm right up to the edge.
Round 51: *Sc 2, dec* repeat around. (18 sts)
Round 52: *Sc 1, dec* repeat around. (12 sts)
Round 53: Dec around. (6 sts)
Fasten off, leaving a 6-inch tail. Thread tail through remaining 6 stitches and pull tight to close. Weave in end securely.
Part 3: The Wrapper Ends (Make 2)
These ruffled ends give the pillow its signature candy wrapper look. They are worked flat, then gathered and attached.
Using Color C (Light Pink):
Row 1: Ch 51. Sc in 2nd ch from hook and each ch across. (50 sts)
Row 2: Ch 1, turn. Inc in each st across. (100 sts)
Row 3: Ch 1, turn. Sc in each st across. (100 sts)
Rows 4 through 8: Repeat Row 3. (100 sts)
Row 9: Ch 1, turn. Inc in each st across. (200 sts)
Row 10: Ch 1, turn. Sc in each st across. (200 sts)
Fasten off, leaving a very long tail, approximately 24 inches.
The dramatic increases create natural ruffling. When you gather this piece, it will fan out beautifully.
Part 4: Assembly
Attaching the Wrapper Ends:
1. Take one wrapper piece and fold it so the short edges meet, forming a tube.
2. Whip stitch or slip stitch the short edges together using your yarn needle.
3. Slide this ruffle tube over one end of the bolster body.
4. Using a separate length of light pink yarn, weave a running stitch through the foundation chain edge (the straight, non-ruffled edge).
5. Pull tight to gather the wrapper around the bolster end, cinching it like actual candy wrapper.
6. Tie off securely and weave in ends.
Repeat for the second wrapper end on the opposite side.
Tips for Working with Chenille Yarn
Chenille yarn is dreamy but can be a little tricky if you have never used it before. Here are my best tips:
Keep tension loose. Tight stitches make chenille harder to work with and can cause the yarn to "worm" or separate.
Use good lighting. The plush texture can make it hard to see your stitches. A bright lamp helps enormously.
Mark your rounds. A stitch marker is essential when working in continuous rounds with this yarn.
Do not frog repeatedly. Every time you rip out chenille yarn, it loses some of its fluffiness. Try to get it right the first time, or accept small imperfections.
Pattern Variations to Try
Once you have mastered this crochet pattern, consider these fun variations:
Peppermint Candy: Use red and white stripes for a classic Christmas look.
Rainbow Candy: Use a different color for each stripe. Perfect for using up your yarn stash!
Mini Version: Stop increasing at 30 stitches for a smaller, throw pillow size perfect for kids.
No Ruffles: Skip the wrapper ends and add simple pom poms or tassels instead for a more minimalist look.
Who Will Love This Cotton Candy Bolster Pillow?
This crochet tutorial is perfect for:
Honestly, this pattern makes a fantastic baby shower gift, birthday present, or treat for yourself. The chunky yarn and simple construction mean you could easily make a matching set.
Troubleshooting Common Issues
My pillow is lumpy: This usually means uneven stuffing. Pull out the fiberfill and re-stuff in smaller handfuls, distributing evenly.
My wrapper ends won’t gather: Make sure you are weaving through the foundation chain edge, not the increased edge. The foundation chain is tighter and gathers more easily.
My stripes look uneven: Color changes in continuous rounds create a natural "jog." For neater stripes, try the jogless join technique, or simply accept the slight spiral as part of the handmade charm.
My stitches are hard to see: Slow down and feel for the top of each stitch. Chenille yarn requires a bit more patience, but it is worth it.
Care Instructions
Your finished bolster pillow can be spot cleaned with mild soap and water. For a full wash, use a gentle cycle in cold water and tumble dry on low. Chenille yarn stays soft wash after wash, though you may notice some pilling over time. A fabric shaver can help keep it looking fresh.
I really hope you enjoy making this cotton candy pink bolster pillow as much as I loved designing it! There is something so satisfying about a project that looks this impressive but comes together so quickly. If you make one, I would absolutely love to see it. Tag me on Instagram or share a photo in our Facebook group. Your creativity always inspires me, and nothing makes my day like seeing these patterns come to life in your hands.
Do not forget to save this pattern to your Pinterest boards so you can find it whenever you are ready to start stitching. And if you make this bolster pillow, please leave a comment below. I read every single one, and your feedback means the world to me!
