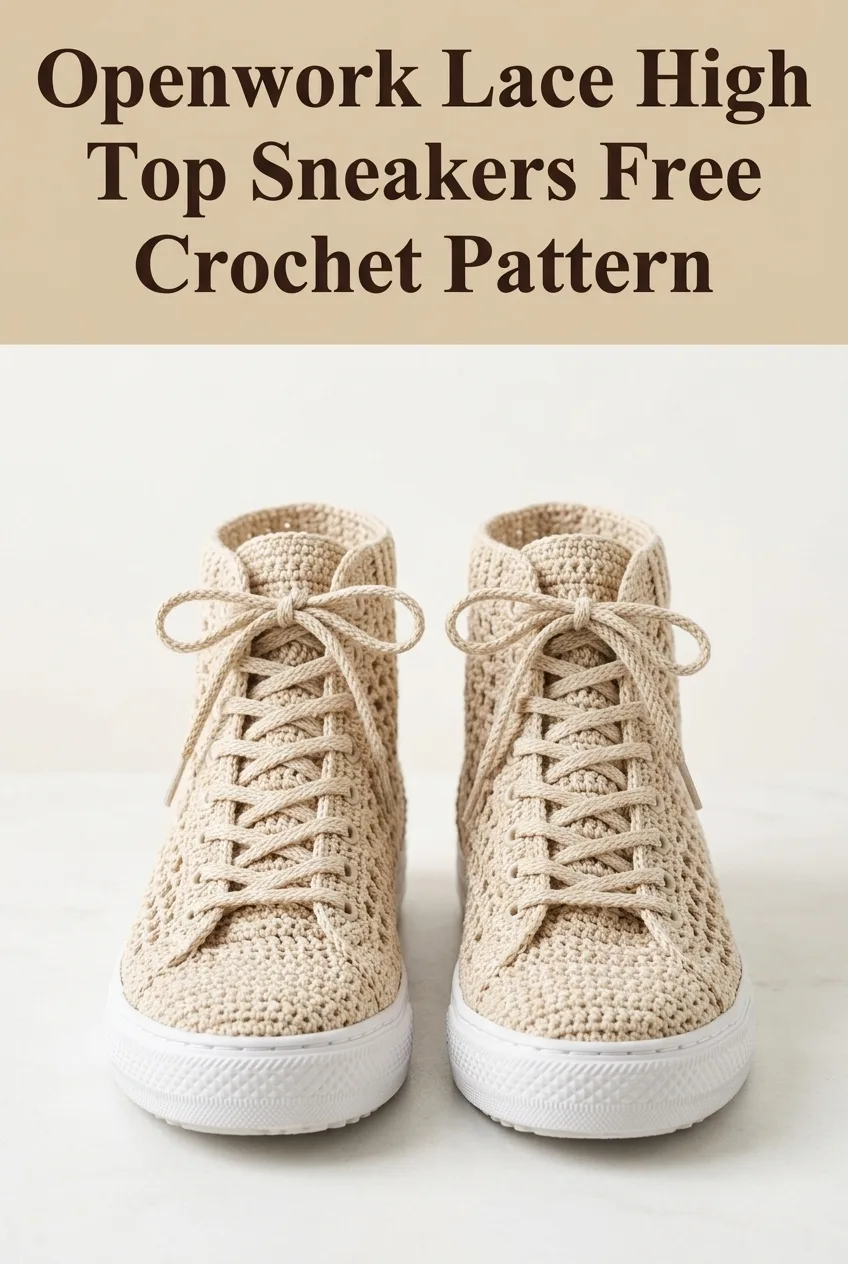
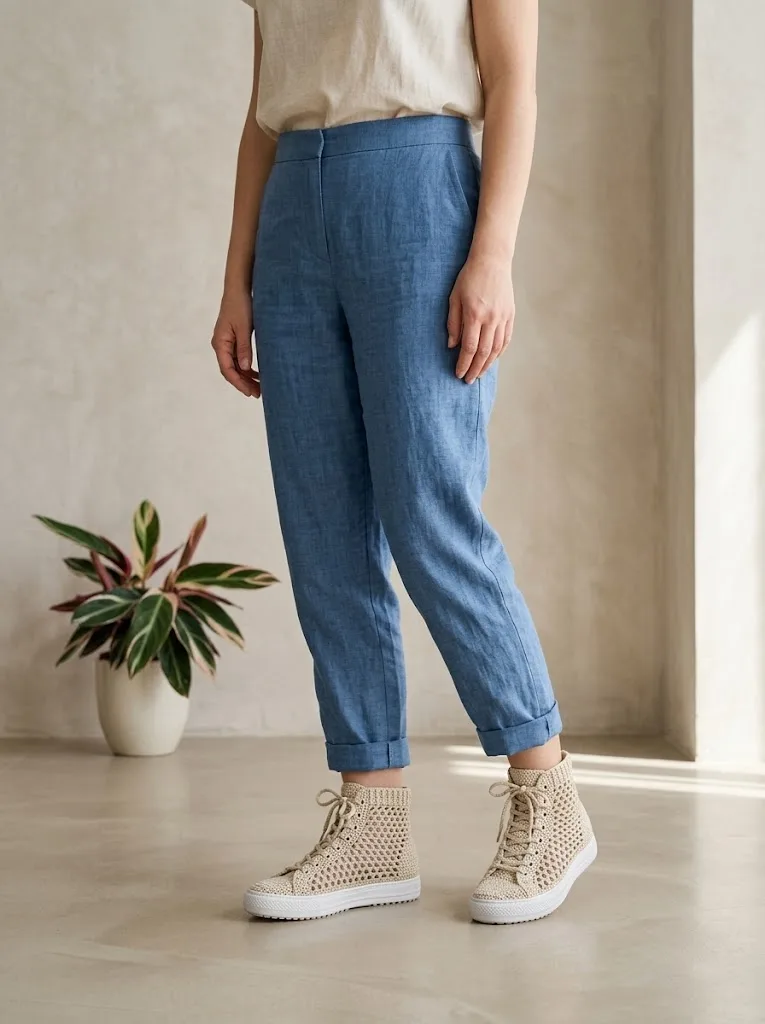
Looking for a unique handmade gift that combines style with wearable comfort? These openwork lace high top sneakers work up beautifully using basic crochet stitches and attach directly to rubber sneaker soles for a finished shoe you can actually wear. The mesh pattern uses chain spaces and double crochet stitches, making this project accessible for adventurous beginners ready to try something different. They make stunning gifts for teens, bridesmaids, or anyone who appreciates handcrafted fashion, and the neutral colorway pairs with just about everything in your closet.
Why You’ll Love This Crochet Sneaker Pattern
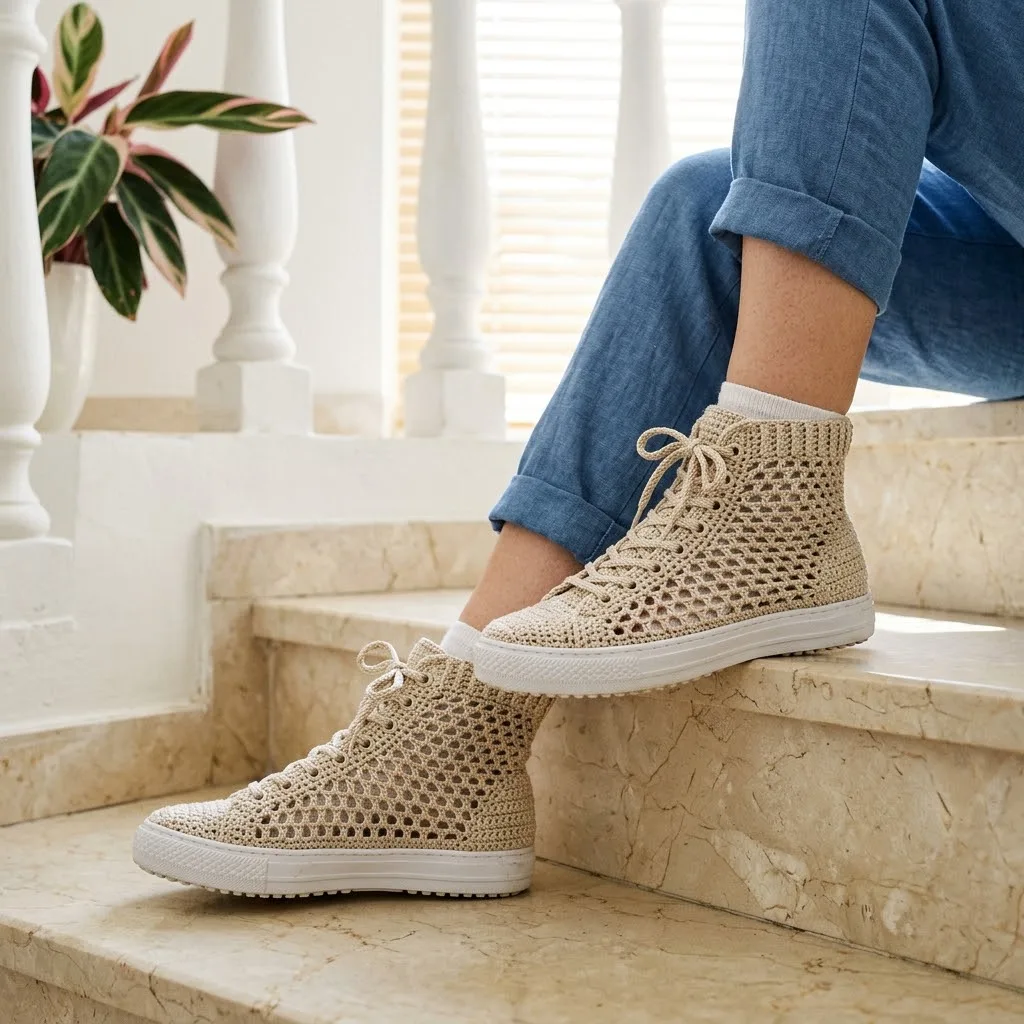
I designed these high tops to give you that trendy handmade aesthetic without sacrificing durability. The openwork mesh creates a breathable summer shoe that looks like something you’d find in a high end boutique. The construction is simpler than it appears. You’re essentially crocheting a fitted upper and attaching it to a purchased rubber sole.
The lace pattern creates visual interest while keeping the project moving quickly. Once you establish the rhythm of the mesh stitch, you’ll find yourself flying through the rounds. The ankle portion uses a tighter stitch pattern to provide structure and support where you need it most.
Materials Needed for Crochet High Top Sneakers
Yarn:
Hook:
Additional Supplies:
Gauge:
20 stitches and 10 rows = 4 inches in double crochet mesh pattern with 3.25mm hook
Always check your gauge before beginning. Your finished sneakers need to fit snugly on the sole.
Abbreviations and Stitch Definitions
Ch = Chain: Yarn over, pull through loop on hook
Sl st = Slip stitch: Insert hook, yarn over, pull through both loops at once
Sc = Single crochet: Insert hook, yarn over, pull up loop, yarn over, pull through both loops
Dc = Double crochet: Yarn over, insert hook, yarn over, pull up loop, yarn over, pull through 2 loops, yarn over, pull through remaining 2 loops
Ch-sp = Chain space: The gap created by chains in previous row, where you insert your hook
Sk = Skip: Pass over the indicated stitch without working into it
Understanding the Construction
Before we dive into the step by step instructions, let me explain how these sneakers come together. You’ll work in three main sections.
Section 1: Sole Attachment Round
First, you’ll crochet directly into the pre-punched holes around your rubber sole. This creates a foundation for building the upper.
Section 2: Openwork Mesh Body
The main body uses a simple mesh pattern of double crochet stitches separated by chain spaces. This creates those lovely open squares you see in the photos.
Section 3: Ankle Ribbing
The top portion uses a tighter stitch pattern that hugs the ankle and provides the finished edge.
Don’t worry if this sounds complicated. I’ll walk you through every round.
Crochet Pattern Instructions
Preparing the Sole
Most craft sneaker soles come with holes already punched around the perimeter. Count your holes before beginning. A women’s size 7 to 8 typically has approximately 60 to 70 holes around the entire sole.
If your sole doesn’t have holes, use an awl or large needle to punch holes approximately 1/4 inch apart and 1/4 inch from the edge.
Section 1: Foundation Round
Round 1 (Attachment Round):
Using your larger hook, join yarn to a hole at the center back heel with a slip stitch. Ch 1 (does not count as a stitch throughout).
Work 2 sc into each hole around the entire sole. Join with sl st to first sc. (120 to 140 sts, depending on your sole size)
*Note: If your stitches feel too tight or too loose around the sole, adjust by working 1 or 3 sc per hole as needed. The foundation should lie flat against the sole edge.*
Place a stitch marker at the center back (where you joined) and at the center toe.
Round 2:
Ch 1, sc in each st around. Join with sl st to first sc. (120 to 140 sts)
This round evens out your foundation and creates a stable base for the mesh.
Section 2: Toe Box (Worked in Rows)
The toe section is worked back and forth in rows to create shaping. You’ll be working across approximately one third of your stitches for the toe.
Finding your toe section:
Count your total stitches and divide by 3. Mark the center third at the front of your shoe. For example, with 120 stitches, your toe section covers about 40 stitches centered at the toe marker.
Row 1 (Right Side):
Join yarn at the right edge of your toe section. Ch 3 (counts as dc here and throughout toe section).
*Dc in next st, ch 1, sk 1 st* Repeat across toe section. Dc in last st. Turn. (Approximately 20 dc and 19 ch-1 spaces)
Row 2:
Ch 3, *dc in next dc, ch 1, sk ch-1 sp* Repeat across. Dc in top of turning ch. Turn.
Row 3:
Ch 3, dc2tog (double crochet two together: yarn over, insert hook in next dc, pull up loop, yarn over, pull through 2 loops, yarn over, insert hook in following dc, pull up loop, yarn over, pull through 2 loops, yarn over, pull through all 3 loops), *ch 1, dc in next dc* repeat across to last 2 dc, dc2tog. Turn. (2 stitches decreased)
Rows 4 through 8:
Repeat Rows 2 and 3, alternating between even rows and decrease rows. Your toe box will gradually curve inward.
Fasten off, leaving a long tail.
Section 3: Side Panels (Worked in Joined Rounds)
Now you’ll work the mesh pattern around the entire shoe, joining at the back.
Round 1:
Join yarn at center back. Ch 3.
Work across the side in mesh pattern: *dc in next st, ch 1, sk 1 st* until you reach the toe box.
Work sc evenly along the edge of your toe box rows (approximately 2 sc per row end).
Continue mesh pattern across the other side.
Join with sl st to top of beginning ch 3.
Rounds 2 through 6:
Ch 3, *dc in next dc, ch 1* repeat around, working into the dc stitches and skipping the ch-1 spaces. Join with sl st.
Your mesh pattern creates a grid of open squares with dc posts at the corners.
Round 7 (Shaping Round):
At the front where your toe box meets the sides, you’ll decrease to narrow the vamp (the part that covers the top of your foot).
Work in pattern to 3 stitches before center front. Dc3tog (similar to dc2tog but joining 3 stitches), work in pattern to end. Join. (2 stitches decreased)
Rounds 8 through 12:
Continue in mesh pattern, working a dc3tog at center front every other round.
Section 4: Eyelet Row for Laces
Round 13:
Ch 4 (counts as dc plus ch 1). *Sk 1 st, dc in next st, ch 1* repeat around. These chain spaces form your lace holes.
Join with sl st to 3rd ch of beginning ch 4.
Section 5: Ankle Ribbing
Switch to your smaller hook for a snugger fit.
Round 14:
Ch 1, sc in each dc and each ch-1 sp around. Join. (Count your stitches and note the number)
Rounds 15 through 20:
Ch 1, working in back loops only (BLO), sc in each st around. Join.
The back loop only technique creates horizontal ridges that mimic traditional ribbing.
Round 21 (Final Round):
Ch 1, sc in each st around, working through both loops. Join.
Fasten off and weave in all ends securely.
Creating the Laces
Cut a length of cotton cord approximately 45 inches long. If using yarn, chain 150 stitches and fasten off to create a sturdy lace.
Thread your lace through the eyelet holes starting at the toe and working up in a traditional criss cross pattern.
Tips for a Perfect Fit
Sizing adjustments:
For smaller sizes, decrease your foundation round count and work fewer rounds in the body.
For larger sizes, add rounds to the body section and use more stitches in your toe box.
Fit check:
Try the sneaker on the sole after completing Round 6. The mesh should cup around the sides of your foot without gaps.
Stiffening (optional):
For a sturdier shoe, spray the finished upper with fabric stiffener and allow to dry completely while stuffed with tissue paper.
Care Instructions
Hand wash your crochet sneakers in cool water with mild detergent. Reshape while damp and allow to air dry completely. Stuff with paper towels to maintain shape during drying.
Avoid machine washing, which can stretch the mesh and damage the sole attachment.
Troubleshooting Common Issues
Mesh looks uneven:
Check that you’re consistently working into dc posts, not into chain spaces. Your hook should go under both loops of the dc from the previous round.
Sides are too loose:
Your gauge may be off. Try using a smaller hook or tighter tension.
Sole attachment feels wobbly:
Add an extra round of sc through the sole holes, working through your existing stitches and the holes together.
Make It Your Own
These sneakers beg for customization. Try working the mesh in a bright summer color, or use self striping yarn for a gradient effect. You could add tiny bows at the heel, crochet flowers on the toe box, or stitch initials using surface crochet.
For a winter version, line the inside with felt and use wool yarn instead of cotton.
I hope these openwork lace high top sneakers become your new favorite project to gift and wear. They’re such a conversation starter, and honestly, nothing beats the satisfaction of saying "thanks, I made them myself" when someone compliments your shoes.
If this crochet sneaker pattern inspires you, I’d love for you to save it to your Pinterest boards so you can find it when you’re ready to start. And please drop a comment below if you make a pair. Seeing your finished sneakers absolutely makes my day!
