I don’t know about you, but I have always dreamed of wrapping myself in a cozy handmade robe that feels like a warm hug. All the vintage charm of granny squares with all the elegance of a statement piece. This stunning floral robe combines classic crochet techniques with modern styling, and honestly, it might be my new favorite thing I’ve ever made.
This crochet pattern brings together everything I love about the craft. The repetitive, meditative nature of granny squares. The pop of cheerful daisy motifs. The satisfaction of watching separate pieces come together into something truly wearable. Whether you’re lounging at home on a Sunday morning or throwing this over pajamas to answer the door, you’ll feel absolutely fabulous.
About This Granny Square Robe Crochet Pattern
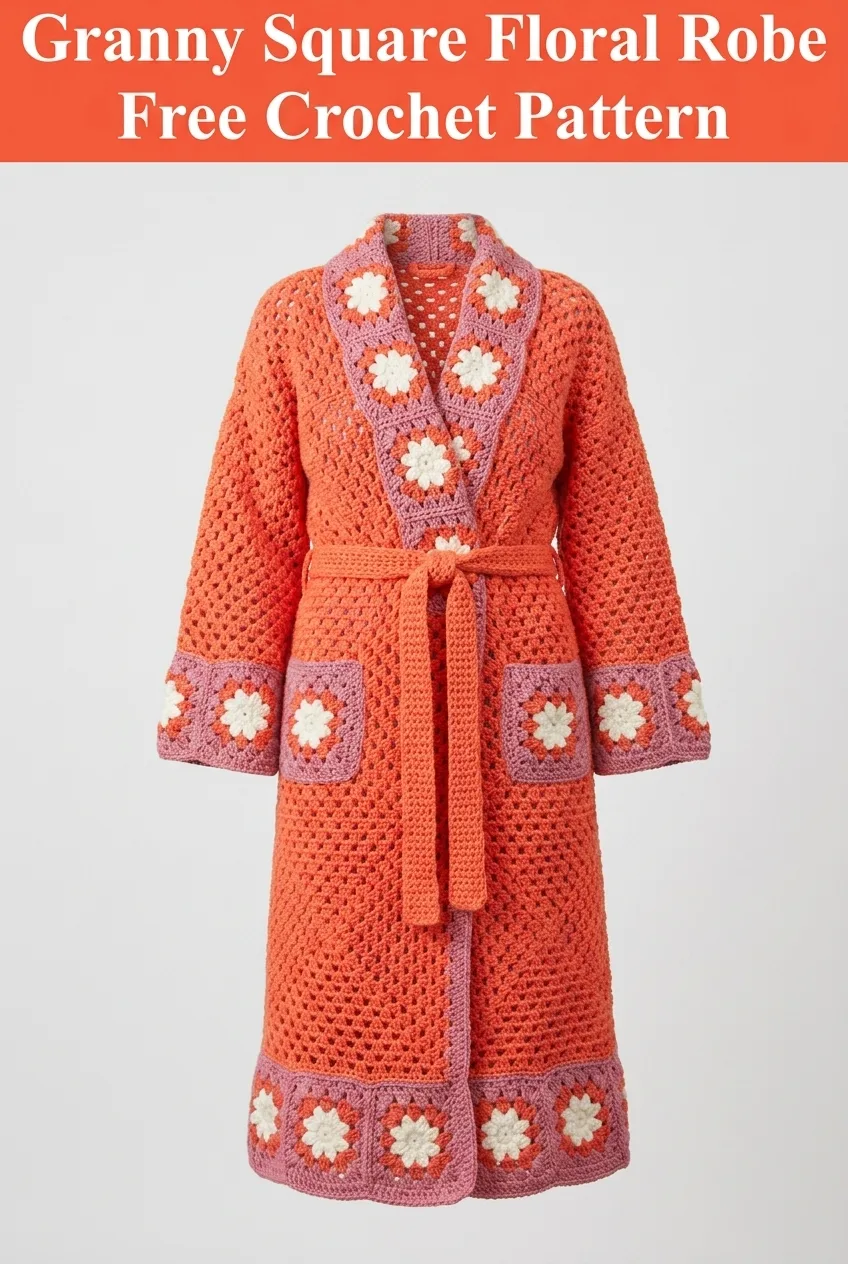
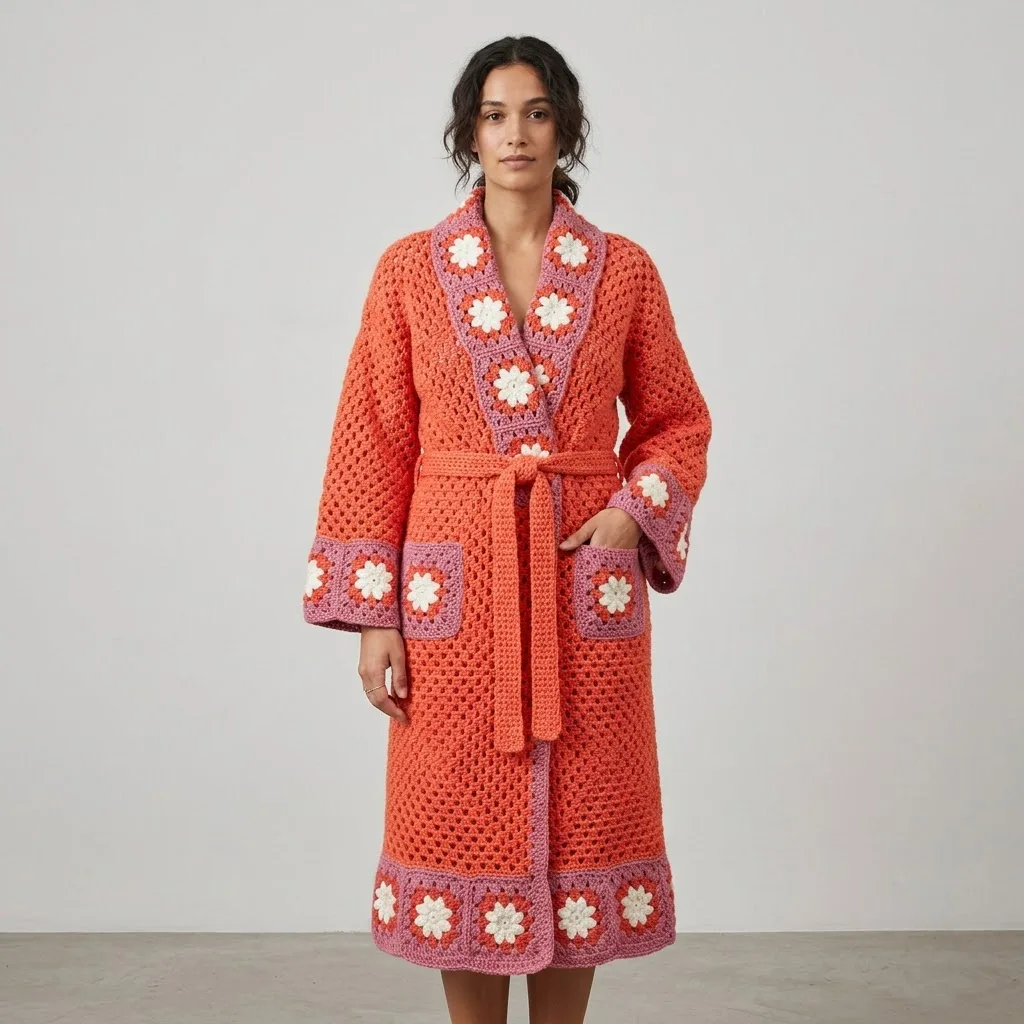
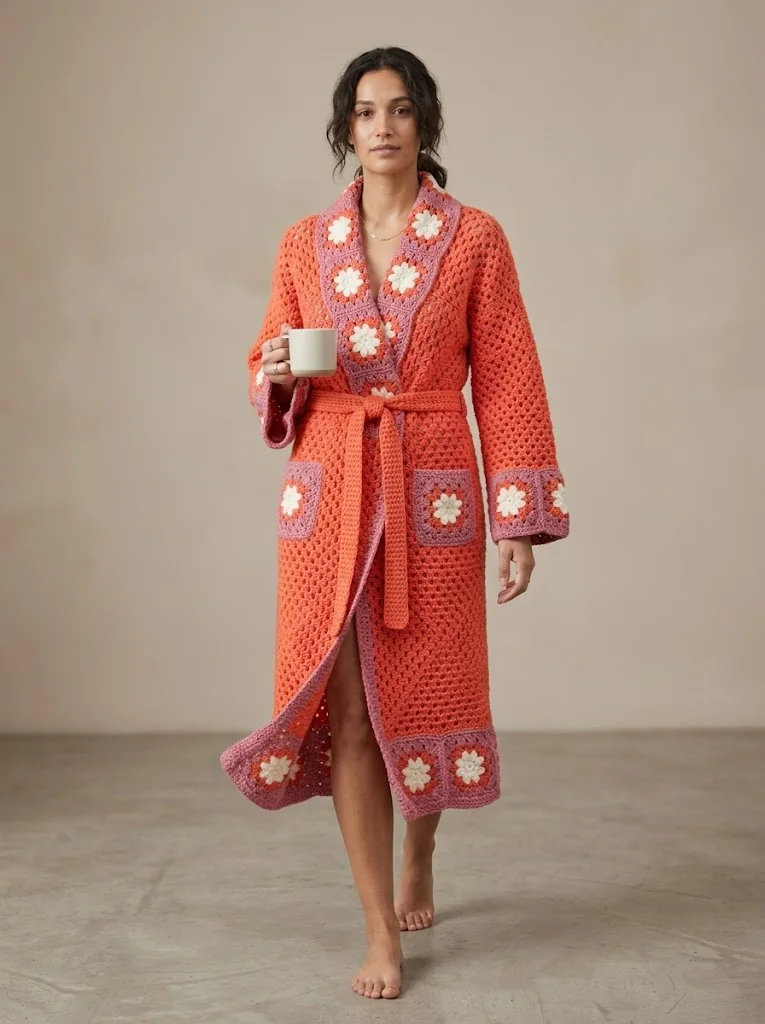
This knee-length robe features a beautiful combination of solid granny stitch panels in a warm coral orange shade, accented with dusty rose borders and cream daisy granny squares. The construction uses traditional granny square techniques throughout, making it an excellent project for intermediate crocheters ready to tackle garment construction.
The robe includes a shawl collar trimmed with floral granny squares, wide bell sleeves with coordinating borders, patch pockets on the front, a decorative hem panel of joined squares, and a simple tie belt. The overall effect is retro-inspired yet completely modern and wearable.
Skill Level: Intermediate
This pattern requires knowledge of basic granny squares, joining techniques, and simple garment shaping. If you’ve made granny square blankets or bags before, you’re ready for this project.
Materials Needed
Yarn:
I recommend a soft acrylic or cotton-acrylic blend for this project. You want something machine washable that will hold up to regular wear. A yarn with good stitch definition will help your granny clusters really pop.
Hook:
Notions:
Gauge
Granny Square Gauge: One 4-round daisy granny square measures approximately 4.5 inches by 4.5 inches after blocking.
Solid Granny Stitch Gauge: 14 stitches and 7 rows equals 4 inches in granny stitch pattern.
Please take time to check your gauge before beginning. Gauge determines the final size of your robe, and being off even slightly will affect the fit significantly.
Finished Measurements
This pattern is written for a relaxed fit robe measuring approximately:
Abbreviations and Stitch Definitions
Before we begin, let me explain every stitch and abbreviation you’ll encounter:
Ch = Chain. Wrap yarn over hook, pull through loop on hook. This creates the foundation for most crochet work.
Sl st = Slip stitch. Insert hook into stitch, yarn over, pull through both the stitch and the loop on hook in one motion. Used primarily for joining.
Sc = Single crochet. Insert hook into stitch, yarn over, pull up a loop (2 loops on hook), yarn over, pull through both loops.
Dc = Double crochet. Yarn over, insert hook into stitch, yarn over, pull up a loop (3 loops on hook), yarn over, pull through 2 loops, yarn over, pull through remaining 2 loops. This is the main stitch used in granny squares.
3-dc cluster = Three double crochets worked into the same stitch or space. This is the building block of granny stitch patterns.
Sp = Space. The gap created between stitch clusters.
Special Techniques
Granny Stitch Pattern (Solid Panels)
The body and sleeves of this robe use a solid granny stitch pattern. Unlike traditional granny squares where clusters are separated by chain spaces, solid granny stitch creates a denser fabric with smaller holes.
Foundation Row: Ch a multiple of 3 plus 2.
Row 1: Dc in 4th ch from hook, dc in each ch across. Turn.
Row 2: Ch 3 (counts as first dc), skip first 2 sts, 3 dc in next st, *skip 2 sts, 3 dc in next st; repeat from * across, dc in top of turning chain. Turn.
Row 3: Ch 3, 3 dc in space between first 3-dc cluster and next cluster, *3 dc in space between clusters; repeat from * across, dc in top of turning chain. Turn.
Repeat Row 3 for pattern.
Magic Ring
Starting your granny squares with a magic ring (also called adjustable ring) allows you to pull the center closed tightly. Make a loop with your yarn, insert hook through loop, yarn over and pull up a loop, chain 1 to secure. Work your first round stitches into the ring, then pull the tail to close the center hole.
Don’t worry if magic rings intimidate you. You can substitute ch 4, sl st to first ch to form ring instead.
Pattern Instructions
Daisy Granny Square (Make 30)
These cheerful flower squares form the decorative borders of your robe. You’ll need approximately 30 squares total for the collar, sleeves, pockets, and hem.
With CC2 (cream), make a magic ring.
Round 1: Ch 3 (counts as first dc throughout), 2 dc in ring, ch 2, *3 dc in ring, ch 2; repeat from * 2 more times. Sl st to top of beginning ch 3 to join. (4 clusters, 4 ch-2 spaces) Fasten off CC2.
Round 2: Join CC1 (dusty rose) in any ch-2 corner space. Ch 3, 2 dc in same space, ch 1, 3 dc in same corner space, *ch 1, (3 dc, ch 2, 3 dc) in next corner space; repeat from * around, ending with ch 1. Sl st to top of beginning ch 3. (8 clusters) Fasten off CC1.
Round 3: Join MC (coral) in any ch-2 corner space. Ch 3, 2 dc in same space, ch 2, 3 dc in same corner space, *ch 1, 3 dc in next ch-1 space, ch 1, (3 dc, ch 2, 3 dc) in corner space; repeat from * around, ending with ch 1, 3 dc in last ch-1 space, ch 1. Sl st to top of beginning ch 3. (12 clusters)
Round 4: Continue with MC. Ch 3, 2 dc in same space, ch 2, 3 dc in same corner space, *ch 1, 3 dc in each ch-1 space along side, ch 1, (3 dc, ch 2, 3 dc) in corner space; repeat from * around. Sl st to join. Fasten off. (16 clusters)
Weave in all ends on each square before joining.
Back Panel
With MC, ch 86.
Row 1: Dc in 4th ch from hook, dc in each ch across. Turn. (84 dc)
Row 2: Ch 3 (counts as first dc), skip first 2 sts, 3 dc in next st, *skip 2 sts, 3 dc in next st; repeat from * across to last 3 sts, skip 2 sts, dc in last st. Turn. (27 clusters plus 2 dc)
Rows 3-70: Ch 3, 3 dc in space between first cluster and next cluster, *3 dc in space between clusters; repeat from * across, dc in top of turning chain. Turn.
Armhole Shaping (Row 71): Sl st across first 3 clusters, ch 3, continue in granny stitch pattern across, leaving last 3 clusters unworked. Turn. (21 clusters plus 2 dc)
Rows 72-90: Continue in granny stitch pattern. Fasten off.
Left Front Panel
With MC, ch 47.
Row 1: Dc in 4th ch from hook, dc in each ch across. Turn. (45 dc)
Rows 2-70: Work in granny stitch pattern as established. (14 clusters plus 2 dc)
Armhole Shaping (Row 71): Work across in pattern, leaving last 3 clusters unworked. Turn. (11 clusters plus 2 dc)
Rows 72-85: Continue in pattern.
Neck Shaping (Row 86): Work across first 8 clusters, turn, leaving remaining stitches unworked.
Rows 87-90: Decrease 1 cluster at neck edge every row by working to last cluster, dc in top of turning chain. Fasten off.
Right Front Panel
Work as for Left Front Panel, reversing all shaping.
Sleeves (Make 2)
With MC, ch 65.
Row 1: Dc in 4th ch from hook, dc in each ch across. Turn. (63 dc)
Rows 2-40: Work in granny stitch pattern. (20 clusters plus 2 dc)
Cuff Border: Join CC1 at bottom edge of sleeve. Work 1 round of sc evenly around bottom edge. Join.
Attach 5 daisy granny squares to bottom edge of each sleeve, joining with sl st or whip stitch method.
Pockets (Make 2)
Each pocket uses one daisy granny square as the front, with an additional border round.
Border Round: Join CC1 to any corner of completed daisy square. Work 1 round sc evenly around, working 3 sc in each corner. Fasten off.
Assembly
This is where your robe comes together. Take your time with this section.
Step 1: Block all panels and granny squares to measurements. Allow to dry completely.
Step 2: Join shoulder seams using mattress stitch or whip stitch. Join approximately 4 inches at each shoulder, leaving center open for neck.
Step 3: Attach sleeves. Find center top of sleeve panel, align with shoulder seam, and join sleeve to armhole opening on both sides.
Step 4: Join side seams from hem to underarm, then continue down sleeve seams from underarm to cuff.
Step 5: Join remaining daisy granny squares for hem border. You’ll need approximately 11 squares joined in a strip. Attach strip to bottom edge of robe using whip stitch.
Step 6: Create collar by joining 8 daisy squares in a strip. Attach collar strip around neckline and down front edges, easing around curves.
Step 7: Attach pockets to front panels at hip level, approximately 18 inches from hem.
Tie Belt
With MC, ch 200.
Row 1: Dc in 4th ch from hook, dc in each ch across. Turn. (198 dc)
Rows 2-4: Ch 3, dc in each dc across. Fasten off.
Weave belt through stitch openings at waist level, or simply tie around waist.
Finishing Touches
Weave in all remaining ends securely. I like to weave each tail in two different directions for extra security on garments that will be worn and washed frequently.
Give your finished robe a final blocking. Lay flat on blocking mats, pin to measurements, and mist with water. Allow to dry completely before wearing.
Pattern Notes and Tips
This robe works up surprisingly quickly once you get into a rhythm with the granny stitch panels. I recommend making all your daisy squares first while watching your favorite show, then tackling the larger panels.
If you prefer a shorter robe, simply work fewer rows on the front and back panels. For a longer robe, add additional rows before beginning armhole shaping.
The tie belt is optional. You could also add button closures or simply wear the robe open.
For a different look, try reversing the color placement. Use the dusty rose as your main color with coral accents, or go bold with completely different color combinations.
Caring for Your Handmade Robe
Machine wash on gentle cycle with cold water. Lay flat to dry to preserve the shape and prevent stretching. Never hang your crocheted robe on a hanger, as the weight will distort the shoulders over time.
I really hope you enjoy making this beautiful granny square floral robe as much as I enjoyed designing it. There’s something so satisfying about creating a wearable piece that combines traditional crochet techniques with modern style. This robe makes an incredible gift, though I won’t blame you if you keep it for yourself.
If you love this pattern, I’d be so grateful if you’d save it to your Pinterest boards so you can find it easily later and so other crocheters can discover it too. And please, if you make this robe, drop me a comment below. I absolutely love seeing your finished projects and hearing about the color combinations you choose. Happy crocheting, friends!
