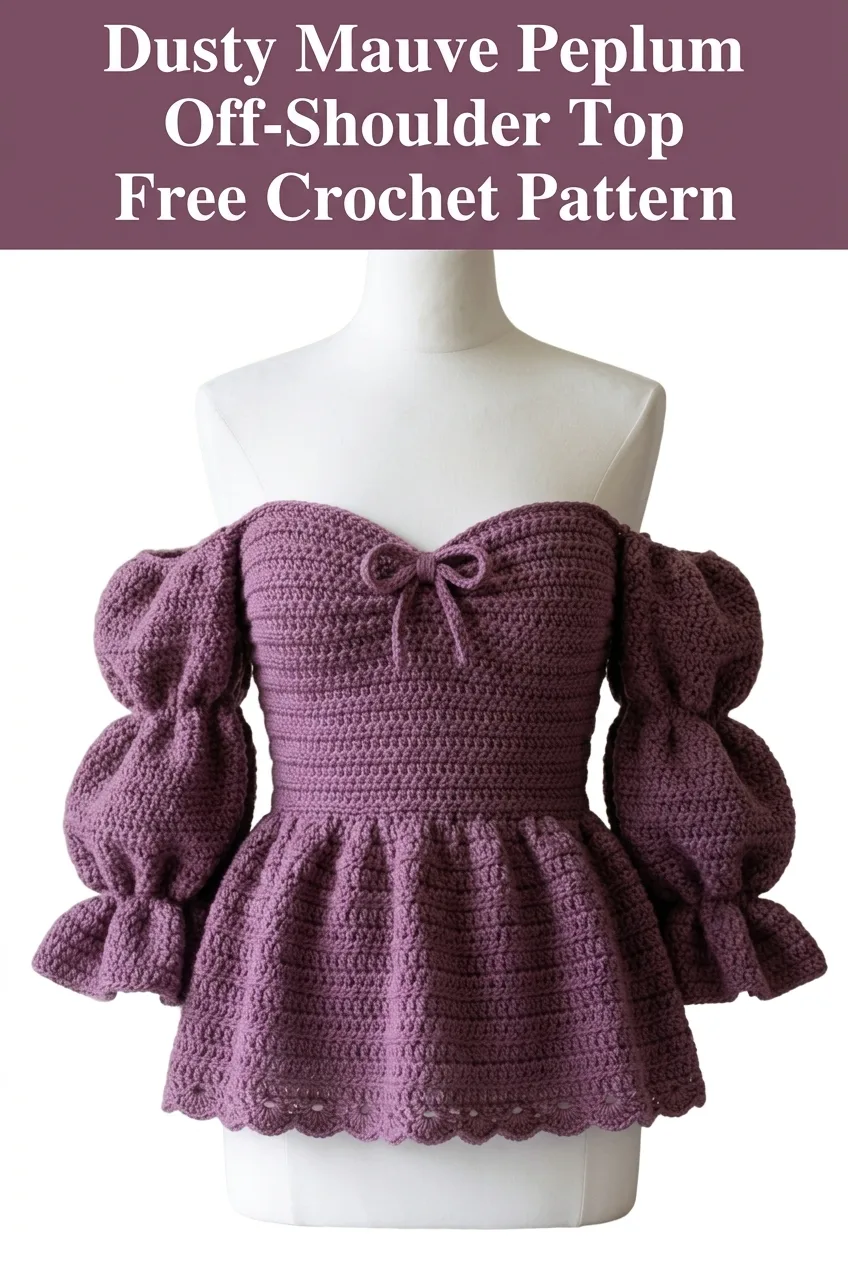
I’ve been looking for the perfect romantic crochet top pattern for ages, and this dusty mauve peplum beauty is my absolute favourite discovery. The dramatic puff sleeves, the sweet bow detail at the bustline, and that flirty peplum hem all come together in a way that feels both vintage and completely modern. This is the kind of project I rounded up all my best techniques for, and I’m thrilled to share every single step with you.
About This Crochet Peplum Top Pattern
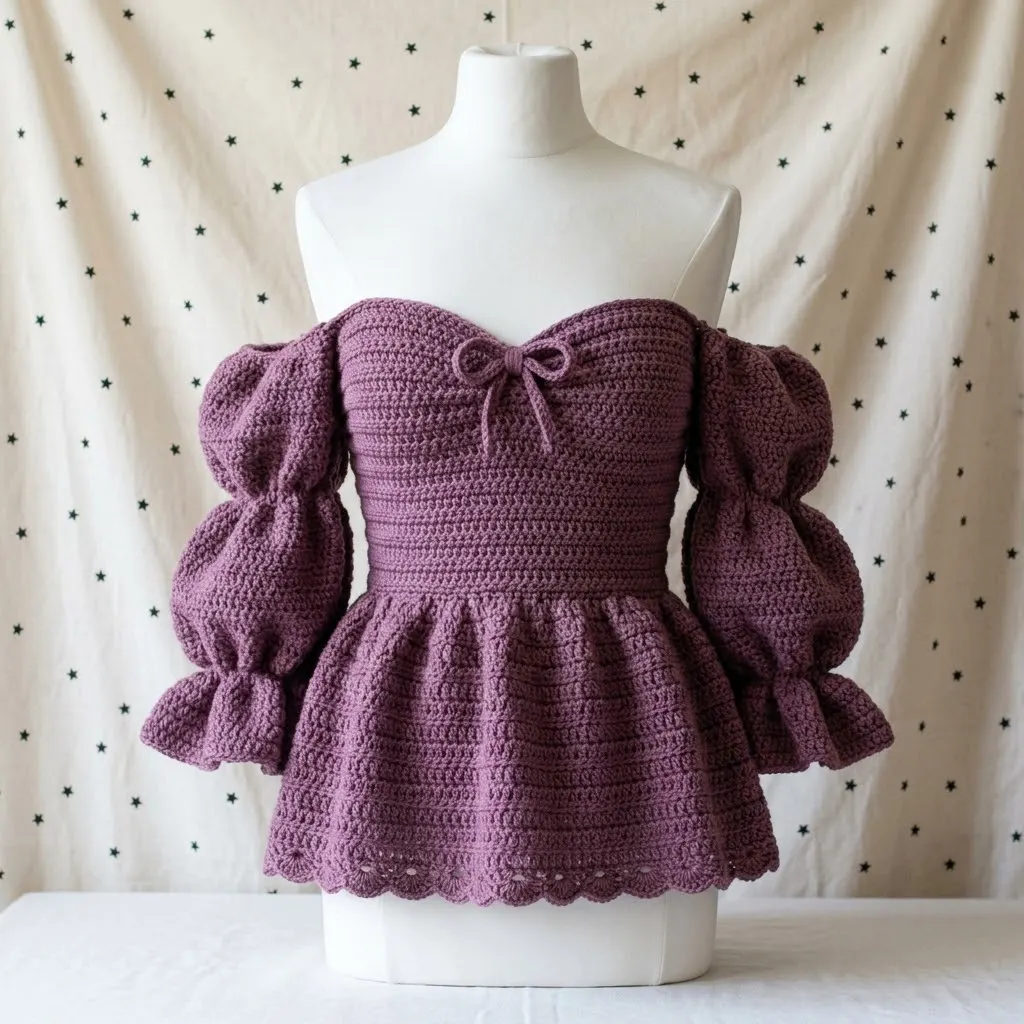
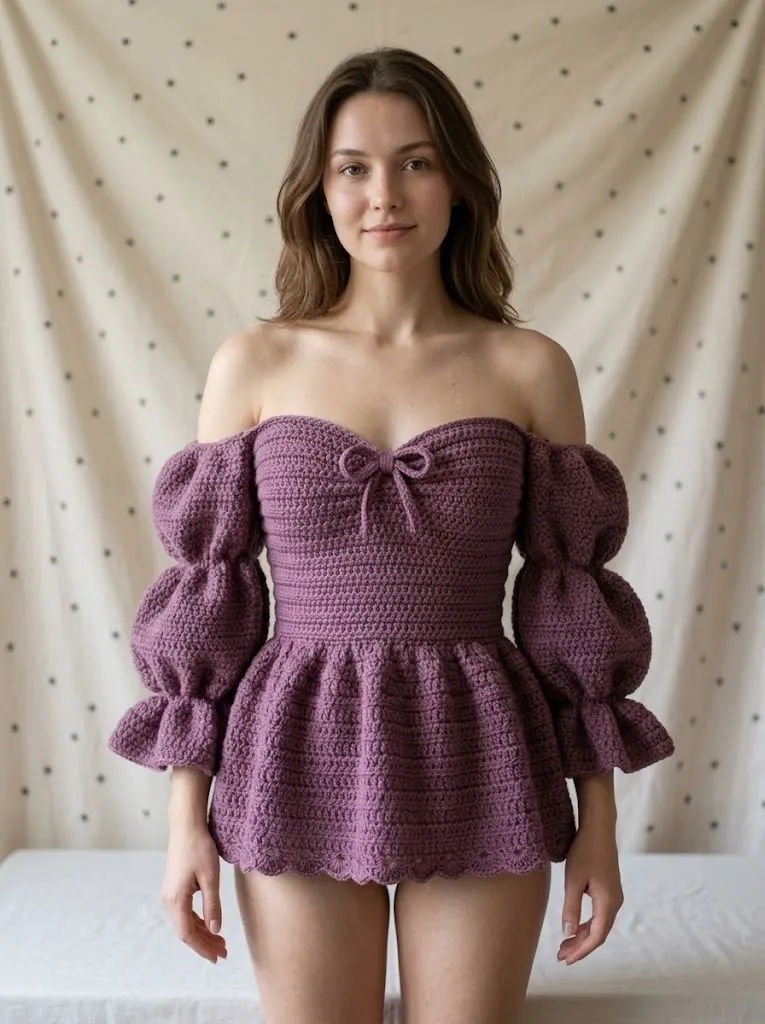
This off-shoulder peplum top is a stunning statement piece that will turn heads wherever you go. The construction combines a fitted bodice with gorgeous volume in the sleeves and hem, creating that perfect balance between structured and romantic. You’re looking at an intermediate level project here, but don’t let that scare you off. If you’ve made a few garments before and feel comfortable with shaping, you can absolutely tackle this crochet tutorial.
The bodice uses rows of single crochet and half double crochet to create that ribbed, fitted look you see in the image. The sleeves feature a bubble or puff construction that gives them that dreamy, Victorian-inspired volume. And the peplum skirt portion flares out beautifully with a scalloped edge that adds the perfect finishing touch.
Skill Level: Intermediate
Finished Sizes: XS (S, M, L, XL) with bust measurements of approximately 30 (34, 38, 42, 46) inches
Materials You’ll Need
Getting your supplies together before you start will make this project so much smoother. Here’s everything you need to crochet this gorgeous top.
Yarn:
Hooks:
Notions:
Gauge:
14 stitches and 16 rows = 4 inches in single crochet using 5.0mm hook
Please, please check your gauge before starting. This is a fitted garment, and even half a stitch off per inch will throw off your sizing dramatically. Swatch, measure, and adjust your hook size if needed.
Abbreviations and Stitch Definitions
Let me walk you through every stitch you’ll use in this pattern. I’ll define each one so you know exactly what to do.
Ch = Chain. Wrap yarn over hook, pull through loop on hook. This creates your foundation.
Sl st = Slip stitch. Insert hook, yarn over, pull through both the stitch and the loop on your hook in one motion. Used for joining and moving across stitches.
Sc = Single crochet. Insert hook into stitch, yarn over, pull up a loop (2 loops on hook), yarn over, pull through both loops. Your shortest basic stitch.
Hdc = Half double crochet. Yarn over, insert hook into stitch, yarn over, pull up a loop (3 loops on hook), yarn over, pull through all 3 loops. Slightly taller than single crochet.
Dc = Double crochet. Yarn over, insert hook into stitch, yarn over, pull up a loop (3 loops on hook), yarn over, pull through 2 loops, yarn over, pull through remaining 2 loops. About twice as tall as single crochet.
Inc = Increase. Work 2 stitches into the same stitch to add one stitch to your count.
Dec = Decrease. Work 2 stitches together to reduce your count by one. For sc2tog: insert hook in first stitch, pull up loop, insert hook in next stitch, pull up loop (3 loops on hook), yarn over, pull through all 3.
BLO = Back loop only. Insert your hook under just the back loop of the stitch instead of both loops. Creates a ribbed texture.
Puff st = Puff stitch. (Yarn over, insert hook, pull up a loop) 3 times in same stitch (7 loops on hook), yarn over, pull through all 7 loops. Creates a puffy, rounded texture.
Pattern Instructions
Bodice Front Panel
The bodice is worked flat in rows, starting at the bottom and working up to the sweetheart neckline.
Foundation: Ch 53 (59, 67, 75, 83).
Row 1: Sc in 2nd ch from hook and in each ch across. Turn. (52, 58, 66, 74, 82 sts)
Row 2: Ch 1, sc in BLO of each st across. Turn. (52, 58, 66, 74, 82 sts)
Rows 3-20: Repeat Row 2. This creates the ribbed effect you see on the fitted waist portion.
Row 21 (Bust Shaping Begins): Ch 1, sc in BLO of first 24 (27, 31, 35, 39) sts, inc in next st, sc in BLO to last 25 (28, 32, 36, 40) sts, inc in next st, sc in BLO to end. Turn. (54, 60, 68, 76, 84 sts)
Rows 22-24: Ch 1, sc in BLO of each st across. Turn.
Row 25: Repeat Row 21 shaping. (56, 62, 70, 78, 86 sts)
Rows 26-30: Ch 1, sc in BLO of each st across. Turn.
Row 31 (Sweetheart Neckline): Ch 1, sc in BLO of first 25 (28, 32, 36, 40) sts. Turn, leaving remaining sts unworked. You’re now working one side of the sweetheart shape.
Rows 32-36: Ch 1, dec over first 2 sts, sc in BLO to end. Turn. (20, 23, 27, 31, 35 sts at end of Row 36)
Fasten off. Rejoin yarn to the unworked side and repeat Rows 31-36 in mirror image, decreasing at the end of rows instead of the beginning.
Bodice Back Panel
Work exactly as the Front Panel through Row 30. You won’t need the sweetheart shaping on the back.
Rows 31-36: Ch 1, sc in BLO of each st across. Turn. (56, 62, 70, 78, 86 sts)
Fasten off, leaving a long tail for seaming.
Joining the Bodice
Place front and back panels with right sides together. Using your tapestry needle and the long tail, whip stitch or mattress stitch the side seams from the bottom up to the armhole opening. Leave approximately 7 (7.5, 8, 8.5, 9) inches open for the armholes.
Puff Sleeves
These dramatic sleeves are my favourite part of this crochet pattern. They’re worked in the round, starting at the shoulder and working down to the ruffle cuff.
Round 1: Join yarn at the top of the armhole opening. Ch 1, work 44 (48, 52, 56, 60) sc evenly around the armhole. Sl st to first sc to join. Place marker. (44, 48, 52, 56, 60 sts)
Round 2: Ch 2 (counts as hdc), hdc in each st around. Sl st to top of ch-2 to join. (44, 48, 52, 56, 60 sts)
Round 3: Ch 2, hdc in same st, hdc in next st, *2 hdc in next st, hdc in next st* around. Sl st to join. (66, 72, 78, 84, 90 sts)
Rounds 4-6: Ch 2, hdc in each st around. Sl st to join.
Round 7 (Puff Round): Ch 1, sc in first st, *puff st in next st, sc in next st* around. Sl st to join.
Rounds 8-10: Ch 2, hdc in each st around. Sl st to join.
Round 11: Repeat Round 7.
Rounds 12-14: Ch 2, hdc in each st around. Sl st to join.
Round 15 (Decrease Round): Ch 2, hdc in next st, *hdc2tog, hdc in next st* around. Sl st to join. (44, 48, 52, 56, 60 sts)
Rounds 16-18: Ch 2, hdc in each st around. Sl st to join.
Round 19: Repeat decrease round. (30, 32, 35, 38, 40 sts)
Rounds 20-22: Ch 2, hdc in each st around. Sl st to join.
Round 23 (Ruffle Begin): Ch 2, 2 hdc in each st around. Sl st to join. (60, 64, 70, 76, 80 sts)
Rounds 24-26: Ch 2, hdc in each st around. Sl st to join.
Round 27 (Scallop Edge): *Sl st in next st, sk 1 st, 5 dc in next st, sk 1 st* around. Sl st to join. Fasten off.
Repeat for the second sleeve.
Peplum Skirt
This flirty addition is worked directly onto the bottom edge of the bodice.
Round 1: Join yarn at the side seam on the bottom edge of the joined bodice. Ch 1, work 104 (116, 132, 148, 164) sc evenly around the entire bottom edge. Sl st to join. Place marker. (104, 116, 132, 148, 164 sts)
Round 2: Ch 2, hdc in same st, *2 hdc in next st, hdc in next st* around. Sl st to join. (156, 174, 198, 222, 246 sts)
Rounds 3-8: Ch 2, hdc in each st around. Sl st to join.
Round 9: Ch 2, hdc in same st, hdc in next 2 sts, *2 hdc in next st, hdc in next 2 sts* around. Sl st to join. (208, 232, 264, 296, 328 sts)
Rounds 10-16: Ch 2, hdc in each st around. Sl st to join.
Round 17 (Scallop Edge): *Sl st in next st, sk 1 st, 5 dc in next st, sk 1 st* around. Sl st to join. Fasten off.
Bow Detail
The sweet bow at the centre front brings the whole look together.
Bow Centre: Ch 8. Sc in 2nd ch from hook and in each ch across. Turn. (7 sts)
Rows 2-6: Ch 1, sc in each st across. Turn.
Fasten off, leaving a long tail.
Bow Tie Strands (make 2): Ch 60. Sc in 2nd ch from hook and in each ch across. Fasten off. (59 sts each)
Wrap the bow centre piece around the middle of both tie strands. Stitch in place on the back. Attach the finished bow to the centre of the sweetheart neckline using your tapestry needle.
Finishing
Weave in all ends using your tapestry needle. I like to weave each tail through at least 2 inches of stitches, then double back for security.
Blocking: Soak your finished top in cool water with a splash of wool wash for about 15 minutes. Gently squeeze out excess water (never wring). Lay flat on a blocking mat or towels, shaping the peplum and sleeves to their proper dimensions. Let dry completely before wearing.
Customization Tips
This step by step crochet tutorial gives you a gorgeous base, but feel free to make it your own. Want a longer peplum? Add more rounds before the scallop edge. Prefer fitted sleeves? Skip the increase rounds and puff stitch rounds. You can also add elastic thread to the top edge of the bodice for extra security if you’re worried about the off-shoulder style staying in place.
For the yarn colour, this pattern looks stunning in deep jewel tones, soft pastels, or classic neutrals. A cream or white version would be absolutely bridal-worthy.
Care Instructions
Hand wash your finished top in cool water with gentle detergent. Lay flat to dry to maintain the shape of those beautiful puff sleeves and peplum. Store folded rather than hung to prevent stretching.
I really hope you love making this dusty mauve peplum off-shoulder top as much as I loved designing it. It’s the kind of piece that makes you feel special every time you put it on. If you make this pattern, I would absolutely love to see your finished project. Tag me on Instagram or share a photo in my Facebook group so I can cheer you on.
If this pattern caught your eye, go ahead and pin it to your crochet boards on Pinterest so you can find it when you’re ready to cast on. And please drop a comment below if you make this top or have any questions along the way. I read every single one and love hearing from you.
