
I have been dreaming about this dress for months. When I sat down to design it, I had three clear goals in mind. I wanted a fitted bodice that actually flatters, a skirt with real movement and swing, and a way to add those sweet scattered hearts without complicated colorwork.
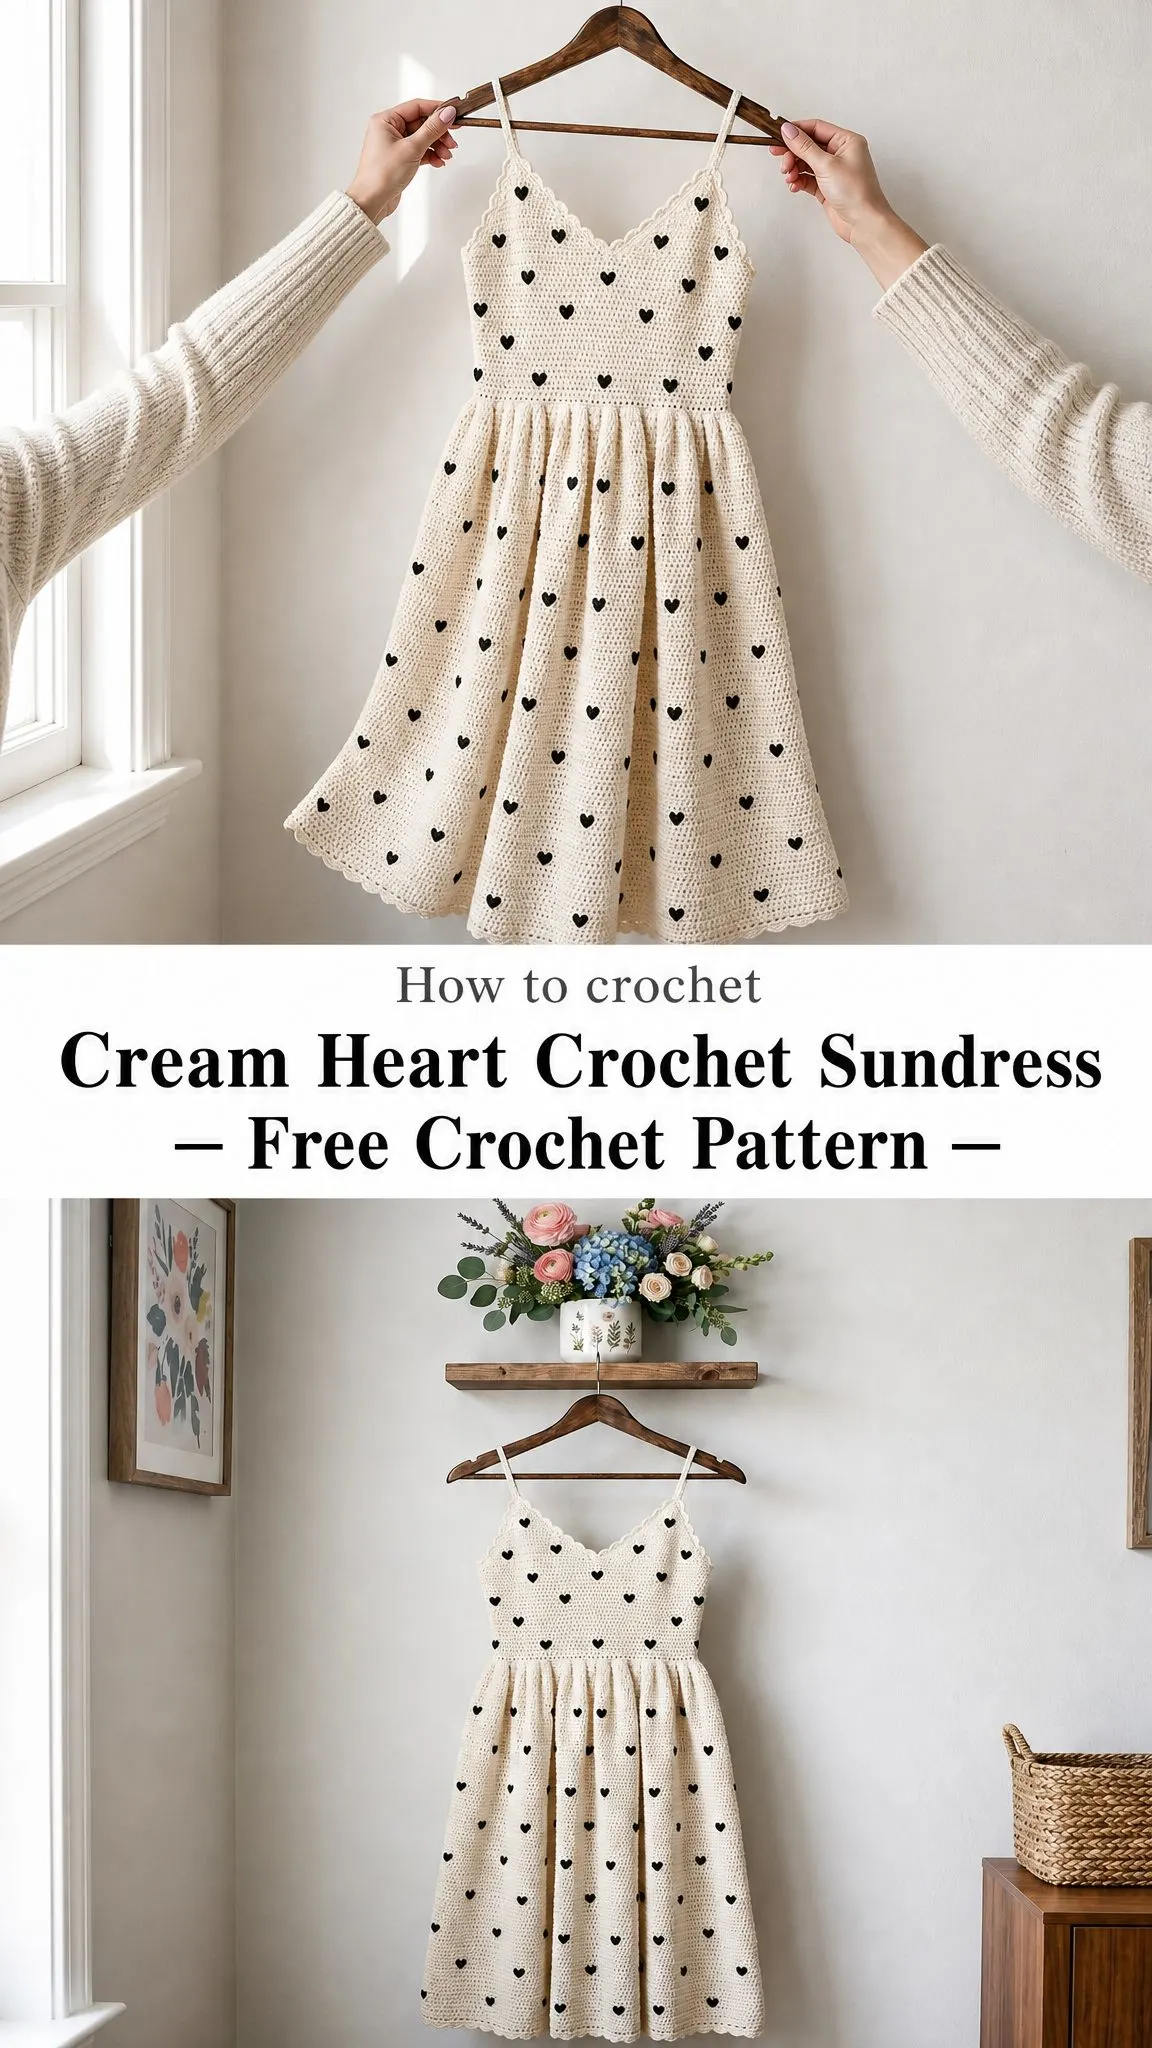
The solution was simpler than I expected. A straightforward single crochet fabric forms the base, and the hearts get embroidered on afterward. No tangled bobbins. No confusing charts. Just clean stitches and a tapestry needle.
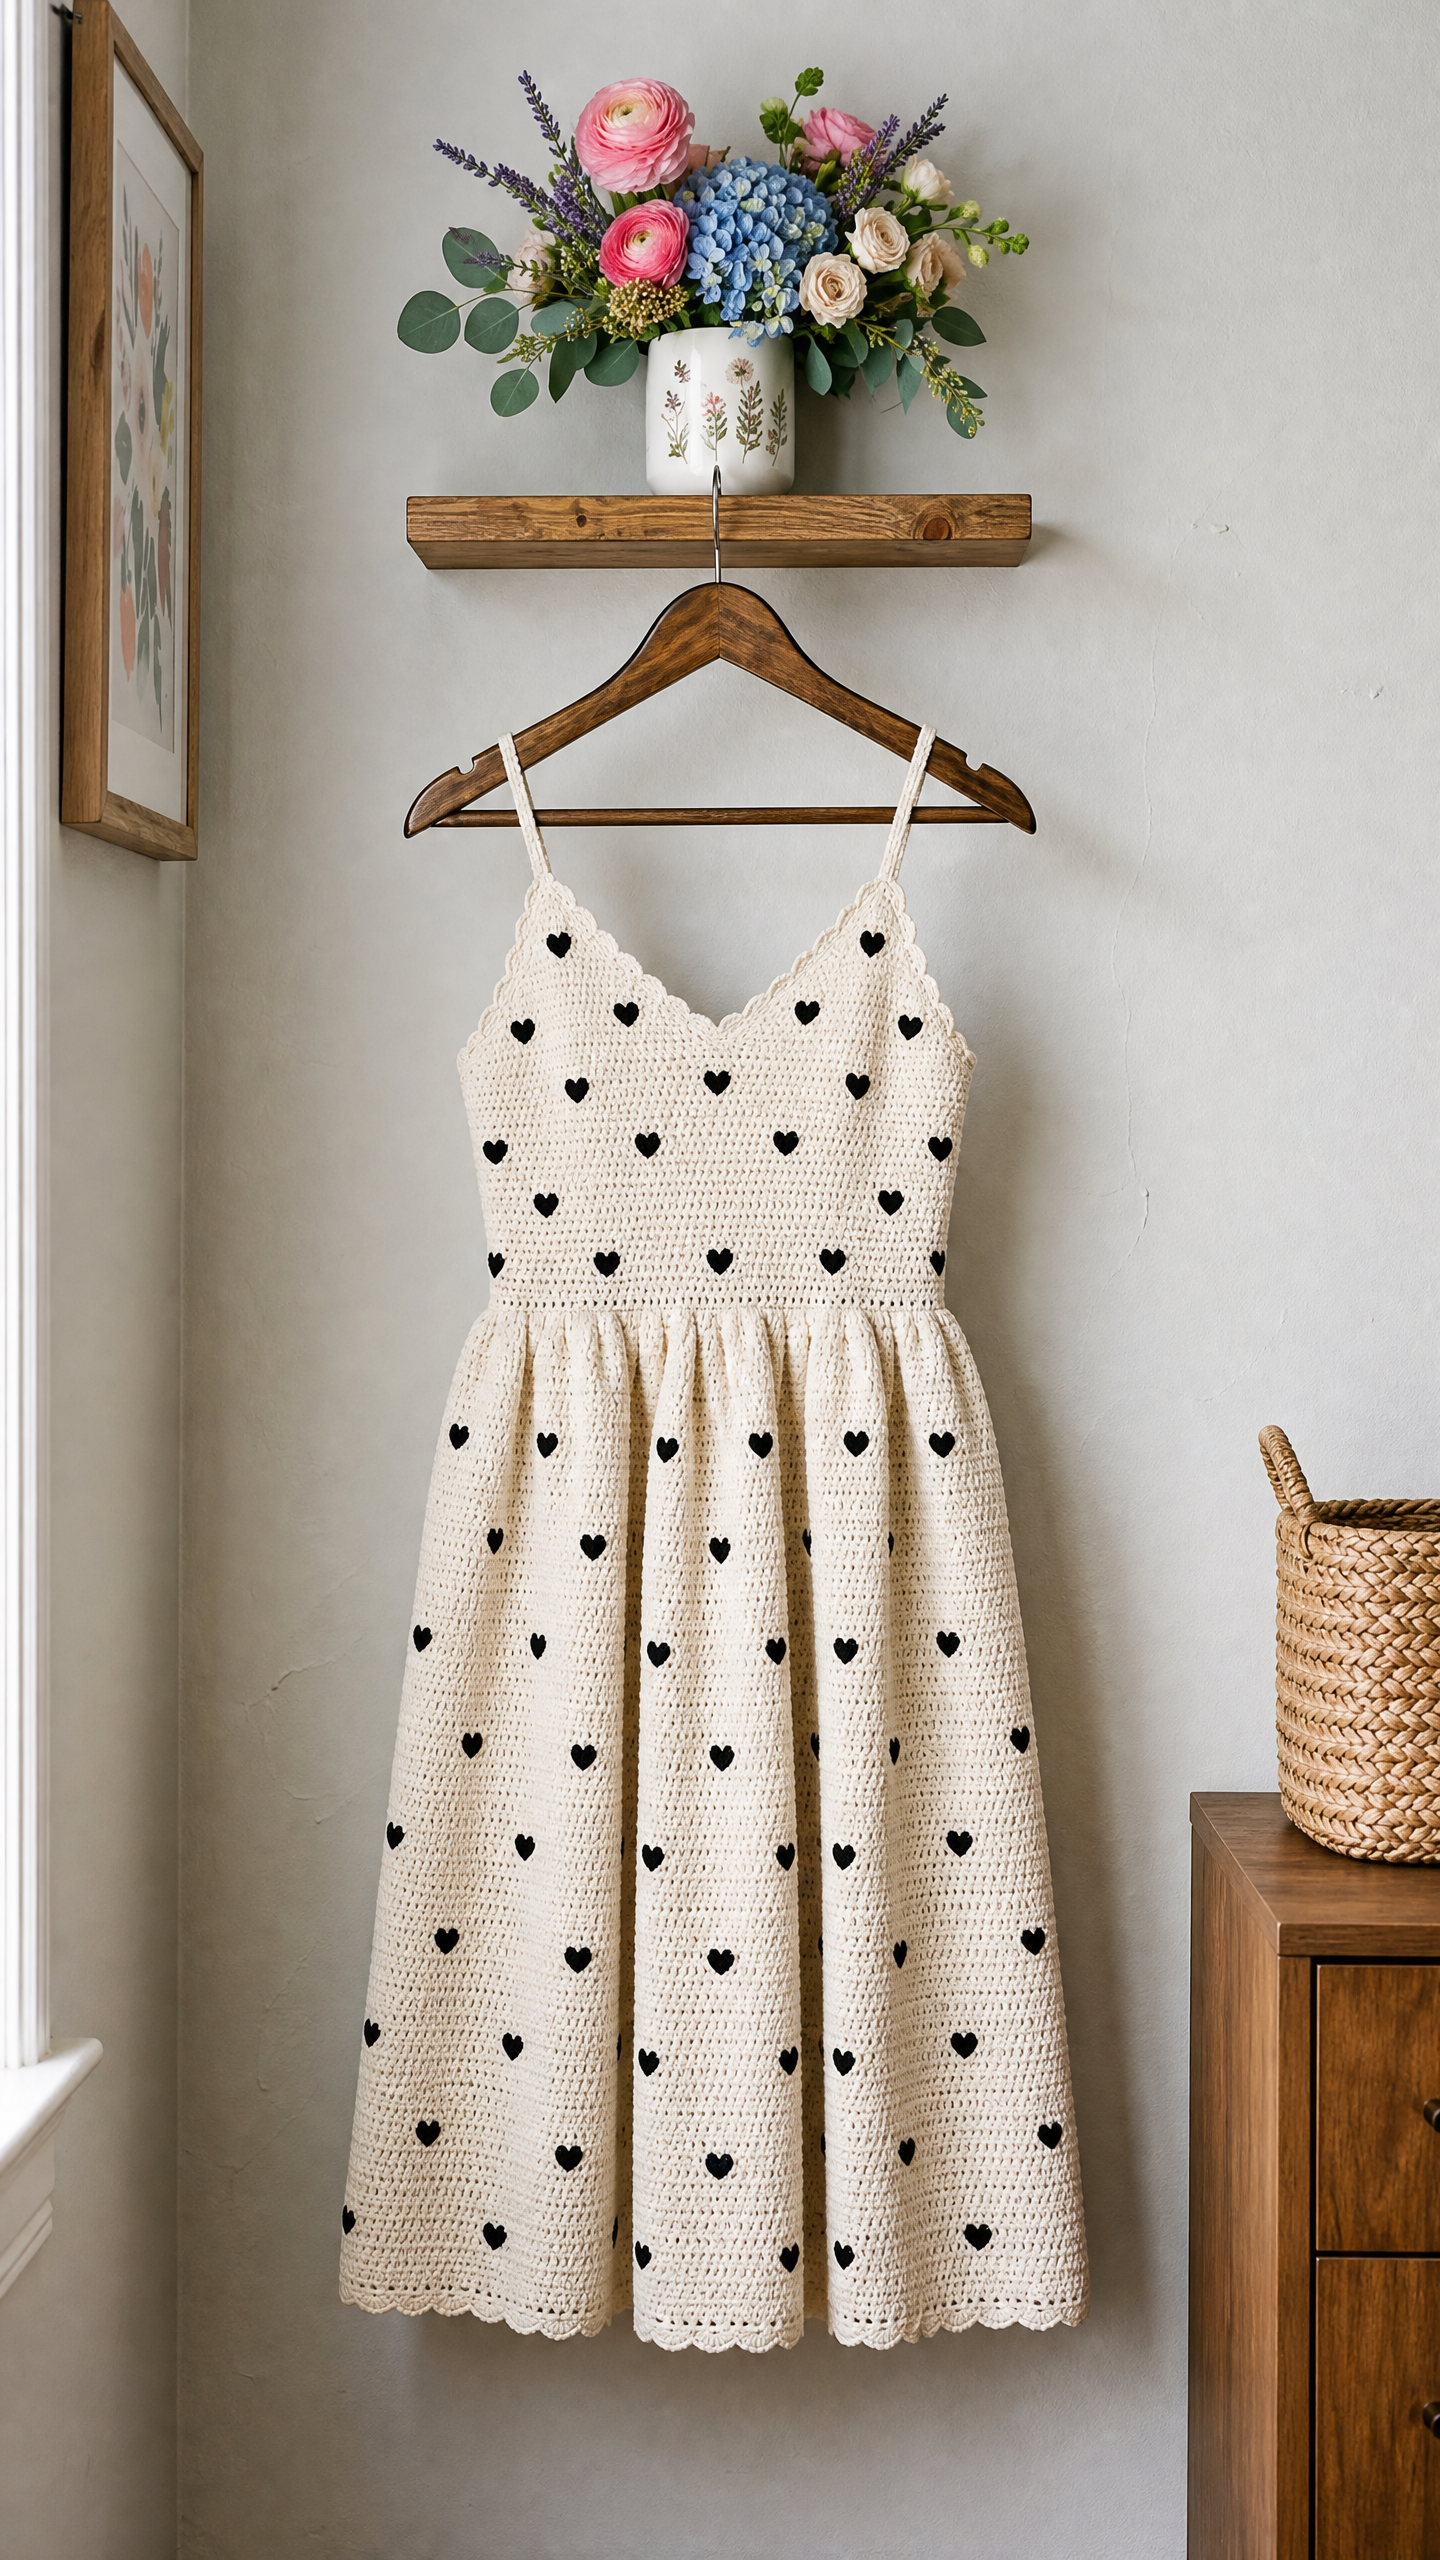
I am SO pleased with how this turned out. The scalloped neckline, the delicate spaghetti straps, the gathered waist flowing into that gorgeous A-line midi skirt. This is the kind of handmade piece that looks like it belongs in a boutique window.
About This Crochet Sundress Pattern
This cream heart crochet sundress is a true showstopper. The construction is more straightforward than it looks. You will work the bodice as two flat panels, join them at the sides, then crochet the skirt in continuous rounds from the waist down. The hearts come last as simple embroidery on the finished fabric.
The dress features a V-shaped scalloped neckline, thin crocheted straps, a defined waist with optional elastic casing, and a full midi-length skirt that hits beautifully between knee and mid-calf. Every edge gets finished with that pretty scallop border you see in the photos.
Skill level: Advanced beginner to intermediate. If you can single crochet with consistent tension, count your stitches accurately, and follow a pattern row by row, you can absolutely make this dress. The embroidery is freeform and forgiving.
Time estimate: Approximately 40 to 60 hours depending on your experience. The embroidery adds 8 to 12 hours on its own, but it is the kind of meditative handwork you can do while watching your favorite shows.
Finished Measurements
This pattern is written for size Small/Medium, which fits US sizes 4 to 6. Here are your finished dimensions:
Size customization tips are included at the end of this tutorial.
Materials You Will Need
Yarn A (main color): Cream or off-white cotton or cotton-blend DK weight yarn, approximately 1,400 yards (1,280 meters)
Yarn B (embroidery color): Black cotton DK weight yarn, approximately 120 yards (110 meters)
Hook: US size E-4 / 3.5 mm crochet hook
Additional supplies:
Recommended Yarn Options
Option 1: Lion Brand 24/7 Cotton in Ecru and Black. This is 100% mercerized cotton with excellent stitch definition. You will need approximately 8 skeins of Ecru and 1 skein of Black.
Option 2: Paintbox Yarns Simply DK in Paper White and Pure Black. A budget-friendly acrylic option that still shows clean stitch definition. You will need approximately 11 balls of Paper White and 1 ball of Pure Black.
Option 3: Drops Safran in Off White and Black. This cotton-viscose blend has a subtle sheen that gives the finished dress an elevated look. You will need approximately 9 balls of Off White and 1 ball of Black.
Substitution tip: Stick with DK weight yarn (category 3) that has good stitch definition. Avoid overly stretchy pure acrylics, as the dress will lose its shape. Cotton or cotton blends work best.
Gauge
20 single crochet stitches x 24 rows = 4 inches x 4 inches (10 cm x 10 cm), blocked.
Gauge matters here. This is a fitted garment. Even a half-stitch difference per inch will throw off your measurements by several inches. Swatch, block your swatch, and measure carefully before you begin.
Abbreviations and Stitch Definitions
Let me walk you through every abbreviation you will see in this crochet pattern:
Special Stitch: Scallop Edging
This creates the decorative wavy border at your neckline and hem. Here is how it works:
1. Join yarn with a slip stitch to any stitch along the edge
2. Chain 1, single crochet in the same stitch
3. Skip 2 stitches, work 5 double crochet in the next stitch (this forms one scallop shell)
4. Skip 2 stitches, work 1 single crochet in the next stitch
5. Repeat steps 3 and 4 across the entire edge
6. Slip stitch to the first single crochet to join
The scallop repeat requires a stitch count divisible by 6 along each edge. Do not worry, the pattern tells you exactly when to adjust.
Pattern Notes Before You Begin
A few things to keep in mind as you work through this crochet sundress pattern:
1. The bodice front and back are worked flat in rows, then joined at the sides with slip stitches. The skirt is worked in the round.
2. The gathered waist happens because you double your stitch count on the first skirt round. This creates all that beautiful fullness.
3. Hearts are NOT crocheted into the fabric. They are embroidered onto the finished, blocked dress. This gives you clean, uniform hearts without the headache of colorwork.
4. Always chain 1 and turn at the end of each row. The chain 1 turning chain does NOT count as a stitch.
5. Work with consistent, moderately firm tension. Too loose and your fabric will be see-through. Too tight and the dress will be stiff.
Step by Step Instructions
Bodice Front Panel
Foundation: Chain 88.
Row 1 (RS): Single crochet in 2nd chain from hook, single crochet in each chain across. Turn. (87 sc)
Rows 2 through 6: Chain 1, single crochet in each single crochet across. Turn. (87 sc)
Now you will begin shaping the bodice to taper toward the waist:
Row 7: Chain 1, sc2tog, single crochet to last 2 stitches, sc2tog. Turn. (85 sc)
Row 8: Chain 1, single crochet in each single crochet across. Turn. (85 sc)
Row 9: Chain 1, sc2tog, single crochet to last 2 stitches, sc2tog. Turn. (83 sc)
Row 10: Chain 1, single crochet in each single crochet across. Turn. (83 sc)
Row 11: Chain 1, sc2tog, single crochet to last 2 stitches, sc2tog. Turn. (81 sc)
Row 12: Chain 1, single crochet in each single crochet across. Turn. (81 sc)
Row 13: Chain 1, sc2tog, single crochet to last 2 stitches, sc2tog. Turn. (79 sc)
Row 14: Chain 1, single crochet in each single crochet across. Turn. (79 sc)
Row 15: Chain 1, sc2tog, single crochet to last 2 stitches, sc2tog. Turn. (77 sc)
Row 16: Chain 1, single crochet in each single crochet across. Turn. (77 sc)
Row 17: Chain 1, sc2tog, single crochet to last 2 stitches, sc2tog. Turn. (75 sc)
Row 18: Chain 1, single crochet in each single crochet across. Turn. (75 sc)
Row 19: Chain 1, sc2tog, single crochet to last 2 stitches, sc2tog. Turn. (73 sc)
Row 20: Chain 1, single crochet in each single crochet across. Turn. (73 sc)
Row 21: Chain 1, sc2tog, single crochet to last 2 stitches, sc2tog. Turn. (71 sc)
Row 22: Chain 1, single crochet in each single crochet across. Turn. (71 sc)
Row 23: Chain 1, sc2tog, single crochet to last 2 stitches, sc2tog. Turn. (69 sc)
Row 24: Chain 1, single crochet in each single crochet across. Turn. (69 sc)
Do not fasten off. Place a stitch marker through the last loop to hold your work.
Checkpoint: Your bodice front should measure approximately 17.4 inches wide at the top and 13.8 inches at the waist.
Bodice Back Panel
Work exactly as the Bodice Front Panel, Rows 1 through 24. You should end with 69 single crochet stitches. Do not fasten off.
Checkpoint: Both panels should be identical. Lay them flat side by side to verify before seaming.
Joining the Bodice Panels
Hold front and back panels with wrong sides facing outward (right sides together).
Right side seam: With a new length of Yarn A, slip stitch through both layers from the waist edge up to the top edge. 24 rows joined. Fasten off.
Left side seam: Repeat on the left side. Fasten off.
Turn the joined bodice right side out. You now have a tube, open at the top and bottom. Total stitch count at waist edge: 138 stitches.
Neckline Scallop Edging
The top opening has approximately 180 accessible edge stitches. You need this number for clean scallop repeats.
Join Yarn A with a slip stitch at the right shoulder seam.
Round 1 (setup): Chain 1, single crochet evenly around the neckline edge to a total of 180 single crochet. Slip stitch to first single crochet to join. (180 sc)
Round 2 (scallop): Chain 1, single crochet in first stitch, (skip 2 stitches, 5 double crochet in next stitch, skip 2 stitches, single crochet in next stitch) repeat around. Slip stitch to first single crochet to join. (30 scallop shells)
Fasten off and weave in ends.
V-Neck Shaping Note: To create the gentle V visible in the photos, work 2 sc2tog decreases at the center front on the setup round, then add 2 single crochets along the back to return to 180 stitches before the scallop round.
Spaghetti Straps (Make 2)
Strap 1: Chain 61. Slip stitch in 2nd chain from hook, slip stitch in each chain across. (60 sl sts) Fasten off, leaving a 12-inch tail at each end.
Strap 2: Repeat.
Pin straps to the inside of the neckline, spacing each strap approximately 2.5 inches from center front and center back. Try on or use a dress form to confirm strap length before sewing permanently.
Skirt
Working into the bottom edge of the bodice waist opening, join Yarn A with a slip stitch. Chain 1.
Round 1 (increase round for gather): Work 2 single crochet in every stitch around the waist edge. Slip stitch to first single crochet to join. (276 sc)
This doubling creates your gathered, full skirt.
Rounds 2 through 5: Chain 1, single crochet in each single crochet around. Slip stitch to join. (276 sc)
Rounds 6 through 12: Chain 1, single crochet in each single crochet around. Slip stitch to join. (276 sc)
Round 13 (increase round): Chain 1, (single crochet in 34 stitches, increase in next stitch) 8 times. Slip stitch to join. (284 sc)
Rounds 14 through 20: Chain 1, single crochet in each single crochet around. Slip stitch to join. (284 sc)
Round 21 (increase round): Chain 1, (single crochet in 35 stitches, increase) 4 times, (single crochet in 36 stitches, increase) 4 times. Slip stitch to join. (292 sc)
Continue this pattern of increasing 8 stitches every 8th round, working the increases as written in the pattern through Round 104.
Your final stitch counts at key checkpoints:
Rounds 98 through 104: Chain 1, single crochet in each single crochet around. Slip stitch to join. (364 sc)
Hem Scallop Edging
Adjust to 366 stitches for clean scallop repeats by working 1 increase at stitch 91 and 1 increase at stitch 274 on Round 104.
Scallop hem round: Chain 1, single crochet in first stitch, (skip 2 stitches, 5 double crochet in next stitch, skip 2 stitches, single crochet in next stitch) 61 times. Slip stitch to first single crochet to join. (61 scallop shells)
Fasten off and weave in ends.
Embroidering the Hearts
This is where your dress transforms from simple to stunning. You will embroider small black hearts across the entire bodice and skirt.
Heart size: Approximately 0.5 inches wide
Heart spacing: Every 2 inches horizontally, every 1.5 inches vertically, staggered in alternating rows
How to embroider one heart:
1. Thread your tapestry needle with approximately 18 inches of Yarn B
2. Bring the needle up from the wrong side at the bottom point of the heart
3. Work two small diagonal straight stitches upward and outward to form the inverted V base
4. From the top of each diagonal, curve back inward with short stitches to create the rounded top lobes
5. Fill the interior with 2 to 3 small straight stitches for a solid appearance
6. Bring the needle to the wrong side and secure with small knots
Tip: Practice on your blocked gauge swatch first. Mark heart positions with removable stitch markers before stitching.
Blocking Your Finished Dress
Blocking is essential. Your single crochet fabric will be stiff and uneven before blocking.
1. Hand wash in cool water with gentle soap
2. Press out excess water gently, never wring
3. Lay flat on a blocking mat or clean towels
4. Smooth into shape, aligning seams and spreading the skirt evenly
5. Pin the hem scallops open
6. Allow to dry completely, 12 to 24 hours
Your fabric will be softer, more even, and beautifully drapey after blocking.
Final Finishing
Weave in all remaining ends on the wrong side. Sew straps securely after your final fitting. If desired, add the optional elastic waistband casing by whipstitching a 1.25-inch fold on the inside of the waist, threading elastic through, and closing the opening.
This cream heart crochet sundress is honestly one of my favorite designs. The silhouette is timeless, the construction is satisfying, and those little embroidered hearts add so much personality without any complicated techniques.
Thank you so much for choosing this pattern. I would absolutely love to see your finished dress. Tag me on Instagram or share in our Facebook group so I can celebrate your gorgeous work with you.
If you loved this crochet tutorial, save it to your Pinterest boards so you can find it when you are ready to start. And please drop a comment below if you make one. I read every single comment and your photos make my entire week.
