
Looking for the perfect handmade gift for a baby shower or first birthday? This Yellow Rose Baby Dress Set has you covered. The pattern includes a vintage-inspired dress with a fitted ribbed bodice, puff sleeves, a flared eyelet skirt, plus a matching headband and booties.
Get the Ad-Free PDF Pattern
You can find the free pattern below, or you can purchase the ad-free printable PDF from my shop.
Get the Printable PDF →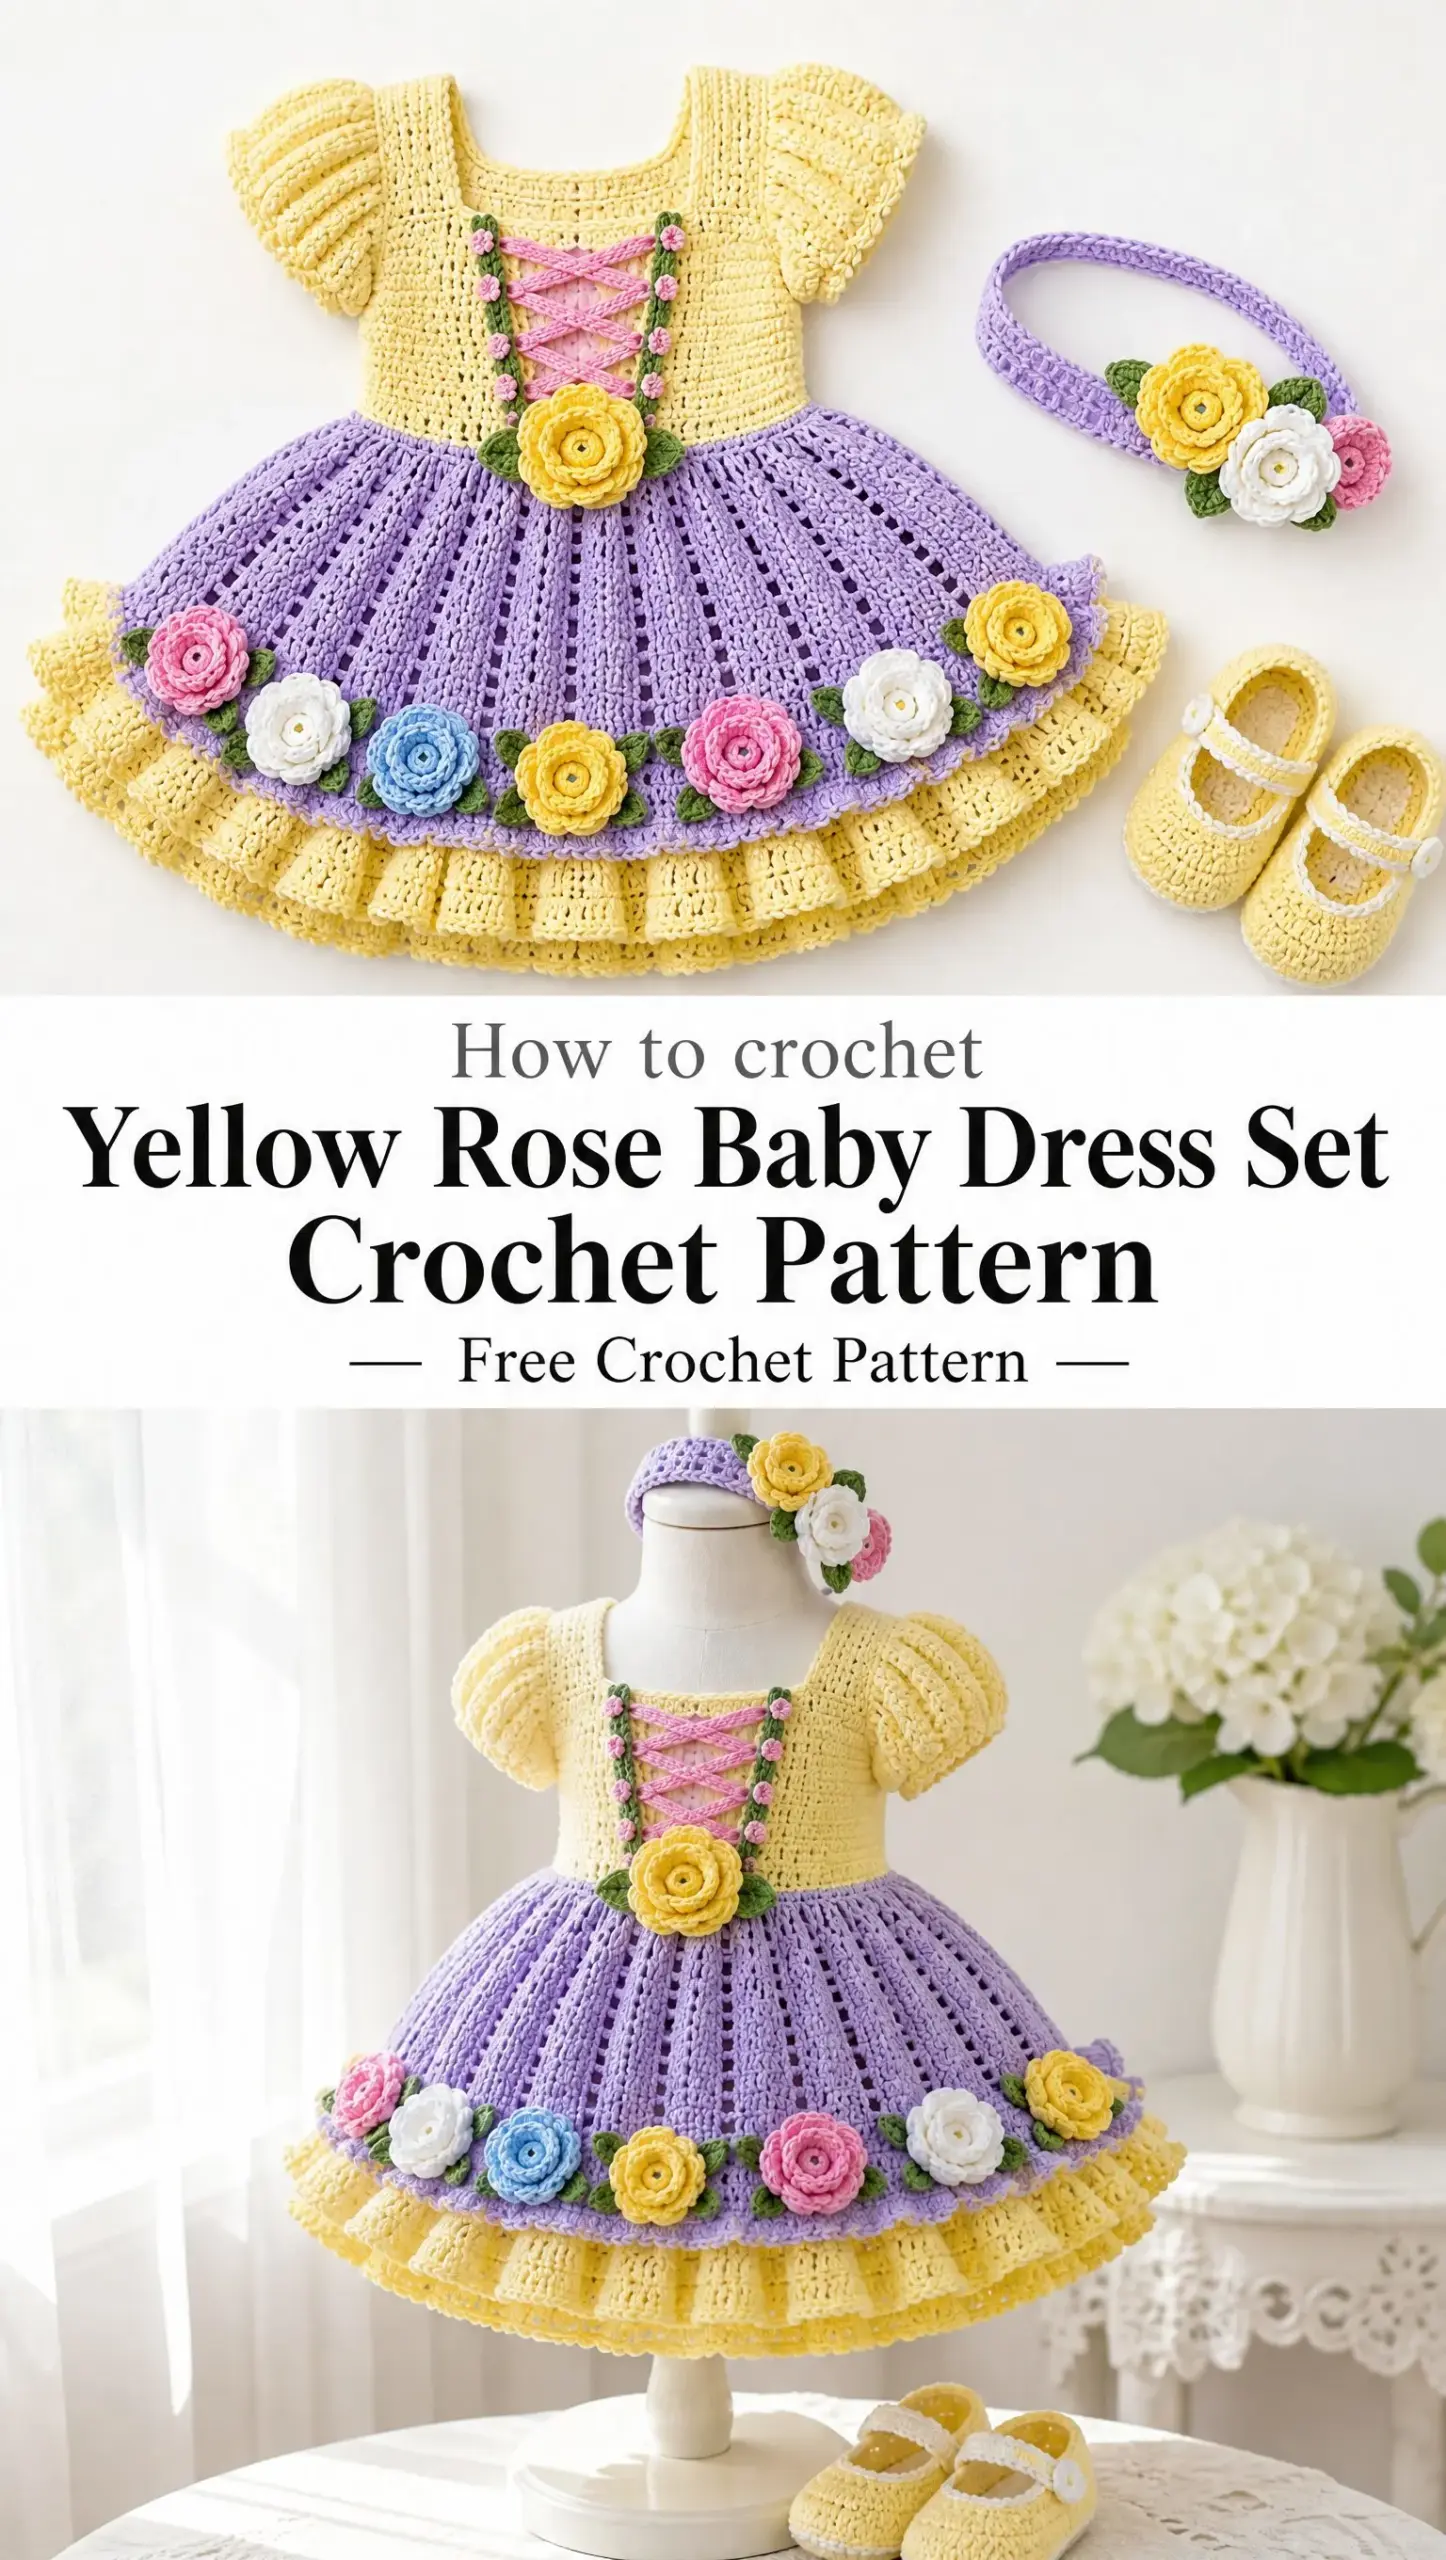
The construction uses basic stitches like single crochet (sc), half double crochet (hdc), and double crochet (dc), making it accessible for confident beginners ready to try something new. The set works up beautifully in DK weight cotton yarn, which is gentle on baby skin and easy to wash.
Whether you’re making this for your own little one or as a cherished gift, the finished set looks far more complicated than it actually is. Trust me, the "wow factor" here is off the charts, but the techniques are totally manageable if you take it one section at a time.
Project Details and Skill Level
This pattern is rated intermediate, but don’t let that scare you off. If you can work in the round, increase and decrease confidently, and follow written instructions, you can absolutely make this dress set.
Size: 6 to 12 months (adjustable for other baby sizes)
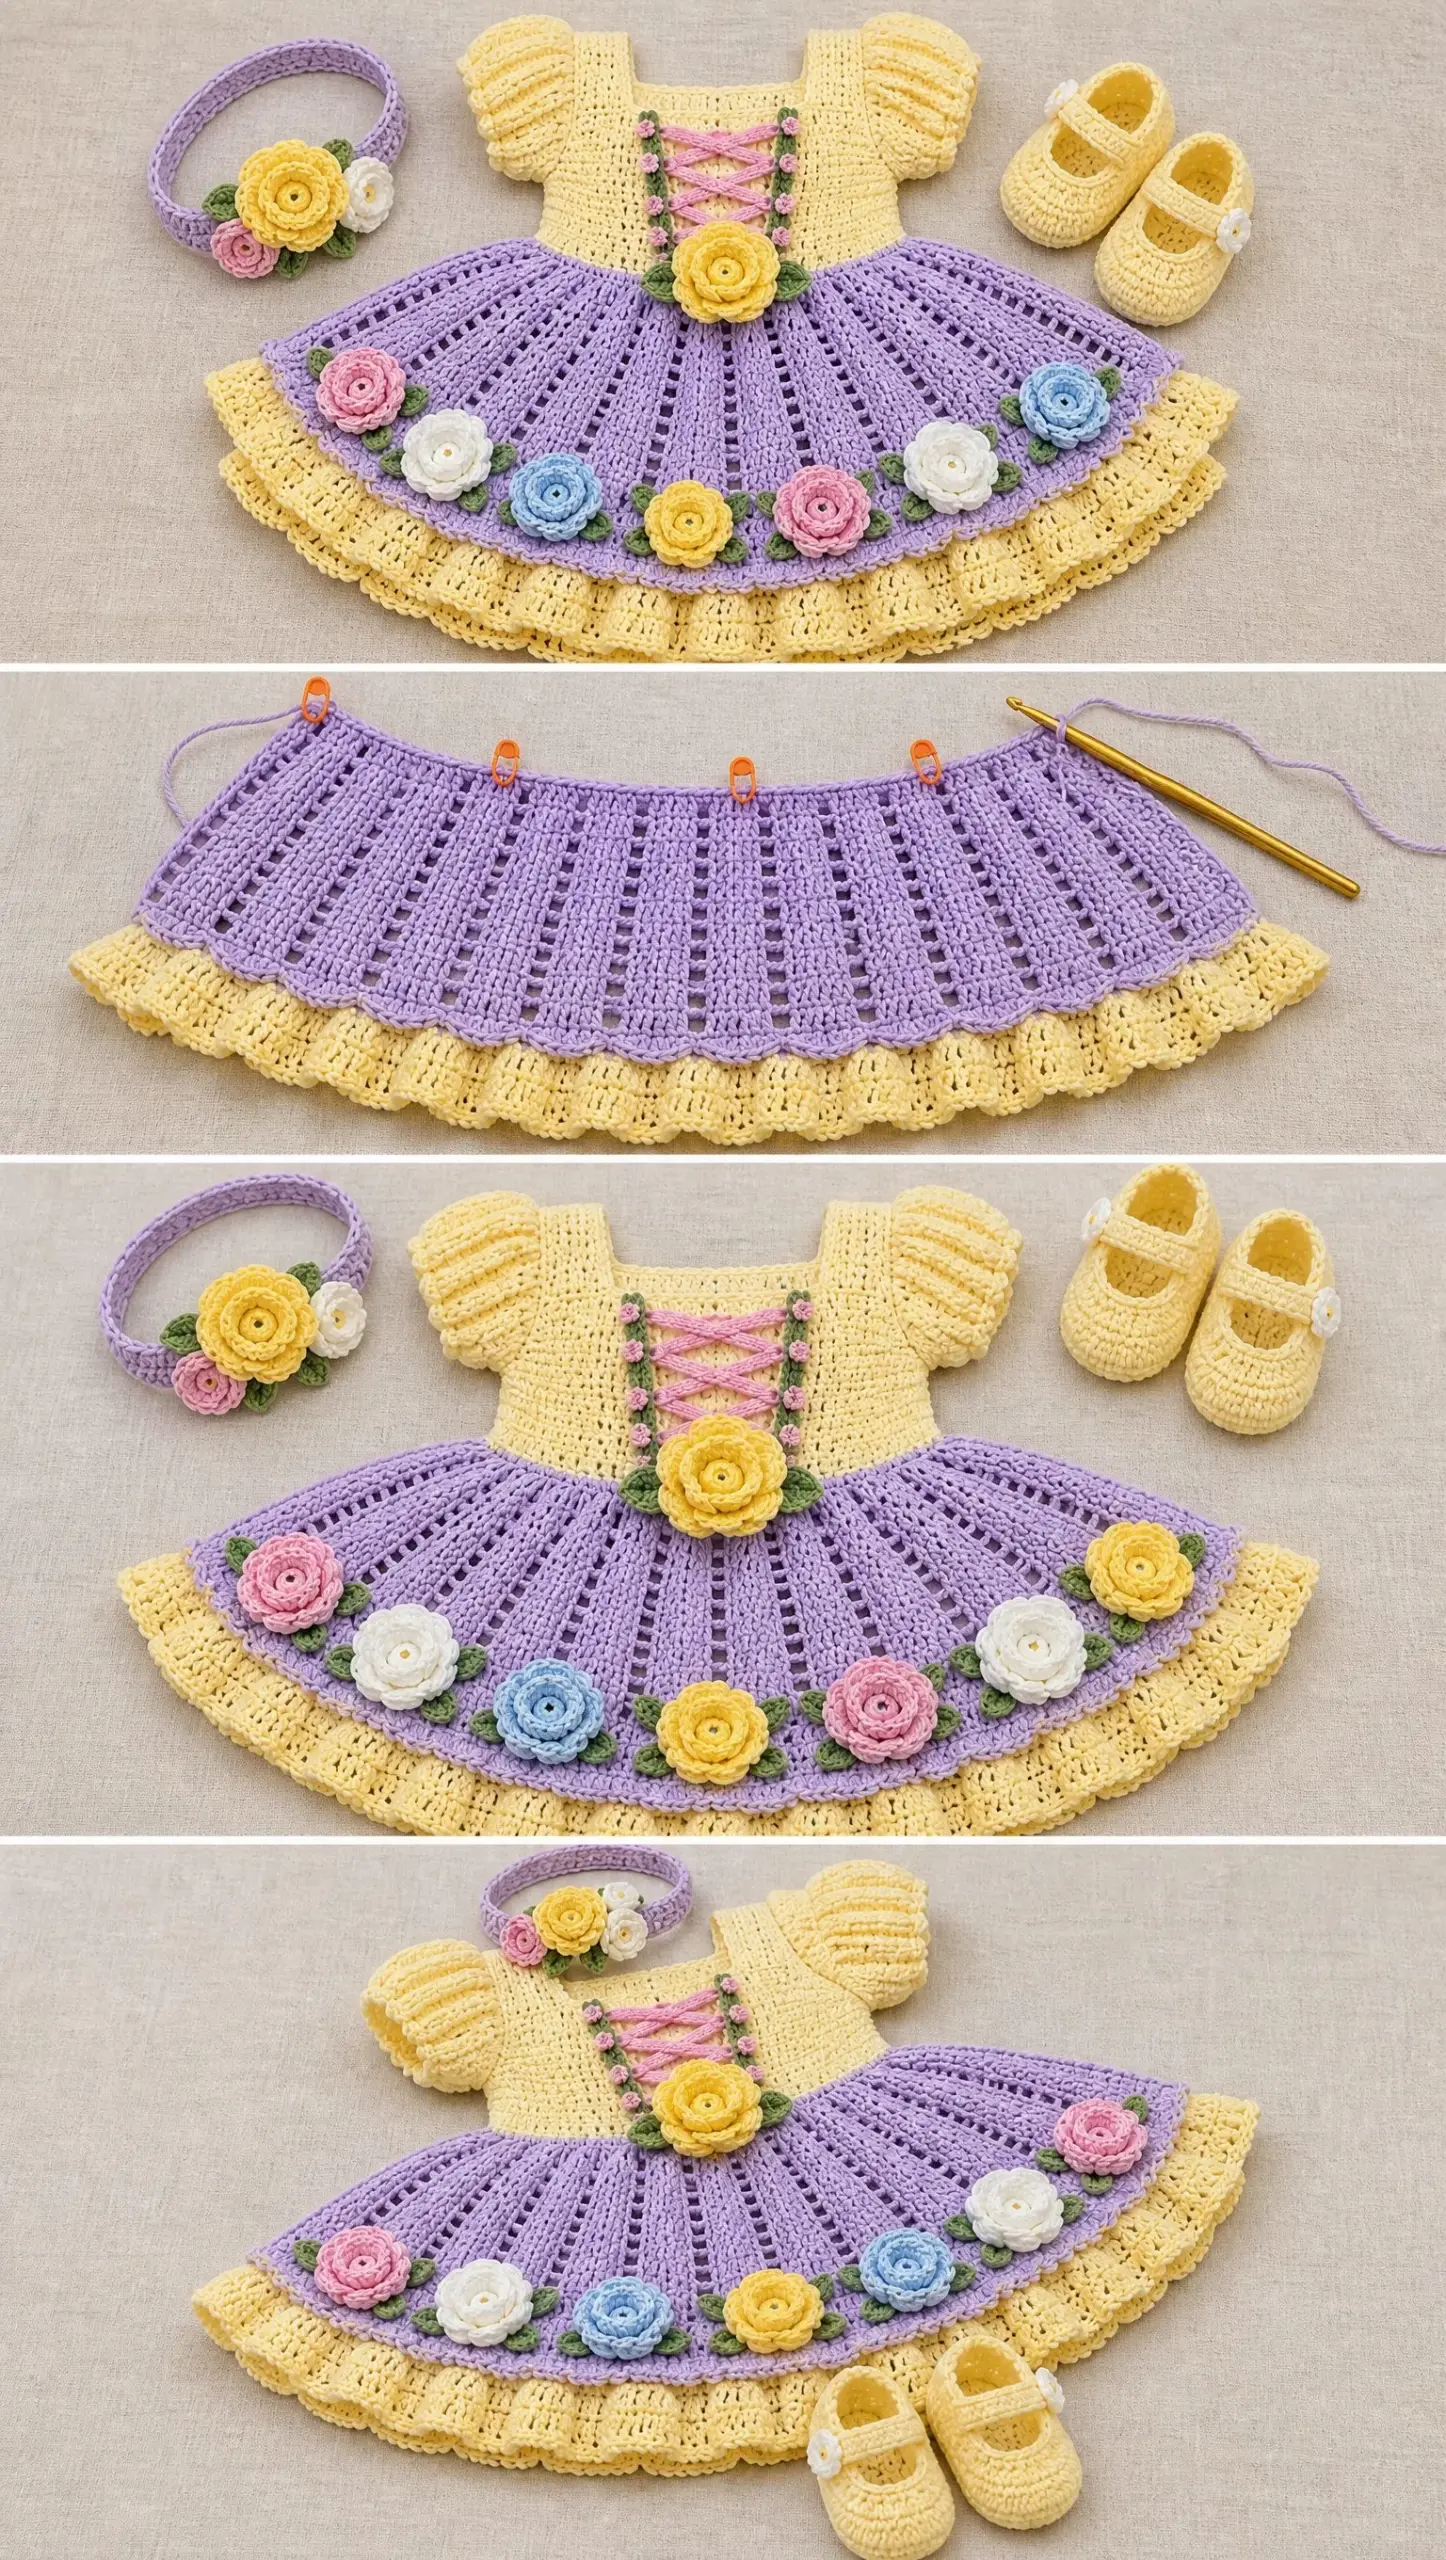
Finished Style: A vintage-inspired crochet baby dress with a fitted ribbed bodice, puff sleeves, lace-up floral panel, flared eyelet skirt, raised rose embellishments, matching headband, and booties.
The pattern includes helpful customization notes if you need to size up or down. More on that later!
Materials You’ll Need
Gather your supplies before you start. Having everything ready makes the process so much smoother.
Yarn:
DK weight cotton yarn in the following colors:
Tools:
Cotton yarn is my top recommendation here because it holds stitch definition beautifully, washes well, and stays soft against delicate baby skin. Plus, those pastel colors in cotton? Absolutely stunning.
Gauge
Getting your gauge right ensures your finished dress fits properly. Take a few minutes to make a gauge swatch before diving in.
22 stitches x 12 rows = approximately 10 cm in single crochet using 3.0 mm hook
If your swatch is too big, try going down a hook size. Too small? Go up a hook size. This little step saves so much frustration later.
Abbreviations
Let me break down all the stitches you’ll use in this pattern. If you’re newer to crochet, bookmark this section for quick reference.
The Dress Pattern
Now for the fun part! The dress is constructed in sections: bodice first, then the lace-up panel, skirt, and finally the ruffle and flower embellishments.
Bodice
The bodice forms the fitted top portion of the dress. You’ll work it in the round, then separate for the front and back panels.
Step 1: Chain 56 stitches using your pale lemon yellow yarn. Join carefully without twisting. This is crucial! Take an extra moment to lay your chain flat and make sure it isn’t twisted before joining.
Step 2: Work rounds of single crochet (sc) for the waistband. This creates that lovely fitted ribbed look you see in the photos.
Step 3: Continue with half double crochet (hdc) rows until the bodice measures approximately 12 cm.
Step 4: Shape armholes by skipping side sections and creating front and back panels. This is where you’ll divide your work.
Step 5: Continue the front and back separately, keeping the neckline square. Work each side independently, then you’ll join them at the shoulders later.
Step 6: Add short ribbed puff sleeves. Here’s how:
The puff sleeves add such a sweet vintage touch. Don’t stress if your first one looks a bit wonky. The second one always goes faster!
Lace-Up Front Panel
This decorative panel gives the dress that adorable corset-style detail you see in the reference images.
Step 1: Create a small rectangular panel in pink yarn using single crochet.
Step 2: Add green floral trim along both sides. This frames the panel beautifully.
Step 3: Make small eyelets for crisscross lacing. These are simply chain spaces worked into the fabric.
Step 4: Thread pink yarn through the eyelets in a corset style. Lace it up just like you would a shoelace, crossing back and forth.
Attach this panel to the center front of your bodice using a yarn needle and whip stitch.
Skirt
The skirt is where this dress really comes alive. The lilac color with the eyelet pattern creates gorgeous movement and drape.
Step 1: Attach lilac yarn around the bottom edge of the bodice.
Step 2 (Round 1): Work double crochet increases evenly around. This starts building the fullness of the skirt.
Step 3 (Rounds 2 through 8): Continue the vertical eyelet pattern by alternating dc and chain spaces for an airy texture. This is what gives the skirt that lovely lacy appearance.
Step 4: Increase stitches gradually to create the full flare. The pattern builds in these increases naturally, so just follow along round by round.
Step 5: Finish with a decorative scalloped edge. This polished detail makes the hem look professionally finished.
Yellow Tiered Ruffle
The ruffle at the bottom adds volume and that extra "wow" factor.
Step 1: Attach deep yellow yarn underneath the skirt edge.
Step 2: Work shell stitches around the entire circumference. Shell stitches are simply multiple double crochets worked into the same stitch, creating a fan shape.
Step 3: Add a second ruffle layer for extra fullness. Yes, two layers! This is what creates that gorgeous tiered effect.
Step 4: Finish with a soft picot border. A picot is a tiny decorative bump made by chaining 3 and slip stitching back into the first chain.
Crochet Rose Flowers
These roses are easier than they look, I promise. You’ll make multiple roses in pink, white, blue, and yellow.
Rose Instructions:
1. Chain 40.
2. Work dc clusters across the chain.
3. Roll the strip into a spiral flower shape. Start at one end and coil it like a cinnamon roll.
4. Sew securely underneath using your yarn needle.
5. Add small green crochet leaves.
Placement: Attach flowers evenly around the skirt hem and add one large yellow rose at the waist. The photos show a gorgeous arrangement, so use those as your guide for spacing.
Headband Pattern
The matching headband ties the whole set together perfectly.
Step 1: Crochet a lilac open-stitch band long enough to fit the baby’s head. Measure around baby’s head (or use standard measurements for the age range) and work to that length.
Step 2: Join ends securely using a slip stitch or by sewing with your yarn needle.
Step 3: Add yellow and white roses on one side, using the same rose technique from the dress.
Step 4: Add small green leaves around the flowers for that finishing touch.
Booties Pattern
Every little outfit needs matching shoes! These yellow booties complete the set.
Step 1: Make two matching yellow booties using pale lemon yellow yarn.
Step 2: Create an oval sole using increases. Start with a foundation chain and work increases at both ends to form the oval shape.
Step 3: Work upward in single crochet rounds to build the sides of the bootie.
Step 4: Shape the toe and ankle opening. This usually involves some decreasing at the toe area.
Step 5: Add white straps with small flower details. These straps help keep the booties on wiggly baby feet!
Finishing Your Baby Dress Set
Almost there! These final steps make all the difference.
Customization Notes for Different Sizes
Need to adjust the size? Here’s how:
To make larger sizes:
For smaller sizes, simply reverse these adjustments. The beauty of crochet is how adaptable it is!
Tips for Success
Take your time with the bodice. This is the foundation of the dress, and getting it right makes everything else easier.
Use stitch markers generously. Mark the beginning of each round, mark where you need to make increases, mark everything. Future you will be grateful.
Try on as you go if you have access to the baby (or a doll of similar size). This helps catch fitting issues early.
Don’t be afraid of the flowers. They look intricate, but once you make one or two, you’ll find your rhythm. They’re actually quite meditative to create.
Photograph your progress. Not only is it fun to look back on, but it helps if you need to frog (undo) any sections and want to remember what you did.
I really hope you enjoy making this Yellow Rose Baby Dress Set as much as I enjoyed putting this pattern together for you. It’s one of those projects that looks absolutely showstopping but breaks down into totally doable steps. Thank you so much for choosing this pattern!
If you make this adorable set, I would love to see your finished photos. Tag me on Instagram or share in our Facebook group. Seeing your creations honestly makes my day.
Save this pattern to your Pinterest boards so you can find it whenever you’re ready to start stitching! And please drop a comment below if you make it. I love hearing which color combinations you choose and seeing how these little dresses turn out. Happy crocheting!
Want a Quick & Easy Printable Version?
Get a clean, beautifully formatted PDF of this pattern — easy to follow step by step, ready to print or save on any device. No scrolling, no distractions, just the pattern.
Get the Printable PDF →