
I have been dreaming about designing a baby dress that hits all the marks. Something with a fitted bodice that looks polished. Ruffled sleeves that add sweetness without being fussy. A full lacy skirt that twirls beautifully. And those little flower details along the hem? I knew they would make the whole piece feel like a keepsake.
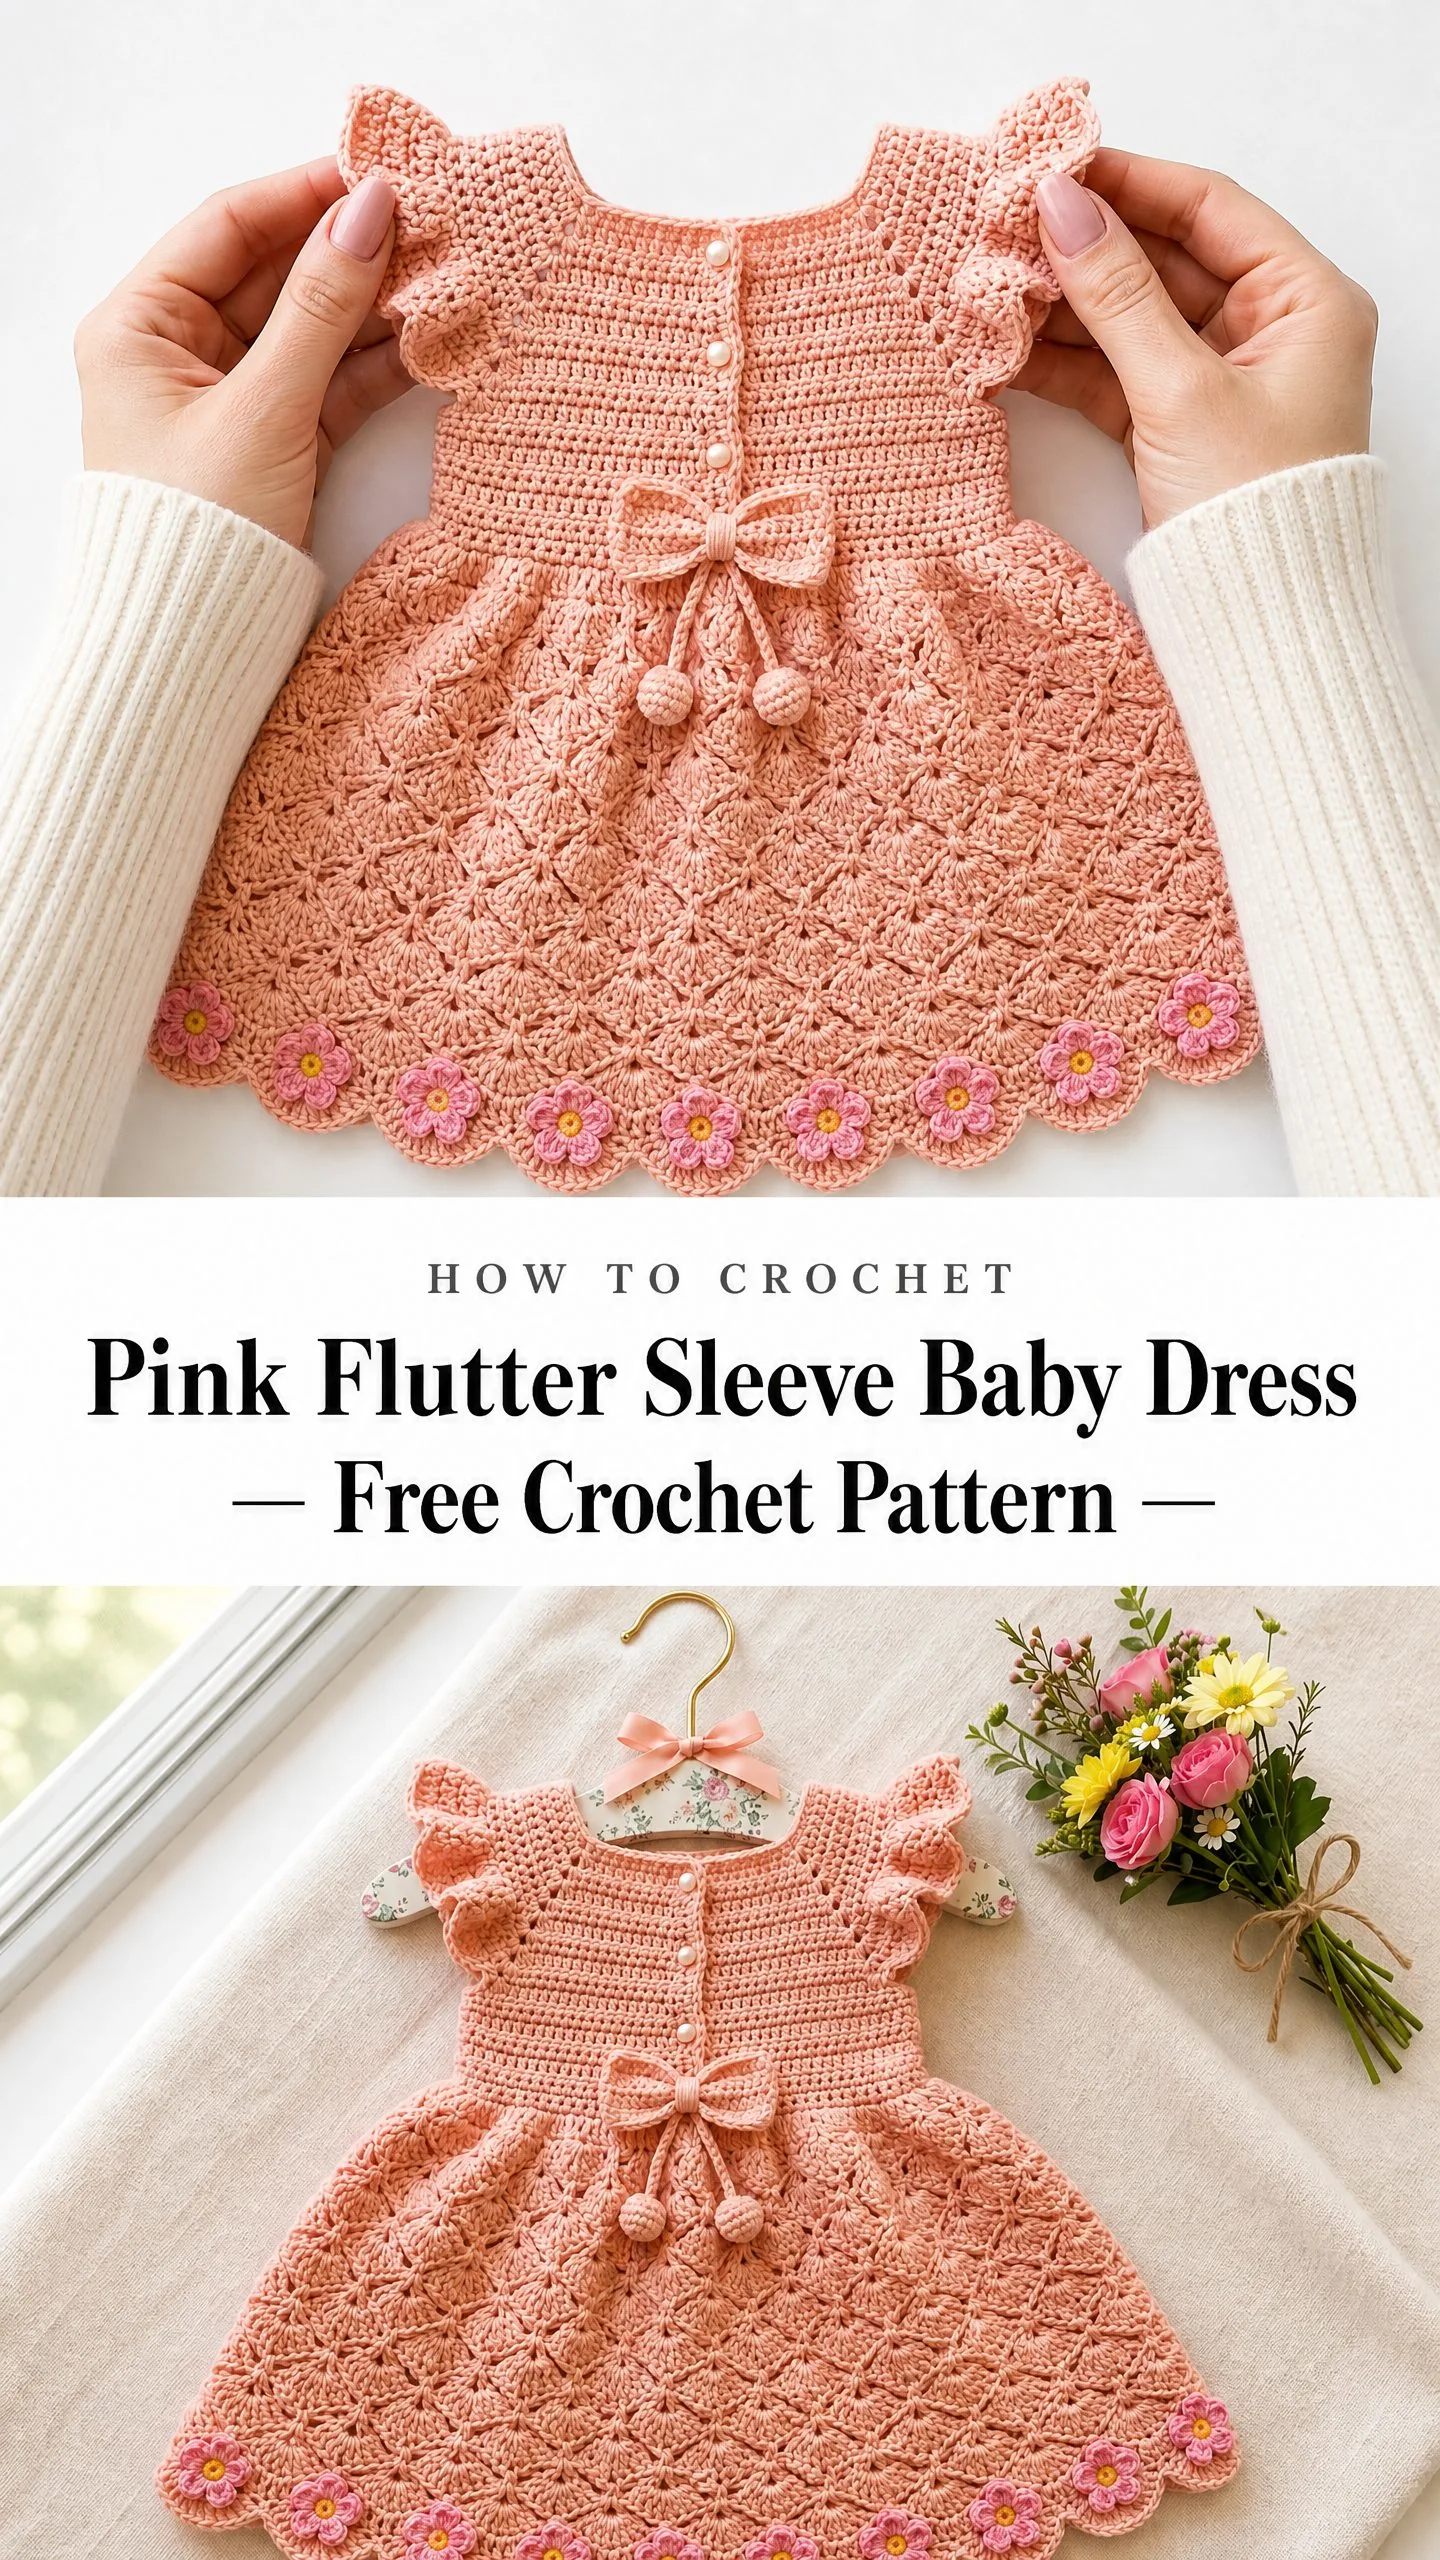
When I finally sat down to work out the construction, I made choices that would give you the best results. Top-down raglan shaping for a smooth yoke. A diamond lace stitch for the skirt that looks intricate but follows a simple four-round repeat. Flutter sleeves added at the end so you can see the dress take shape before committing to the ruffle details.
I am SO pleased with how this turned out. The peach color photographs like a dream, the proportions are just right for a 6 to 12 month baby, and the whole thing feels heirloom-worthy without requiring expert-level skills. Let me walk you through everything you need to know to make your own.
What Makes This Baby Dress Pattern Special
This crochet baby dress combines several techniques into one stunning finished piece. The bodice uses simple single crochet (sc) throughout, which means you are building a stable, fitted fabric that holds its shape beautifully. Single crochet is just inserting your hook, pulling up a loop, then pulling through both loops on your hook.
The skirt switches to an open diamond lace stitch that gives the dress movement and breathability. Do not let the word "lace" intimidate you. You are simply alternating between chain spaces and small shell clusters in a predictable rhythm.
The flutter sleeves get added after the main dress is complete. You work them directly into the armhole openings, doubling the stitch count twice to create that gorgeous layered ruffle effect.
Those darling flower appliques along the hem are worked separately and sewn on at the end. They are tiny, quick to make, and add the perfect finishing touch.
Skill Level and Time Estimate
This pattern sits at the advanced beginner to intermediate level. If you are comfortable with basic stitches and can follow a repeating lace pattern, you will do great here. The bodice is straightforward single crochet with raglan shaping. The skirt demands attention to pattern placement, but once you complete one four-round cycle, you will have the rhythm down.
Expect this project to take approximately 12 to 18 hours if you crochet at a steady pace. First-time makers should budget closer to 20 hours. This is not a quick weekend project, but every hour shows in the finished result.
Materials You Will Need
Yarn: Sport weight yarn (CYCA weight 2) in three colors:
Hooks:
Notions:
Yarn Suggestions
Paintbox Yarns Simply DK in shade "Blush Pink" or "Salmon Sorbet" offers excellent stitch definition and is machine washable. Perfect for baby items.
Scheepjes Catona (100% mercerized cotton) in shade 263 "Petal Peach" gives you a soft, breathable option with beautiful drape. You will need approximately 7 to 8 balls in the main color.
Lion Brand Pound of Love in shade "Pastel Pink" is a budget-friendly option that is hypoallergenic and machine washable.
Any sport weight yarn that achieves gauge will work. Avoid fuzzy yarns since they will obscure the lace pattern.
Gauge
With your D-3 / 3.25 mm hook: 20 sc x 24 rows = 4 inches / 10 cm, blocked.
One lace diamond repeat (6 stitches wide) measures approximately 1.2 inches / 3 cm.
Gauge matters here because this is a fitted garment. Swatch before you start and adjust your hook size if needed.
Finished Measurements
This pattern fits size 6 to 12 months.
Abbreviations
Let me define every stitch and term you will encounter:
Special Stitches Explained
Diamond Lace Repeat
This 6-stitch, 4-round motif creates the open lattice texture of the skirt. I will walk you through each round in detail in the skirt section.
Scallop Edging
Skip 1 stitch, work 5 dc in next stitch, skip 1 stitch, slip stitch in next stitch. This forms one scallop shell over 4 stitches.
Small Flower Applique
Chain 4, slip stitch to form a ring.
Round 1: Chain 1, work 10 sc into ring, slip stitch to first sc. (10 sc)
Round 2: (Chain 3, dc in same stitch, chain 3, slip stitch in next stitch) 5 times. (5 petals)
Fasten off, leaving a 12-inch tail for sewing. Join CB (yellow) and work 1 slip stitch into center ring, chain 1, work 5 sc into center ring, slip stitch to first sc. Fasten off.
Pompom Tie Ends
Wrap MC yarn around three fingers approximately 30 times. Tie tightly at the center with a separate 8-inch strand. Cut loops on both sides. Trim into a round pompom shape approximately 0.75 inch / 2 cm in diameter. Make 2.
Pattern Instructions
Section 1: Yoke (Worked Back and Forth in Rows)
The yoke is worked flat to accommodate the back button opening. The right side faces you on right-side rows.
Foundation Chain: With MC and D-3 hook, ch 53. (53 ch)
Row 1 (RS): Sc in 2nd ch from hook and in each ch across. (52 sc)
Place markers to divide the yoke into sections:
Row 2 (WS): Ch 1, turn. Sc in each st across. (52 sc)
Row 3 (RS, raglan increase row): Ch 1, turn. Sc to 1 st before marker A, 2 sc in next st (inc), sc in marked st (move marker up), 2 sc in next st (inc). Repeat this at each marker B, C, and D. Sc to end. (60 sc)
Row 4 (WS): Ch 1, turn. Sc in each st across. (60 sc)
Row 5 (RS, increase row): Ch 1, turn. Repeat increase sequence at all 4 markers. (68 sc)
Row 6 (WS): Ch 1, turn. Sc in each st across. (68 sc)
Row 7 (RS, increase row): Repeat increase sequence. (76 sc)
Row 8 (WS): Ch 1, turn. Sc in each st across. (76 sc)
Row 9 (RS, increase row): Repeat increase sequence. (84 sc)
Row 10 (WS): Ch 1, turn. Sc in each st across. (84 sc)
Row 11 (RS, increase row): Repeat increase sequence. (92 sc)
Row 12 (WS): Ch 1, turn. Sc in each st across. (92 sc)
Row 13 (RS, increase row): Repeat increase sequence. (100 sc)
Row 14 (WS): Ch 1, turn. Sc in each st across. (100 sc)
Row 15 (RS, increase row): Repeat increase sequence. (108 sc)
Row 16 (WS): Ch 1, turn. Sc in each st across. (108 sc)
Checkpoint: After Row 16, the yoke should measure approximately 2.75 inches / 7 cm from the foundation chain. Count stitches in each section: 14 sts each back section, 20 sts each sleeve, 36 sts front.
Section 2: Joining the Yoke and Dividing Sleeves
Now join the flat yoke into a tube, setting aside sleeve stitches and adding underarm chains.
Row 17 (RS): Ch 1, turn. Sc across 14 left back sts. Slip the next 20 left sleeve sts onto a stitch holder or locking markers (do not work them). Ch 4 (underarm chain), sc across 36 front sts. Slip the next 20 right sleeve sts onto holder. Ch 4 (underarm chain), sc across 14 right back sts. (72 sc plus 8 chain sts = 80 working sts)
Join the back edges for working in rounds. With RS facing, bring the two back edges together and slip stitch through both layers of the first and last stitch of Row 17 to form the center back seam.
Button Opening: Leave a 1.5-inch / 3.8 cm gap at the top of the seam unworked. This is where the 3 buttons will attach. Work the remaining seam length closed with slip stitches.
Section 3: Bodice (Worked in Rounds)
Continue in joined rounds of sc, treating underarm chains as working stitches.
Round 18: Join MC at center back seam, ch 1. Sc across back sts (14), sc in each of 4 underarm ch, sc across front (36), sc in each of 4 underarm ch, sc across back remainder to seam (14). Sl st to first sc to join. (72 sc)
Rounds 19 through 24: Ch 1, sc in each st around, sl st to join. (72 sc each round)
Round 25 (Waist Eyelet Round for ribbon threading): Ch 1. (Sc in next 5 sts, ch 1, sk 1 st) 12 times around. Sl st to first sc to join. (60 sc plus 12 ch-1 sps = 72 sts total)
Round 26: Ch 1. Sc in each sc and in each ch-1 sp around. Sl st to join. (72 sc)
Checkpoint: After Round 26, the bodice should measure approximately 2.75 inches / 7 cm from the underarm join. Total dress length from foundation chain neckline should be approximately 5.5 inches / 14 cm.
Section 4: Waist Increase Round
Round 27 (increase round): Ch 1. 2 sc in each st around. Sl st to join. (144 sc)
Section 5: Skirt Lace Pattern (Worked in Rounds)
The skirt uses a repeating 6-stitch, 4-round diamond lace motif. You have 144 sts, which gives you 24 complete repeats. Work 7 complete cycles (28 rounds total).
Cycle Round 1: Ch 1, sc in first st. (Ch 2, sk 2, sc in next, ch 2, sk 2, sc in next) 23 times. Ch 2, sk 2, sc in next, ch 2, sk 2. Sl st to first sc. (24 sc, 48 ch-2 sps)
Cycle Round 2: Sl st into first ch-2 sp. Ch 3 (counts as dc), dc in same sp, ch 1, 2 dc in same sp. Sc in next sc. (2 dc in next ch-2 sp, ch 1, 2 dc in same ch-2 sp, sc in next sc) 23 times. Sl st to top of beg ch-3. (24 shells, 24 sc)
Cycle Round 3: Sl st into ch-1 sp of first shell. Ch 3 (counts as dc), dc in same sp. Ch 2. (Dc2tog: first leg into same ch-1 sp, second leg into ch-1 sp of next shell, ch 2, 2 dc in same ch-1 sp as second leg, ch 2) repeat around. Sl st to top of beg ch-3.
Cycle Round 4 (normalizing round): Ch 1, sc in first st. (2 sc in next ch-2 sp, sc in next dc2tog, 2 sc in next ch-2 sp, sc in next 2 dc) rep 23 times, then 2 sc in last ch-2 sp. Sl st to first sc. (144 sc)
Repeat Cycle Rounds 1 through 4 a total of 7 times (28 lace rounds total).
Checkpoint: The skirt should measure approximately 7 inches / 17.8 cm from the waist.
Section 6: Scallop Hem Edging
Hem Round 1 (increase for scallop): Ch 1, (sc in next 2 sts, 2 sc in next st) 48 times. Sl st to join. (192 sc)
Hem Round 2 (scallop edging): Sl st in first st. (Sk 1 st, 5 dc in next st, sk 1 st, sl st in next st) 48 times. Sl st to first sl st to close round. (48 scallop shells)
Fasten off. Weave in end.
Section 7: Flutter Sleeves
Work each sleeve as follows:
Step 1: Return held 20 sleeve sts to hook. Join yarn at the center underarm point.
Step 2: Pick up and sc across the 4 underarm chain sts as well. (24 sc total)
Sleeve Round 1: Ch 1, sc in each st around, sl st to join. (24 sc)
Switch to C-2 / 2.75 mm hook.
Sleeve Round 2 (first ruffle): Ch 3 (counts as dc), dc in same st. 2 dc in each sc around. Sl st to top of beg ch-3. (48 dc)
Sleeve Round 3 (second ruffle): Ch 3 (counts as dc), dc in same st. 2 dc in each dc around. Sl st to top of beg ch-3. (96 dc)
Sleeve Round 4 (scallop edge): Sl st in first dc. (Sk 1 st, 5 dc in next st, sk 1 st, sl st in next st) 24 times. Sl st to close. (24 mini scallops)
Fasten off. Repeat for second sleeve.
Section 8: Back Button Band and Button Loops
With MC and C-2 / 2.75 mm hook, work the button band along the left back opening edge:
Row 1: Join yarn at bottom of opening. Sc evenly up the edge, approximately 1 sc per row end, for approximately 9 sc total across the 1.5-inch / 3.8-cm opening. Ch 1, turn.
Row 2 (button loops): Sc in first 2 sts. (Ch 3, sk 1 st, sc in next 2 sts) 2 times. Ch 3, sk 1 st, sc in last st. (3 button loops created)
Row 3: Sc in each st and 3 sc in each ch-3 sp across. Fasten off.
On the right back edge, work a plain sc band of 3 rows without loops. Sew buttons opposite loops.
Section 9: Flower Appliques
Make 8 flowers using CA (bright pink) and CB (yellow) following the special stitch instructions above. Sew them evenly spaced along the hem, centered on scallop shells. Space them so they fall at every 6th scallop shell (approximately every 3.5 inches / 8.9 cm around the hem).
Section 10: Waist Tie and Pompoms
Thread the 20-inch / 51-cm ribbon through the eyelet round at the waist, beginning and ending at the center front. Tie the ribbon ends into a bow.
Make 2 pompoms as described. Attach one pompom to each end of a 4-inch / 10-cm strand of MC yarn. Tie this strand around the center of the ribbon bow so the pompoms hang at the front center.
Finishing and Blocking Your Crochet Baby Dress
Step 1: Weave in all ends securely on the wrong side. Thread ends through at least 1 inch / 2.5 cm of fabric in two directions and trim.
Step 2: Fill a basin with lukewarm water and a small amount of wool wash or gentle soap. Submerge the dress and gently press to saturate. Do not wring.
Step 3: Roll the dress in a clean dry towel and press gently to remove excess water.
Step 4: Lay the dress flat on a blocking mat. Pin the scallop hem so each point is stretched gently outward. Pin the sleeve ruffles open. Measure to confirm finished dimensions.
Step 5: Allow to dry completely (24 to 48 hours). Remove pins.
Step 6: Sew on pearl buttons, flower appliques, and attach the ribbon with pompoms.
Size Customization Tips
To size down to newborn (chest 14 inches / 35.5 cm):
To size up to 12 to 18 months (chest 19 inches / 48 cm):
The waist stitch count must always be divisible by 6 for the lace pattern and by 4 for the scallop edging.
Care Instructions
Machine wash on gentle cycle in cold water if acrylic or cotton yarn is used. Lay flat to dry. Do not tumble dry. If wool or wool-blend yarn is used, hand wash in cold water with wool-safe detergent and lay flat to dry. Remove buttons before washing if they are not colorfast.
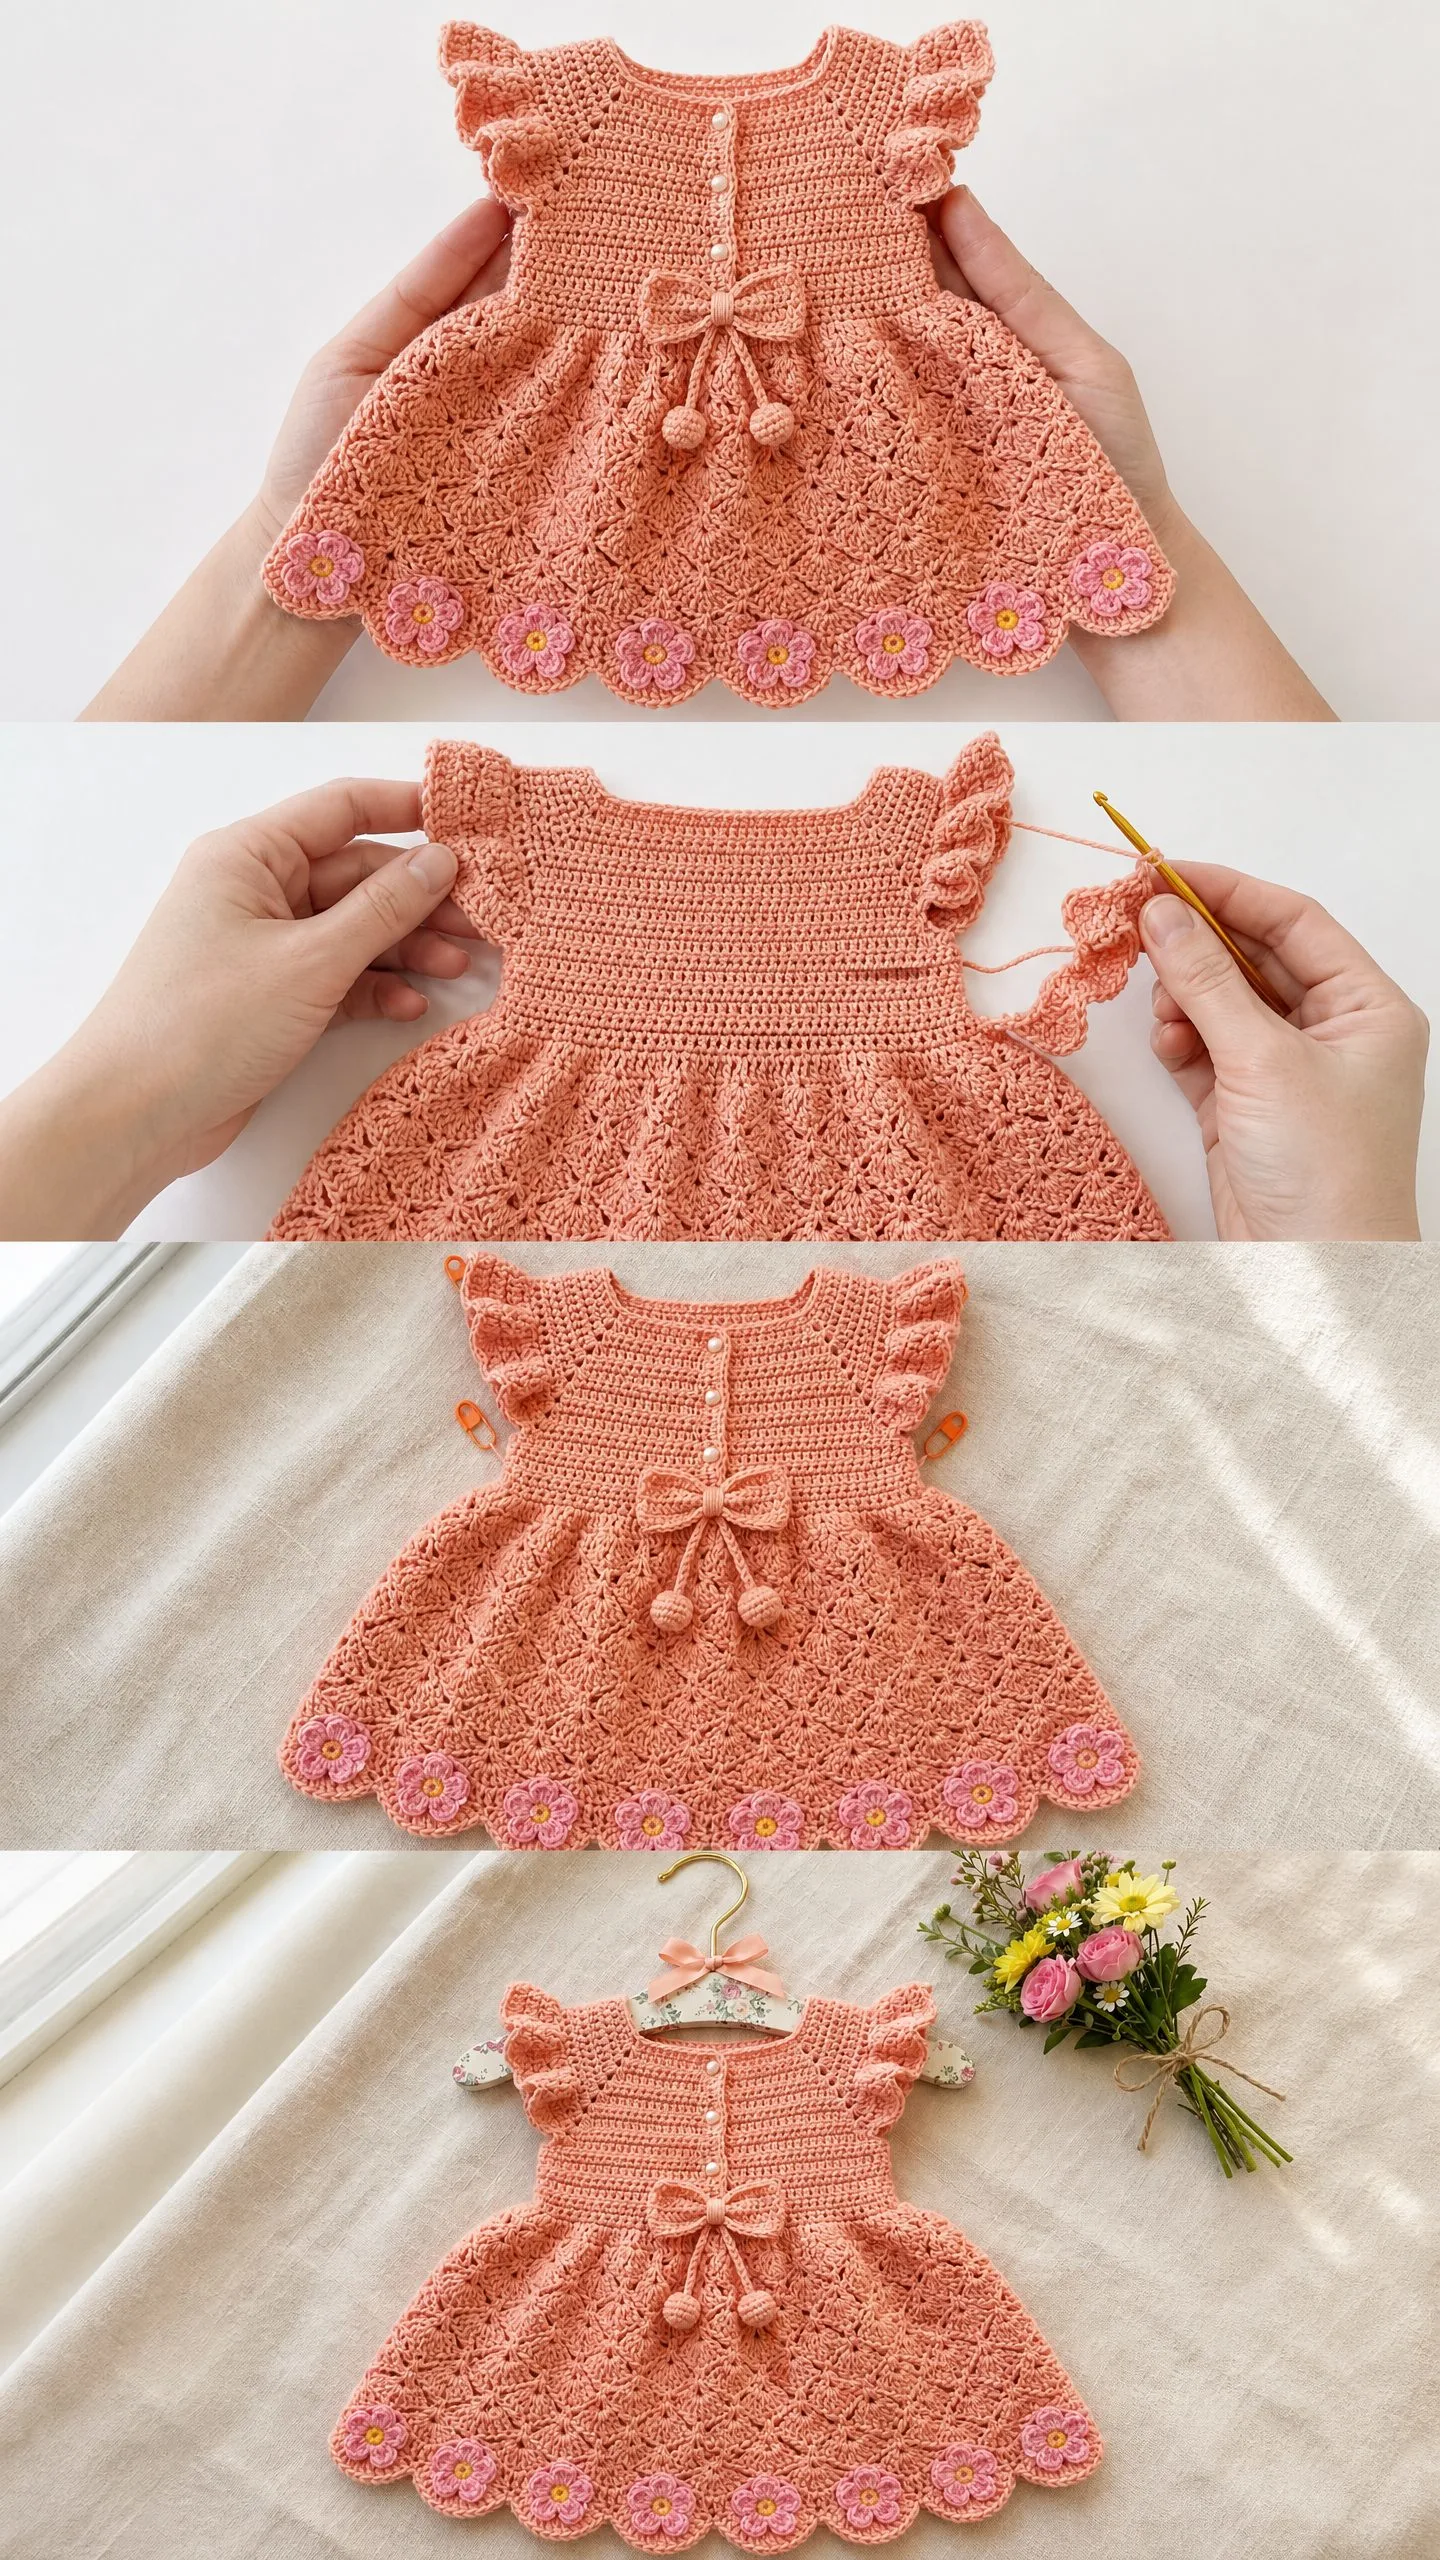
You Did It!
Thank you so much for choosing this pattern for your next project. I truly hope you love making this dress as much as I loved designing it. When you finish, I would absolutely love to see your creation! Share your photos on Instagram or Facebook and tag me so I can celebrate with you.
If this pattern made you smile, go ahead and save it to your Pinterest boards so you can find it easily later. And please drop a comment below if you make one of these sweet little dresses. I love hearing which colors you choose and seeing how each one turns out differently!
