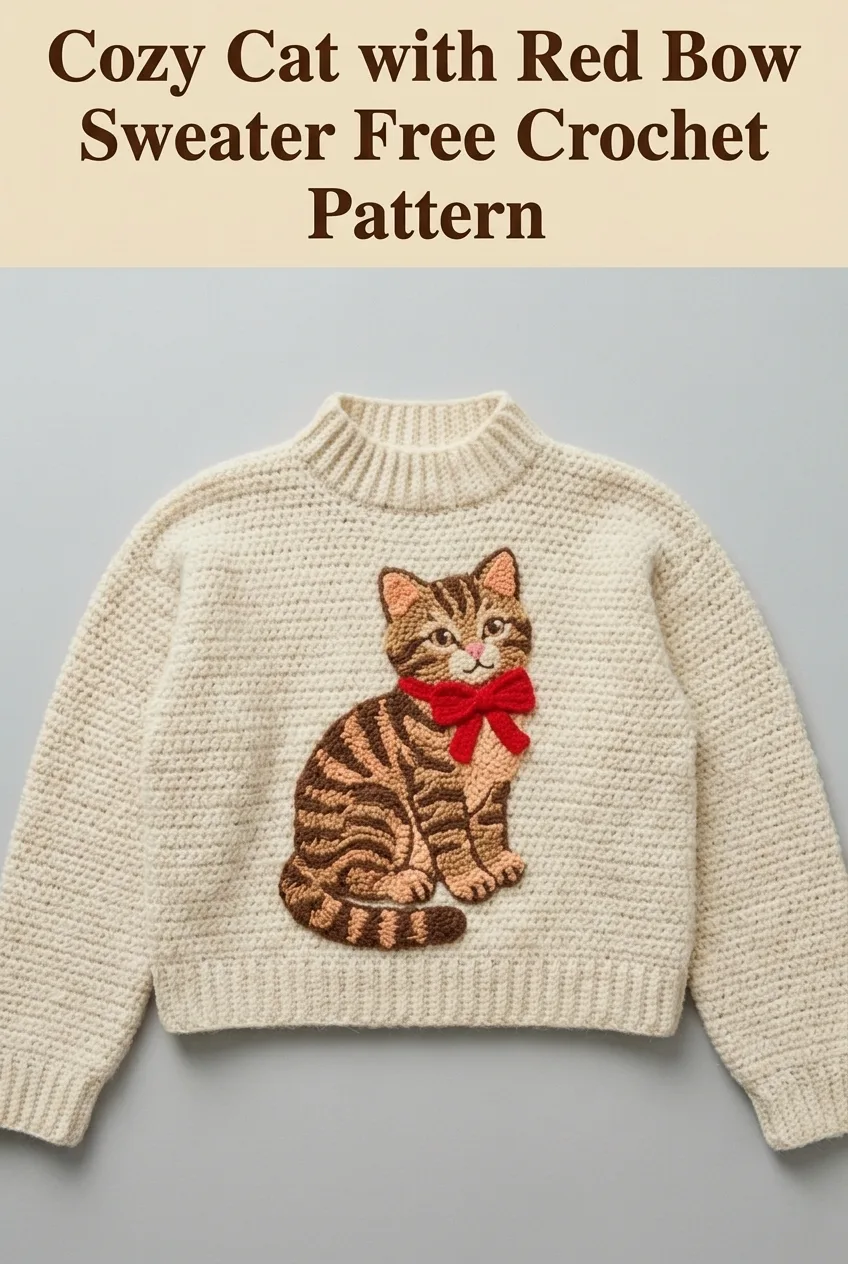
This is a cream crewneck sweater featuring a large tabby cat appliqué with a red bow. The sweater uses single crochet for the body and ribbed cuffs. The cat motif combines surface crochet and appliqué techniques. Intermediate skill level. Perfect for cat lovers who want a statement piece.
Why You’ll Love This Cat Sweater Crochet Pattern
I designed this sweater because I wanted something cozy that actually makes people smile. The tabby cat with his little red bow steals the show, and the neutral cream background lets the appliqué really pop. This crochet tutorial walks you through the entire process, from the basic sweater construction to adding that adorable feline friend to the front.
The sweater itself is surprisingly straightforward. If you can work single crochet in rows and know how to seam pieces together, you can make this. The cat appliqué is where things get interesting, but I promise it’s not as complicated as it looks. We’ll break it down piece by piece.
Skill Level
Intermediate. You should be comfortable with basic stitches, working in rows, seaming, and following multi-part instructions. The appliqué requires some patience and attention to detail, but I’ll guide you through every step.
Finished Measurements
This pattern is written for size Medium.
*To adjust sizing, add or subtract stitches in multiples of 4 for the body and multiples of 2 for the sleeves.*
Materials Needed
Yarn
Tools
Gauge
14 stitches x 16 rows = 4 inches in single crochet with 5.0mm hook
*Always check your gauge before starting. A sweater that’s off gauge will fit poorly, so take the time to swatch.*
Abbreviations and Stitch Definitions
Let me walk you through every stitch we’ll use. Even if you know these, a quick refresher never hurts.
Ch = Chain. Wrap yarn over hook, pull through loop on hook. This creates a foundation or adds height.
Sl st = Slip stitch. Insert hook, yarn over, pull through both loops at once. Used for joining or creating flat seams.
Sc = Single crochet. Insert hook into stitch, yarn over, pull up a loop (2 loops on hook), yarn over, pull through both loops. Our main stitch for the sweater body.
Sc2tog = Single crochet two together. A decrease. Insert hook into first stitch, pull up a loop, insert hook into next stitch, pull up a loop (3 loops on hook), yarn over, pull through all 3 loops. You’ve turned 2 stitches into 1.
Inc = Increase. Work 2 single crochet stitches into the same stitch.
BLO = Back loop only. Insert your hook under just the back loop of the stitch instead of both loops. Creates ribbed texture.
FO = Fasten off. Cut yarn, pull tail through final loop, tighten.
Step by Step Crochet Pattern for the Sweater Body
Back Panel
Row 1: With MC and 5.0mm hook, ch 75. Sc in 2nd ch from hook and in each ch across. Turn. (74 sts)
Rows 2 through 70: Ch 1, sc in each st across. Turn. (74 sts)
*This creates a panel approximately 21 inches wide and 17.5 inches tall.*
Fasten off. Leave a long tail for seaming.
Front Panel
Work exactly as the back panel through Row 46.
Row 47 through 70: Continue in sc across all stitches. (74 sts)
*We’ll add the cat appliqué to this panel after blocking, so keep the surface nice and even.*
Fasten off.
Sleeves (Make 2)
Row 1: With MC and 5.0mm hook, ch 37. Sc in 2nd ch from hook and in each ch across. Turn. (36 sts)
Rows 2 through 4: Ch 1, sc in each st across. Turn. (36 sts)
Row 5 (Increase Row): Ch 1, 2 sc in first st, sc in each st to last st, 2 sc in last st. Turn. (38 sts)
Rows 6 through 9: Ch 1, sc in each st across. Turn.
Row 10: Repeat increase row. (40 sts)
Continue in this pattern, increasing every 5th row until you have 52 stitches.
Continue even (no increases) until sleeve measures 16 inches from the beginning.
Fasten off. Leave a long tail.
Ribbed Cuffs (Make 2 for Sleeves, 1 for Neckline, 1 for Bottom Hem)
The ribbed edges give this sweater that polished, professional finish. We work these in BLO single crochet to create the stretchy ribbed texture.
For Sleeve Cuffs:
Row 1: Ch 9. Sc in 2nd ch from hook and in each ch across. Turn. (8 sts)
Rows 2 through 36: Ch 1, sc in BLO of each st across. Turn.
Fasten off. This strip should be slightly shorter than your sleeve circumference to create a snug fit.
For Bottom Hem:
Row 1: Ch 9. Sc in 2nd ch from hook and in each ch across. Turn. (8 sts)
Rows 2 through 148: Ch 1, sc in BLO of each st across. Turn.
This creates a long ribbed strip to wrap around the entire bottom of the sweater.
For Neckline:
Row 1: Ch 7. Sc in 2nd ch from hook and in each ch across. Turn. (6 sts)
Rows 2 through 80: Ch 1, sc in BLO of each st across. Turn.
Cat Appliqué Instructions
This is the fun part. We’ll create the cat in sections, then assemble and attach it to the sweater front.
Cat Body
Round 1: With CC1 and 4.5mm hook, ch 4. Sl st to join into a ring.
Round 2: Ch 1, 8 sc into ring. Sl st to join. (8 sts)
Round 3: Ch 1, 2 sc in each st around. Sl st to join. (16 sts)
Round 4: Ch 1, *sc in next st, 2 sc in next st* repeat around. Sl st to join. (24 sts)
Round 5: Ch 1, *sc in next 2 sts, 2 sc in next st* repeat around. Sl st to join. (32 sts)
Continue increasing in this pattern until you have a circle approximately 5 inches in diameter. Then work even for 2 rounds.
Shape the bottom: Begin working in rows instead of rounds. Work sc across only the bottom portion, decreasing gradually to form the seated cat shape. Work approximately 8 rows, decreasing at each end every other row.
Fasten off.
Cat Head
Round 1: With CC1, ch 4. Sl st to join.
Round 2: Ch 1, 8 sc into ring. Sl st to join.
Round 3 through 8: Continue increasing as with body until head measures approximately 3.5 inches in diameter.
Fasten off.
Ears (Make 2)
Row 1: With CC1, ch 6. Sc in 2nd ch from hook and in each ch across. Turn. (5 sts)
Row 2: Ch 1, sc2tog, sc in next st, sc2tog. Turn. (3 sts)
Row 3: Ch 1, sc2tog, sc in last st. (2 sts)
Row 4: Ch 1, sc2tog. FO. (1 st)
Inner Ears (Make 2)
Work as outer ears with CC3, but start with ch 4 to create smaller triangles.
Red Bow
Bow Loop (Make 2):
Row 1: With CC4, ch 12. Sc in 2nd ch from hook and in each ch across. Turn. (11 sts)
Rows 2 through 6: Ch 1, sc in each st across. Turn.
Fasten off. Fold each piece in half and pinch the center to create a loop shape.
Bow Center:
Row 1: Ch 4. Sc in 2nd ch from hook and in each ch across. Turn. (3 sts)
Rows 2 through 8: Ch 1, sc in each st across. Turn.
Wrap this strip around the center of both loops to create the bow shape. Sew in place.
Stripes
Using CC2, create stripe shapes by chaining various lengths (6 to 15 chains) and working 1 or 2 rows of sc. These will be sewn onto the body and head in a tabby pattern.
Assembly Instructions
Block All Pieces
Wet block or steam block your sweater panels, sleeves, and ribbing. Pin to measurements and allow to dry completely.
Seam the Sweater
1. Shoulder seams: Align front and back panels. Seam the top 5 inches on each side, leaving a 10 inch neck opening in the center.
2. Attach sleeves: Find the center of each sleeve top. Pin to shoulder seam. Sew sleeves to body, matching the sleeve edges to the armhole opening.
3. Side and underarm seams: Sew from cuff to hem in one continuous seam on each side.
4. Attach ribbing: Whip stitch the sleeve cuffs to the sleeve ends. Attach bottom hem ribbing around the entire sweater bottom. Attach neck ribbing around the neckline, easing to fit.
Assemble and Attach the Cat
1. Layer the inner ears onto the outer ears. Sew in place.
2. Attach ears to the head.
3. Position head on body. The bottom of the head should slightly overlap the top of the body. Sew in place.
4. Arrange stripes on body and head in a tabby pattern. Pin, then sew down.
5. Attach the red bow at the neck area, where head meets body.
6. Using CC5, embroider eyes with French knots or small satin stitch ovals. Add white highlights.
7. Using CC3, embroider a small triangle nose.
8. Using CC5, add a subtle smile line beneath the nose.
9. Attach completed cat to sweater front: Position the cat slightly off-center on the front panel. Pin thoroughly. Using matching yarn and a tapestry needle, whip stitch around all edges, securing the appliqué firmly.
Helpful Tips for Success
Take your time with the appliqué. This is what makes the sweater special. Rushing will show in the finished piece.
Use pins generously. When attaching the cat to the sweater, use many pins to prevent shifting while you sew.
Consider your yarn choices. A yarn with good stitch definition will make the stripes and details pop. Avoid fuzzy yarns for the appliqué pieces.
Try the sweater on before attaching the cat. Make sure the fit is right. Adjustments are much easier before the appliqué is sewn on.
Care Instructions
Hand wash in cool water with gentle detergent. Lay flat to dry, reshaping as needed. Store folded to prevent stretching. The appliqué can be gently steamed if edges curl after washing.
I really hope you enjoy making this cozy cat sweater as much as I enjoyed designing it. If you make one, please share your photos with me on Instagram or in our Facebook group. I absolutely love seeing your creations come to life, especially when they feature such a cute little tabby friend.
Save this pattern to your Pinterest boards so you can find it whenever you’re ready to start. And if you have any questions or just want to share how yours turned out, drop a comment below. Happy crocheting!
