
Got a stash of fine crochet cotton thread that you have been saving for something special? This is the project. Dig out those pretty colors you have been hoarding because this bracelet brings together everything you love about delicate thread work in one wearable piece.
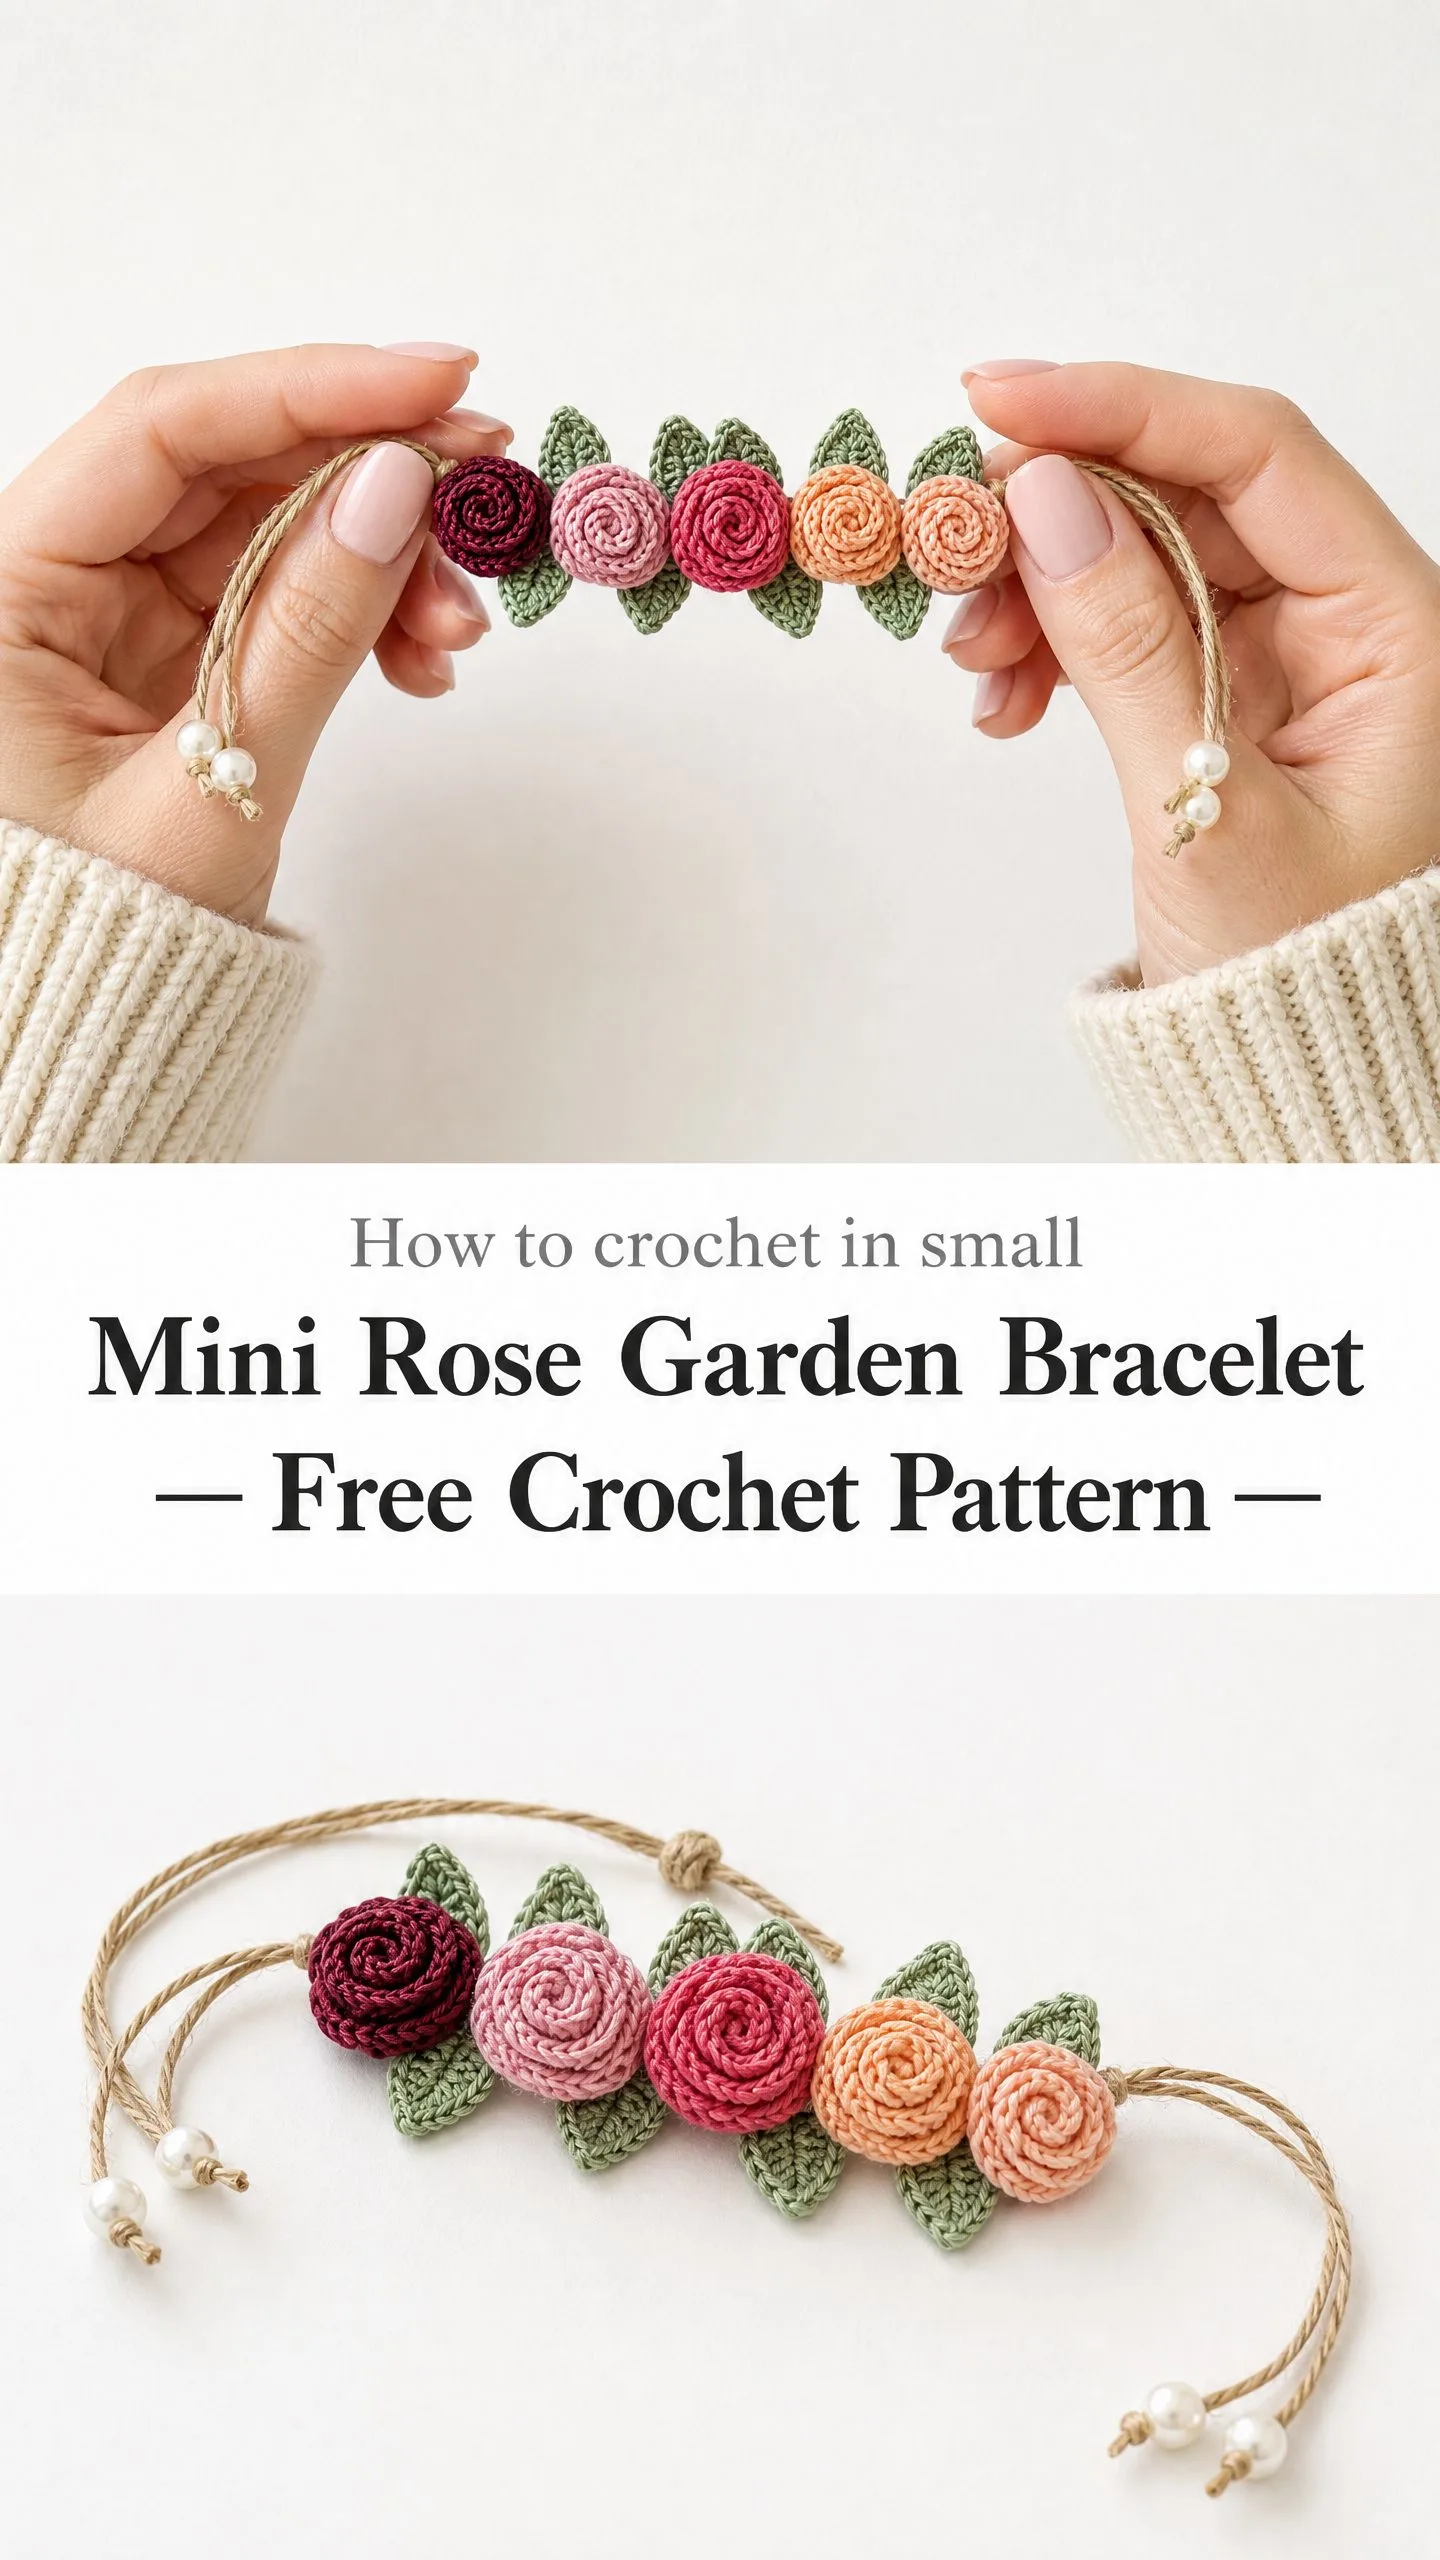
The construction is genuinely interesting. You will crochet three dimensional roses separately, each spiraling up from a simple strip of stitches. Then you will make tiny pointed leaves, attach everything to a flat backing band, and finish with a rustic jute cord and pearl beads. It is intermediate level work, so be honest with yourself about your comfort with fine thread before diving in.
Fair warning: this is micro crochet territory. You will be working with a tiny steel hook and thin cotton thread. But if you have tackled thread crochet before and enjoy detailed handwork, you are going to love watching these little roses come together.
Why This Crochet Pattern Works So Well
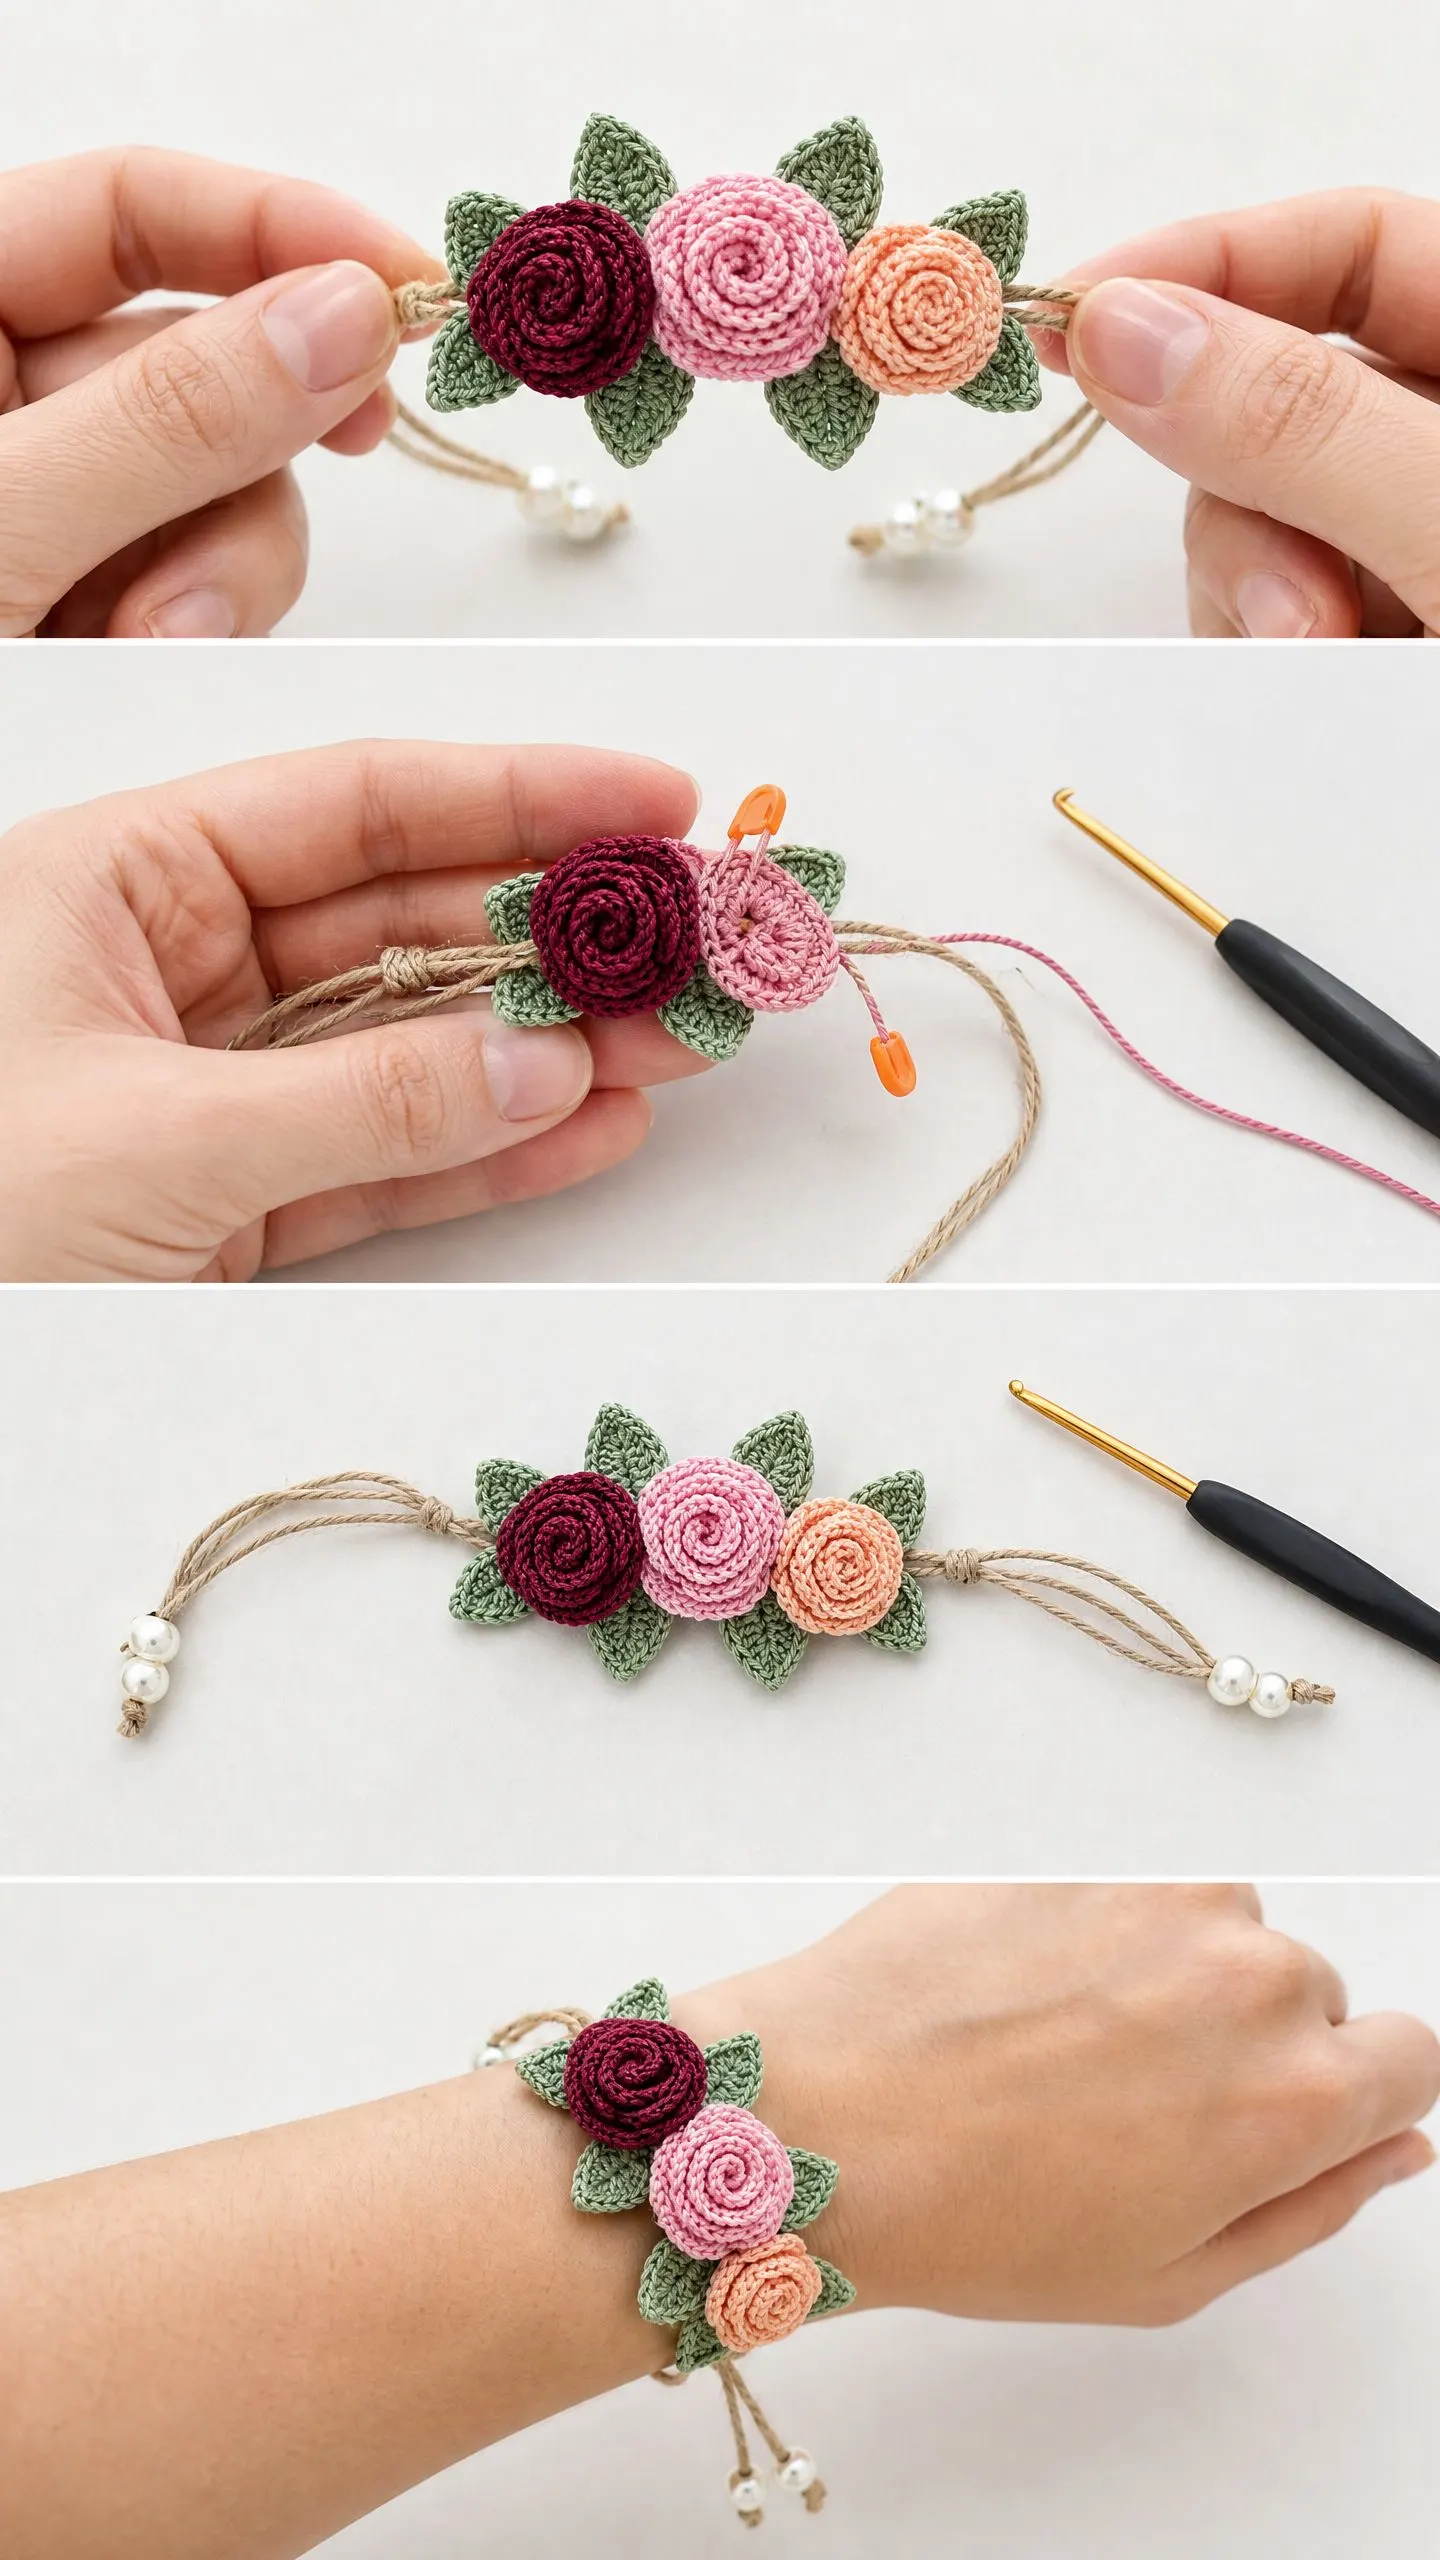
This mini rose garden bracelet hits a sweet spot between delicate jewelry and handmade charm. The finished piece features three graduated roses in burgundy, pink, and peach, surrounded by sage green leaves on a natural fiber cord with pearl bead finishes. It looks far more complicated than it actually is.
Each component is worked separately. You crochet the roses as flat strips, then coil and tack them into dimensional flowers. The leaves are worked in the round with increases at the tips for that classic pointed shape. Everything gets assembled onto a small rectangular base band, which then attaches to an adjustable cord closure.
The total project takes about three to five hours, including assembly and finishing. Once you get the rose technique down, each flower takes only ten to fifteen minutes. That makes this perfect for a weekend afternoon or a few evening sessions.
Materials You Will Need
Gather these supplies before you start. Having everything ready makes the process much smoother.
Yarn and Thread:
Hooks:
Additional Materials:
Thread Substitutions: Any smooth, tightly plied size 10 cotton crochet thread will work beautifully. Aunt Lydia’s Classic Crochet Thread is widely available and holds stitch definition well. DMC Petra Size 3 is slightly thicker and produces fuller roses. Just adjust your hook to 2.00 mm and expect finished roses to run about ten to fifteen percent larger. Avoid fuzzy or textured threads since they will obscure the pretty spiral detail in your roses.
Gauge Information
Using US Steel Hook Size 7 (1.65 mm) and size 10 cotton thread:
Rose gauge for reference:
Gauge matters for the base band to ensure all three roses fit across the 2.75 inch width. Swatch and adjust your hook size as needed.
Finished Measurements
Skill Level
This pattern is intermediate level. You should be comfortable working in the round, making slip stitch joins, increasing rounds to create dimensional petals, and maintaining consistent tension with fine thread. Beginners who have mastered basic stitches can attempt this with patience, but experience with thread crochet is strongly recommended.
Abbreviations and Stitch Definitions
ch = chain: yarn over, pull through loop on hook
sl st = slip stitch: insert hook, yarn over, pull through stitch and loop on hook in one motion
sc = single crochet: insert hook in stitch, yarn over, pull up a loop (2 loops on hook), yarn over, pull through both loops
hdc = half double crochet: yarn over, insert hook in stitch, yarn over, pull up a loop (3 loops on hook), yarn over, pull through all 3 loops
dc = double crochet: yarn over, insert hook in stitch, yarn over, pull up a loop (3 loops on hook), yarn over, pull through 2 loops, yarn over, pull through remaining 2 loops
FLO = front loop only: work into only the front loop of the stitch (the loop closest to you)
BLO = back loop only: work into only the back loop of the stitch (the loop farthest from you)
st(s) = stitch(es)
rnd = round
RS = right side
WS = wrong side
Special Techniques
Spiral Rose Technique
The roses in this pattern use a clever method of crocheting into the front loops only of a base row, then the back loops only for a ruffle row. This creates a naturally spiraling strip that, when coiled tightly, forms a beautiful dimensional rose. Full step by step instructions appear within each rose section.
Adjustable Sliding Knot
This closure allows the bracelet to tighten and loosen smoothly. Take both cord ends. With the right cord end, form a loop around the left cord strand. Pass the right cord end under, over, and through the loop twice (similar to a surgeon’s knot). Pull snug but not tight. Repeat on the other side with the left cord end around the right cord strand. When both knots are tied, pulling the knots away from each other tightens the bracelet. Pulling the cord ends outward loosens it.
Pattern Notes Before You Begin
1. All roses and leaves are worked as separate pieces and sewn to the base band after completion.
2. The three roses graduate in size: large (Color A, Burgundy), medium (Color B, Pink), small (Color C, Peach). In the finished bracelet, the large rose sits at center left, the medium rose sits at center, and the small rose sits at center right.
3. Leave a 6 inch tail when beginning and ending each piece for sewing purposes.
4. All rounds begin with a chain unless otherwise noted. Use a stitch marker to mark the first stitch of each round.
5. After completing all pieces, lay them out before sewing to confirm the arrangement matches: large rose at left, medium at center, small at right, with leaves fanning around and between them.
Large Rose Instructions (Color A, Burgundy)
Make 1.
Foundation: Using Color A and Steel Hook Size 7, ch 30.
Row 1 (RS): Starting in the second ch from hook, sc in each ch across. (29 sc)
Row 2: Ch 1, turn. Working in FLO only of each sc from Row 1, sc in each st across. (29 sc)
Row 3: Ch 1, turn. Working in BLO only of each sc from Row 2, 2 hdc in each st across. (58 hdc)
Do not fasten off. You now have a long ruffled strip ready to become a rose.
To form the rose: Hold the strip with RS facing you. Beginning at one short end, roll the strip tightly into a spiral coil. As you coil, the Row 3 ruffled edge should face upward and outward, creating the petal appearance. After coiling approximately 3 to 4 stitches, use the yarn tail and tapestry needle to sew through the base layers to secure the coil. Continue coiling and tacking every 4 to 5 stitches through the base until the entire strip is coiled and tacked securely.
Fasten off, leaving a 6 inch sewing tail. The large rose should measure approximately 1 inch in diameter.
Checkpoint: When held flat, you should see a clearly visible spiral from above with at least 3 visible rings of petal ruffles.
Medium Rose Instructions (Color B, Pink)
Make 1.
Foundation: Using Color B and Steel Hook Size 7, ch 24.
Row 1 (RS): Starting in the second ch from hook, sc in each ch across. (23 sc)
Row 2: Ch 1, turn. Working in FLO only, sc in each st across. (23 sc)
Row 3: Ch 1, turn. Working in BLO only, 2 hdc in each st across. (46 hdc)
Do not fasten off. Coil and secure following the same method as the Large Rose.
Fasten off, leaving a 6 inch sewing tail. The medium rose should measure approximately 0.85 inch in diameter.
Small Rose Instructions (Color C, Peach)
Make 1.
Foundation: Using Color C and Steel Hook Size 7, ch 18.
Row 1 (RS): Starting in the second ch from hook, sc in each ch across. (17 sc)
Row 2: Ch 1, turn. Working in FLO only, sc in each st across. (17 sc)
Row 3: Ch 1, turn. Working in BLO only, 2 hdc in each st across. (34 hdc)
Do not fasten off. Coil and secure following the same method as the Large Rose.
Fasten off, leaving a 6 inch sewing tail. The small rose should measure approximately 0.65 inch in diameter.
Checkpoint: You should now have three completed roses in graduated sizes. Set them aside.
Large Leaf Instructions (Color D, Sage Green)
Make 3.
Using Color D and Steel Hook Size 7, ch 8.
Rnd 1: Starting in the second ch from hook, sc in next 5 ch, hdc in next ch, 5 hdc in last ch (this creates the leaf tip). Working back along the opposite side of the foundation chain: hdc in next ch, sc in next 5 ch, sl st in first ch to join. (14 sts + 1 sl st join)
Rnd 2: Ch 1. Sc in next 5 sts, hdc in next st, dc in next st, 3 dc in center tip st, dc in next st, hdc in next st, sc in next 5 sts, sl st to join. (17 sts)
Fasten off, leaving a 6 inch sewing tail.
Small Leaf Instructions (Color D, Sage Green)
Make 2.
Using Color D and Steel Hook Size 7, ch 6.
Rnd 1: Starting in the second ch from hook, sc in next 3 ch, hdc in next ch, 5 hdc in last ch (leaf tip). Working back along opposite side of foundation chain: hdc in next ch, sc in next 3 ch, sl st to join. (12 sts + 1 sl st join)
Rnd 2: Ch 1. Sc in next 3 sts, hdc in next st, dc in next st, 3 dc in center tip st, dc in next st, hdc in next st, sc in next 3 sts, sl st to join. (15 sts)
Fasten off, leaving a 6 inch sewing tail.
Checkpoint: You should now have 3 large leaves and 2 small leaves. All leaves should be pointed at one end (tip) and rounded at the base.
Base Band Instructions (Color E, Natural)
The base band is a flat rectangular strip that all floral components attach to. It also connects to the jute cord.
Using Color E (or Color D) and Steel Hook Size 6, ch 29.
Row 1: Starting in the second ch from hook, sc in each ch across. Ch 1, turn. (28 sc)
Rows 2 through 6: Sc in each st across. Ch 1, turn at end of each row. (28 sc each row)
Row 7: Sc in each st across. Do not turn. (28 sc)
Fasten off and weave in ends.
The finished base band measures approximately 2.75 inches wide and 0.5 inch tall.
Checkpoint: The base band should be a neat rectangle. Lay it flat and confirm it measures approximately 2.75 inches wide. If narrower, add 2 ch to the foundation and 2 sc to each row. If wider, remove 2 ch and 2 sc from each row.
Assembly Instructions
Step 1: Block all pieces lightly by misting with water and pinning to shape on a foam mat. Allow to dry completely before assembly.
Step 2: Arrange the pieces on the base band with RS of all pieces facing up. Place the 3 large leaves first as a background layer. Position them fanning outward from the center of the base band, with leaf tips pointing outward at approximately 11 o’clock, 12 o’clock, and 1 o’clock angles. The base of each leaf should overlap the top edge of the base band by approximately 0.25 inch.
Step 3: Place the 2 small leaves tucking between the rose positions. One goes between the large and medium rose placement, one goes between the medium and small rose placement.
Step 4: Position the three roses on top of the leaves. Large rose (Color A) at center left, medium rose (Color B) at center, small rose (Color C) at center right. The roses should be snug against each other with minimal gap.
Step 5: Using a sewing needle and matching thread (or the yarn tails), sew the large leaves to the base band first. Work through the bottom edge of each leaf and the top surface of the base band. Take 3 to 4 secure stitches per leaf.
Step 6: Sew the small leaves in position between the rose placements.
Step 7: Sew each rose to the base band and through the top of the leaf layer beneath it. Work stitches through the base of the coil and into the base band. Take 5 to 6 stitches per rose, going through all layers and pulling snug so roses sit upright and stable.
Step 8: Weave in all remaining yarn tails to the WS of the base band.
Cord and Closure Assembly
Step 1: Cut one length of jute twine measuring 24 inches.
Step 2: Find the center point of the jute length (12 inches from each end).
Step 3: At the center point, fold the jute to create a small loop approximately 0.5 inch wide. Thread both strands of this loop through the right short edge of the base band from back to front, then pass the two cord ends through the small loop and pull snug. This creates a lark’s head style attachment at the right side of the base band.
Step 4: Separate the two cord ends. Thread one cord end through the left short edge of the base band from front to back, and the other cord end from back to front. This secures the cord to both short ends.
Step 5: Adjust so that the base band sits at the approximate center of the full cord length, with equal cord extending from each side (approximately 3.5 inches on each side).
Step 6: On each side, tie the sliding knot following the Adjustable Sliding Knot instructions above. Test that both knots slide freely before trimming.
Step 7: Thread one pearl bead onto each cord end and secure with an overhand knot below the bead. Trim excess cord to approximately 0.5 inch below each bead knot. Apply a small drop of fabric glue to each overhand knot to prevent unraveling.
Step 8: Test the adjustable closure. The bracelet should tighten and loosen smoothly.
Size Customization Tips
For a smaller wrist (under 5.5 inches): Reduce each rose by 4 ch in the foundation. Large becomes ch 26, Medium ch 20, Small ch 14. Reduce the base band foundation by 4 ch as well (ch 25, working 24 sc per row).
For a larger wrist (over 7.5 inches): Cut the jute cord to 28 inches instead of 24 inches to allow for a larger adjustable range.
For a children’s bracelet: Reduce all rose foundations by 6 ch each and reduce base band to ch 21 (20 sc per row). Shorten the cord to 18 inches.
Care Instructions
Hand wash in cool water with mild soap. Do not machine wash or machine dry. Press gently in a towel and reshape by hand. Lay flat to dry away from direct sunlight to prevent color fading. Do not iron directly over the roses as heat may distort the dimensional petal structure. Store flat or loosely coiled to preserve the rose shape.
You Did It!
This crochet bracelet pattern brings together so many satisfying techniques in one tiny project. The spiral rose method, the delicate leaf shaping, the rustic jute cord with pearl finishes. Every detail adds up to something truly special.
Thank you so much for choosing this pattern. I would absolutely love to see your finished bracelet! Tag me on Instagram or share in my Facebook group so I can admire your beautiful roses.
If you enjoyed making this mini rose garden bracelet, save this pattern to your Pinterest boards so you can find it easily when you want to make another. And please drop a comment below if you give it a try. I always love hearing how your projects turn out!
