This stunning seashell handbag is the kind of project that makes people stop and ask, “Wait, you *made* that?” And honestly, that reaction never gets old. The sculptural fan shape, those satisfying bobble stitches running in perfect diagonal lines, the elegant copper ring handle wrapped in matching yarn. It looks like something from a boutique window, but it is absolutely something you can create yourself.
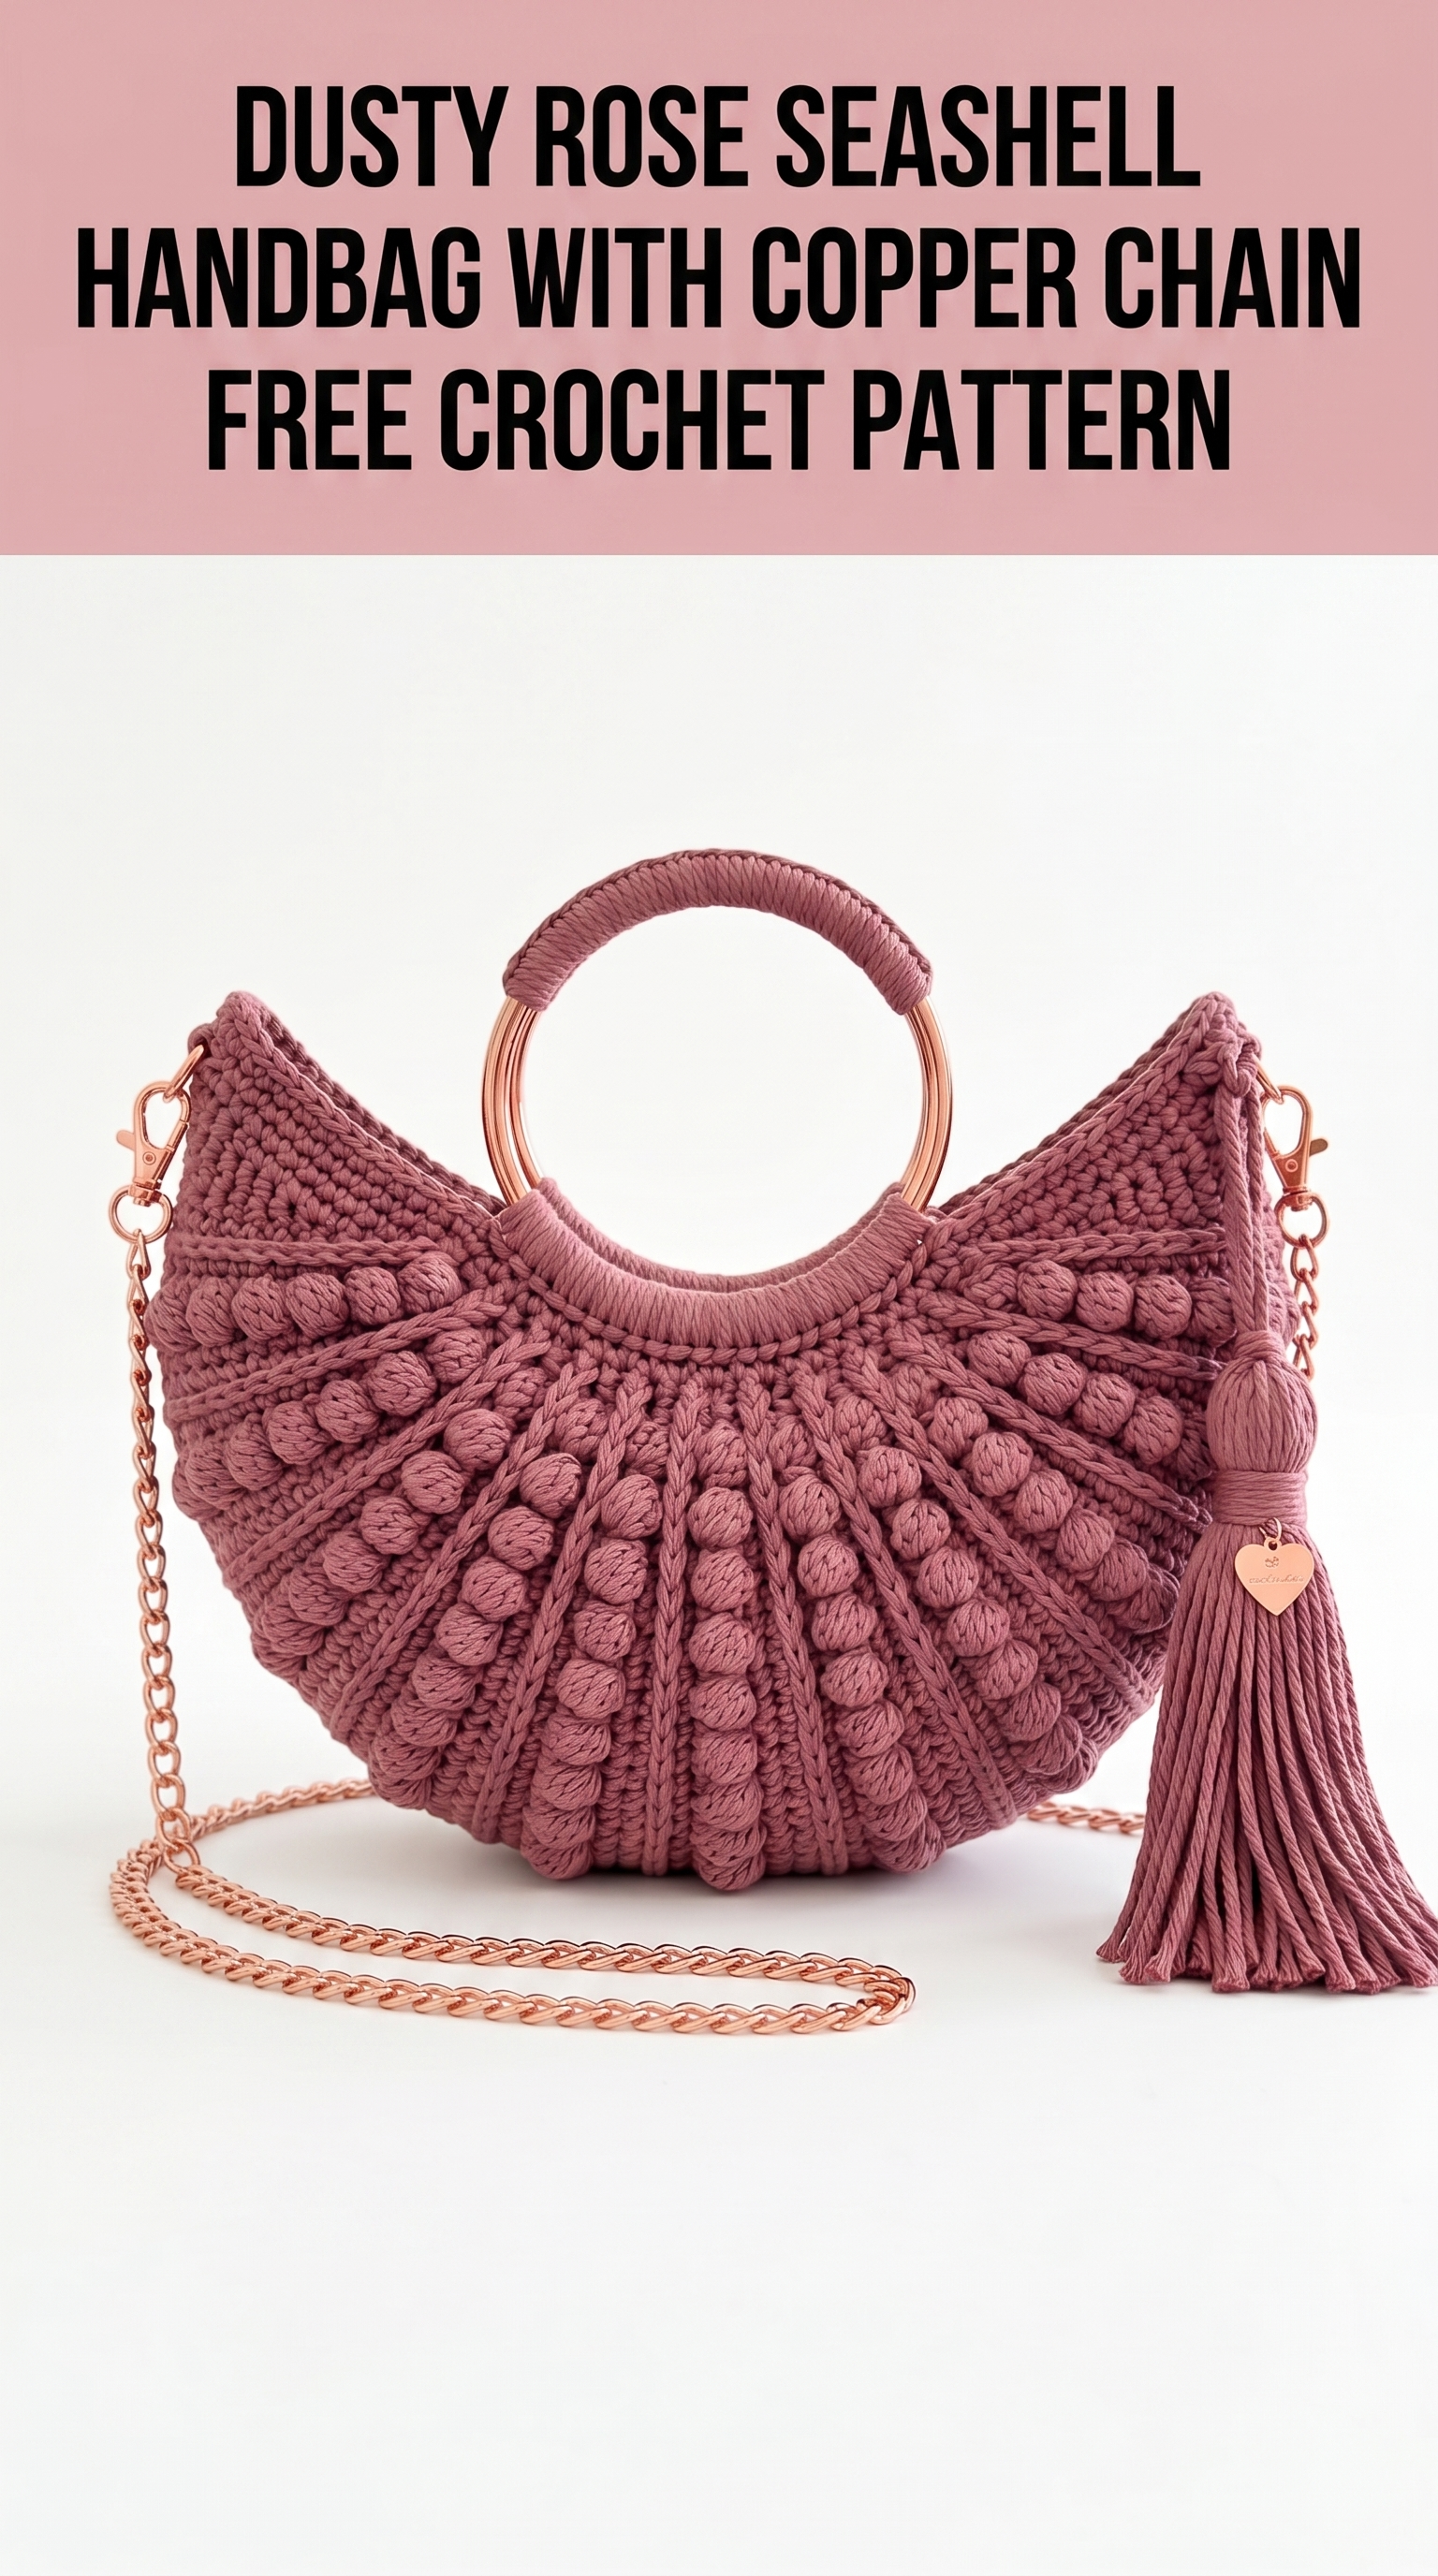
I designed this crochet pattern to give you that high-end accessory feel without requiring years of experience. If you can work basic stitches and follow a rhythm, you can make this bag. The bobble stitch technique might look intimidating at first glance, but I promise it becomes almost meditative once you get going. You will be popping those little textured bumps into place like a pro by row three.
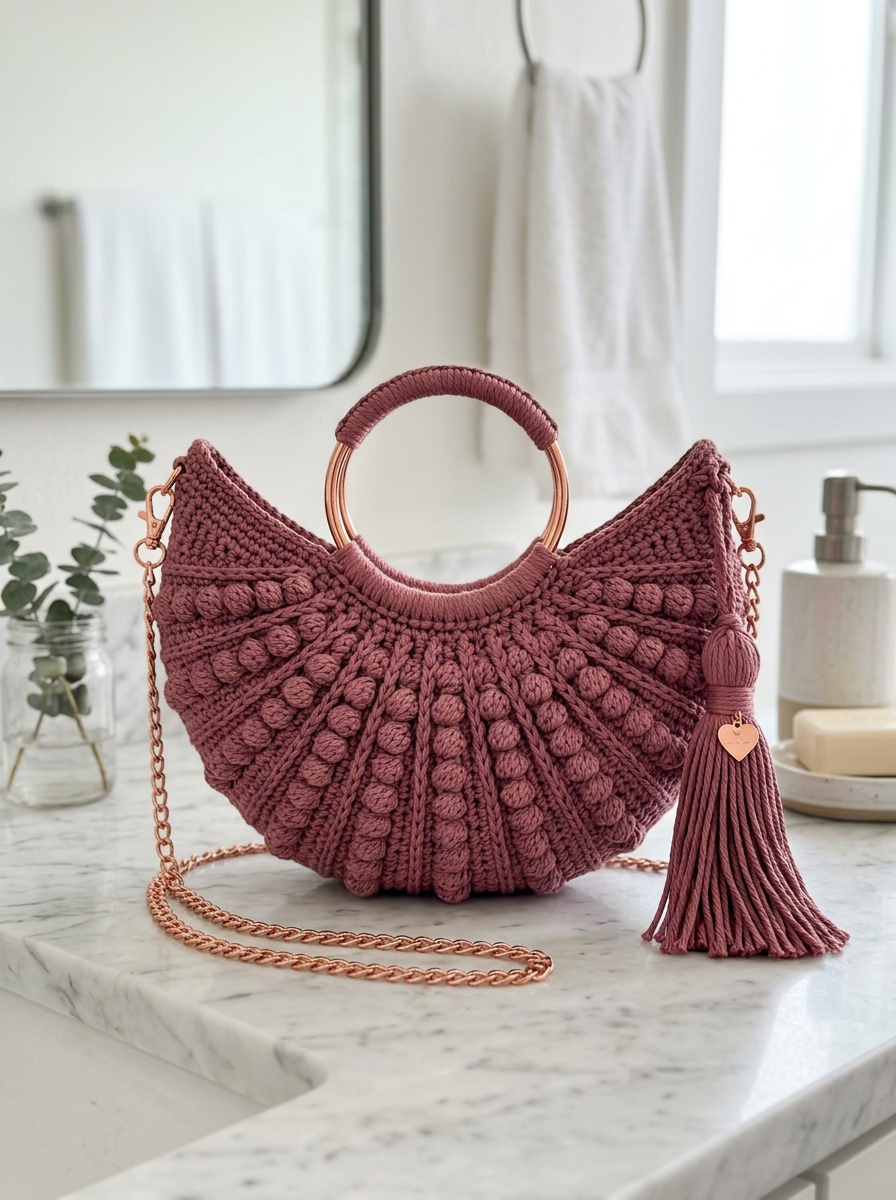
This dusty rose shade is giving major coastal grandmother energy in the best way possible. The color sits somewhere between mauve and terracotta, warm enough to carry through fall but soft enough for spring and summer. Paired with those rose gold copper hardware details, the whole piece feels intentional and polished.
Let me walk you through everything you need to recreate this crochet handbag from scratch.
Materials Needed for This Seashell Bag Crochet Pattern
Before you start, gather these supplies. Having everything ready makes the process so much smoother.
Yarn:
Hook:
Hardware:
Notions:
Optional:
Skill Level and Techniques
This crochet tutorial is best suited for confident beginners to intermediate crocheters. You should be comfortable with:
The construction uses a unique fan shape that might look complex, but it is actually built from two identical panels worked flat, then joined together. No complicated shaping math required.
Stitch Abbreviations and Definitions
Let me break down every stitch you will use in this pattern. I define each one so there is no guesswork.
Ch (chain): Yarn over, pull through the loop on your hook. This creates the foundation and adds height.
Sl st (slip stitch): Insert hook, yarn over, pull through both the stitch and the loop on hook in one motion. Used for joining and invisible movement.
Sc (single crochet): Insert hook into stitch, yarn over and pull up a loop (2 loops on hook), yarn over and pull through both loops. A short, tight stitch.
Hdc (half double crochet): Yarn over, insert hook, yarn over and pull up a loop (3 loops on hook), yarn over and pull through all 3 loops. Slightly taller than sc.
Dc (double crochet): Yarn over, insert hook, yarn over and pull up a loop, yarn over and pull through 2 loops, yarn over and pull through remaining 2 loops. Creates height and drape.
Bob (bobble stitch): Work 5 dc into the same stitch, but stop each dc before the final pull-through (leaving 2 loops on hook each time). You will have 6 loops on your hook. Yarn over and pull through all 6 loops at once. This creates a rounded bump that pops toward you. Push the bobble to the front (right side) of your work as you complete it.
Inc (increase): Work 2 stitches into the same stitch.
Dec (decrease): Work 2 stitches together as one (sc2tog or dc2tog depending on context).
Gauge
Gauge matters for this bag. You want a firm fabric that holds its shape and does not stretch when filled.
Work a 4-inch square in single crochet:
If your square is larger, go down a hook size. If smaller, go up. Taking five minutes to check gauge saves hours of frustration later.
Finished Dimensions
Step by Step Crochet Pattern Instructions
This bag is made from two identical seashell-shaped panels worked flat, then joined together around the edges. The bobbles are worked in diagonal lines radiating from the center bottom, creating that gorgeous shell ribbing effect.
Panel One (Make 2)
Foundation Row:
Ch 6.
Row 1: Sc in 2nd ch from hook and in each ch across. (5 sts)
Row 2: Ch 1, turn. 2 sc in first st (inc made), sc in each st to last st, 2 sc in last st. (7 sts)
Row 3: Ch 1, turn. 2 sc in first st, sc in each st to last st, 2 sc in last st. (9 sts)
Row 4: Ch 1, turn. 2 sc in first st, sc 3, bob in next st, sc 3, 2 sc in last st. (11 sts, 1 bobble)
Row 5: Ch 1, turn. 2 sc in first st, sc in each st to last st (working into top of bobble as a regular st), 2 sc in last st. (13 sts)
Row 6: Ch 1, turn. 2 sc in first st, sc 2, bob, sc 5, bob, sc 2, 2 sc in last st. (15 sts, 2 bobbles)
Continue this pattern, increasing 1 stitch at each edge every row, and placing bobbles in diagonal lines radiating from center. The bobbles should form V-shaped ribs pointing toward the bottom center of the panel.
Bobble Placement Guide:
Work a bobble every 4th row in each diagonal line. Stagger new bobble lines as the panel widens. You will have approximately 7 to 8 diagonal bobble ribs on each side of center by the time you finish.
Rows 7 through 30: Continue increasing at edges and maintaining bobble diagonal pattern. (Approximately 53 sts by Row 30)
Upper Shaping (Rows 31 to 38):
Stop increasing. Work even in sc with bobble pattern continuing for 4 rows.
Then begin gentle decreases at edges:
Row 35: Ch 1, turn. Sc2tog, work in pattern to last 2 sts, sc2tog. (51 sts)
Rows 36 to 38: Repeat Row 35 decreases. (45 sts after Row 38)
Ribbed Top Band (Rows 39 to 42):
Work 4 rows of sc through back loop only (BLO) to create the horizontal ribbed texture visible at the top of the bag. This creates those clean horizontal lines contrasting with the vertical bobble texture below.
Fasten off, leaving a long tail for seaming.
Joining the Panels
Place both panels with right sides facing out. Using a tapestry needle and matching yarn, whip stitch around the curved bottom edge and up both sides, leaving the top open.
Pro tip: Work your seaming stitches loosely enough that the seam does not pucker, but tightly enough that small items cannot slip through.
Handle Attachment
This is where the copper ring handle transforms your bag into something truly special.
Wrapping the Handle:
Before attaching, wrap the lower portion of the metal ring with yarn using tight, even wraps. Cover about one-third of the ring circumference. Secure the beginning and ending tails by tucking them under wraps and adding a tiny dot of fabric glue if desired.
Attaching to Bag:
Fold the top ribbed edge of each panel over the wrapped section of the ring. Whip stitch the folded edge to the inside of the bag, encasing the ring handle. The wrapped yarn section should face forward; the bare metal curves up as the carrying handle.
Work carefully here. Try the handle positioning before committing to stitches.
Chain Strap Attachment
Attach jump rings or D-rings at each top corner of the bag, stitching them securely into the seam. Clip your copper chain strap to these rings using lobster clasps.
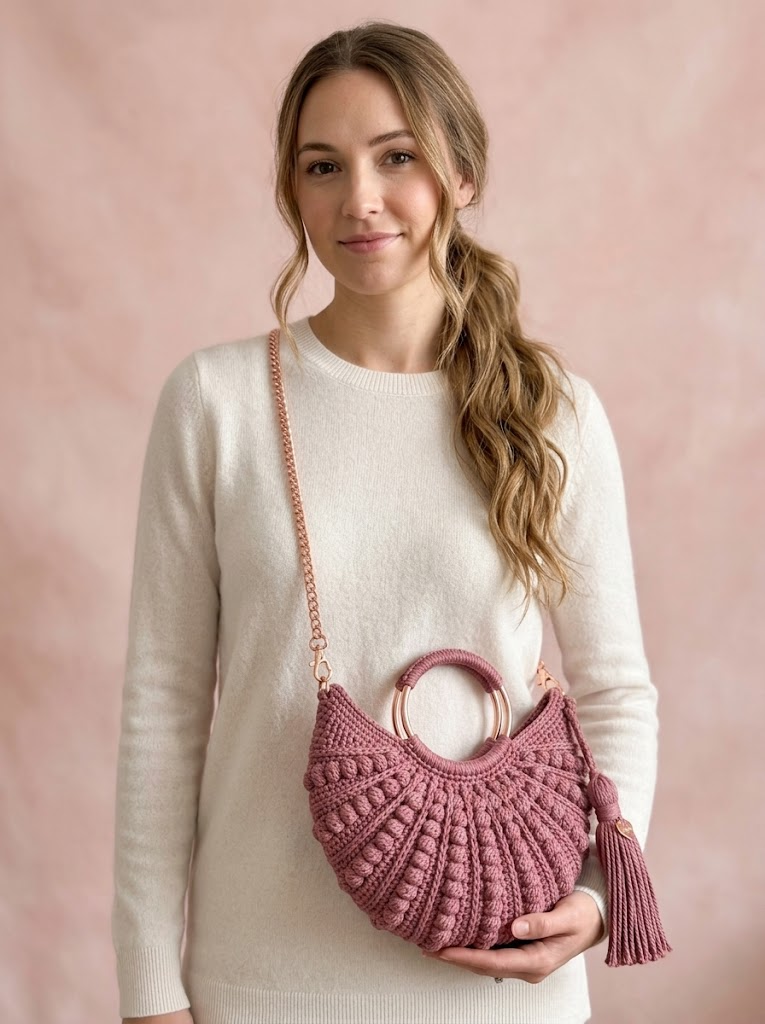
This gives you the option to carry the bag by the ring handle for a clutch look, or wear it crossbody using the chain strap.
Making the Tassel
Cut approximately 40 strands of yarn, each 10 inches long. Bundle them together and fold in half. Wrap a separate strand tightly around the bundle about 1 inch from the fold to create the tassel head. Secure with a knot. Trim the ends evenly.
Attach a small charm (like that adorable copper heart) to the tassel head using a jump ring. Tie the tassel to the corner of your bag or the ring handle.
Optional Finishing Details
Lining: Cut fabric slightly smaller than the bag opening, fold edges under, and hand stitch in place. This protects the inside and gives a polished look.
Magnetic Snap: Install before lining for invisible closure.
Tips for Success with This Crochet Bag Pattern
Bobble consistency: Push every bobble to the right side as you work. They naturally want to pop toward you, but a gentle nudge helps.
Tension: Keep it firm throughout. Cotton can stretch, and a loose bag loses that sculptural shape.
Blocking: Wet block your panels before joining. Pin them to shape, let dry completely. This evens out your stitches beautifully.
Hardware shopping: Etsy and Amazon have excellent options for bag handles and chain straps. Search “rose gold purse chain” and “copper bag ring handle.”
Why This Handbag Crochet Pattern Works So Well
The combination of textures in this design is what makes it special. You have smooth single crochet as the background, those punchy bobbles adding dimension, the ribbed band creating visual interest at the top, and the luxe hardware elevating everything.
It is also incredibly practical. The size fits a phone, wallet, keys, and small essentials perfectly. The structured cotton holds up to daily use without sagging.
Thank You for Being Here
I genuinely love that you are taking time to create something beautiful with your hands. This seashell handbag is one of my favorite designs, and I hope the process brings you as much joy as it brought me.
When you finish yours, please tag me on Instagram or share in my Facebook group. Nothing makes my day like seeing your versions come to life. Different colors, different hardware, your own creative touches. I want to see it all.
Happy hooking, friend. You have got this.
