
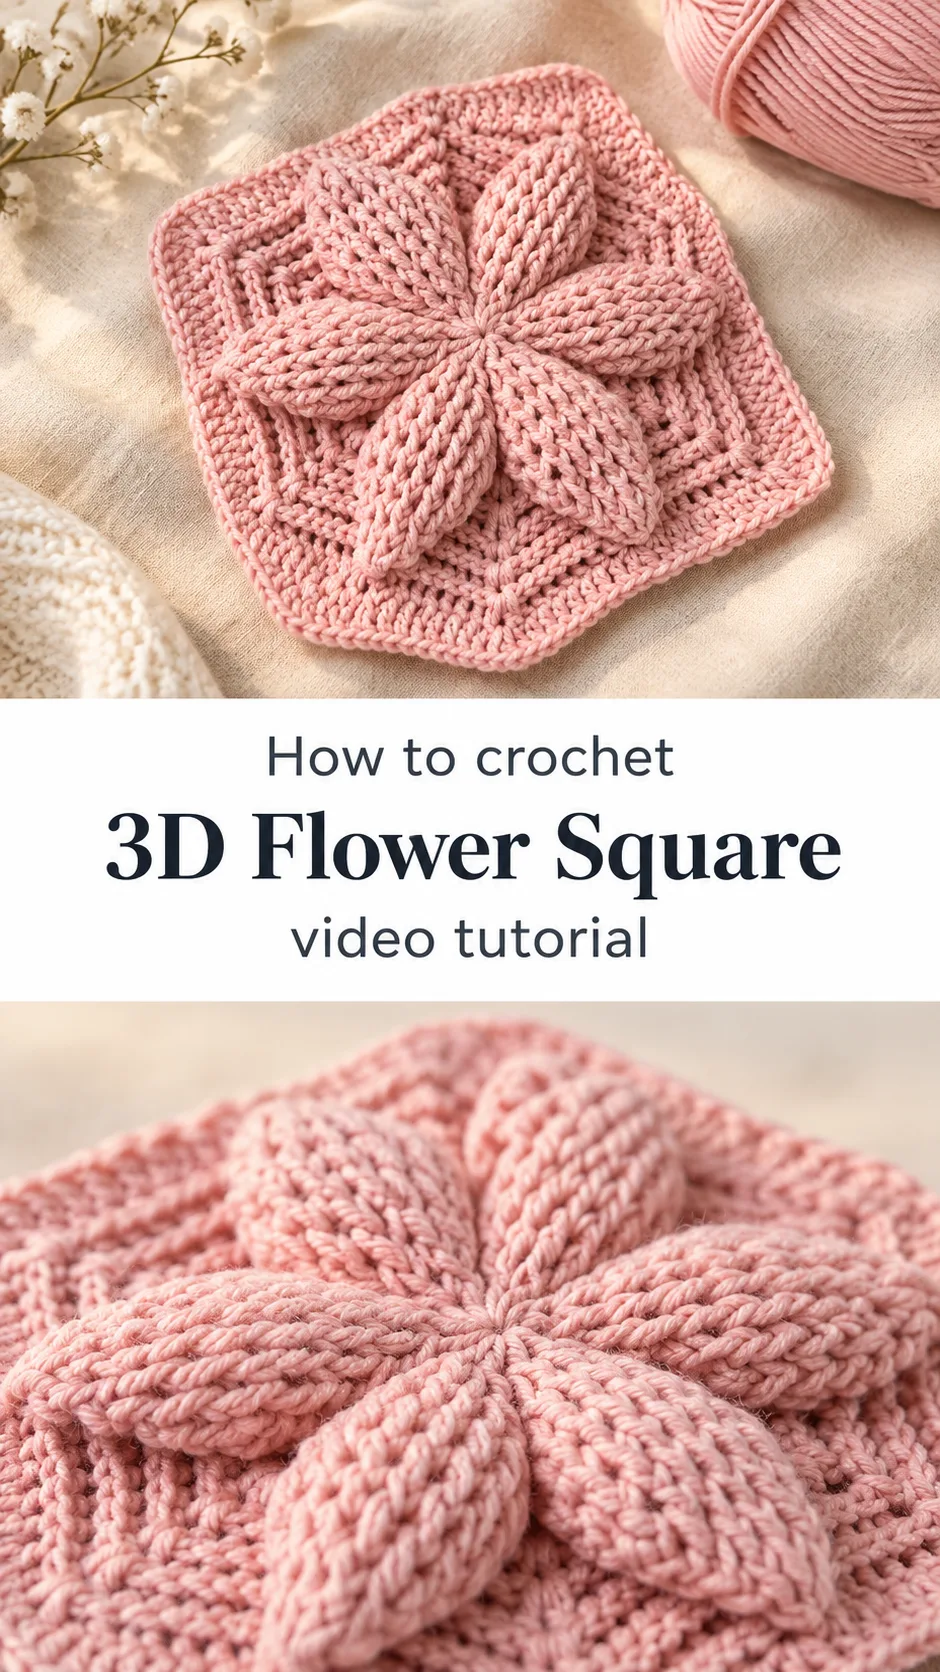
A pink crochet square with a sculptural flower rising from its centre, worked with textured stitches that catch the light and feel rich under the fingers.
The Crochet 3D Flower Square
Crochet 3D Flower Square is a showpiece motif that looks far more complicated than it is. A flat, hexagonal-edged square of dense pink fabric holds a raised, petal-like flower at its centre, with several thick, ribbed petals fanning outward and layering over one another. The result feels tactile and dimensional, almost like a small sculpture. What sets this design apart is the way the petals stand proud of the base, creating deep shadows and a bold focal point. It suits a cushion cover, a bag appliqué, a coaster set, or a decorative accent on a blanket. Anywhere a flat square would look plain, this one brings structure and warmth.
Flower Square Related Posts:
- Crochet Lace Stitch: A Delicate and Timeless Detail
- Crochet Square Table Runner: A Timeless Home Accent
- Crochet Tunisian Mesh: A Timeless Textured Classic
- Crochet Scarf Table Runner: A Timeless Handmade Classic
Materials
To make a Crochet 3D Flower Square, you will need a soft, medium-weight acrylic or acrylic-blend yarn in a dusty pink close to the shade shown. A fibre with a little give keeps the raised petals springy rather than stiff, and a matte finish lets the stitch texture read clearly. Choose a hook sized to produce a firm, tight fabric; the petals need to hold their shape, and a looser hook will let them slump. A tapestry needle is essential for weaving in ends and sewing the petal bases to the square. Keep a pair of scissors and stitch markers nearby, since the layered petals are easy to lose track of. Because the flower is the feature, choosing a yarn that is slightly thicker than your usual square yarn will make the dimension more pronounced.
Understanding the Construction
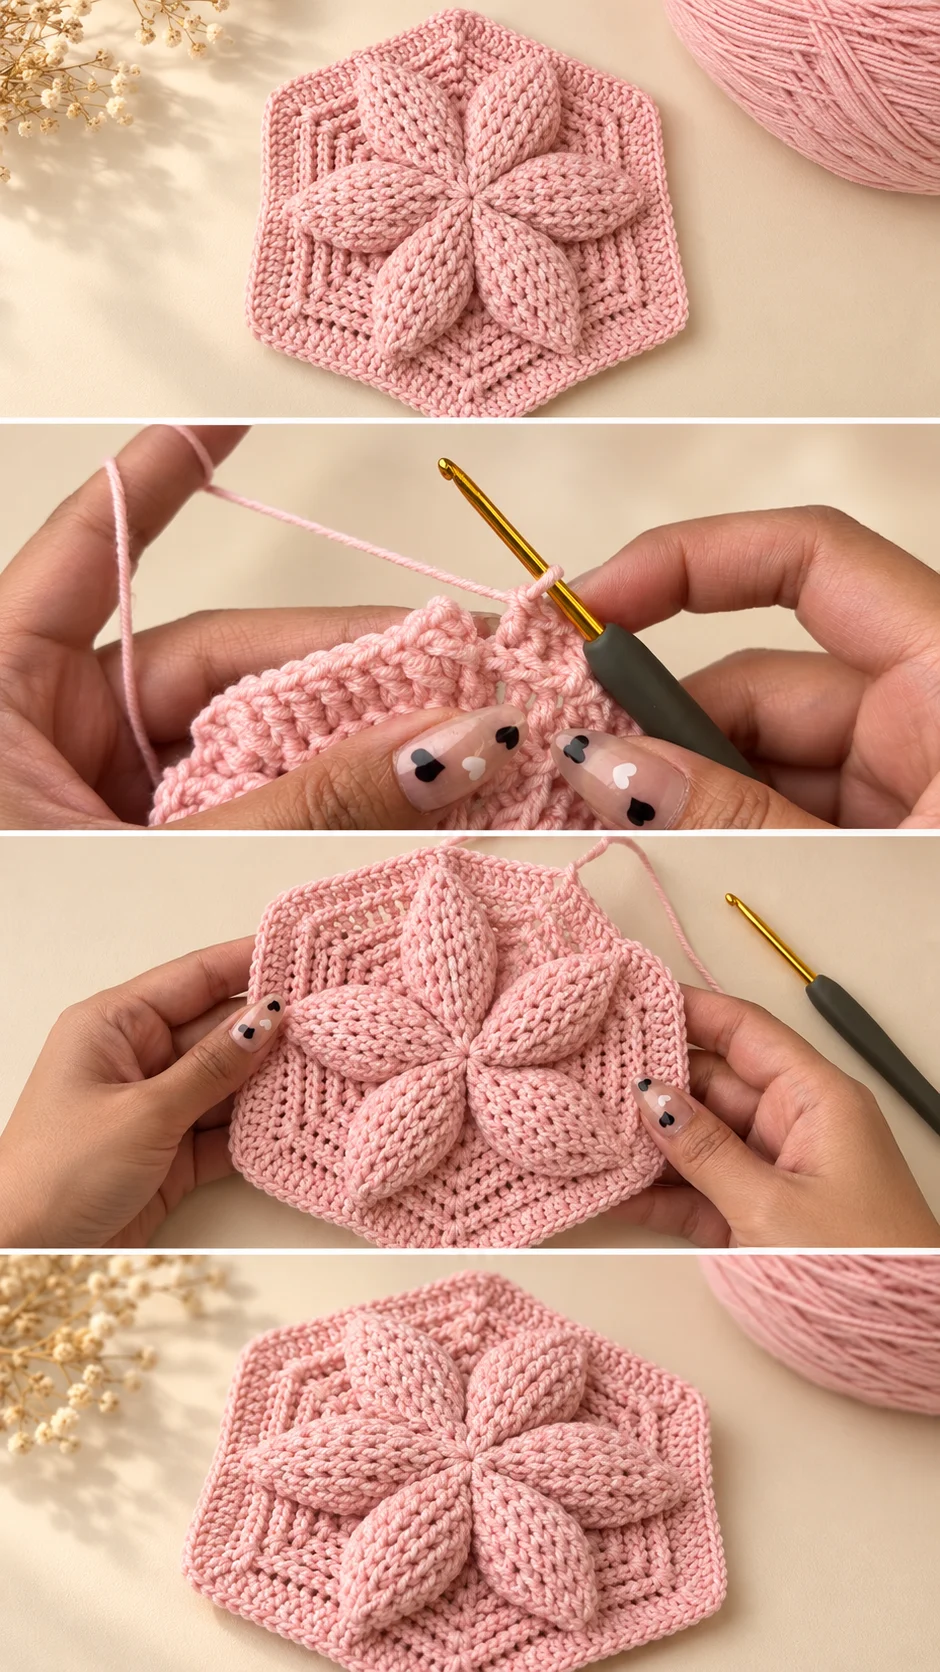
The square is built in layers. The outer frame and base are worked first, giving the piece its flat, hexagon-like silhouette and a neat, even edge. The petals are then made separately, each a dense, ribbed strip that curves outward. Their shape comes from the tight, vertical texture of the stitches, which pulls the fabric into a raised form. Finally, the petals are attached to the centre of the base, layered so that each one overlaps the next and the whole flower appears to bloom.
If this happens, that is usually the cause: if the petals lie flat instead of standing up, your fabric is too loose, so try a hook one size smaller. If the base edge ripples, check that your increases are spaced evenly around each corner. If the flower feels too small for the square, make the petals longer rather than wider, which gives more height without crowding the base.
Choosing the Right Yarn and Colour
Three yarn options each give a different result. A smooth acrylic keeps the stitch definition crisp and the petals firm, which suits a cushion or coaster that will be handled often. A cotton blend gives a cooler, more matte look and a slightly heavier drape, good for a summer bag. A soft wool blend adds warmth and a gentle halo, but it can soften the petal ridges, so it is best reserved for a decorative piece that will not be pressed or stacked.
Avoid very slippery, fine yarns, since they make the petals wobble and the flower hard to hold in shape. As for colour, the dusty pink in the photos is soft and romantic. Pairing it with cream or oatmeal keeps the look calm and classic, while a deeper rose or a muted sage green adds contrast and makes the flower stand out even more.
Making the Petals Stand Out
The petals are the signature detail, and the moment to be most careful is when you attach them. Sew each petal base firmly to the centre so the flower holds together, but leave the outer edges free so they can lift. A common mistake is to stitch the whole length of each petal flat against the base, which removes the dimension entirely. Attach only at the bottom and let the rest of the petal fold outward naturally.
Watch the tension as you work. Tight, even stitches make the ridges pronounced and the petals sturdy. If your petals keep curling inward, add a few extra stitches at the base to anchor them.
Finishing Tips for a Neat Square
Weave in every yarn end on the back of the square, running the tail through several stitches in two directions so it stays put after washing. Before sewing the flower down, lay the square face-up and gently shape the petals with your fingers. A light steam or a damp press, held just above the fabric and never pressed directly onto the texture, can help the petals settle into their natural curve. Avoid heavy blocking, which would flatten the relief you worked so hard to create.
Keep the tension of your joining seams consistent with the rest of the fabric, so the square lies flat against the surface it sits on.
How to Style Your Flower Square
In the photos, the square sits alone on a neutral surface, letting the flower be the only focus. That simplicity is a good starting point. Stitched onto a canvas tote, it becomes a surprise detail that catches the eye at every glance. Sewn to the centre of a cream throw blanket, it gives a bold, handmade accent with no extra embellishment needed. Set several in a row along a bench cushion for a repeated, garden-like rhythm, or group them as a gift set of coasters that feel too lovely to use.
Caring for Your Crochet 3D Flower Square
Wash the piece by hand or on a gentle cycle in a mesh bag, using cool water and a mild detergent. The mesh protects the raised petals from snagging. Lay it flat to dry rather than hanging it, since wet weight can stretch the petals out of shape. Store the square flat or loosely rolled, away from direct sunlight, which can fade pink yarn over time. Avoid placing heavy items on top of it for long periods, as this will flatten the dimensional flower.
Following the Video Tutorial
Watch the video tutorial closely for the moments that matter most: the way the stitches are formed to create the ribbed petals, and how the petals are joined to the base. Pause and replay these sections as often as you need, and pay attention to hand position when working the tighter stitches. Work through the square in the order shown, finishing the base before adding the flower, and check your progress against the video at each stage. Take your time with the petals; they are the heart of the piece.
A Dimensional Handmade Accent
Crochet 3D Flower Square transforms a simple square into a textured, sculptural feature. Its success depends on three things: a firm, even stitch that holds the petals upright, a careful join that keeps the flower lifted, and a yarn that suits the piece’s purpose. Keep those in mind, and the result will be a richly dimensional accent you will be proud to display.
Video tutorial by the original creator, linked below. Watch and follow along at your own pace.
[Video tutorial]
Follow us on Pinterest and subscribe to the Newsletter so you don’t miss a thing!
Tutorial and photos of this 3d flower square by: Knitting time🧶by Dina.
