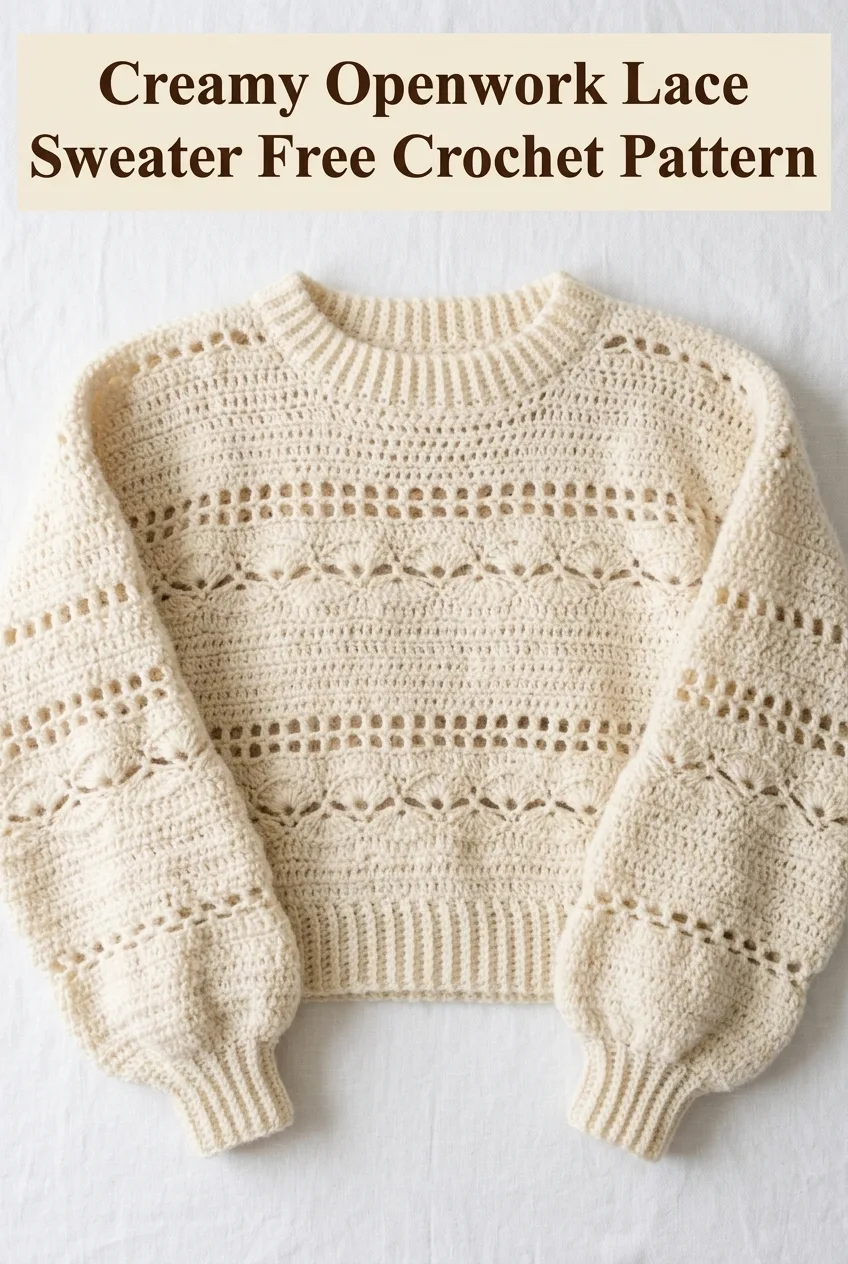
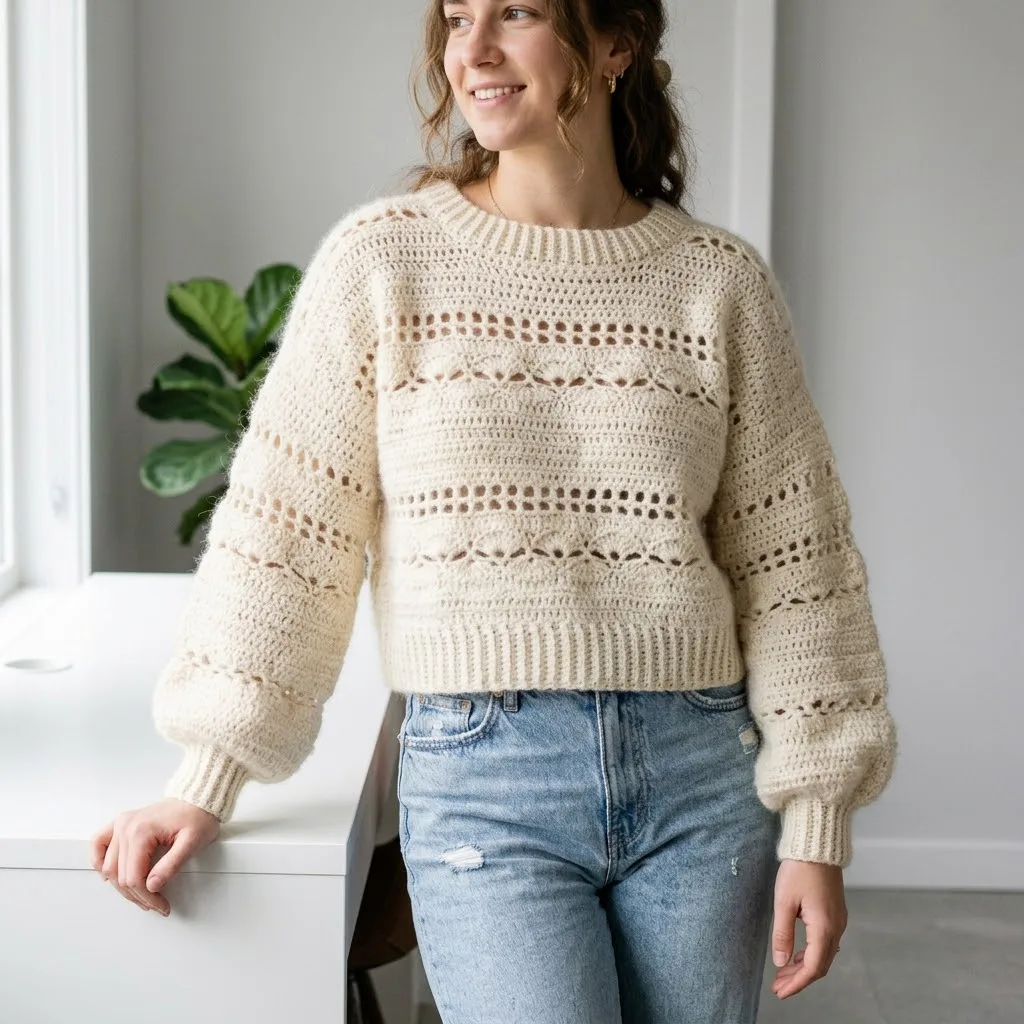
I’ve been looking for the perfect transitional sweater pattern for months now, and this is my absolute favourite. This creamy openwork lace sweater combines everything I love: delicate texture, balloon sleeves, and that perfect cropped length that works with high-waisted everything. The horizontal bands of open lacework create visual interest without overwhelming the eye, and the ribbed neckline and cuffs give it that polished, store-bought finish we all secretly crave.
About This Crochet Pattern
This sweater features alternating bands of solid stitches and openwork lace sections that create a beautiful striped texture effect. The construction uses a combination of basic stitches worked in creative ways to achieve that delicate, airy look you see in the photos.
Skill Level: Intermediate
This crochet tutorial requires familiarity with working in the round, increasing and decreasing for shaping, and following a repeat pattern. If you’ve made a basic sweater before, you can absolutely handle this one. The openwork sections look fancy, but they’re really just chain spaces and double crochets arranged in a specific way.
Materials Needed
Yarn:
Hook:
Notions:
Gauge
16 stitches and 12 rows = 4 inches in half double crochet using 5.0mm hook
Please check your gauge. This sweater relies on proper gauge to achieve the right drape and fit. Too tight and your sweater will be stiff and small. Too loose and it will stretch out and lose its shape. Take ten minutes to make a swatch. I promise it is worth it.
Finished Measurements
This pattern is written for size Medium with the following approximate dimensions:
For sizing adjustments, add or subtract multiples of the pattern repeat as noted in each section.
Abbreviations and Stitch Definitions
Before we dive into this step by step crochet pattern, let me define every stitch you will use.
ch = chain. Wrap yarn over hook and pull through loop on hook. This creates the foundation and also creates spaces within the fabric.
sl st = slip stitch. Insert hook into stitch, yarn over, and pull through both the stitch and the loop on your hook in one motion. Used for joining rounds.
sc = single crochet. Insert hook into stitch, yarn over and pull up a loop (2 loops on hook), yarn over and pull through both loops. Creates a short, dense stitch.
hdc = half double crochet. Yarn over, insert hook into stitch, yarn over and pull up a loop (3 loops on hook), yarn over and pull through all 3 loops. Slightly taller than single crochet.
dc = double crochet. Yarn over, insert hook into stitch, yarn over and pull up a loop (3 loops on hook), yarn over and pull through 2 loops, yarn over and pull through remaining 2 loops. Creates the main fabric and openwork sections.
fpdc = front post double crochet. Yarn over, insert hook from front to back to front around the post of the stitch below (not into the top), complete as a regular double crochet. This creates raised texture for the ribbing.
bpdc = back post double crochet. Yarn over, insert hook from back to front to back around the post of the stitch below, complete as a regular double crochet. Creates the recessed part of ribbing.
sk = skip. Pass over the indicated stitch without working into it.
rep = repeat. Work the instructions between brackets or parentheses the specified number of times.
Special Techniques
Openwork Lace Pattern
The openwork sections in this sweater are created using a simple chain space technique. You skip stitches in the row below and work chains to span the gap, then work double crochets into those chain spaces on the following row. This creates the pretty holes you see throughout the design.
Ribbed Edging
The stretchy ribbed look at the neckline, hem, and cuffs comes from alternating front post and back post double crochets. When you work around the post of a stitch instead of into the top, it creates texture that looks just like knitted ribbing.
Do not worry if post stitches feel awkward at first. Everyone struggles with them initially. Go slowly and make sure you are wrapping around the post, not the top of the stitch.
The Pattern
Body Panel (Make 2)
The front and back are worked identically as flat panels, then seamed at the shoulders and sides.
Ribbed Hem:
Using smaller hook, ch 65.
Row 1: Dc in 4th ch from hook, dc in each ch across. (62 dc)
Row 2: Ch 2 (does not count as stitch throughout), fpdc around first dc, bpdc around next dc, [fpdc around next dc, bpdc around next dc] rep across. (62 sts)
Rows 3 to 6: Rep Row 2, maintaining the established rib pattern. Work fpdc around the raised stitches and bpdc around the recessed stitches.
Switch to larger hook for main body.
Main Body Section:
Row 7: Ch 2, hdc in each st across. (62 hdc)
Row 8: Ch 2, hdc in each st across. (62 hdc)
Row 9 (Openwork Row): Ch 3 (counts as dc), dc in next st, [ch 1, sk 1, dc in next 2 sts] rep across. (62 sts including ch-1 spaces)
Row 10: Ch 3, dc in each dc and each ch-1 space across. (62 dc)
Rows 11 to 12: Ch 2, hdc in each st across. (62 hdc)
Row 13 (Lace Row): Ch 3, sk 2 sts, dc in next st, [ch 2, sk 2 sts, dc in next st] rep across, adjusting final repeat as needed. (Approximately 62 sts)
Row 14: Ch 3, 2 dc in first ch-2 space, [dc in next dc, 2 dc in ch-2 space] rep across. (62 dc)
Rows 15 to 16: Ch 2, hdc in each st across. (62 hdc)
Repeat Rows 9 through 16 two more times for a total of three complete pattern sections.
Work Rows 9 through 12 once more.
Shoulder Shaping:
Next Row: Ch 2, hdc in first 20 sts, leave remaining sts unworked for first shoulder. (20 hdc)
Work 2 more rows of hdc on these 20 sts. Fasten off.
Skip center 22 sts for neckline. Rejoin yarn to remaining 20 sts and work to match first shoulder.
Sleeves (Make 2)
The sleeves are worked from the cuff up with gradual increases to create the balloon shape.
Ribbed Cuff:
Using smaller hook, ch 33.
Row 1: Dc in 4th ch from hook, dc in each ch across. (30 dc)
Rows 2 to 6: Work ribbing as for body hem. (30 sts)
Join to work in the round. Sl st to first st of row, being careful not to twist.
Switch to larger hook.
Sleeve Body:
Round 1: Ch 2, hdc in each st around, sl st to first hdc. (30 hdc)
Round 2: Ch 2, 2 hdc in first st, hdc in next 14 sts, 2 hdc in next st, hdc in remaining sts, sl st to join. (32 hdc)
Rounds 3 to 4: Ch 2, hdc in each st around. (32 hdc)
Round 5 (Openwork): Ch 3, dc in next st, [ch 1, sk 1, dc in next 2 sts] rep around, sl st to join.
Round 6: Ch 3, dc in each dc and ch-1 space around. (32 dc)
Continue in established pattern, increasing 2 stitches every 4th round (placing increases at opposite sides of the sleeve) until you have 48 stitches.
Work even in pattern until sleeve measures approximately 18 inches from cuff, or 4 inches less than desired length.
Sleeve Cap:
Begin working flat, turning at the end of each row.
Decrease 1 st at each edge every row for 6 rows. (36 sts remain)
Work 2 rows even. Fasten off, leaving a long tail for seaming.
Assembly
Shoulder Seams:
Lay front and back panels with right sides facing. Using tapestry needle and long tail, whip stitch shoulder seams together, matching stitch for stitch.
Attach Sleeves:
Find the center of the sleeve cap. Match it to the shoulder seam. Pin in place. Pin remaining sleeve cap edges to the body, easing any fullness.
Whip stitch or mattress stitch the sleeve to the body opening.
Side and Underarm Seams:
Beginning at the hem, seam the side of the body up to the underarm. Continue seamlessly down the underarm of the sleeve to the cuff.
Repeat for second side.
Neckband
Using smaller hook, join yarn at back left shoulder seam.
Round 1: Ch 1, work sc evenly around entire neckline, placing approximately 3 sc for every 2 rows along the sides and 1 sc in each st across front and back. Sl st to join. Place marker at beginning of round.
Adjust your stitch count on this round to get a number divisible by 2.
Round 2: Ch 2, [fpdc around next st, bpdc around next st] rep around, sl st to join.
Rounds 3 to 5: Continue ribbing pattern as established.
Fasten off. Weave in all ends.
Finishing Tips
Block your completed sweater by soaking it in lukewarm water with a bit of wool wash. Gently squeeze out excess water (do not wring) and lay flat on a blocking mat or clean towels. Shape to measurements and allow to dry completely.
The fuzzy yarn will bloom beautifully after blocking, creating that soft halo effect you see in the photos.
Customization Ideas
Longer Length: Add additional pattern repeats to the body before starting shoulder shaping.
Tighter Sleeves: Skip some of the increase rounds for a more fitted silhouette.
Different Neckline: Work fewer or more ribbing rounds at the neck for a shorter crew neck or longer mock neck.
Colour Variations: This pattern looks stunning in dusty pink, sage green, or soft grey. The openwork really pops in lighter colours.

Troubleshooting Common Issues
My openwork sections look uneven. Make sure you are working your chain stitches consistently. Not too tight, not too loose. The chains should lay flat and relaxed.
The ribbing does not stretch. You might be working your post stitches too tightly. Relax your tension on those rounds.
My sleeves are twisting. Double check that you did not twist when you joined the cuff into a round. This is easy to fix early but frustrating to discover later.
The sweater is too small or big. Always make a gauge swatch. If your gauge does not match, go up or down a hook size until it does.
I hope you love making this openwork lace sweater as much as I loved designing it. It is one of those projects that looks impressive but feels totally achievable once you get into the rhythm. Thank you for trusting me with your time and yarn stash.
If you make this sweater, I would absolutely love to see it. Tag me on Instagram or share a photo in my Facebook group. Nothing makes my day like seeing your finished projects pop up in my feed.
Save this pattern to your Pinterest boards so you can find it when you are ready to cast on. And if you have any questions or want to share how yours turned out, drop a comment below. I read every single one.
