
Let me guess. You have looked at this dress, fallen completely in love with it, and then immediately thought, "There is no way I could actually make that." I get it. A full crochet dress made from granny squares looks intimidating. It looks like something only expert crocheters with decades of experience could pull off.
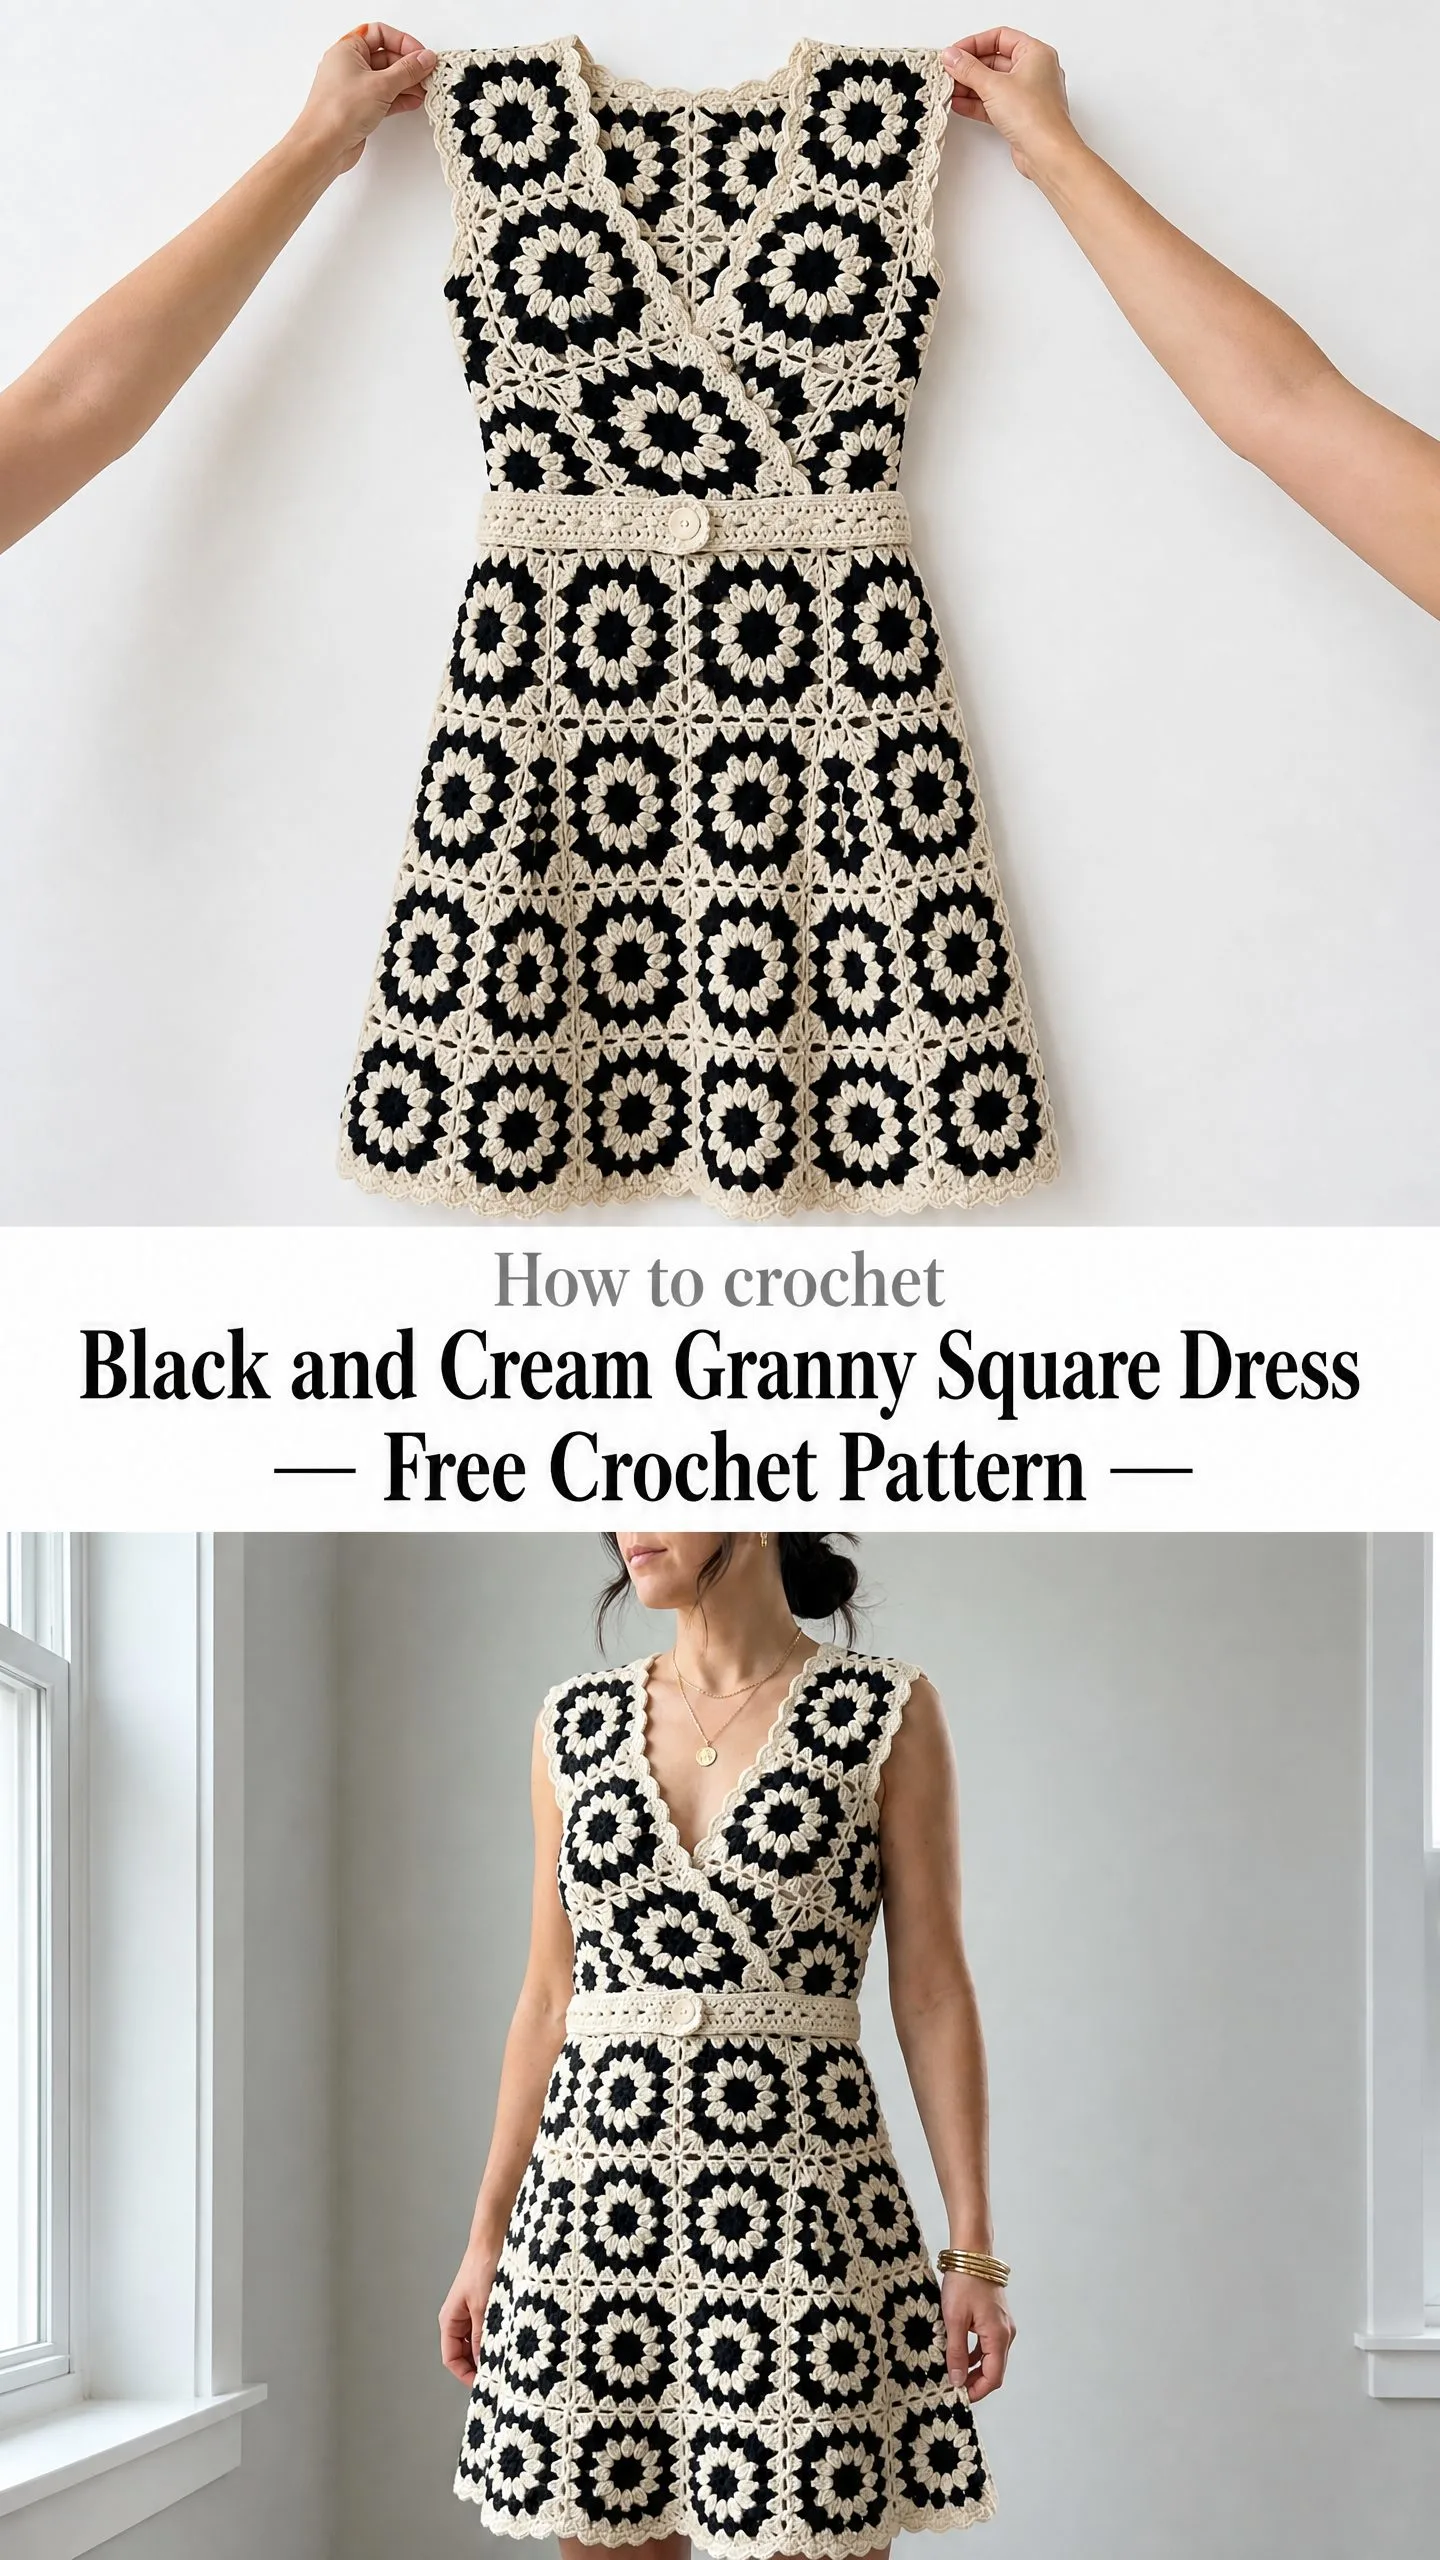
But here is the truth. If you can crochet a basic granny square, you can make this dress. That is not an exaggeration. The entire garment is built from 98 individual squares, all worked the same way, then joined together with a simple slip stitch method. No complicated shaping. No confusing decreases worked across multiple rows. Just squares, joined into panels, sewn at the sides.
I am going to walk you through every single step of this gorgeous black and cream granny square dress crochet pattern. By the end of this tutorial, you will have all the confidence you need to start your first square tonight.
Why This Crochet Dress Pattern Works for Multiple Skill Levels
This dress hits a sweet spot that is rare in crochet garment patterns. Advanced beginners can tackle it because the individual squares are straightforward and repetitive. You make one, figure out the rhythm, and then repeat 97 more times. Intermediate crocheters will appreciate the elegant construction and the satisfaction of watching panels come together. And experienced makers will love the vintage aesthetic and the room for customization.
The granny square is one of the most iconic motifs in crochet history. Traditionally, it features clusters of double crochet stitches worked in rounds, separated by chain spaces, creating that classic open, lacy look. This pattern takes the traditional granny square and elevates it with a stunning sunflower center worked in black, surrounded by a cream frame that creates the grid effect you see in the finished dress.
The construction method is called modular crochet. Instead of crocheting the entire garment in one piece with complicated shaping, you create small identical pieces and join them together like tiles. This means you can work on this project anywhere. Keep a ball of yarn and your hook in your bag, and crochet a square on your lunch break.
Materials You Will Need
Before you start, gather everything listed below. Having all your supplies ready makes the process so much smoother.
Yarn
You will need two colors of DK weight yarn (also called CYCA 3 or Light weight):
I recommend Lion Brand 24/7 Cotton in Black and Ecru. This 100 percent mercerized cotton has excellent stitch definition, drapes beautifully for garments, and is machine washable. Other great options include Paintbox Yarns Simply DK or We Are Knitters The Petite Wool.
Avoid yarns with excessive fuzz or halo. You want crisp, clean lines so the two-color geometric pattern really pops.
Hooks
Notions
Gauge
Getting gauge right is critical for garments. A small difference per square multiplies across the entire dress.
For each finished granny square: 3.5 inches by 3.5 inches (9 cm by 9 cm) after blocking
For single crochet (used in edging and waistband): 18 single crochet by 20 rows equals 4 inches by 4 inches (10 cm by 10 cm)
If your square is larger than 3.5 inches, go down one hook size. If smaller, go up one hook size. Make a test square and block it before committing to the full project.
Finished Measurements (Size Medium)
Size adjustments are included later in the pattern.
Abbreviations and Stitch Definitions
Here is every abbreviation used in this crochet pattern, along with plain-English explanations.
Special Stitches
Petal Cluster (Worked in Color A, Black)
This creates the raised, flower-like petals in the center of each square.
1. Yarn over, insert hook into the indicated stitch or space.
2. Yarn over and pull up a loop to the height of a double crochet (3 loops on hook).
3. Yarn over, insert hook into the SAME stitch or space.
4. Yarn over and pull up another loop to the same height (5 loops on hook).
5. Yarn over and draw through all 5 loops at once.
One petal cluster made.
Shell Stitch (Used in Edging)
Work 5 double crochet stitches all into the same stitch or space. This counts as one shell unit and creates the pretty scalloped edge.
Flat Join (Used to Connect Squares)
This method creates a clean, visible seam on the wrong side and a decorative ridge on the right side.
1. Hold two finished squares with wrong sides together.
2. Insert hook through the back loop of the edge stitch on the square facing you AND through the front loop of the corresponding edge stitch on the square behind.
3. Slip stitch these two loops together.
4. Continue across all edge stitches of the joining edge.
Step-by-Step Instructions
Section 1: The Sunflower Granny Square (Make 98 for Size Medium)
Each square uses both Color A (Black) and Color B (Cream). Start with Color A and your E-4 hook.
Round 1 (Color A):
Make a magic ring, or chain 5 and join with slip stitch to form a ring.
Chain 1 (does not count as a stitch throughout this pattern).
Work 12 single crochet into the ring.
Join with slip stitch to first single crochet.
(12 sc)
Round 2 (Color A):
Chain 1.
Work 1 petal cluster into first single crochet, chain 1.
Work 1 petal cluster into next single crochet, chain 1.
Repeat (petal cluster into next single crochet, chain 1) 10 more times around.
Join with slip stitch to top of first petal cluster.
(12 petal clusters, 12 ch-1 spaces)
Round 3 (Color A):
Slip stitch into first chain-1 space.
Chain 3 (counts as first double crochet), 2 double crochet into same chain-1 space.
Chain 1, 3 double crochet into next chain-1 space.
Repeat (chain 1, 3 double crochet into next chain-1 space) 10 more times.
Chain 1, join with slip stitch to top of beginning chain-3.
Fasten off Color A.
(12 groups of 3 dc, 12 ch-1 spaces)
Round 4 (Color B, Cream):
Join Color B with slip stitch into any chain-1 space between double crochet groups.
Chain 3 (counts as double crochet), 2 double crochet into same space.
In this round, you will create 4 corner chain-2 spaces and 4 side chain-1 spaces. The 12 chain-1 spaces from Round 3 are distributed as follows: 4 become corners, 8 become side spaces (2 side spaces between each corner pair).
Work in sequence around:
Chain 1, join with slip stitch to top of beginning chain-3.
Fasten off Color B.
(4 corner ch-2 spaces, 8 side ch-1 spaces, 72 dc total)
Round 5 (Color B, Cream):
Join Color B with slip stitch into any corner chain-2 space.
Chain 3 (counts as double crochet), 2 double crochet into same corner chain-2 space, chain 2, 3 double crochet into same space.
Chain 1.
3 double crochet into next chain-1 space, chain 1.
3 double crochet into next chain-1 space, chain 1.
(3 double crochet, chain 2, 3 double crochet) into next corner chain-2 space, chain 1.
3 double crochet into next chain-1 space, chain 1.
3 double crochet into next chain-1 space, chain 1.
Repeat the last 4 instructions 2 more times to complete the remaining 2 corners and their side spaces.
Join with slip stitch to top of beginning chain-3.
Fasten off Color B.
(4 corners with ch-2 spaces, 8 side ch-1 spaces, 48 dc total)
Weave in all ends. Block each square to exactly 3.5 inches by 3.5 inches (9 cm by 9 cm).
Checkpoint: The black circular sunflower motif should occupy the center, roughly 2 inches (5 cm) in diameter. The cream granny frame forms the outer border.
Section 2: Joining Squares Into Panels
Use Color B (Cream) for all joins. Join squares into horizontal rows first, then join rows together vertically.
Panel Breakdown for Size Medium:
When joining, work the flat join across approximately 14 working points per edge (including corner spaces).
Corner Junction Detail: Where 4 squares meet, use a separate length of Color B. Insert hook into all 4 corner chain-2 spaces simultaneously. Draw up a loop, chain 3, slip stitch to same 4-space junction. This creates the decorative cross detail visible in the finished garment.
Section 3: Shaping the V-Neckline
On the Bodice Front Panel, the V-neckline is formed by leaving out the center 2 squares from the top row.
After assembling the bodice front (6 squares wide by 3 rows tall), the top row has squares 1, 2, 3, 4, 5, and 6 from left to right. Do NOT join squares 3 and 4. Leave those positions open.
The remaining 4 squares (1, 2 on the left shoulder and 5, 6 on the right shoulder) form the shoulder sections, each 2 squares wide.
To angle the V shape, work single crochet along the inner vertical edge of squares 2 and 5 (the innermost remaining top squares). At the bottom corner of each, work single crochet 2 together (sc2tog) to create a slight angle point.
The V depth is approximately 7 inches (18 cm) from center front shoulder edge to the V point.
Section 4: Shaping the Back Neckline
The back neckline is a shallow scoop. No squares are removed. Instead, work a single round of single crochet edging along the top edge, dipping 1 square depth at center back.
Starting at the top left corner of the bodice back, work single crochet evenly along the entire top edge. When you reach the top of the center square (square 3 of 5), work single crochet along the inner left edge of that square, across the top of the square below it, and back up the inner right edge. Continue along the remaining top edge.
This creates a scoop approximately 3.5 inches wide by 3.5 inches deep.
Section 5: Assembling Bodice and Skirt
Step 1: Join Bodice Front to Skirt Front using the flat join across the entire width.
Step 2: Join Bodice Back to Skirt Back the same way.
Step 3: Insert the Waist Side Panels. Position each side panel so the top edge joins to the bottom side edges of the bodice panels at the waistline, and the bottom edge joins to the top side edges of the skirt panels at the hip.
Step 4: Work the vertical side seams using flat join from underarm to hem on each side.
Checkpoint: The assembled dress body should measure approximately 21 inches wide at bust, 30 inches at fullest skirt point, and 24.5 inches in total length.
Section 6: Armhole Edging
With Color B and E-4 hook, join yarn at underarm.
Work 1 round of single crochet evenly around the armhole opening.
Work approximately 42 single crochet total. Join with slip stitch.
(42 sc)
Round 2 (Scallop):
Slip stitch into first single crochet.
Chain 1, single crochet into same single crochet.
Skip 2 single crochet, work 5 double crochet into next single crochet (shell made).
Skip 2 single crochet, single crochet into next single crochet.
Repeat (skip 2, shell, skip 2, single crochet) around.
Join with slip stitch.
Fasten off.
(7 shells, 7 single crochet)
Repeat for second armhole.
Section 7: Neckline Edging
With Color B and E-4 hook, join yarn at right shoulder seam.
Work 1 round of single crochet evenly around entire neckline (front V and back scoop combined).
Work approximately 84 single crochet total. Join with slip stitch.
(84 sc)
Place a stitch marker at the V-point (bottom of front V).
Round 2 (Scallop):
Work the scallop edge same as the armhole, EXCEPT at the V-point marker. Instead of working a shell at the V-point, work single crochet 2 together (sc2tog) over the 2 stitches on either side of the marker. Then continue the scallop pattern.
Join with slip stitch. Fasten off.
Section 8: Waistband
Measure the waistline circumference of your assembled dress. For size Medium, this is approximately 30 inches (76 cm).
With Color B and D-3 hook, chain 136.
Row 1: Half double crochet into 3rd chain from hook and in each chain across. Turn. (134 hdc)
Rows 2 through 6: Chain 2 (does not count as stitch), half double crochet in back loop only in each stitch across. Turn. (134 hdc)
Do not fasten off after Row 6.
Scallop Edging on Waistband:
Rotate work to work along the long top edge. Work single crochet evenly along the top edge, then work the scallop pattern (same as armhole) along both long edges. Leave short ends unworked.
Seam the two short ends together with a flat join to form a loop.
Work 1 round of single crochet around the waist join line of the dress (where bodice meets skirt) to create a foundation for attaching the waistband.
Pin the waistband over the waist join seam, centered, right side out. Whipstitch the top edge to the foundation round. Whipstitch the bottom edge to the skirt top join.
Button Placement: Sew the large button approximately 1.25 inches from one short end of the waistband. On the opposite end, chain 10 with Color B, slip stitch to form a loop, and sew securely. The button and loop meet at center front.
Section 9: Hem Edging
Count the total stitches around the hem. For size Medium, target 222 single crochet (divisible by 6 for the scallop pattern).
Round 1: With Color B and E-4 hook, join yarn at one side seam. Work 1 round of single crochet around the hem. Join with slip stitch.
(222 sc)
Round 2 (Scallop):
Work the scallop edge same as armhole all the way around.
Join with slip stitch. Fasten off.
(37 shells, 37 single crochet)
Section 10: Final Finishing
If using a lining, cut lining fabric to match the dress silhouette with 0.5 inch seam allowance. Sew lining by machine with side seams and waist darts as needed. Turn raw edges under and hand-sew to the wrong side of the dress at neckline, armholes, and hem.
Weave in any remaining ends. Give the entire dress a final light steam blocking if needed.
Size Customization Guide
Each square measures 3.5 inches. Adding one square to a row adds 3.5 inches to the width. Adding one row of squares adds 3.5 inches to the length.
To shorten the dress, remove one row of skirt squares. To lengthen, add one row.
Tips for Success
Block every single square before joining. I know this sounds tedious. But when you are joining 98 squares, even a tiny size variation multiplies into a big problem. Wet blocking cotton yarn takes just a few hours and makes joining so much easier.
Weave in ends as you go. Do not leave 196 ends to weave in at the end. Trust me on this one.
Work squares in batches. Make 10 at a time, block them together, then start the next batch. This keeps the project feeling manageable.
Use stitch markers at every corner junction. When you start joining panels, markers help you line everything up correctly.
Try on as you assemble. After joining the bodice panels, hold them up to your body. After attaching the skirt, check the length. Crochet garments are very forgiving to adjust as you go.
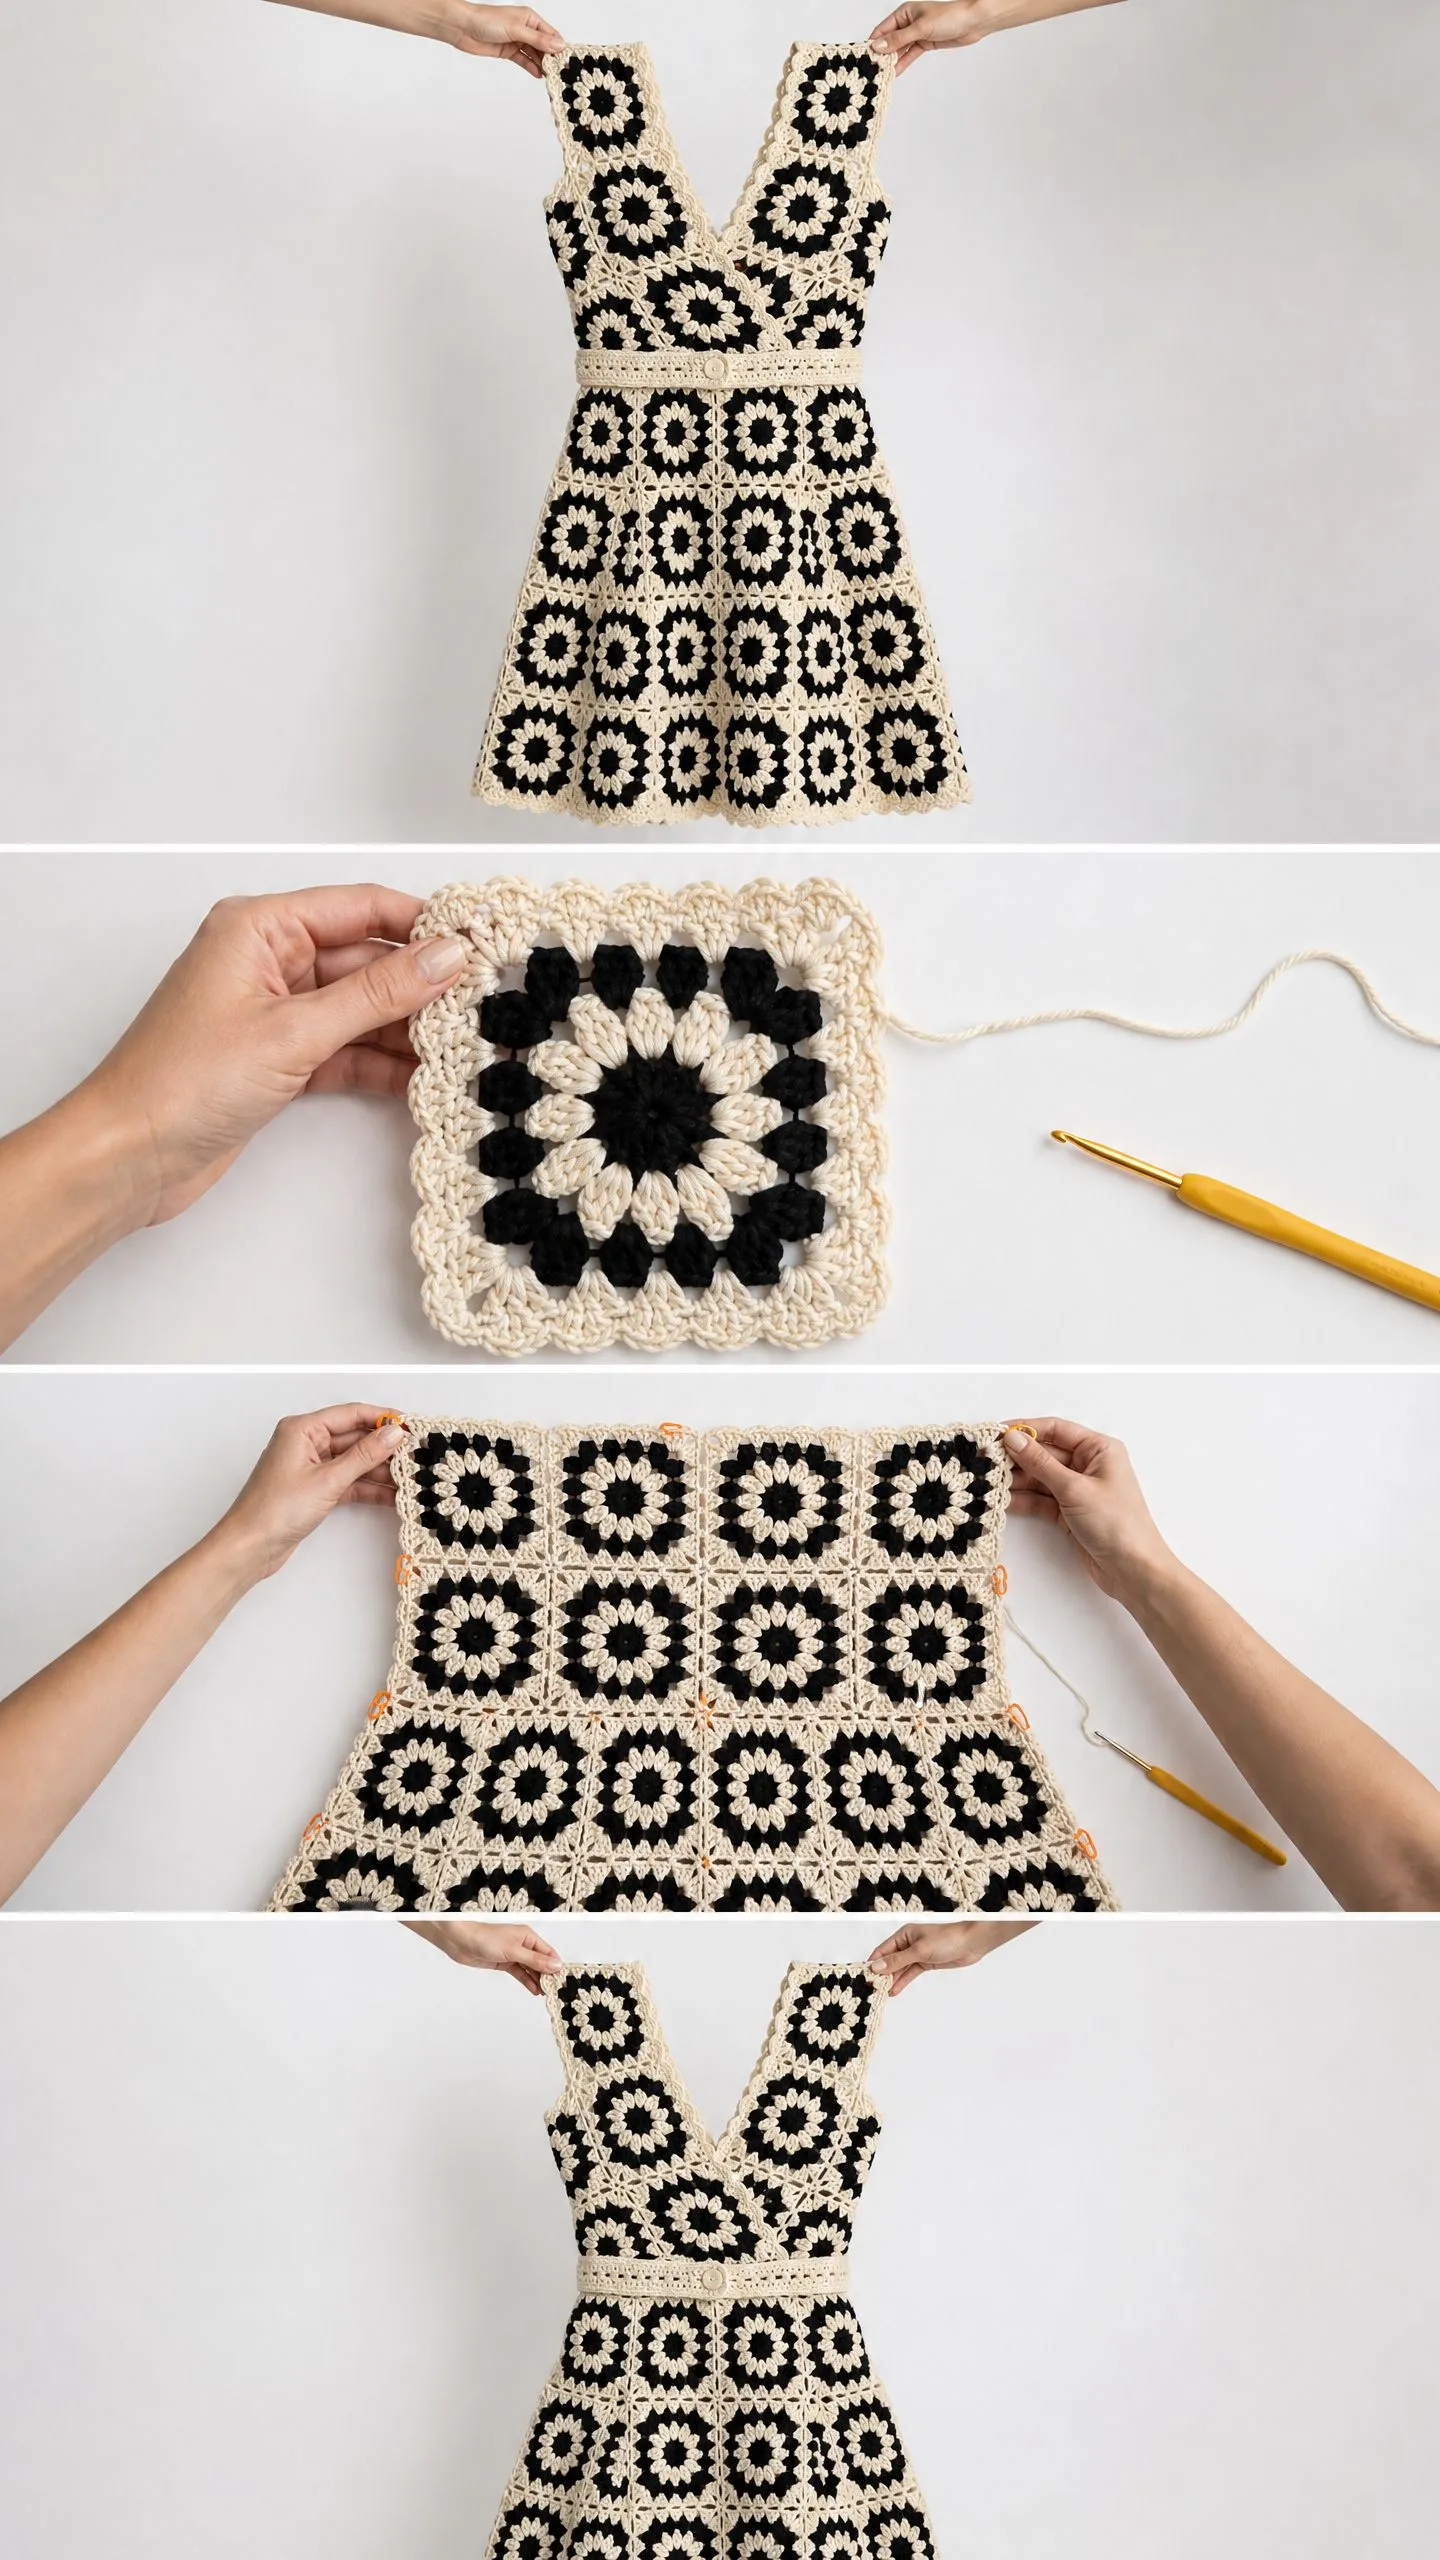
Wrapping Up This Granny Square Dress Crochet Pattern
You have made it to the end. And I hope you are feeling less intimidated and more excited to cast on that first magic ring.
This black and cream granny square dress is a stunning statement piece. It looks like something from a high-end boutique, but you will have made it with your own hands. The modular construction means you can pick it up and put it down around your schedule. And watching those squares stack up into a finished garment is one of the most satisfying experiences in crochet.
The vintage-inspired scallop edging, the bold sunflower centers, the elegant V-neckline. Every detail of this crochet pattern comes together to create a dress you will be proud to wear and even prouder to say you made yourself.
Thank you so much for choosing this pattern for your next project. I truly cannot wait to see your finished dress. If you make it, please share a photo on Instagram or Facebook and tag me. Nothing makes my day like seeing your beautiful creations come to life.
If you loved this tutorial and want to find it easily later, save it to your Pinterest boards now. And please drop a comment below if you give this dress a try. I would love to hear how it goes, answer any questions, or just cheer you on along the way. Happy crocheting!
