Dig into your stash, because that butter yellow skein you have been saving is about to become your new favorite project. This book cover features layered daisies, a stunning lace paisley applique, leafy vines, and a sweet bee button closure. The construction is genuinely interesting, with a simple single crochet base that you then transform with dimensional appliques and surface crochet details. I will be honest with you: this is an intermediate project. The base is straightforward, but the applique shaping, surface work, and motif placement require some patience and attention.
Get the Ad-Free PDF Pattern
You can find the free pattern below, or you can purchase the ad-free printable PDF from my shop.
Get the Printable PDF →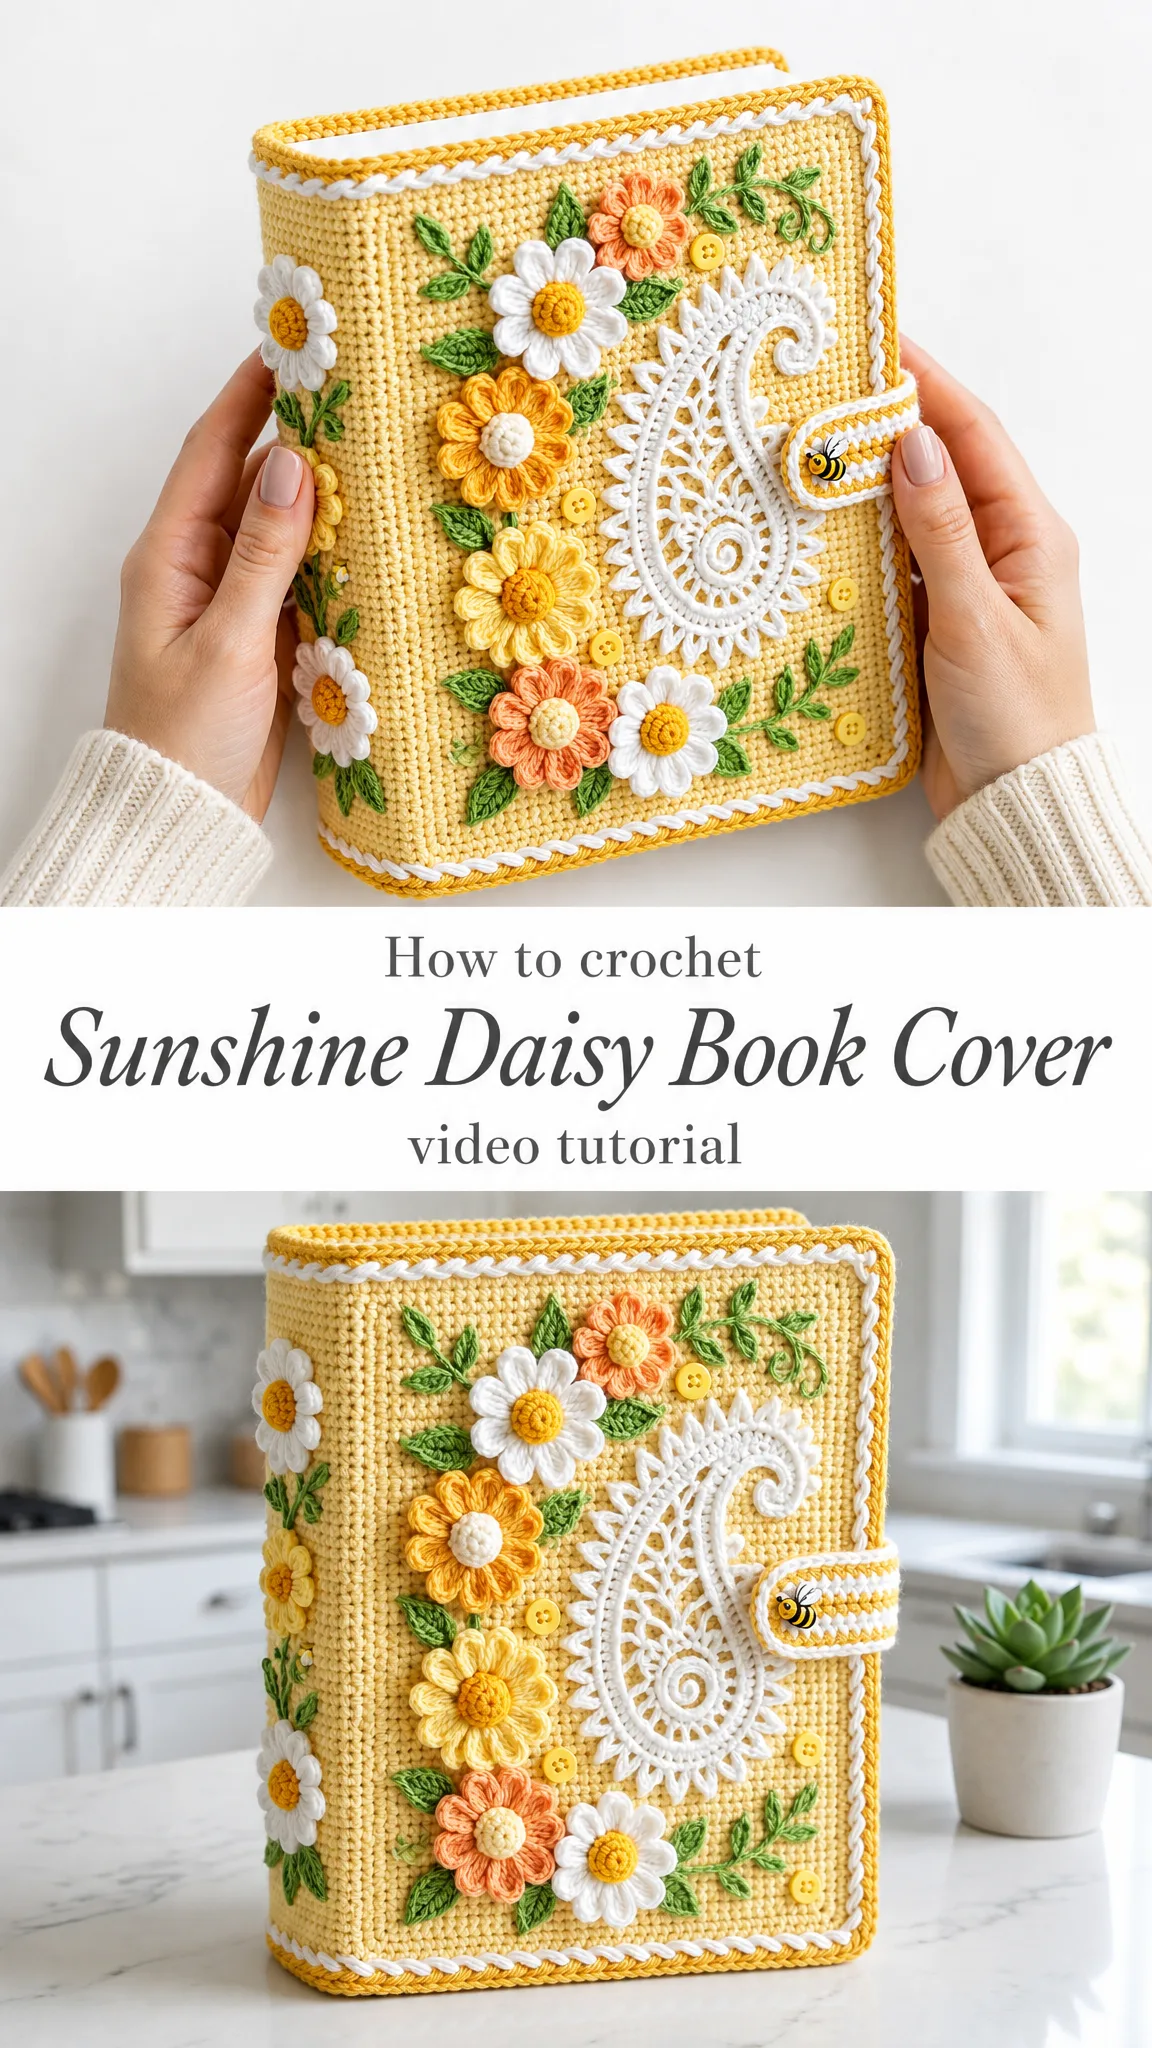
About This Sunshine Daisy Book Cover Pattern
This cheerful textured wrap fits a medium hardcover, Bible, journal, or notebook measuring approximately 6 x 8.5 x 1.5 inches. The finished cover measures 6.5 inches wide by 9.25 inches tall with a 1.75 inch spine depth. When laid flat before assembly, the piece spans 14.75 inches wide by 9.25 inches tall.
The construction method is beautifully logical. You work one flat textured rectangle for the main body, add two inside flaps to hold your book covers in place, create a narrow strap that closes at the fore edge, then decorate everything with dimensional daisies, small flowers, leaves, vines, buttons, a white lace paisley, and a braided border.
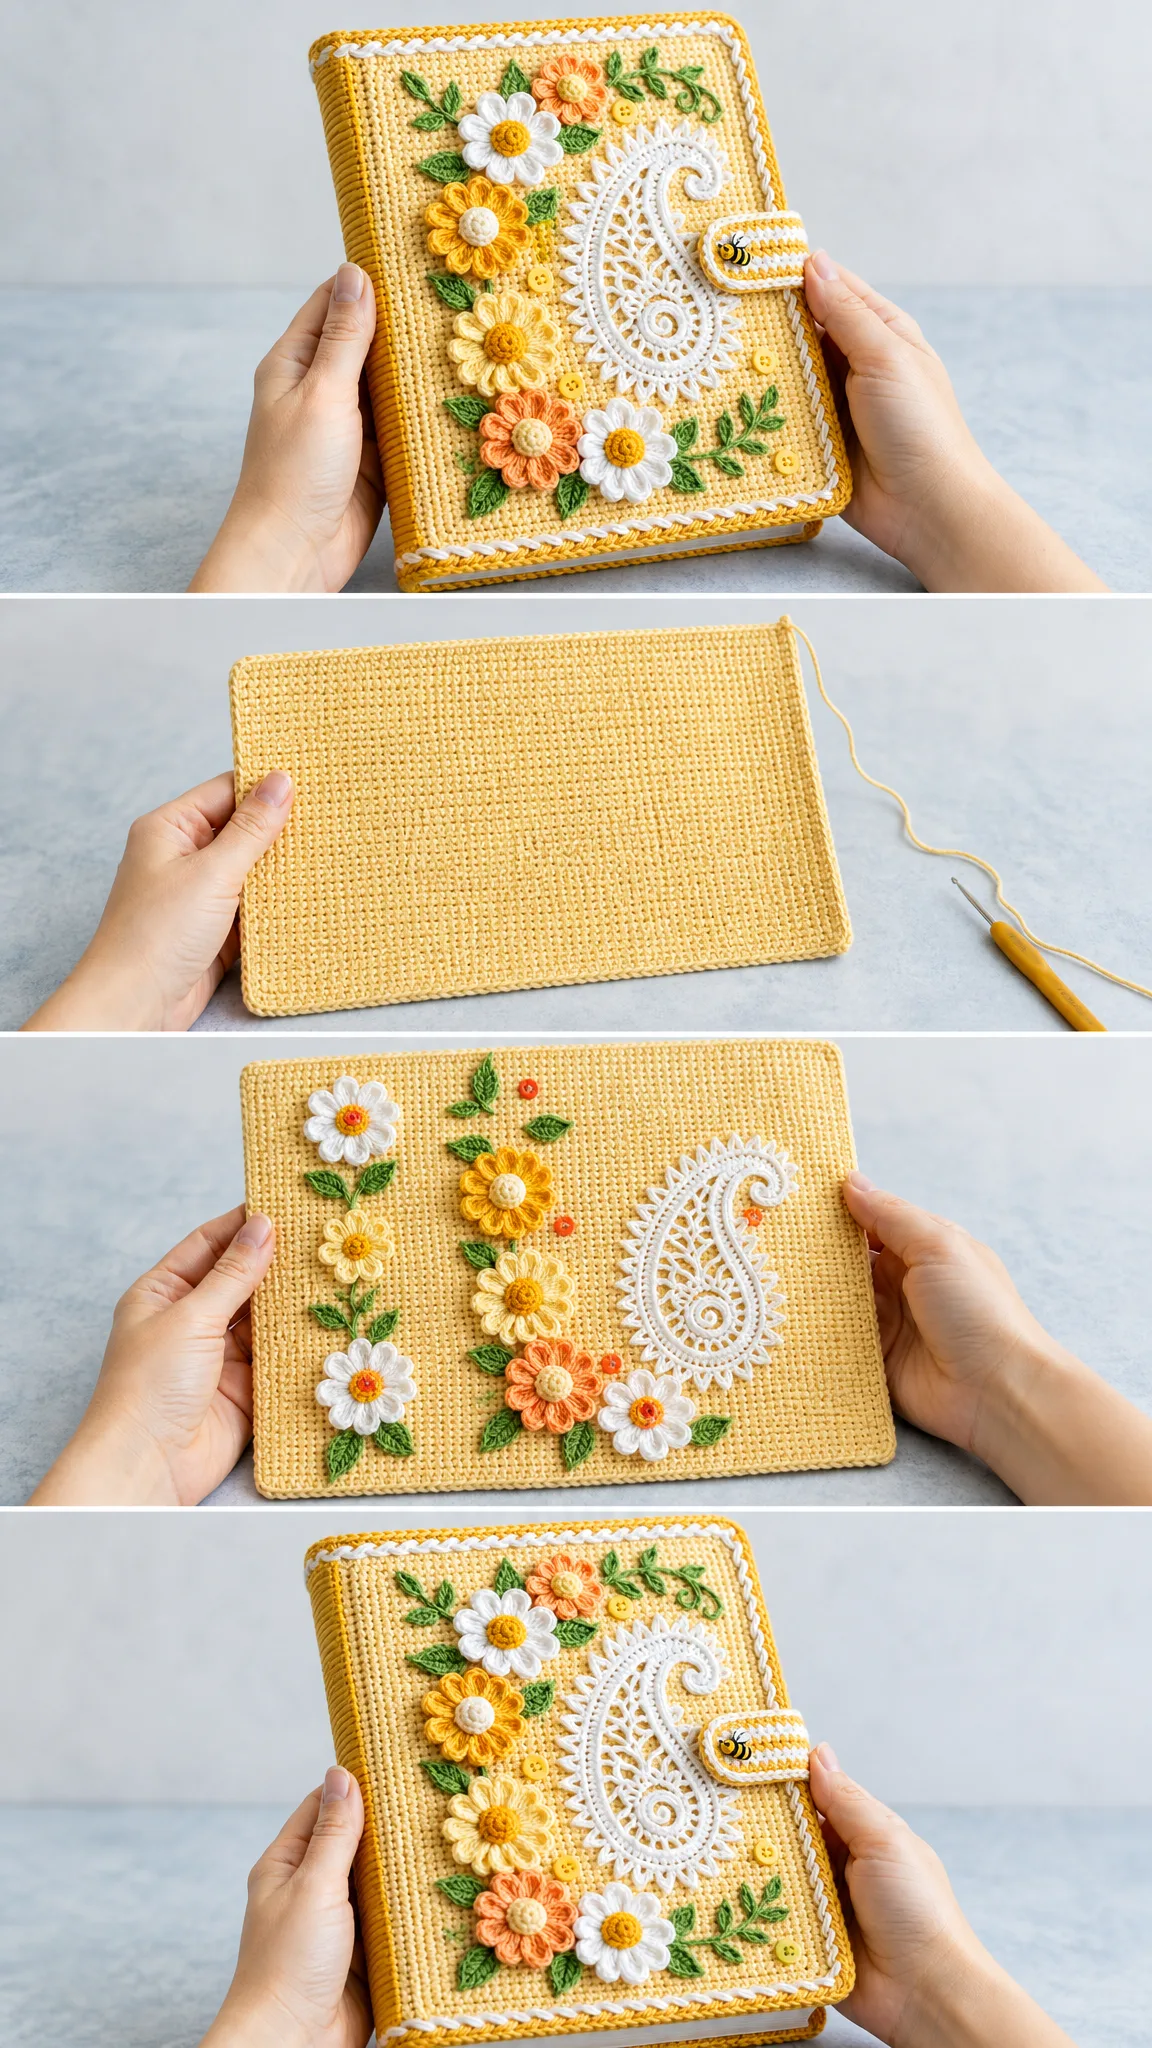
Construction order: main rectangle, inner flaps, strap, edging, applique pieces, placement, stitching, blocking, and final trim.
Time estimate: Plan for 8 to 12 relaxed hours, plus blocking and drying time.
Materials You Will Need
Yarn: Worsted weight (also called Aran weight) cotton or cotton-acrylic blend, category 4. You will need approximately 420 yards total.
Colors and yardage:
Crochet hooks:
Notions: tapestry needle, removable stitch markers, pins, blocking mat, rustproof T-pins, 6 to 8 small yellow buttons, one bee button or 0.75 inch decorative button, sewing needle and matching thread, optional stitch glue for thread ends only.
Yarn Suggestions
Lily Sugar n Cream Solids gives you crisp cotton structure and bright daisy colors. Paintbox Yarns Cotton Aran offers smooth stitch definition perfect for flowers and leaves. Lion Brand 24/7 Cotton provides a firm, polished finish with a strong color range.
Substitution note: Choose a smooth category 4 yarn that meets gauge. Avoid very fuzzy yarns because the lace paisley and surface vines need clean edges to look their best.
Gauge
Body gauge: 16 single crochet (sc) stitches by 18 rows equals 4 inches square after light blocking with the 5.0 mm hook.
Applique gauge: Motif size matters more than exact stitch gauge. Your large daisy should measure about 1.65 to 1.9 inches across with the 4.0 mm hook.
Please swatch and check your gauge before starting, especially if fitting a favorite book. Cotton stretches less than acrylic, so allow a little ease.
Abbreviations and Stitch Definitions
Before we dive into the pattern, let me walk you through every abbreviation you will encounter.
UK crocheters: US sc equals UK dc. US dc equals UK tr.
Special Stitches
Textured single crochet row: Work standard sc across. For a woven look, insert hook under both loops, pull up a loop, yarn over and pull through both loops. Keep the loops snug but not tight.
Picot: Chain 3, slip stitch in the third chain from hook. This creates a small decorative bump.
Surface slip stitch: Hold yarn on the wrong side, insert hook from the front, pull up a loop, insert hook in next chosen space, pull up a loop and pull through loop on hook. This creates a raised line on the right side of your work.
Standing sc: Make a slip knot on hook, insert hook in marked stitch, yarn over, pull up loop, yarn over and pull through both loops. This lets you join yarn without a chain.
Invisible join: Cut yarn, pull tail through final stitch, thread needle, pass under both loops of first stitch, then back through top of final stitch. This creates a seamless finish.
Left-handed note: Work the written rows the same way. Your strap and motif sweep will mirror naturally. Place the strap on the opening edge that feels most comfortable when the book is held.
Main Cover Body Instructions
Use butter yellow and your 5.0 mm hook. Chain 60.
Row 1: Sc in 2nd ch from hook and each ch across. Ch 1, turn. (59 sc)
Rows 2-42: Sc in each st across. Ch 1, turn after Rows 2-41 only. (59 sc)
Checkpoint: Your piece should measure about 14.75 x 9.25 inches after light blocking.
Inside Flaps
Make 2 flaps total.
Use butter yellow and your 5.0 mm hook. Chain 12.
Row 1: Sc in 2nd ch from hook and each ch across. Ch 1, turn. (11 sc)
Rows 2-42: Sc in each st across. Fasten off after Row 42. (11 sc)
Place one flap on each short end of the wrong side of the body, matching top and bottom edges. Whipstitch along the top, bottom, and outside short edge only. Leave the inner long edge open for the book cover to slide in.
Strap
Use butter yellow and your 5.0 mm hook. Chain 22.
Row 1: Sc in 2nd ch from hook and each ch across. Ch 1, turn. (21 sc)
Rows 2-4: Sc in each st across. Fasten off. (21 sc)
Edging: With white, sc evenly around strap, placing 3 sc in each corner. Join and fasten off. With gold, surface sl st a center line or small chevrons down the middle.
Sew the strap to the back opening edge, centered vertically. Sew the bee button to the front opening edge opposite the strap.
Border and Panel Lines
Outer border, Rnd 1: Join butter yellow at any corner. Sc 59 along top, 3 sc in corner, sc 42 down side, 3 sc in corner, sc 59 along bottom, 3 sc in corner, sc 42 up side, 3 sc in corner. Join. (210 sc)
Rnd 2: With gold, sc in each st around, working 3 sc into the center sc of each corner group. Join. (218 sc)
White braid: With white, surface sl st just inside the gold border around the front and back edges. Keep tension loose so the cover stays flat.
Panel Guide
With removable markers on the right side, mark the front panel as the first 26 stitches from the right opening edge. Mark the spine as the center 7 stitches. Mark the back panel as the remaining 26 stitches. These guide your applique placement. Remove markers after finishing.
Decorative Button Dots
Sew 6 to 8 small yellow buttons in open spaces around the flowers and paisley. Keep all buttons at least 0.5 inch inside the border so the book slides in smoothly.
Motif Placement Map
Front: One tall flower column near the left of the front panel, one white paisley sweeping from lower center toward upper right, leafy vine across top and lower right, bee strap crossing the right edge.
Back: Mirror the paisley lower left to upper center and scatter daisies around it.
Spine: A vertical vine with 4 small flowers.
Applique Patterns
Large Daisy
Make 3 in white and 1 in gold.
Use gold or white for the center with your 4.0 mm hook. Chain 2.
Rnd 1: 6 sc in 2nd ch from hook. Join. (6 sc)
Rnd 2: 2 sc in each st around. Join. (12 sc)
Petals: *Sl st in next st, in next st work (sc, hdc, 3 dc, hdc, sc); rep from * 6 times. Join and fasten off. (6 petals)
Small Round Flower
Make 6 in mixed peach, gold, and yellow.
Chain 2.
Rnd 1: 8 sc in 2nd ch from hook. Join. (8 sc)
Rnd 2: *Sl st in next st, in next st work (sc, hdc, dc, hdc, sc); rep from * 4 times. Join and fasten off. (4 petals)
For a fuller flower, work the petal sequence in every stitch for 8 petals.
Leaves
Make 18 to 24 leaves.
With green and your 3.5 or 4.0 mm hook, chain 7. Work in back bumps: sl st in 2nd ch, sc, hdc, dc, hdc, 3 sc in last ch. Rotate to opposite side: hdc, dc, hdc, sc, sl st. Fasten off, leaving tail for sewing. (13 edge sts)
Vines
With green and your 3.5 mm hook, surface sl st graceful stems directly onto the cover. Alternatively, chain 18 to 34 and sew the chain as a vine. Add leaves in pairs along the vine.
White Lace Paisley
With white and your 3.5 mm hook, chain 25.
Rnd 1: Sc in 2nd ch and next 22 ch, 5 sc in last ch; working on other side of chain, sc in next 22 ch, 3 sc in first ch. Join. (53 sc)
Rnd 2: Sc in next 18 sts, hdc in next 6 sts, 2 dc in each of next 5 sts, hdc in next 6 sts, sc in next 18 sts. Join. (58 sts)
Lace edge: *Ch 3, skip 1 st, sl st in next st; rep around, adjusting with one ch-2 loop near the inner curve if needed. Fasten off. Coil the narrow end inward and tack it to form the paisley curl.
Assembly and Finishing
1. Block the body flat before adding appliques. Pin to finished size and allow to dry completely.
2. Sew flaps to the wrong side. Slide book covers into flaps to confirm fit before adding heavy decoration.
3. Pin flowers, leaves, vines, and paisley in place. Take a phone photo, then adjust spacing until the front, back, and spine feel balanced.
4. Sew motifs with small hidden stitches. Secure dimensional flower centers firmly so they do not catch in a bag.
5. Add buttons last. Stitch through the cover and button several times, then knot on the wrong side under a flap or motif.
6. Lightly steam from above only. Do not press the flower petals flat.
Size Customization
Width: Measure front cover plus spine plus back cover, then add 0.75 inch ease. Multiply inches by 4 stitches per inch and choose an odd number of stitches. Chain that number plus 1.
Height: Measure book height plus 0.75 inch. Multiply inches by 4.5 rows per inch. Work that many rows.
Flap depth: 2.5 to 3 inches works for most books. At gauge, chain 12 gives an 11-stitch flap about 2.75 inches deep.
Troubleshooting Tips
Cover is too loose: Add a second strap button position or seam the flaps slightly deeper.
Cover is too tight: Block wider, or reduce flap depth by one row of seaming.
Border ripples: Redo edging with fewer side stitches or a smaller hook.
Border pulls in: Add 1 to 2 extra side stitches at each long edge or loosen the surface slip stitches.
Flowers look floppy: Use the smaller hook and stitch the petals down at the base only.
Paisley will not curl: Tack the inner tip first, then shape the outer curve with pins before sewing.
Care Instructions
Spot clean with cool water. If washing is needed, hand wash gently, reshape on a towel, and air dry flat. Remove or protect delicate decorative buttons before washing if needed.
Final Thoughts on This Book Cover Pattern
This sunshine daisy book cover brings together so many beautiful techniques in one project. The textured base provides the perfect canvas for dimensional flowers, the paisley adds an elegant focal point, and those little bee button details make the whole piece feel complete.
Keep dimensional pieces away from the very edge and strap fold for the best results. Cotton stretches less than acrylic, so that extra ease you built in will serve you well over time.
Thank you so much for choosing this pattern. I really hope your finished book cover brings you joy every time you pick up your journal or Bible. If you make one, I would absolutely love to see it. Tag me on Instagram or share a photo on Facebook.
Save this sunshine daisy book cover pattern to your Pinterest boards so you can find it whenever you are ready to start. And please drop a comment below if you make one. I love hearing how your projects turn out!
Want a Quick & Easy Printable Version?
Get a clean, beautifully formatted PDF of this pattern — easy to follow step by step, ready to print or save on any device. No scrolling, no distractions, just the pattern.
Get the Printable PDF →