I don’t know about you, but I’ve always found summer footwear to be a bit boring. Flip flops are practical, sure, but they don’t exactly make a statement. These crocheted gladiator sandals? They’re the perfect solution for anyone who wants to add handmade charm to their warm weather wardrobe without sacrificing comfort.
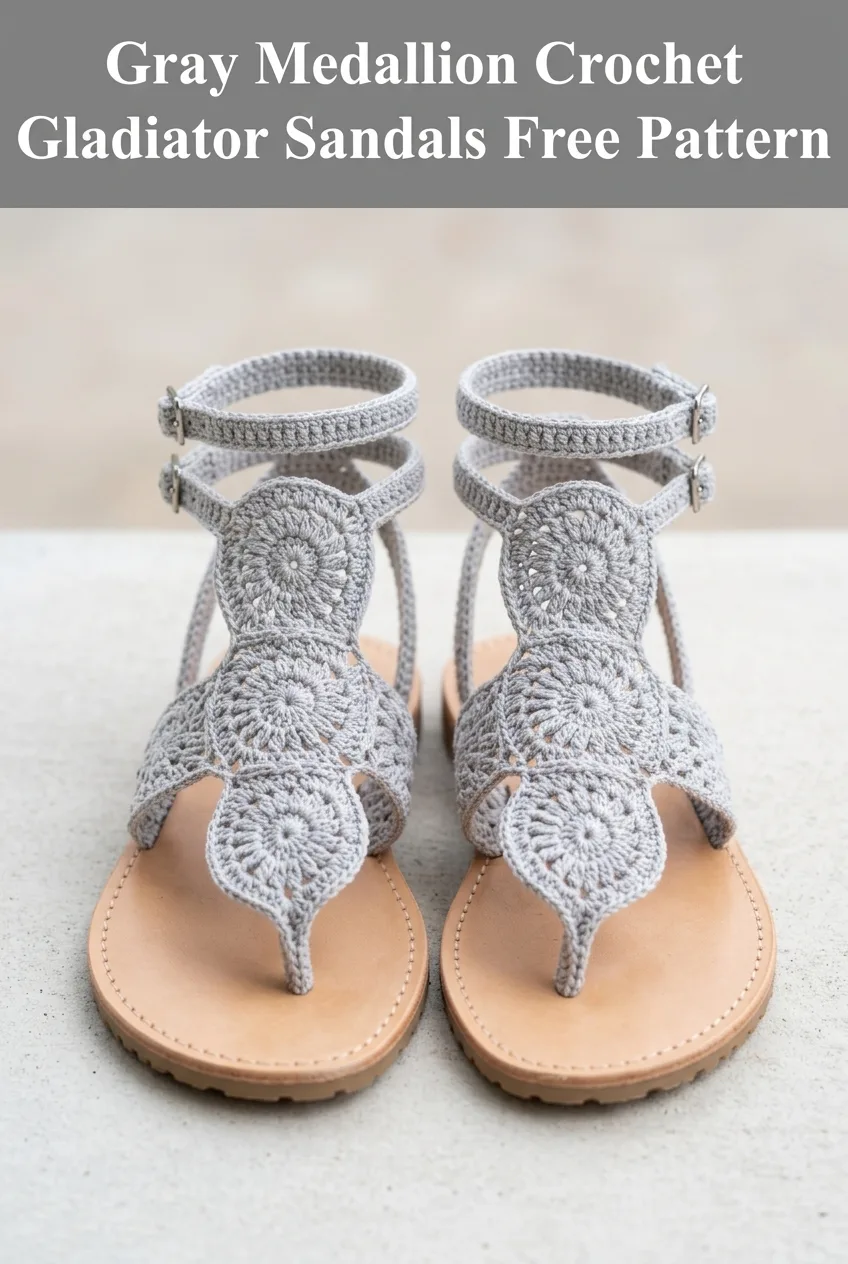
The moment I finished stitching these together, I knew they were something special. The medallion motifs create an elegant, bohemian look that pairs beautifully with sundresses, cropped jeans, or your favorite beach cover-up. And the best part? You can customize the color to match anything in your closet.
About This Crochet Gladiator Sandals Pattern
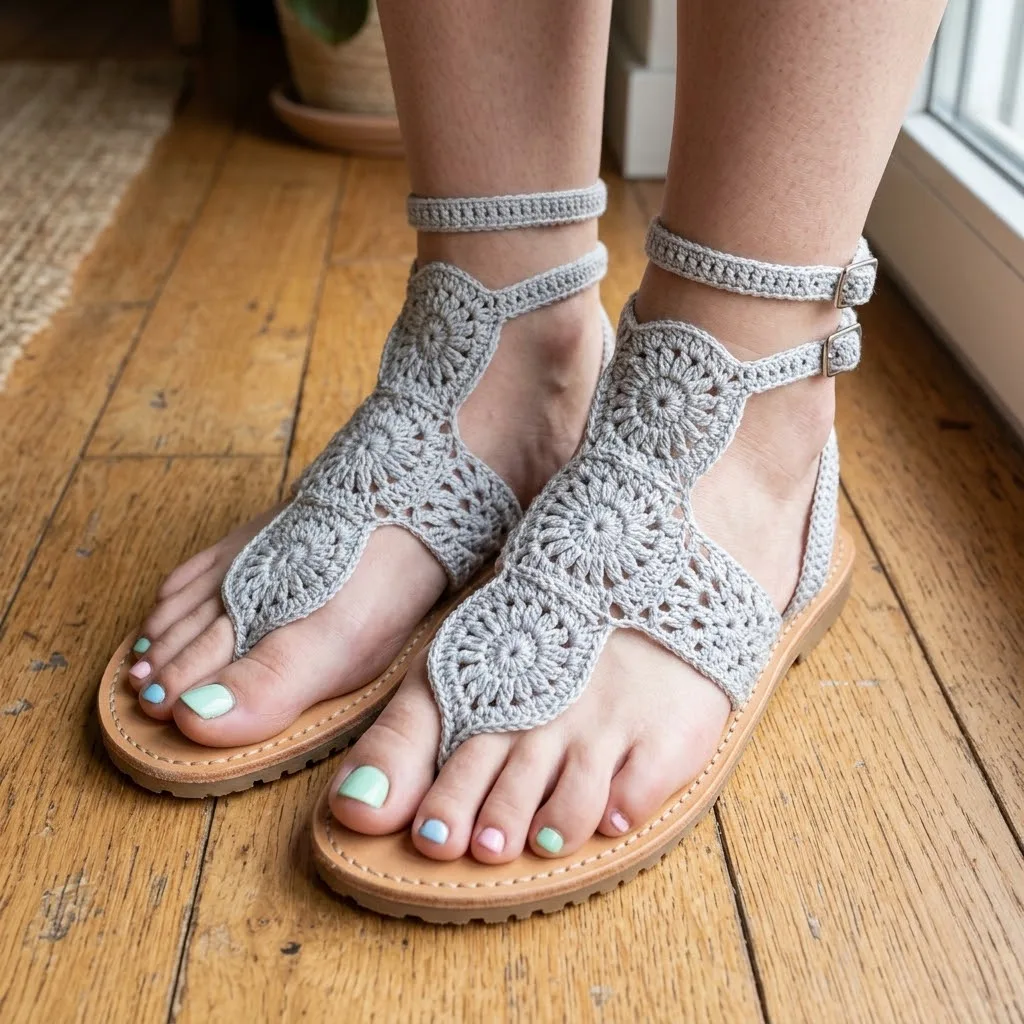
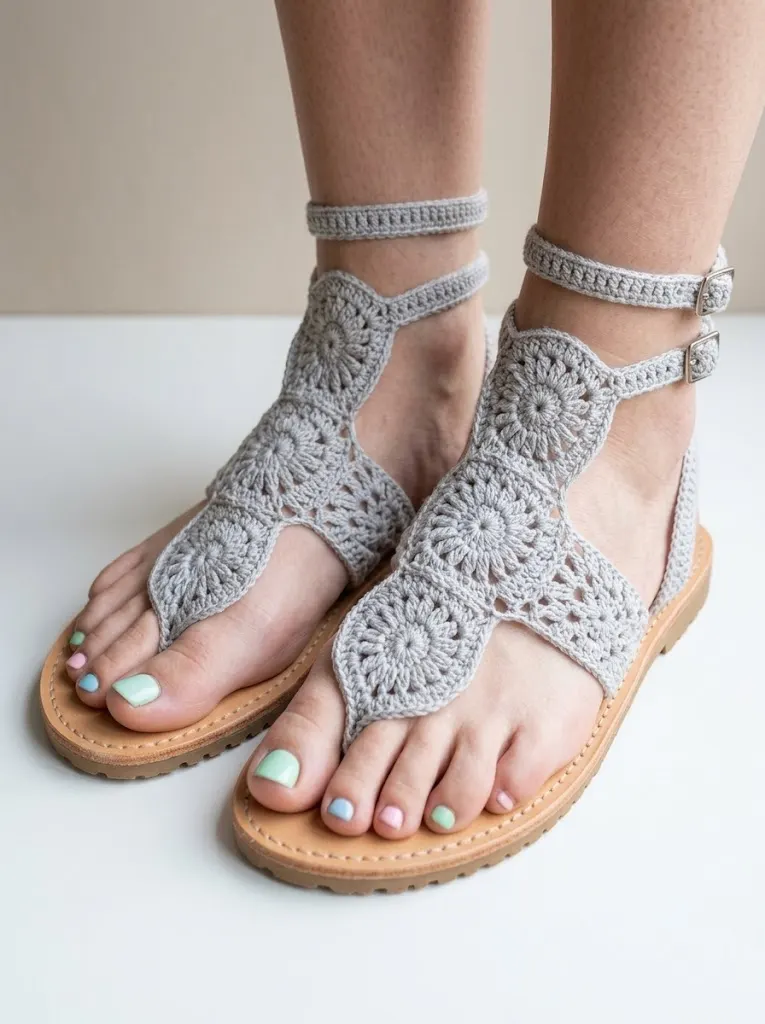
These stunning sandals feature beautiful circular medallion motifs joined together to create a flowing, organic design that wraps around your foot and ankle. The construction uses a series of small crocheted circles connected in a strategic layout, then attached to a purchased leather sole base.
Skill Level: Intermediate
This pattern requires comfortable knowledge of working in the round, joining motifs, and basic finishing techniques. If you’ve made granny squares or any motif-based project before, you’ll find this approach familiar.
Finished Dimensions: Adjustable to fit women’s sizes 6 through 10 (US). The upper crocheted portion stretches slightly and can be customized by adding or removing medallions.
Materials Needed for Your Crochet Sandals
Gathering the right supplies before you begin makes the entire process smoother. Here’s everything you’ll need to complete this crochet tutorial.
Yarn:
Hook:
Additional Supplies:
Gauge: One completed medallion measures approximately 2 inches in diameter. Check your gauge before beginning to ensure proper fit.
Abbreviations and Stitch Definitions
Before diving into the step by step instructions, let’s review the stitches you’ll use throughout this pattern. I’ll define each one so you feel confident as you work.
Ch = Chain: Wrap yarn over hook, pull through loop on hook. This creates the foundation for most crochet work.
Sl st = Slip stitch: Insert hook into stitch, yarn over, pull through both loops on hook at once. Used for joining and moving across stitches invisibly.
Sc = Single crochet: Insert hook into stitch, yarn over, pull up a loop (two loops on hook), yarn over, pull through both loops. Creates a short, tight stitch.
Hdc = Half double crochet: Yarn over, insert hook into stitch, yarn over, pull up a loop (three loops on hook), yarn over, pull through all three loops. Slightly taller than single crochet.
Dc = Double crochet: Yarn over, insert hook into stitch, yarn over, pull up a loop (three loops on hook), yarn over, pull through two loops, yarn over, pull through remaining two loops. Creates a taller stitch with nice drape.
Tr = Treble crochet: Yarn over twice, insert hook into stitch, yarn over, pull up a loop (four loops on hook), yarn over, pull through two loops three times until one loop remains. The tallest stitch used in this pattern.
Magic ring = An adjustable starting loop that closes completely, leaving no hole in the center of your work.
How to Crochet the Medallion Motifs
The foundation of these gladiator sandals is a collection of circular medallions. You’ll make multiple motifs and join them together to form the upper portion of each sandal.
Single Medallion Pattern
Round 1: Create a magic ring. Ch 3 (counts as first dc), work 11 dc into the ring. Sl st to top of ch-3 to join. Pull ring closed tightly. (12 dc)
Round 2: Ch 3 (counts as dc), dc in same st. Work 2 dc in each st around. Sl st to top of ch-3 to join. (24 dc)
Round 3: Ch 4 (counts as dc plus ch-1), skip next st, *dc in next st, ch 1, skip next st.* Repeat from * around. Sl st to third ch of ch-4 to join. (12 dc, 12 ch-1 spaces)
Round 4: Sl st into first ch-1 space. Ch 1, sc in same space. *Ch 3, sc in next ch-1 space.* Repeat from * around, ending with ch 3, sl st to first sc to join. (12 sc, 12 ch-3 loops)
Round 5: Sl st into first ch-3 loop. Ch 1, work (sc, hdc, dc, hdc, sc) into same loop. This creates one petal. Work (sc, hdc, dc, hdc, sc) into each remaining ch-3 loop around. Sl st to first sc to join. Fasten off, leaving a 6-inch tail for joining. (12 petals)
Each completed medallion should measure approximately 2 inches across. Make a sample medallion first to check your gauge.
Number of Medallions Required
For each sandal, you will need:
Total medallions needed: 12 medallions (6 per sandal)
I recommend making all your medallions first, then blocking them lightly with steam before assembly. This helps them lay flat and makes joining much easier.
Assembling the Sandal Upper
Now comes the fun part. You’ll arrange and join your medallions to create the distinctive gladiator sandal shape.
Joining Medallions Together
Place two medallions side by side, overlapping the outer petals slightly. Using your tapestry needle and a length of yarn, whip stitch through the back loops of the petals where they meet. Join securely but not too tightly, allowing the connection to remain flexible.
Layout for Each Sandal:
1. Toe Section: Position one medallion at the center front
2. Foot Bridge: Join two medallions in a diagonal line extending from the toe toward the outer ankle
3. Ankle Wrap: Connect two more medallions to create the gladiator-style wrap that curves around the ankle
Think of the arrangement as a gentle wave pattern that follows the natural curves of your foot.
Creating the Ankle Strap
The ankle strap provides adjustable closure and a finished look.
Row 1: Ch 40 (or length needed to wrap around your ankle plus 3 inches for buckle overlap). Sc in second ch from hook and in each ch across. Turn. (39 sc)
Row 2: Ch 1, sc in each st across. Turn. (39 sc)
Row 3: Ch 1, sc in each st across. Fasten off, leaving a long tail. (39 sc)
For the buckle attachment, fold one end of the strap around the center bar of your buckle. Stitch securely in place using your tapestry needle. On the opposite end, create two small holes by skipping stitches or using a yarn needle to create buttonhole-style openings for the buckle prong.
Attaching the Crochet Upper to the Sole
This step transforms your crocheted pieces into wearable sandals. Work slowly and check fit frequently.
Step 1: Position your joined medallion piece on top of the leather sole. The toe medallion should sit centered over the front of the foot area.
Step 2: Using your tapestry needle threaded with a double strand of yarn, stitch through the pre-punched holes in the sole. Secure the crocheted upper by stitching around the outer edges of the medallions where they meet the sole.
Step 3: Work around the entire perimeter, keeping your stitches even and tension consistent. The crochet should lay smoothly without bunching or pulling.
Step 4: Attach the ankle strap to the sides of the sandal at the heel area. Position it so the buckle falls on the outer ankle. Stitch securely through the sole holes and through the strap ends.
Step 5: Try on the sandal and adjust fit as needed. You may need to add additional stitches or tighten certain areas.
For extra durability, apply a thin line of fabric glue along the inner edge where the crochet meets the leather. Allow to dry completely before wearing.
Tips for a Professional Finish
Blocking matters. Steam blocking your medallions before assembly helps them hold their shape and creates crisp, defined petals.
Choose the right sole. Look for leather sandal soles specifically designed for crafting. They come with pre-punched holes that make attachment straightforward. Cork-bottom soles work well too and add cushioning.
Reinforce stress points. The toe area and ankle strap connections receive the most wear. Add extra stitches in these spots.
Consider adding a lining. For extra comfort, cut thin leather or felt pieces to cover the inner sole where your foot rests. This hides your stitching and prevents any rubbing.
Customization Ideas for Your Crochet Sandals Pattern
One of the joys of handmade footwear is making it uniquely yours. Here are some ways to personalize your gladiator sandals.
Color variations: Try cream for a classic bohemian look, black for evening wear, or bright coral for a summer pop of color.
Add beads: Thread small wooden or glass beads onto your yarn before starting each medallion. Work them into the outer round for subtle sparkle.
Embellishments: Stitch small flowers, leaves, or buttons onto the finished medallions.
Two-tone design: Make the ankle strap in a contrasting color for visual interest.
Extended height: Add more medallions to create a taller gladiator style that extends further up the leg.
Care Instructions
Your handmade sandals deserve gentle care to keep them looking beautiful season after season.
With proper care, these sandals will last for many summers to come.
Final Thoughts on This Crochet Gladiator Sandals Tutorial
Creating your own footwear feels incredibly satisfying. Every time you slip on these medallion sandals, you’ll smile knowing you made them with your own hands. The combination of traditional crochet motifs with modern sandal construction results in footwear that’s both artistic and functional.
This pattern makes a wonderful gift for the boho-loving friend in your life. Birthday, holiday, or just because, handmade sandals show thoughtfulness that store-bought options simply cannot match. Consider making a pair in someone’s favorite color for a truly personalized present.
I hope this crochet pattern for gray medallion gladiator sandals inspires you to try something new this season. The techniques transfer beautifully to other projects too. Once you master medallion construction and joining, you can create bags, tops, and home décor using the same basic approach.
Thank you so much for choosing to make this pattern. I genuinely appreciate you trusting me to guide you through this project. If you create these sandals, I would absolutely love to see them! Tag me on Instagram or share in my Facebook group. Seeing your finished projects brings me so much joy.
If you loved this pattern, I’d be so grateful if you could pin it to your Pinterest boards so you can find it again later and share it with fellow crocheters who might enjoy it too. And please drop a comment below if you make these sandals. I read every single one and love hearing about your creative adventures!
