I set out to design something that felt romantic, feminine, and completely unexpected. These boots needed to combine the coziness of slippers with the elegance of vintage lace. I wanted intricate floral motifs, a scalloped edge, and ribbon details that would make them feel like a special occasion piece. After countless sketches and swatches, I am SO pleased with how these turned out! They look like they belong in a cottagecore dream, and I cannot wait to share every detail with you.
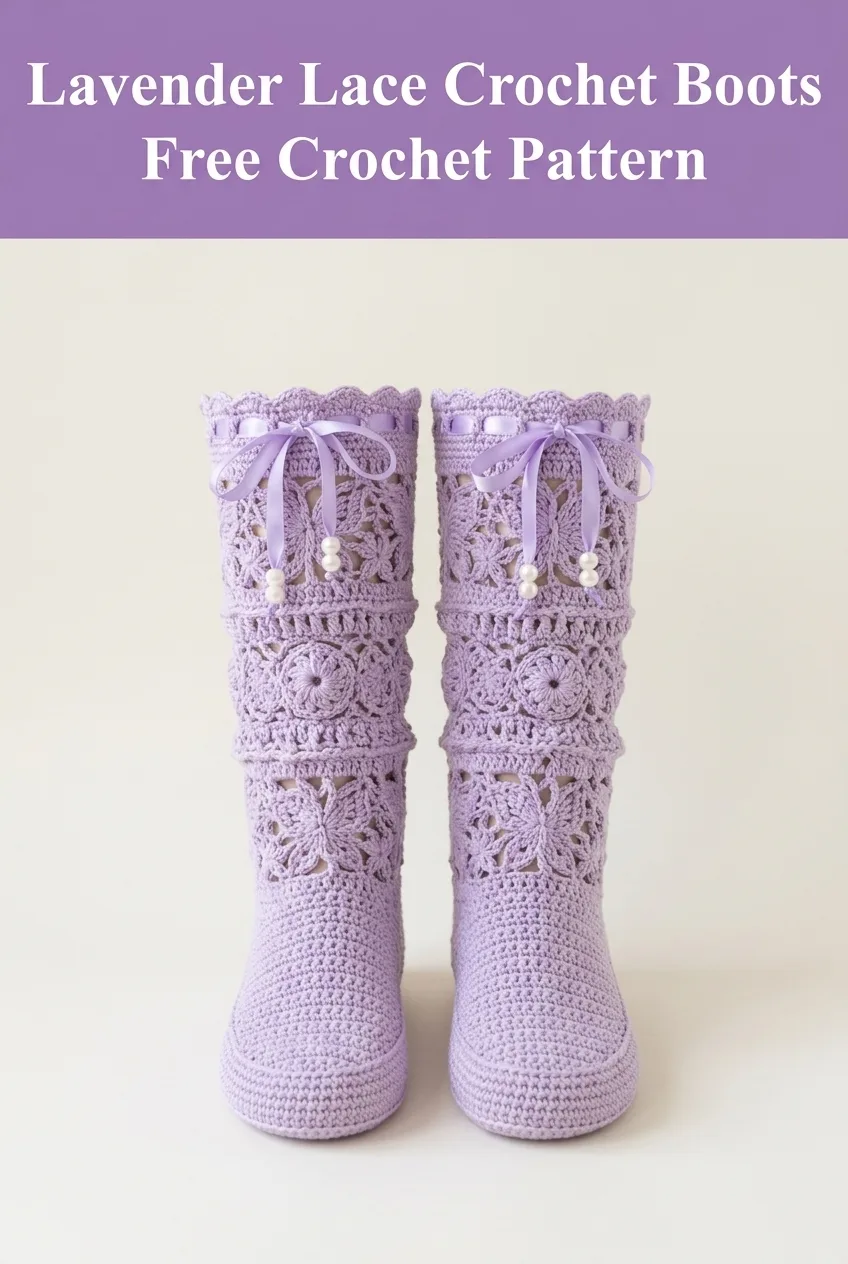
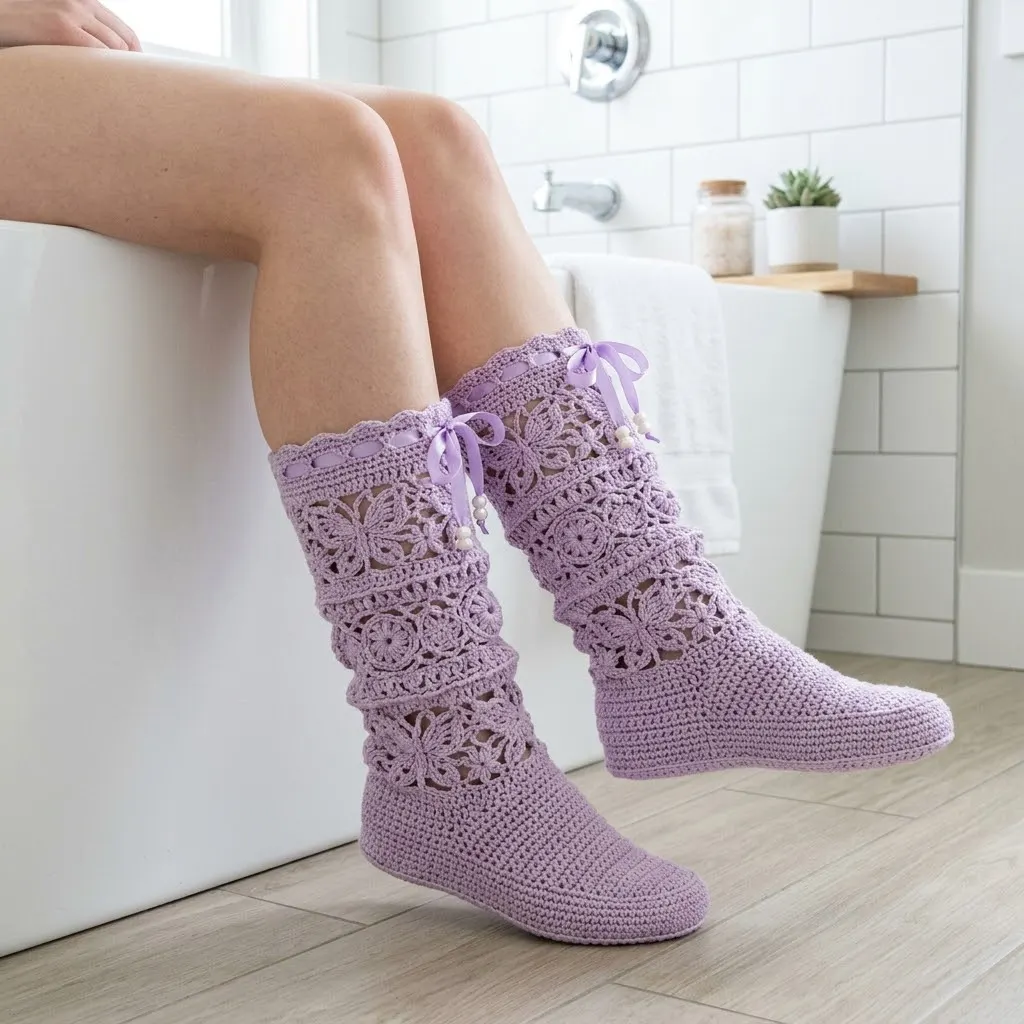
These Lavender Lace Crochet Boots are truly a statement piece. The combination of dense, warm sole construction with airy lace motifs creates something both functional and breathtaking. Whether you wear them around the house on chilly mornings or gift them to someone who deserves a little luxury, this crochet pattern delivers serious wow factor.
Why You Will Love This Crochet Pattern
This project brings together multiple techniques in one gorgeous finished piece. You will work a solid single crochet base for the foot and ankle, then transition into stunning lace motif panels featuring floral medallions and butterfly-inspired designs. The ribbon detail at the top adds that finishing touch of romance.
The boots sit at an intermediate skill level, but do not let that intimidate you. If you can work basic stitches and follow a stitch chart, you can absolutely make these. I will walk you through every section, and the repetitive nature of the lace panels means you will find your rhythm quickly.
Materials Needed for Your Crochet Boots
Gathering the right supplies before you start makes this crochet tutorial much smoother. Here is everything you will need:
Yarn:
Hook:
Notions:
Gauge and Sizing
Gauge: 16 single crochet stitches and 18 rows = 4 inches in single crochet
Finished Size: Women’s Medium (fits US shoe sizes 7-8)
To adjust sizing, add or subtract rows in the foot length and stitches in the circumference sections. Each stitch added to the circumference adds approximately 1/4 inch.
Always work a gauge swatch before starting. This step saves so much frustration later, I promise.
Abbreviations and Stitch Definitions
Let me walk you through every stitch you will use in this pattern:
Ch = Chain: Yarn over, pull through loop on hook. This creates your foundation.
Sl st = Slip stitch: Insert hook, yarn over, pull through stitch and loop on hook in one motion. Used for joining and invisible movement.
Sc = Single crochet: Insert hook, yarn over, pull up a loop (2 loops on hook), yarn over, pull through both loops. Creates a dense, sturdy fabric.
Hdc = Half double crochet: Yarn over, insert hook, yarn over, pull up a loop (3 loops on hook), yarn over, pull through all 3 loops. Slightly taller than single crochet.
Dc = Double crochet: Yarn over, insert hook, yarn over, pull up a loop (3 loops on hook), yarn over, pull through 2 loops, yarn over, pull through remaining 2 loops. Creates the base of most lace patterns.
Tr = Treble crochet: Yarn over twice, insert hook, yarn over, pull up a loop (4 loops on hook), yarn over, pull through 2 loops three times. Creates tall, open stitches.
Dc2tog = Double crochet two together (decrease): Yarn over, insert hook in first stitch, yarn over, pull up a loop, yarn over, pull through 2 loops. Repeat in next stitch. Yarn over, pull through all 3 loops on hook.
Picot = Chain 3, slip stitch in first chain. Creates a small decorative bump.
Step by Step Crochet Pattern Instructions
Part 1: Sole Construction
The sole forms the foundation of your boot. We work this flat, then seam it later.
Row 1: Ch 8. Sc in 2nd ch from hook and in each ch across. (7 sts)
Row 2: Ch 1, turn. 2 sc in first st, sc in each st across to last st, 2 sc in last st. (9 sts)
Row 3: Ch 1, turn. 2 sc in first st, sc in each st across to last st, 2 sc in last st. (11 sts)
Rows 4-6: Ch 1, turn. Sc in each st across. (11 sts)
Row 7: Ch 1, turn. 2 sc in first st, sc in each st across to last st, 2 sc in last st. (13 sts)
Rows 8-30: Ch 1, turn. Sc in each st across. (13 sts)
This is the main body of the sole. Keep your tension consistent here.
Row 31: Ch 1, turn. Sc2tog, sc across to last 2 sts, sc2tog. (11 sts)
Row 32: Ch 1, turn. Sc in each st across. (11 sts)
Row 33: Ch 1, turn. Sc2tog, sc across to last 2 sts, sc2tog. (9 sts)
Row 34: Ch 1, turn. Sc2tog, sc across to last 2 sts, sc2tog. (7 sts)
Fasten off, leaving a long tail for seaming. Make two soles.
Part 2: Foot and Ankle Section
Now we build up from the sole. This section uses continuous rounds of single crochet to create a dense, cozy base.
Setup: With right side facing, join yarn at center back of sole (middle of the short edge at heel).
Round 1: Ch 1. Work 60 sc evenly around the entire perimeter of the sole. Sl st to first sc to join. Place marker. (60 sts)
Do not worry if your count is slightly different. Adjust on the next round by adding or skipping a stitch.
Rounds 2-8: Ch 1. Sc in each st around. Sl st to join. (60 sts)
Round 9 (Toe Shaping): Ch 1. Sc in next 20 sts, sc2tog 10 times across front of foot, sc in remaining 20 sts. Sl st to join. (50 sts)
Rounds 10-12: Ch 1. Sc in each st around. Sl st to join. (50 sts)
Round 13: Ch 1. Sc in next 17 sts, sc2tog 8 times, sc in remaining 17 sts. Sl st to join. (42 sts)
Rounds 14-20: Ch 1. Sc in each st around. Sl st to join. (42 sts)
This creates the snug fit around the ankle. The dense single crochet fabric keeps feet warm.
Part 3: Lace Transition Band
Here is where the magic happens. We transition from solid fabric to the beautiful openwork.
Round 21: Ch 3 (counts as dc). Dc in each st around. Sl st to top of ch-3 to join. (42 sts)
Round 22: Ch 3. *Dc in next st, ch 1, skip 1 st.* Repeat around. Sl st to join. (21 dc, 21 ch-1 spaces)
Round 23: Ch 1. *Sc in dc, sc in ch-1 space.* Repeat around. Sl st to join. (42 sts)
Part 4: First Lace Motif Panel
This panel features the circular floral medallions you see in the middle section.
Round 24: Ch 4 (counts as dc + ch 1). *Dc in next st, ch 1.* Repeat around. Sl st to 3rd ch of beginning ch-4. (42 dc, 42 ch-1 spaces)
Round 25: Sl st into ch-1 space. Ch 3. 2 dc in same space. Ch 2. *3 dc in next ch-1 space (shell made), ch 2.* Repeat around. Sl st to top of ch-3. (42 shells)
Round 26: Sl st to center dc of shell. Ch 3. 4 dc in same st. Ch 3. Skip ch-2 space and next shell. *5 dc in center dc of next shell, ch 3, skip ch-2 and next shell.* Repeat around. Sl st to join. (21 large shells)
Round 27: Ch 3. Dc in next 4 dc. Ch 1. Sc in ch-3 space. Ch 1. *Dc in each of 5 dc of shell, ch 1, sc in ch-3 space, ch 1.* Repeat around. Sl st to join.
Round 28: Ch 3. Dc2tog over next 2 dc. Dc in next dc. Dc2tog over next 2 dc. Ch 2. Dc in sc. Ch 2. *Dc2tog, dc, dc2tog (over 5 dc of shell), ch 2, dc in sc, ch 2.* Repeat around. Sl st to join.
Part 5: Second Lace Motif Panel (Butterfly Design)
The butterfly motif creates those stunning openwork sections.
Round 29: Ch 6. *Tr in next dc, ch 2.* Repeat around. Sl st to 4th ch of beginning ch-6.
Round 30: Ch 1. Sc in same st. *5 dc in ch-2 space, sc in tr.* Repeat around. Sl st to first sc.
Round 31: Ch 5. Dc in center dc of 5-dc shell. Ch 2. *Dc in sc, ch 2, dc in center dc of shell, ch 2.* Repeat around. Sl st to 3rd ch of ch-5.
Round 32: *Sc in dc. 3 dc in ch-2 space. Sc in next dc. 3 dc in ch-2 space.* Repeat around. Sl st to join.
Rounds 33-36: Repeat Rounds 29-32 for second repeat of butterfly motif.
Part 6: Top Lace Motif Panel (Floral Repeat)
Rounds 37-40: Repeat Rounds 24-27.
Part 7: Ribbon Eyelet Row
This row creates the holes for your ribbon.
Round 41: Ch 4. *Skip 1 st, dc in next st, ch 1.* Repeat around. Sl st to 3rd ch of ch-4. (Eyelet holes created)
Round 42: Ch 1. Sc in each dc and each ch-1 space around. Sl st to join. (42 sts)
Part 8: Scalloped Top Edge
The scalloped edge gives these boots their romantic finish.
Round 43: Ch 1. *Sc in next st, skip 1 st, 5 dc in next st, skip 1 st.* Repeat around. Sl st to first sc.
Round 44: Sl st to center dc of 5-dc shell. *Ch 3, sc in center dc of next shell.* Repeat around. Sl st to first sl st.
Round 45: *Sc, hdc, 3 dc, hdc, sc in ch-3 space.* Repeat around. Sl st to join. Fasten off.
Finishing Your Lavender Lace Crochet Boots
Weave in all ends carefully, especially in the lace sections where they might show.
Adding the Ribbon:
Cut two 36-inch lengths of satin ribbon. Thread through the eyelet row, weaving in and out. Tie in a bow at the front. If desired, thread a pearl bead onto each ribbon tail and knot below to secure.
Blocking:
Wet block your finished boots by soaking in lukewarm water, gently squeezing out excess, and shaping over a rolled towel or boot form. Allow to dry completely. This opens up the lacework beautifully.
Tips for Success With This Pattern
Take your time with the lace sections. They look complex, but once you complete one repeat, your hands will remember the rhythm.
Use stitch markers generously. Mark the beginning of each round and any pattern repeats that confuse you.
If your gauge is off, go up or down a hook size. Tighter stitchers should try a larger hook, looser stitchers should try smaller.
The single crochet sections should feel firm but not stiff. You want structure without cardboard texture.
Customization Ideas
Change the ribbon color for different seasons. Try velvet ribbon for winter, gingham for spring.
Add non-slip grips to the soles by sewing on fabric paint dots or purchasing puff paint.
Work the solid sections in one color and the lace panels in another for a two-tone effect.
Shorten the boots to ankle height by eliminating one lace panel section.
These Lavender Lace Crochet Boots represent everything I love about this craft. They combine practical warmth with undeniable beauty. Every stitch you work brings you closer to owning something truly special, something you made with your own hands.
Thank you so much for choosing this crochet pattern. I hope you love making these as much as I loved designing them. When you finish your pair, please share a photo with me on Instagram or in my Facebook group. I absolutely love seeing your creations come to life.
If this pattern made your heart skip a little, go ahead and save it to your Pinterest boards so you can find it when you are ready to start. And I would love to hear from you in the comments below. Tell me what color you are planning, or just say hello. Happy crocheting, friend!
