
I had such a clear vision for this project from the start. I wanted to create a table setting that felt like sunshine on a spring morning, something that would make breakfast feel special and dinner feel like a garden party.
Get the Ad-Free PDF Pattern
You can find the free pattern below, or you can purchase the ad-free printable PDF from my shop.
Get the Printable PDF →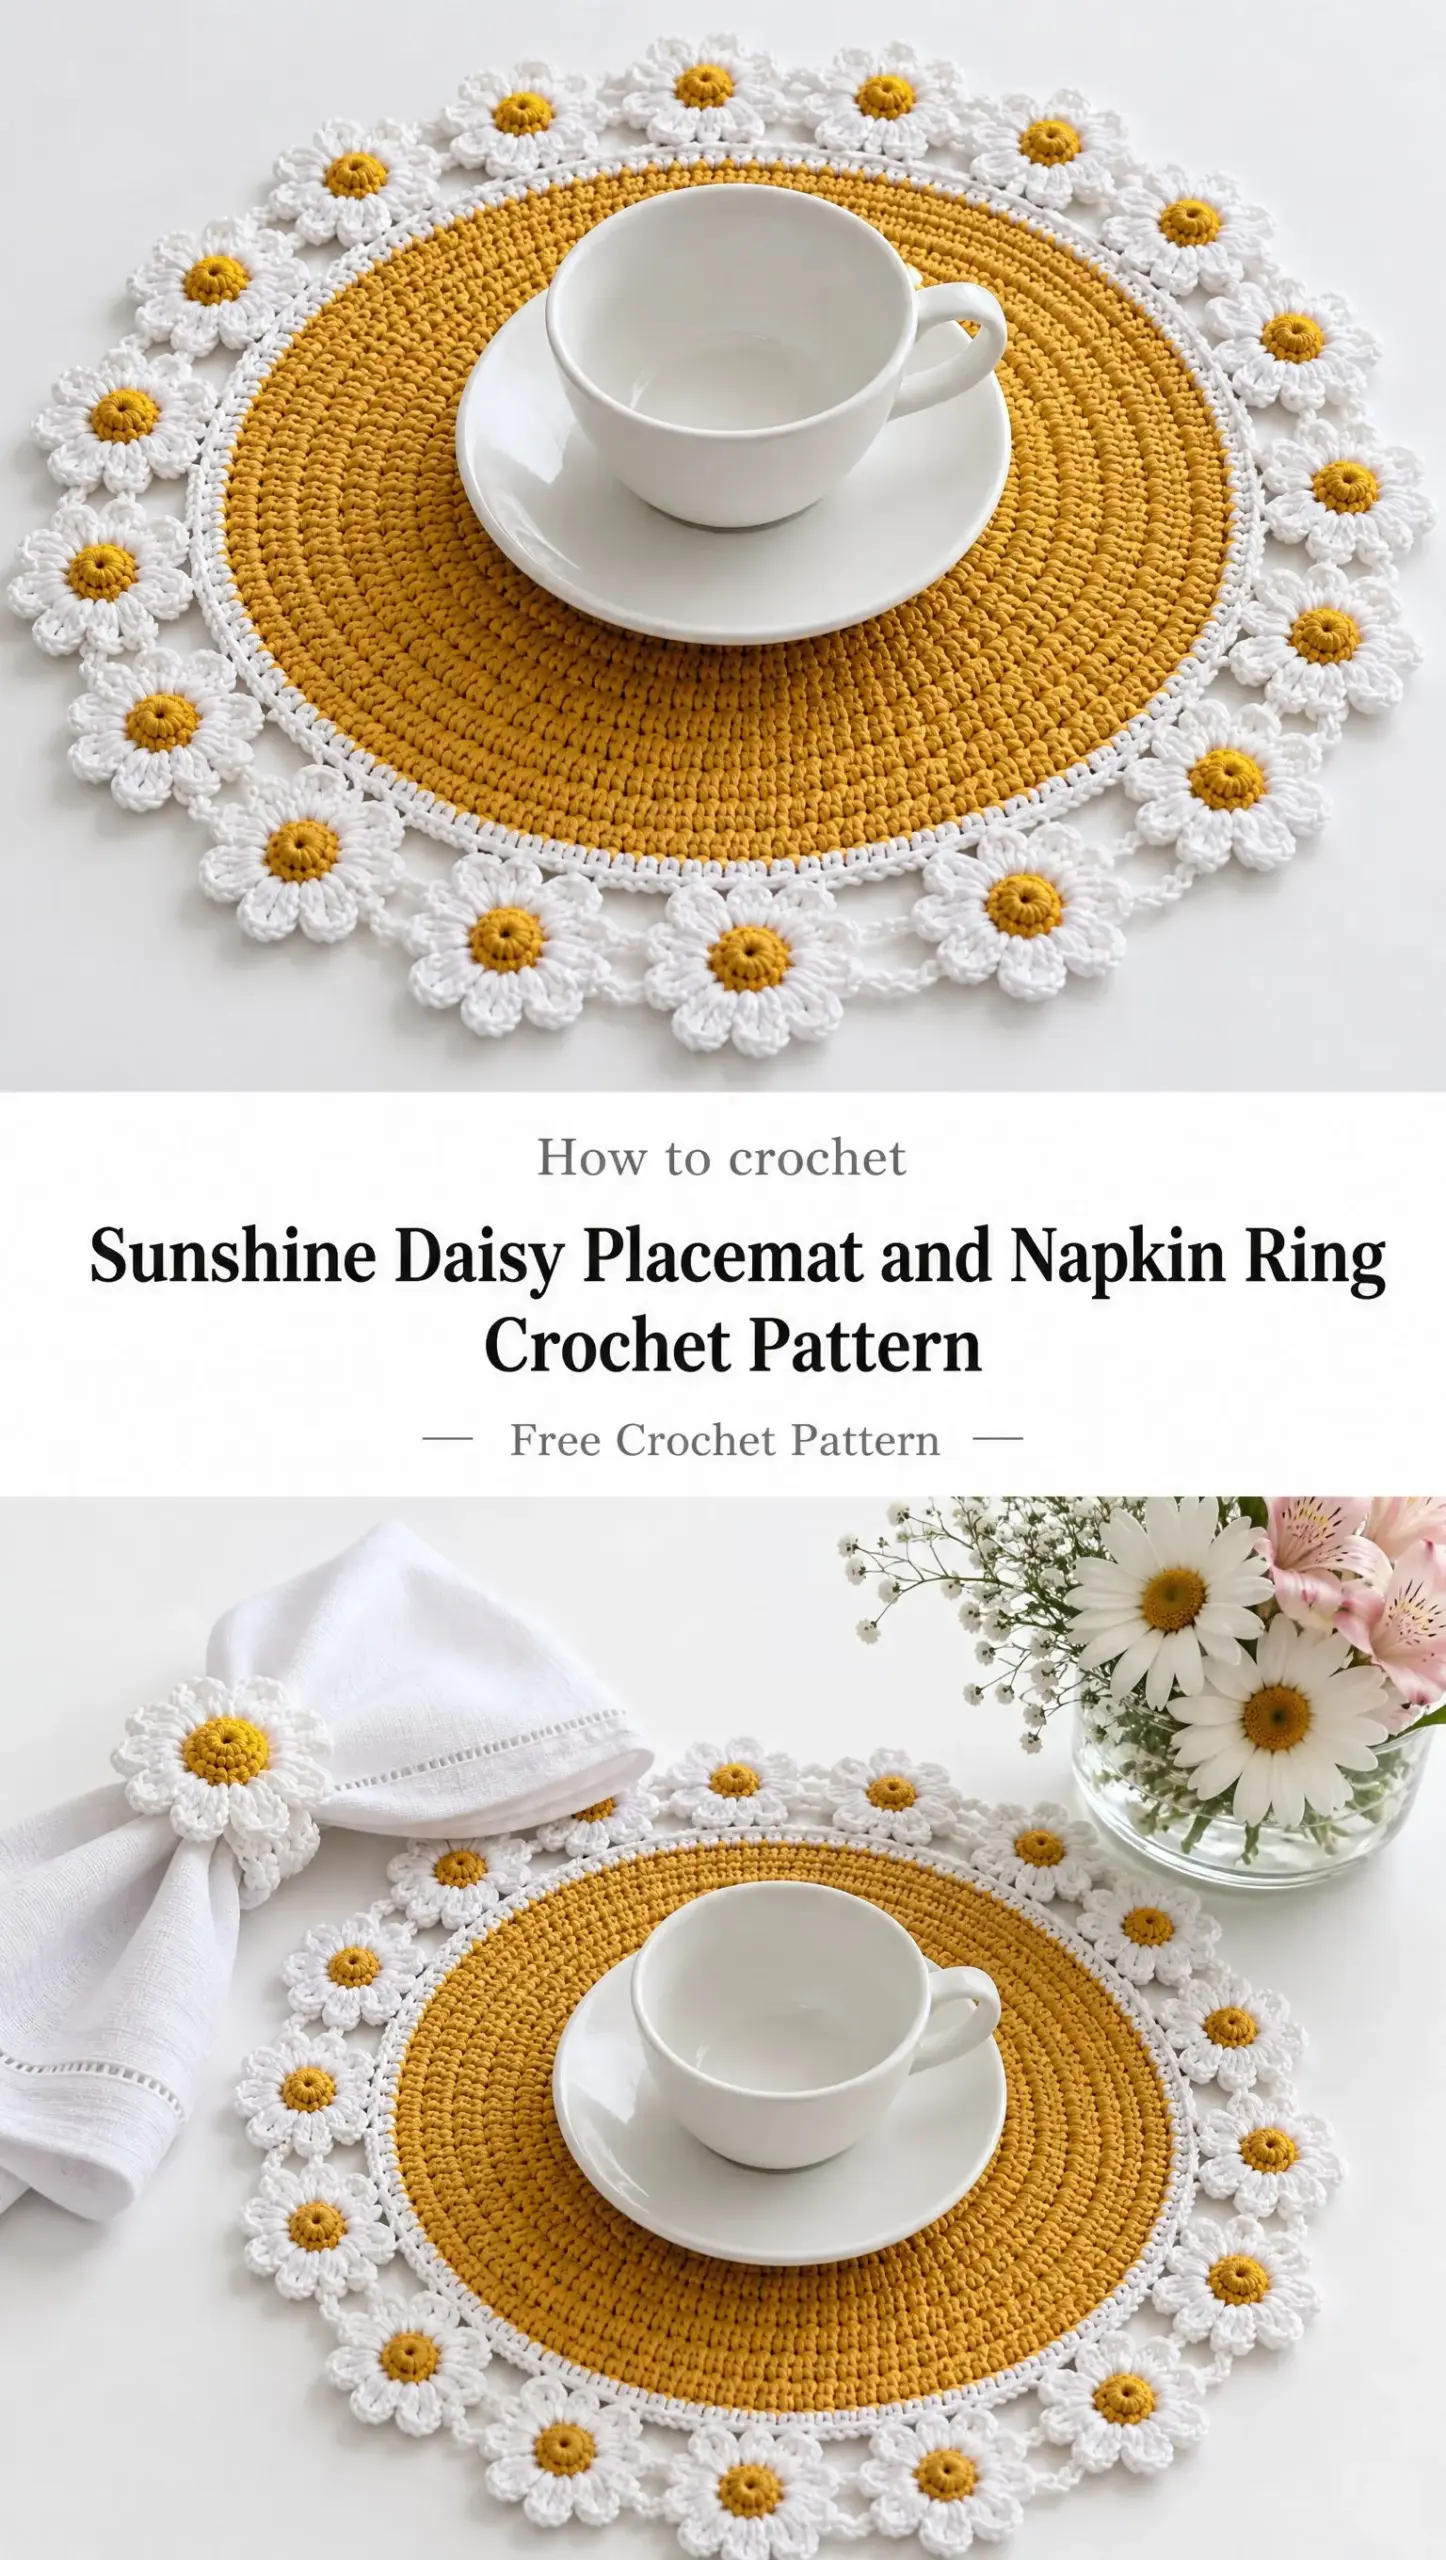
The design choices were intentional. A solid textured center in warm sunshine yellow for durability and function. A delicate ring of white daisies around the edge for that fresh, cheerful look. And a matching napkin ring to pull the whole set together.
I am SO pleased with how this turned out! The contrast between the sturdy center and the airy floral border is exactly what I was hoping for. This pattern works up faster than it looks, and the individual daisies are genuinely fun to make.
About This Pattern
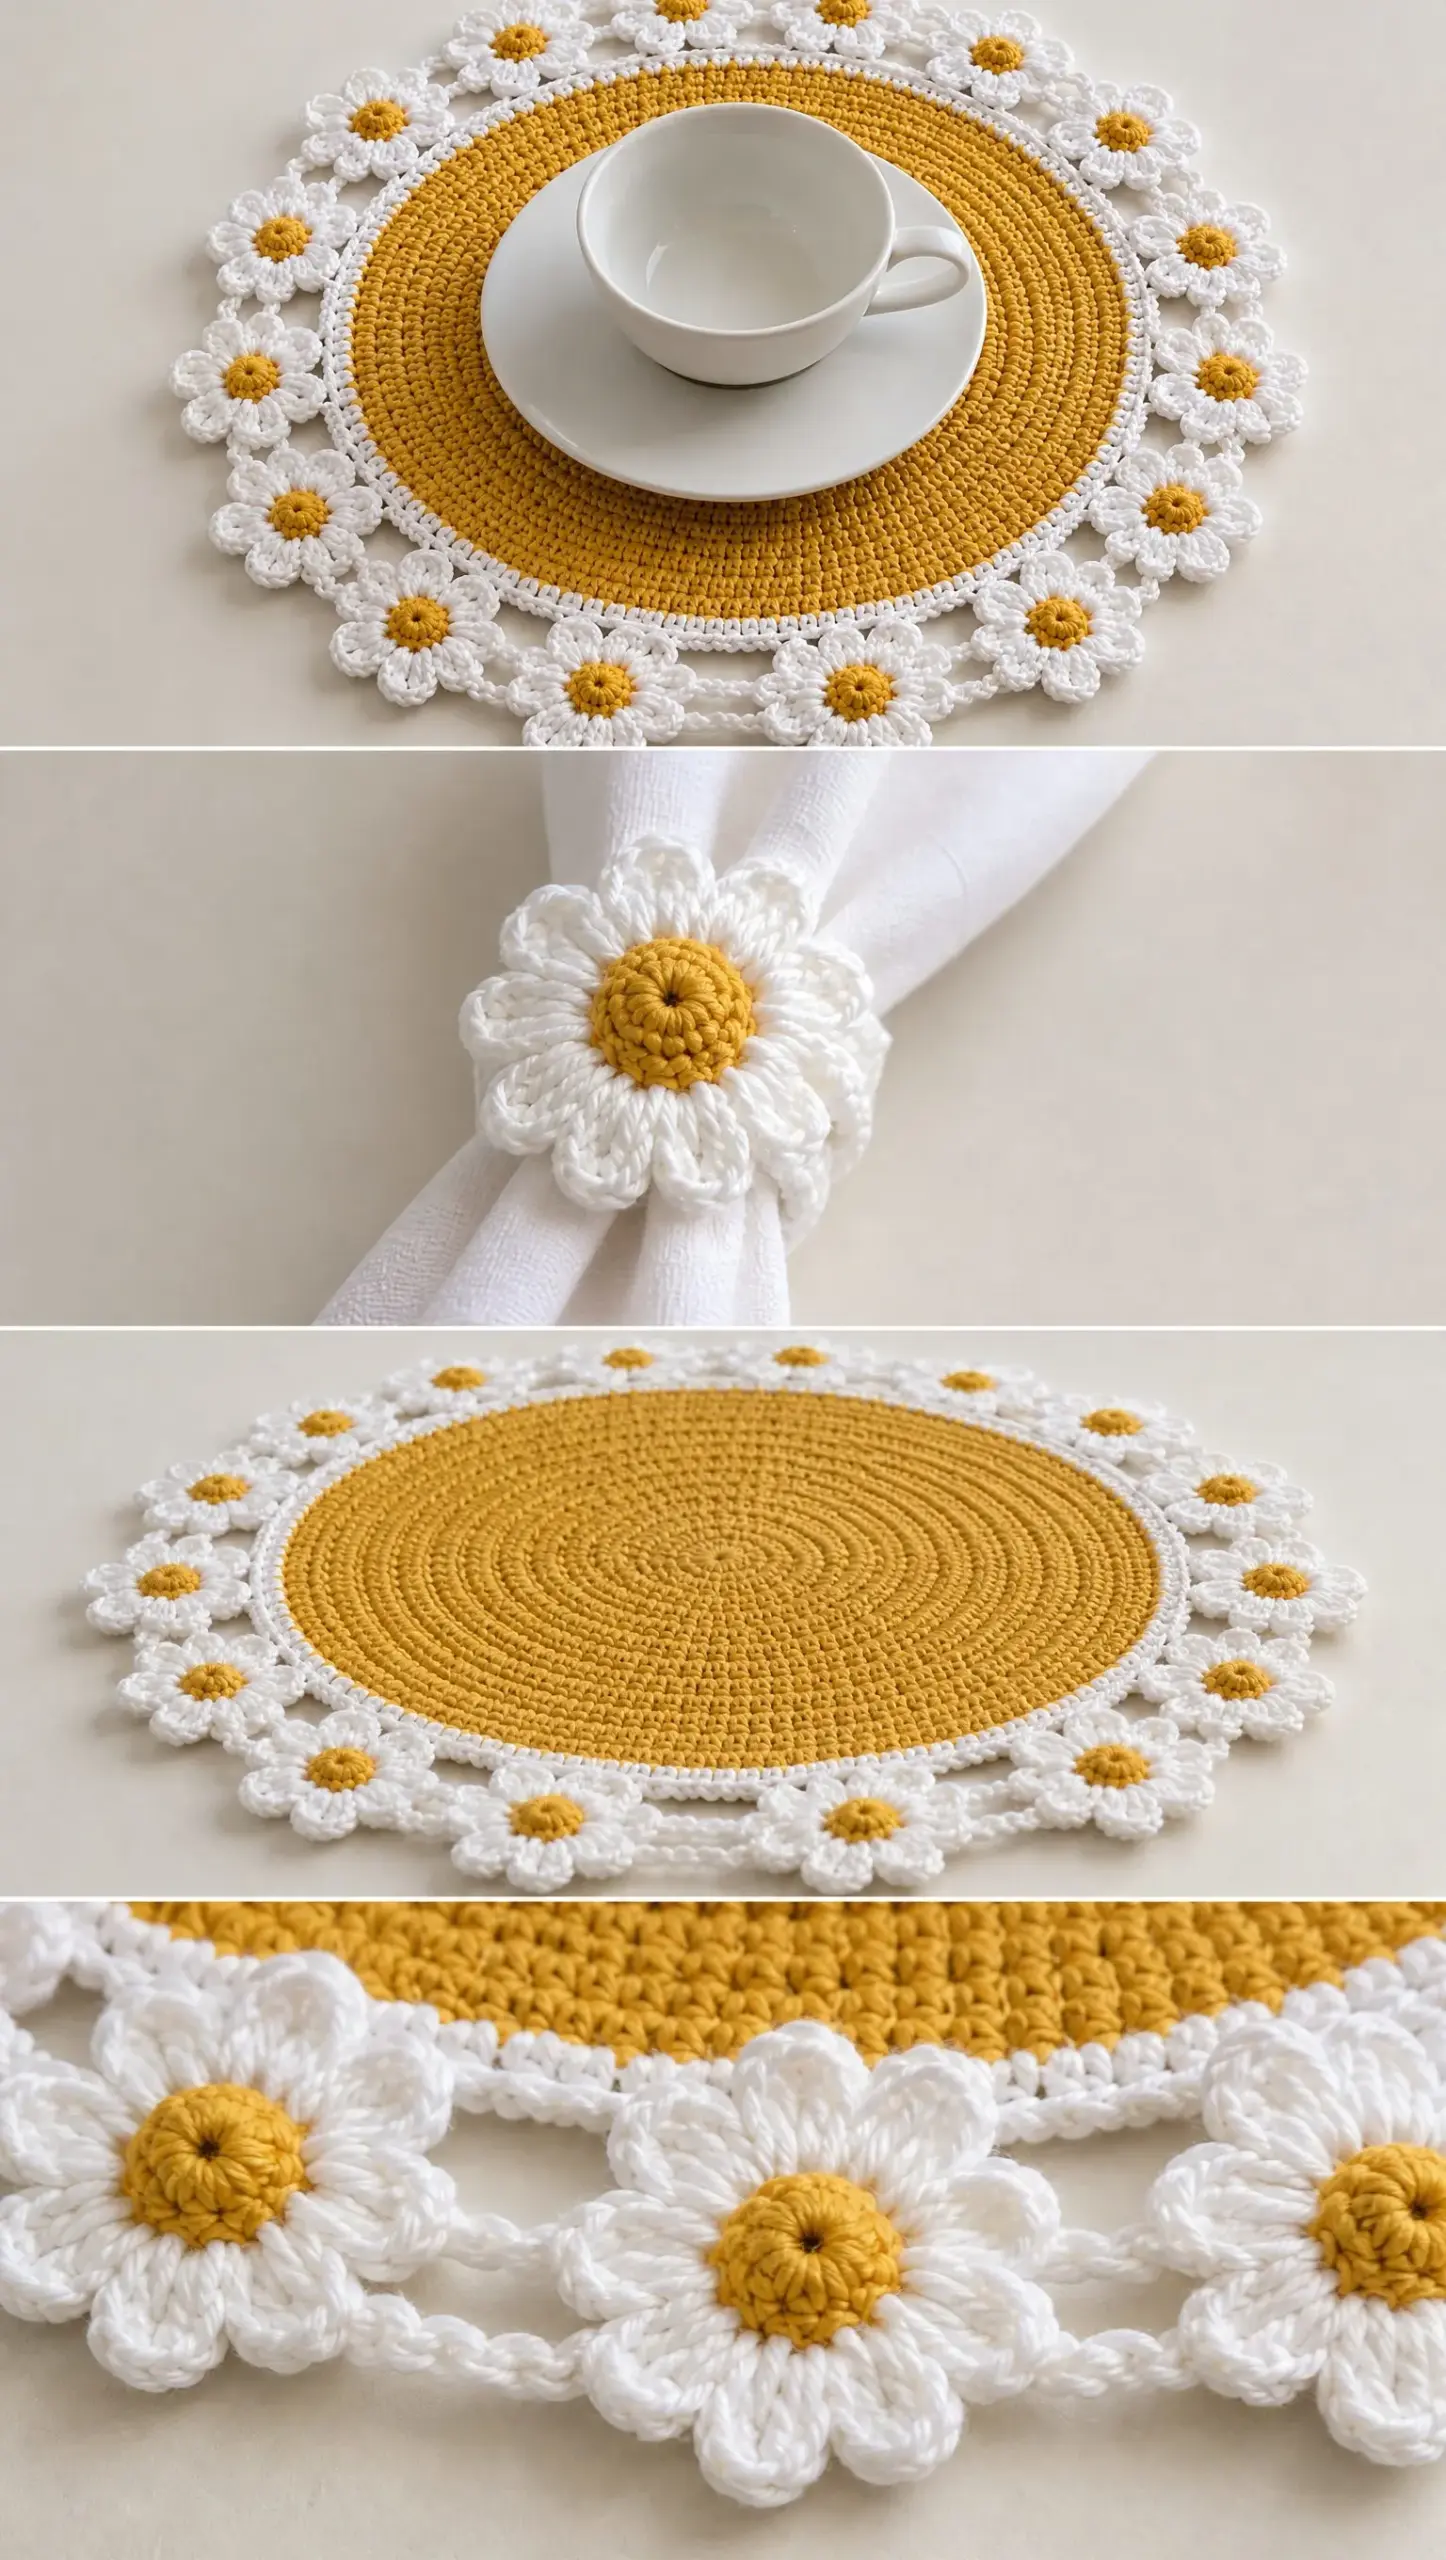
This Sunshine Daisy Placemat and Napkin Ring Crochet Pattern creates a complete table setting with a circular placemat measuring approximately 14 to 16 inches in diameter and a coordinating napkin ring sized to fit standard folded cloth napkins. The design features a textured sunshine yellow center worked in concentric rounds, surrounded by a white border and a halo of individual daisy motifs.
The skill level is intermediate, primarily because you will be making multiple small motifs and attaching them evenly around the edge. If you have worked in the round before and feel comfortable with basic increases, you can absolutely handle this project.
Materials You Will Need
Before you begin, gather these supplies:
Yarn:
Cotton yarn is essential here. It creates a firm fabric that lies flat, holds up to washing, and provides the stitch definition you need for those pretty daisy petals.
Tools:
A note on hook size: you want your fabric firm enough to support the weight of dishes without stretching. If your stitches look loose or floppy, go down a hook size.
Stitch Abbreviations
Let me walk you through each stitch you will use in this pattern:
CH = Chain. This is your foundation stitch. Wrap the yarn over your hook and pull through the loop.
SC = Single crochet. Insert your hook, yarn over, pull up a loop (2 loops on hook), yarn over, pull through both loops. This creates a short, dense stitch.
HDC = Half double crochet. Yarn over, insert hook, yarn over, pull up a loop (3 loops on hook), yarn over, pull through all 3 loops at once. Slightly taller than single crochet with a bit more texture.
DC = Double crochet. Yarn over, insert hook, yarn over, pull up a loop, yarn over, pull through 2 loops, yarn over, pull through remaining 2 loops. This taller stitch creates the height for your daisy petals.
SL ST = Slip stitch. Insert hook, yarn over, pull through both the stitch and the loop on your hook in one motion. Used for joining rounds and creating the petal tips.
ST = Stitch. Refers to any individual stitch.
SP = Space. The gap between stitches or chains.
REP = Repeat. Do the same sequence again.
Placemat Pattern Instructions
Center Circle
Round 1:
With sunshine yellow yarn, make a magic ring. If you have never made a magic ring, it is simply an adjustable loop that you work your first stitches into, then pull tight to close the center. CH 1. Work 12 SC into ring. Join with SL ST to the first SC.
Round 2:
CH 1. Work 2 SC in each stitch around. Join with SL ST. (24 SC)
You have just doubled your stitch count. This is how we create a flat circle that does not cup or ruffle.
Round 3:
CH 1. Alternate 1 SC in next stitch and 2 SC in next stitch around. Join with SL ST. (36 SC)
Round 4:
CH 1. Work 1 SC in each stitch, increasing evenly around until the circle lays flat.
Here is where I want to give you some guidance. You are looking at your work and checking: does it lie flat on the table? If it cups like a bowl, you need more increases. If it ruffles around the edges, you have too many. Adjust as needed.
Rounds 5 through 14:
Continue working concentric rounds using SC and half double crochet (HDC) stitches. Increase evenly every round to maintain a smooth circular shape.
To add visual interest and texture, alternate between SC rounds and HDC rounds. For example, you might work Round 5 in all SC, Round 6 in all HDC, Round 7 in all SC, and so on. This creates subtle ridges that catch the light beautifully.
The key to a perfect flat circle is consistent, even increases. A general rule: in each round, increase by approximately the same number of stitches you started with in Round 1 (about 12 stitches per round for SC, slightly fewer for HDC since they are taller).
White Border
Round 15:
Fasten off sunshine yellow. Attach white yarn with a SL ST. CH 1. Work 1 SC in each stitch around. Join with SL ST.
Round 16:
CH 1. Work a neat white edging ring using SC stitches all around. Keep your tension firm to support the daisy halo that will be attached next. Join and fasten off.
This white border serves two purposes. It creates a clean visual transition between the yellow center and the floral edge, and it gives you a stable base to attach your daisies.
Daisy Halo Border
This is the fun part! Each daisy is made separately, then attached around the edge to create that gorgeous floral wreath effect.
Daisy Motif (Make 18 to 22)
Center:
With golden yellow yarn, make a magic ring. Work 10 SC into ring. Join with SL ST. Fasten off, leaving a short tail.
Petals:
Attach white yarn to any stitch.
For each petal: CH 3, work 2 DC in the same stitch, CH 3, SL ST into the same stitch.
Move to the next stitch and repeat the petal sequence. Continue around to create five rounded petals total.
Fasten off, leaving a longer tail for attaching to the placemat.
The number of daisies you need depends on the final size of your placemat and how full you want the border to look. Start with 18 and add more if there are gaps.
Attaching the Daisies
Lay your placemat flat. Arrange your daisies evenly around the white border, overlapping the petals slightly or leaving small gaps between flowers.
Using your yarn needle and white yarn, attach each daisy to the placemat edge. Work short CH loops between flowers to create a connected, openwork floral circle. The chain loops add movement and keep the border airy rather than stiff.
Take your time with this step. Even spacing makes a big difference in the finished look.
Napkin Ring Pattern
Ring Base
With white yarn, CH 30. Being careful not to twist the chain, join with SL ST to form a circle.
Rounds 1 through 5:
CH 1. Work SC in each stitch around. Join with SL ST.
Continue until the band measures approximately 1 inch wide. This creates a sturdy base that will hold its shape around a folded napkin.
Fasten off and weave in ends.
Large Daisy Topper
Make one larger version of the daisy motif to top your napkin ring:
Center:
With golden yellow yarn, make a magic ring. Work 12 SC into ring (instead of 10). Join with SL ST. Fasten off.
Petals:
Attach white yarn. Create 7 to 8 layered petals using DC clusters, following the same technique as the smaller daisies but working more stitches per petal for extra fullness.
Assembly:
Using your yarn needle and matching yarn, sew the large daisy securely to the napkin ring. Position it so the flower sits prominently on the front.
Finishing Your Placemat and Napkin Ring
Weave in all ends securely. For a project that will be used and washed regularly, I recommend weaving each tail through at least 2 inches of stitches, then doubling back.
Block the placemat flat to open up the lacework and encourage the circle to lie perfectly flat. Wet blocking works well for cotton. Soak the piece in cool water, gently squeeze out excess moisture (do not wring), and pin flat on a blocking mat.
Shape each daisy petal evenly while blocking. Gently pull each petal into position and pin if needed.
Lightly steam block if desired. Cotton responds beautifully to steam, which relaxes the fibers and helps everything settle into place.
Care Instructions
Your finished placemat and napkin ring set is designed for everyday use, and cotton yarn makes care simple.
Hand wash or use a gentle machine wash cycle in cool water. Avoid hot water, which can cause cotton to shrink slightly.
Lay flat to dry. This prevents stretching and keeps your daisies looking perky.
Avoid harsh heat from dryers or irons to preserve the flower shapes. If you must press out wrinkles, use a low heat setting with a pressing cloth between the iron and your work.
Tips for Success
Gauge matters here. A too-loose fabric will stretch under the weight of plates and cups. Work a small test swatch first and adjust your hook size if needed.
Count your stitches at the end of each round, especially in the center circle. Losing or gaining stitches will cause your circle to warp.
Make all your daisies before attaching. This lets you arrange them evenly and ensures you have made enough to fill the border without gaps.
Use stitch markers to track the beginning of each round. This is especially helpful when working the textured rounds with HDC stitches.
Consider making a full set. This pattern creates one placemat and one napkin ring. For a complete table setting, multiply your materials and enjoy the meditative process of making 18 to 22 daisies times however many place settings you need!
Design Notes
This Sunshine Daisy Placemat and Napkin Ring set combines a textured sunflower yellow crochet center with a delicate white daisy border for a cheerful spring and summer table setting. The contrast of solid and openwork creates visual interest, while the cotton yarn ensures durability for everyday use.
This would make a beautiful gift for a bridal shower, housewarming, or Mother’s Day. It also works wonderfully as a photography prop or a decorative piece for a sunny breakfast nook.
I really hope you enjoy making this pattern as much as I enjoyed designing it. If you give it a try, save this page to your Pinterest boards so you can find it again easily, and please leave a comment below. I would love to see your finished placemats and hear which colors you chose!
Want a Quick & Easy Printable Version?
Get a clean, beautifully formatted PDF of this pattern — easy to follow step by step, ready to print or save on any device. No scrolling, no distractions, just the pattern.
Get the Printable PDF →