
I’ve been hunting for a statement jewelry project that combines thread crochet with beadwork, and this beaded peacock ear cuff is absolutely the one. The moment I spotted this design, I knew I had to share it with you.
Get the Ad-Free PDF Pattern
You can find the free pattern below, or you can purchase the ad-free printable PDF from my shop.
Get the Printable PDF →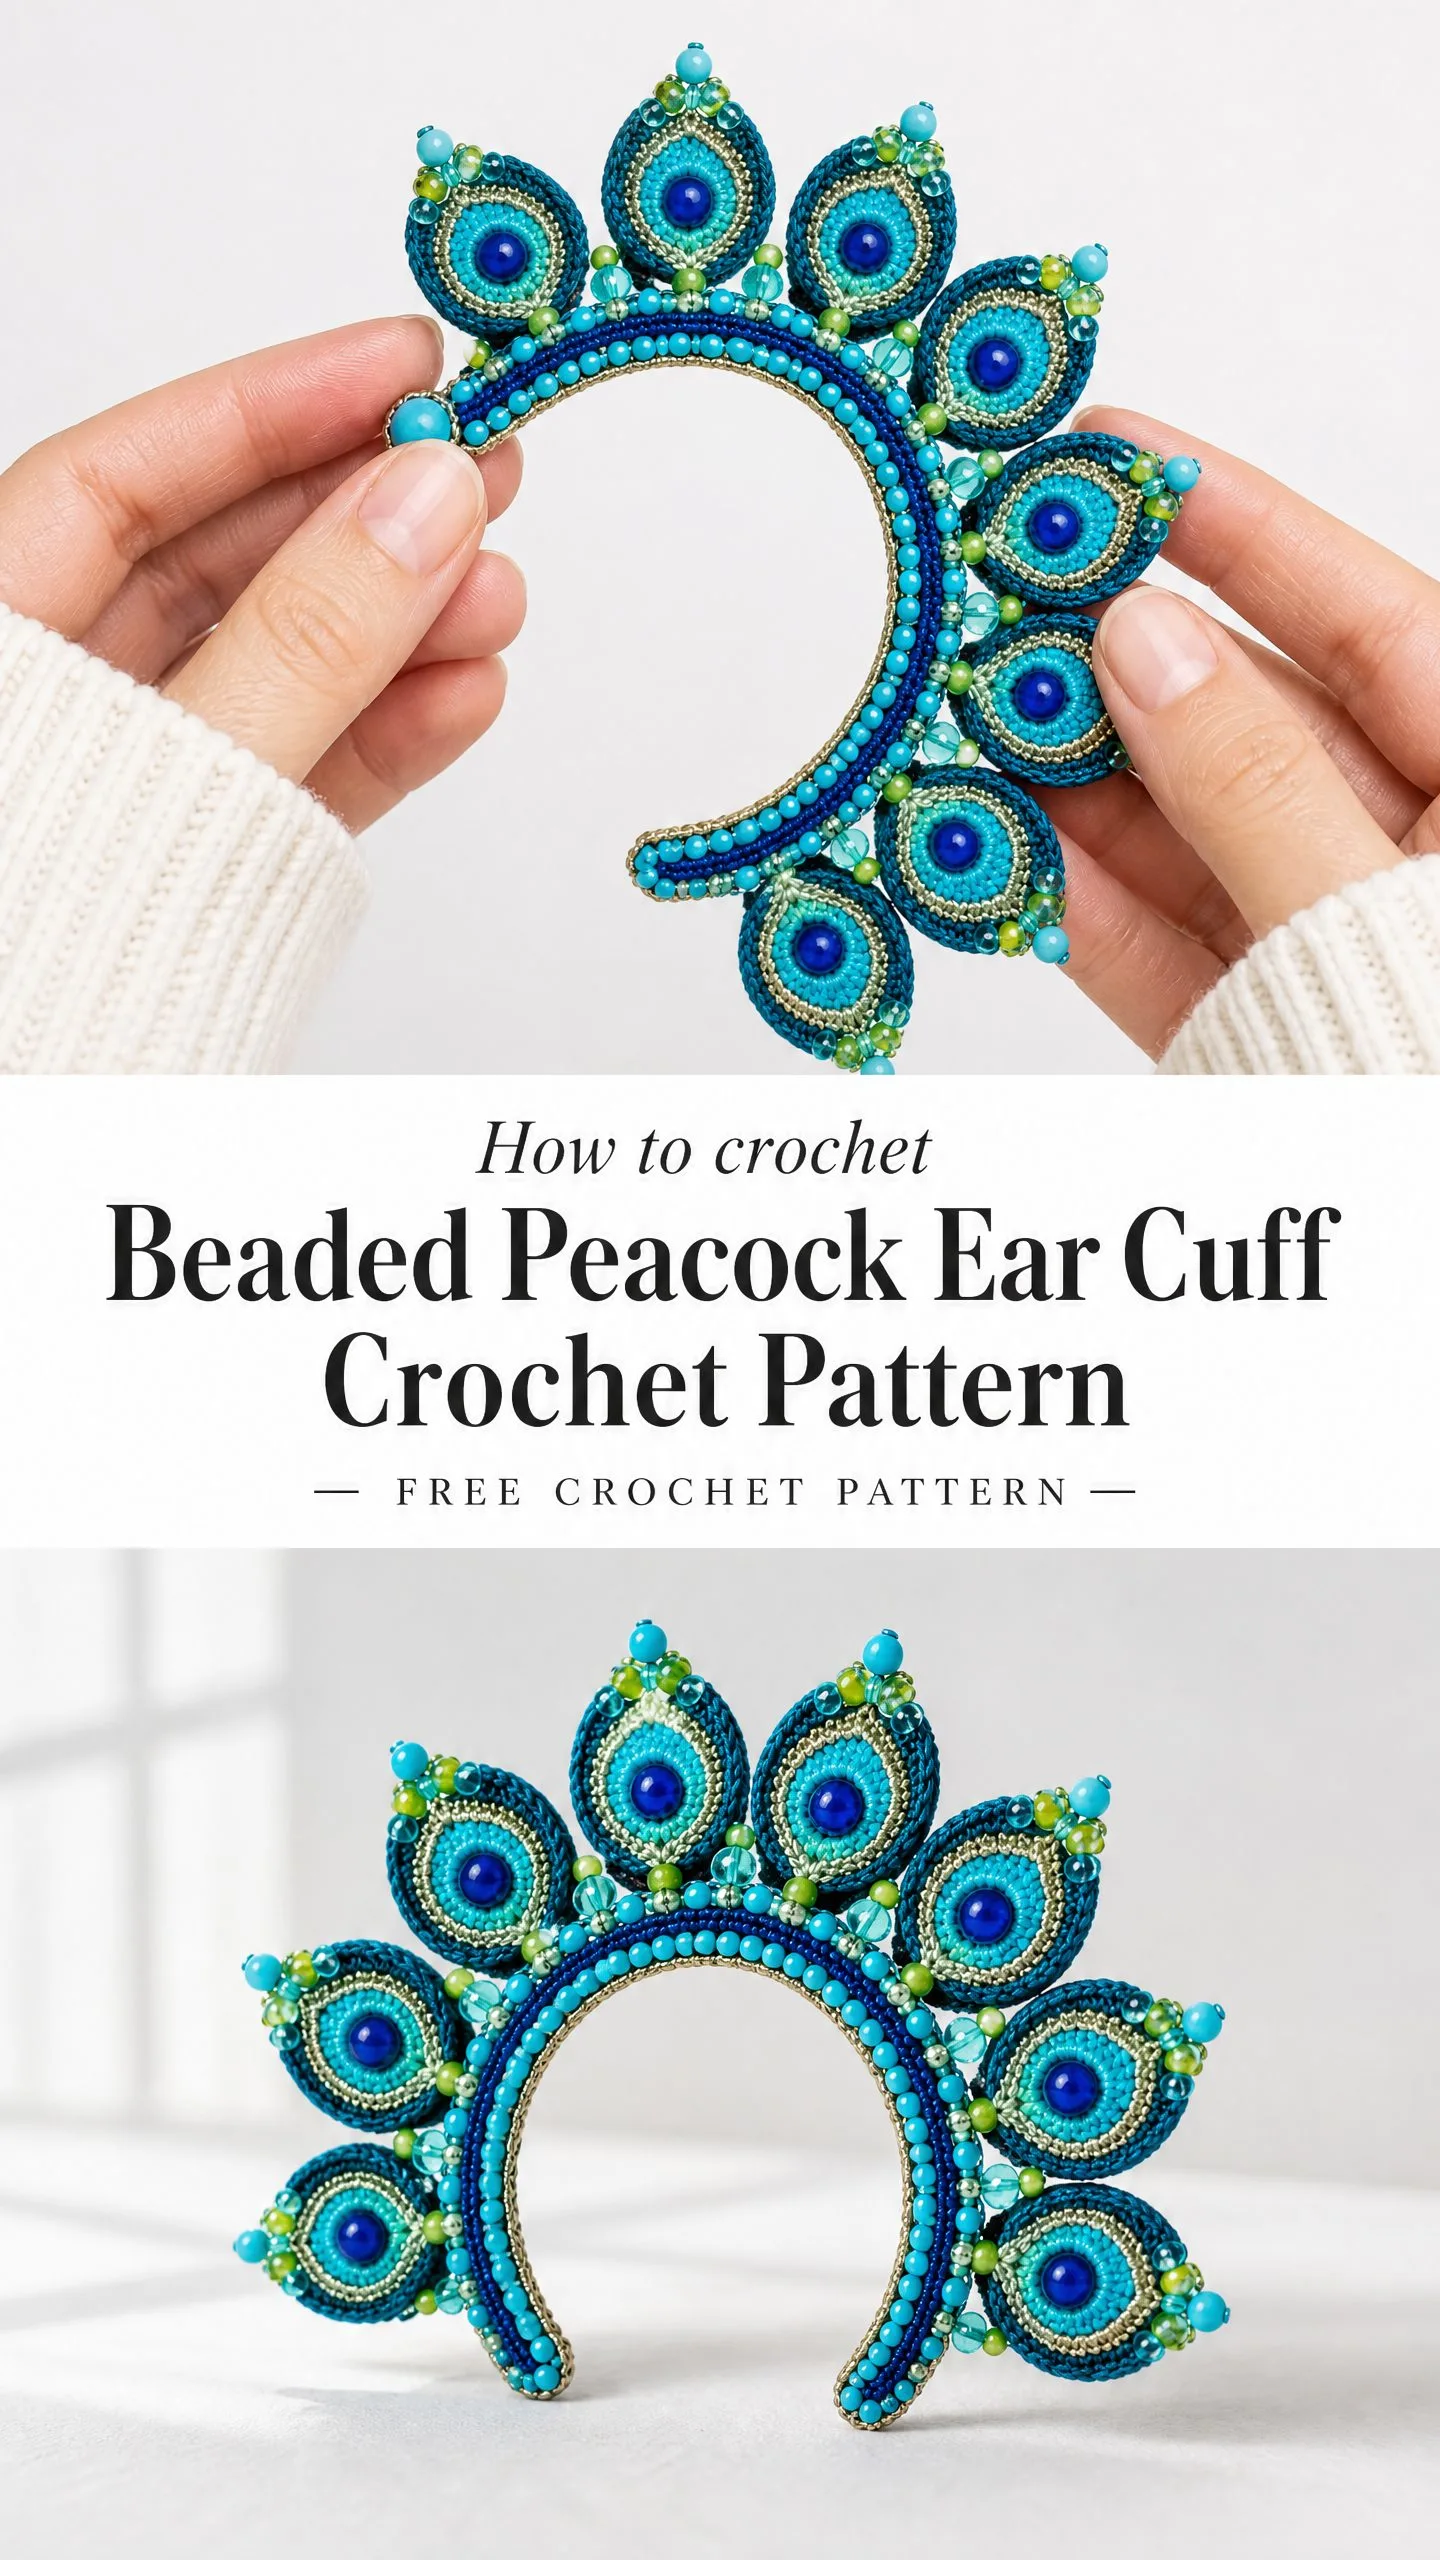
This is advanced thread crochet at its most stunning. Ten peacock feather eye motifs fan around your ear from the upper helix to below the lobe, creating a dramatic wearable art piece. If you’ve been wanting to challenge yourself with fine gauge work and bead integration, this is the project to try.
Fair warning: this pattern requires patience, a steady hand, and experience with tiny hooks. But the result? Absolutely breathtaking. Let me walk you through everything you need to create this gorgeous piece.
What Makes This Crochet Ear Cuff Special
This isn’t your everyday crochet project. The beaded peacock ear cuff combines multiple advanced techniques into one cohesive accessory. You’ll work with fine cotton thread, metallic accents, and multiple bead types to create something that looks like it belongs in a high-end jewelry boutique.
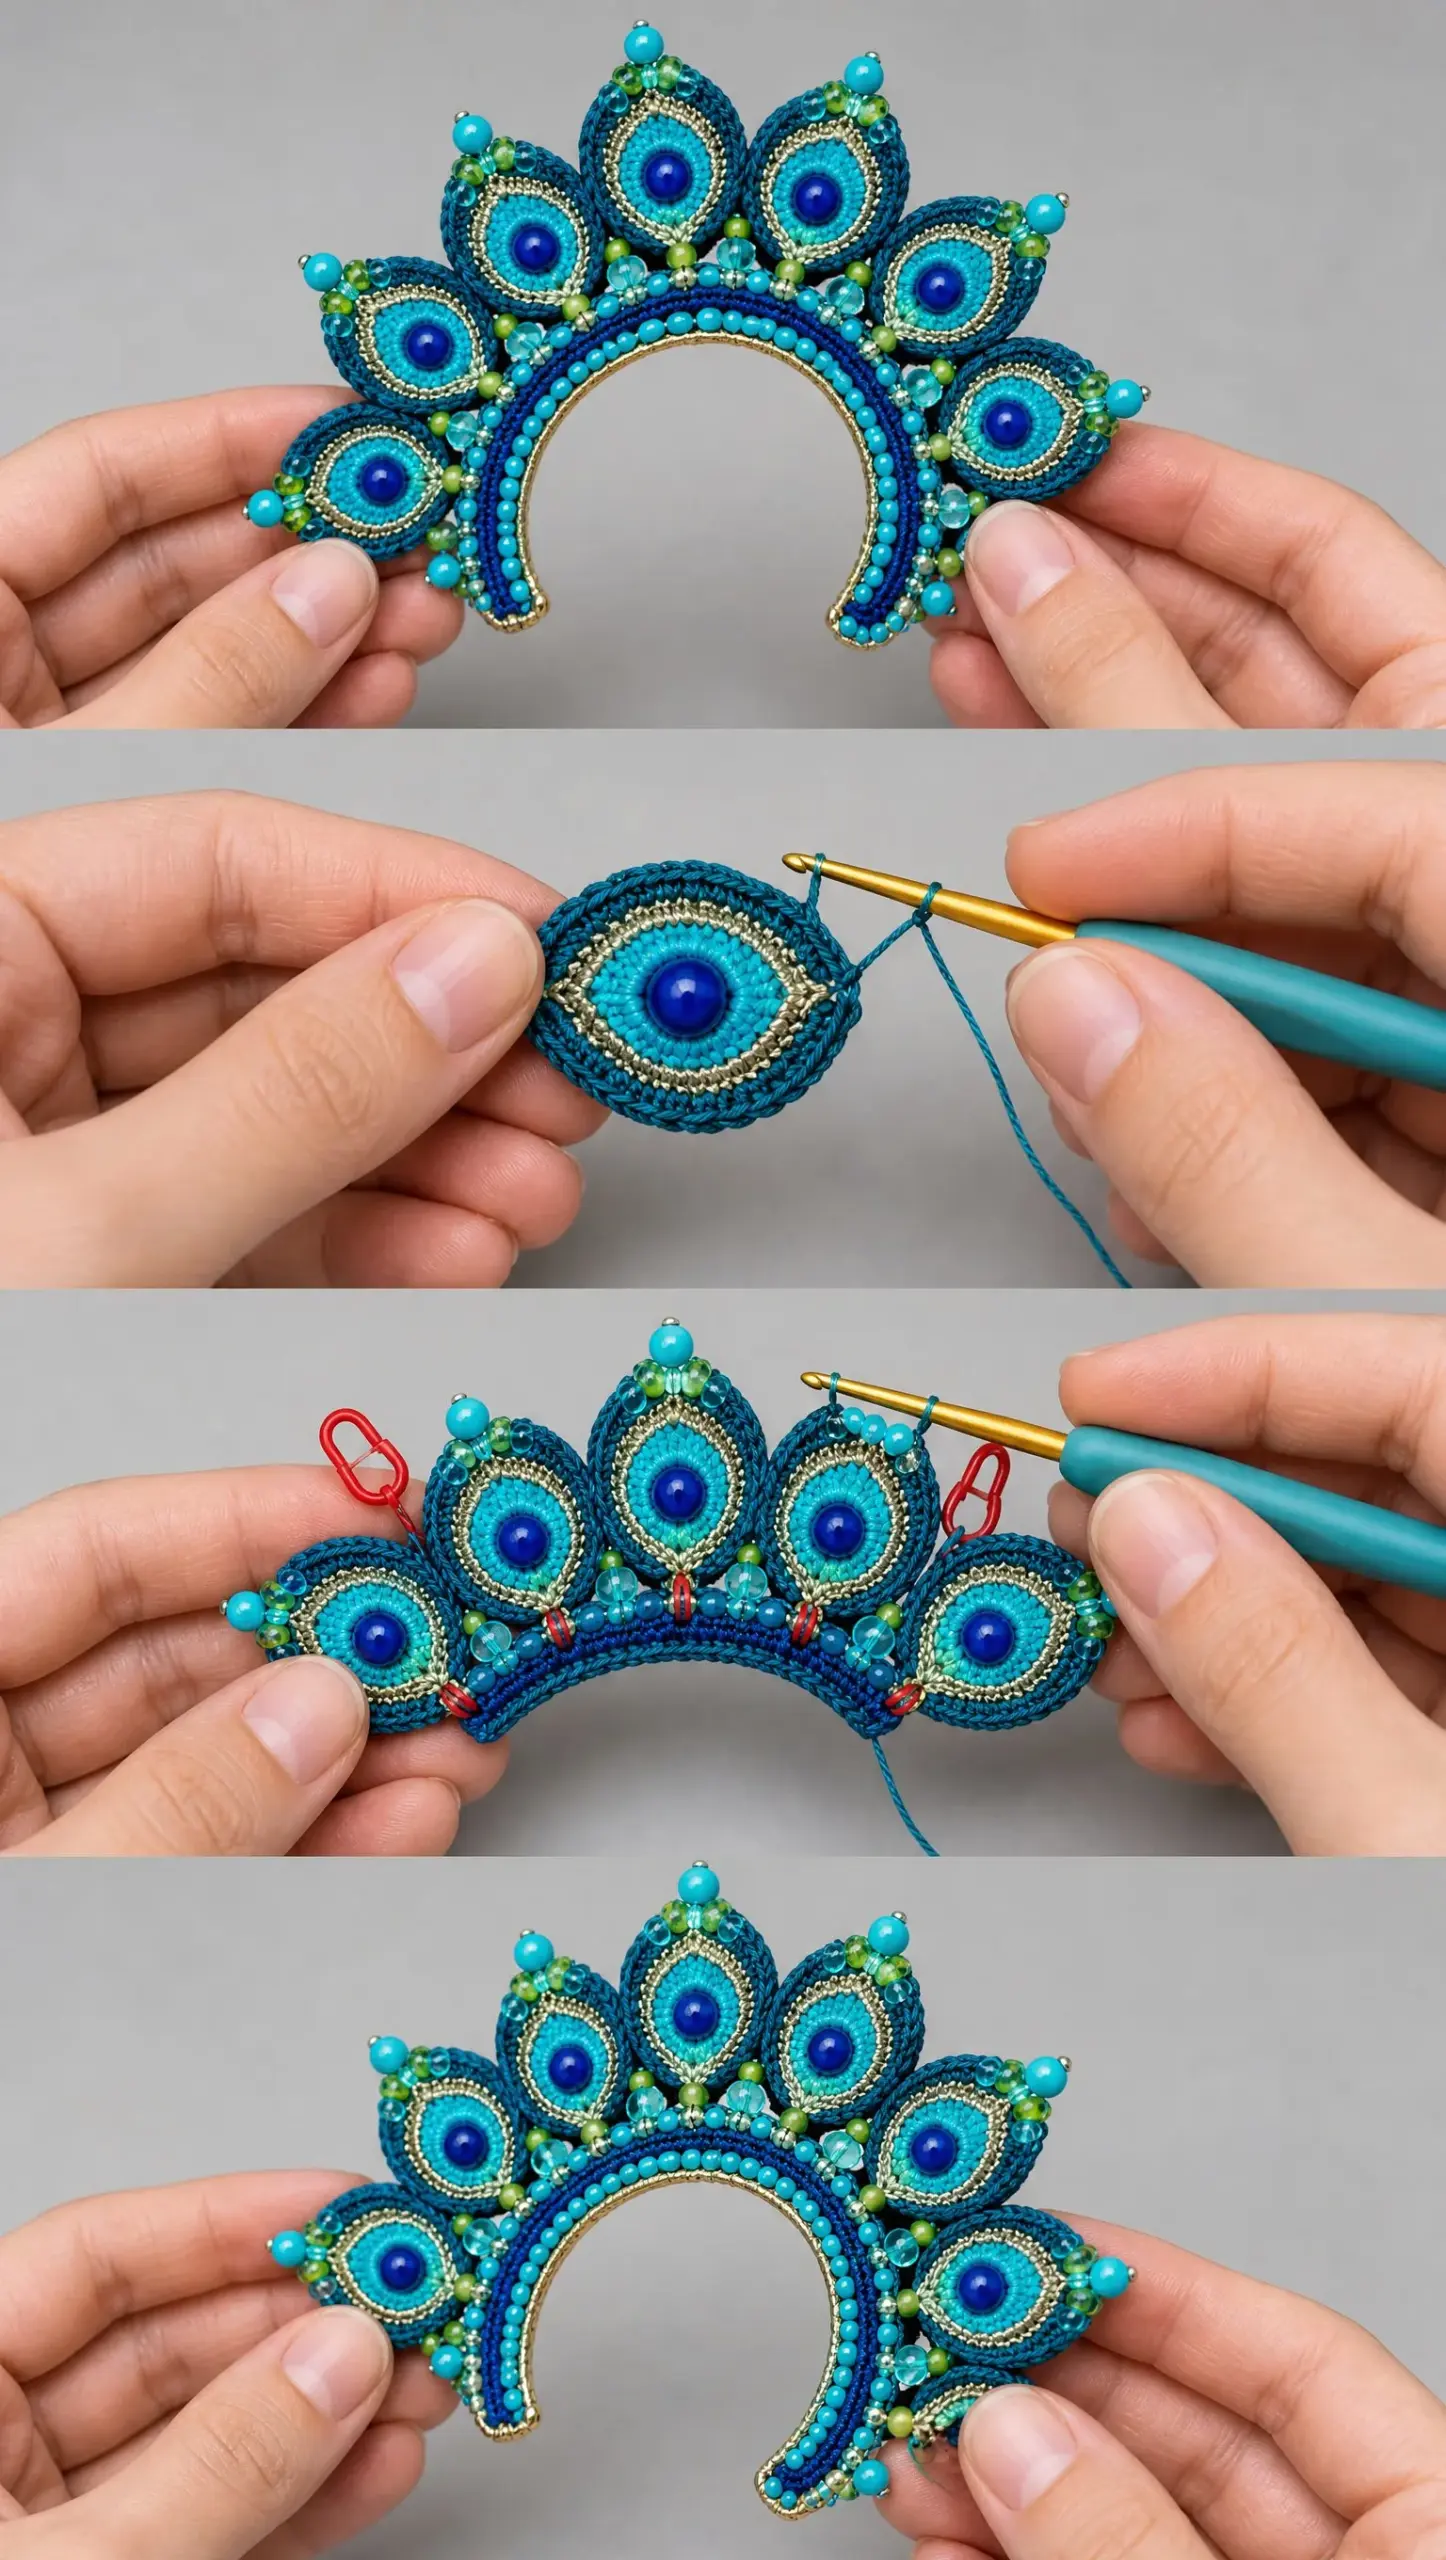
The construction involves three main components. First, a structural C-shaped support wrapped completely in dense teal crochet. Second, ten individual peacock feather eye motifs that attach around the outer rim. Third, beaded chain bridges that connect the motifs and add movement and sparkle.
The finished piece measures approximately 8.5 to 10 centimeters tall and 5.5 to 7 centimeters wide. You’ll adjust this to fit the wearer’s ear, which is why the pattern emphasizes fit testing throughout the process.
Skill Level and Who This Pattern Is For
Let me be completely honest with you. This pattern is rated advanced or confident intermediate. You should be comfortable with thread crochet, working in the round, and handling multiple colors and materials simultaneously.
If you’ve never worked with size 10 or 20 crochet thread before, I’d recommend practicing on a simpler thread crochet project first. The combination of tiny stitches, bead integration, and structural assembly makes this challenging even for experienced crocheters.
That said, don’t let the difficulty scare you off entirely. The pattern breaks everything down into manageable steps. Take your time, work slowly, and trust the process.
Materials You’ll Need
Gather everything before you start. Nothing is worse than getting halfway through a project and realizing you’re missing a crucial supply.
Thread
You’ll need several colors of fine crochet cotton in size 10 to 20 weight:
Beads
The bead selection creates the authentic peacock feather color palette:
Hardware and Tools
A Note on Bead Safety
Use smooth, securely anchored beads throughout this project. Avoid any beads with sharp edges or loose loops that could catch hair or scratch skin. This is a decorative adult accessory, not suitable for children.
Abbreviations and Stitch Definitions
Before we dive in, let’s make sure you understand every abbreviation used in this pattern.
Chain (ch): The foundation stitch. Yarn over, pull through the loop on your hook. Creates a single chain link.
Slip stitch (sl st): Insert hook into stitch, yarn over, pull through both the stitch and the loop on your hook in one motion. Used for joining and surface work.
Single crochet (sc): Insert hook into stitch, yarn over and pull through (two loops on hook), yarn over and pull through both loops. Creates a short, dense stitch.
Half double crochet (hdc): Yarn over, insert hook into stitch, yarn over and pull through (three loops on hook), yarn over and pull through all three loops.
Double crochet (dc): Yarn over, insert hook into stitch, yarn over and pull through (three loops on hook), yarn over and pull through two loops, yarn over and pull through remaining two loops.
Treble crochet (tr): Yarn over twice, insert hook into stitch, yarn over and pull through (four loops on hook), then yarn over and pull through two loops three times.
Increase (inc): Work 2 stitches in the same stitch.
Decrease (dec): Single crochet decrease combining two stitches into one.
Magic ring (MR): An adjustable starting ring that can be pulled closed completely.
Fasten off (FO): Secure your work by cutting the yarn and pulling the tail through the final loop.
Right side/Wrong side (RS/WS): The public-facing side versus the back of your work.
Core Techniques You’ll Use
Working Over a Support
This is how you’ll cover the wire or cuff blank. Hold the thread against the curved support and work very compact single crochet stitches around the support. No metal or plastic should remain visible when you’re done. Push stitches tightly together as you work.
Bead-As-You-Go Method
Pre-string beads on your working thread before beginning. When a bead is required, slide one bead up close to the hook, work the next stitch snugly behind it, and keep the bead on the right side.
Bead-Sewn Method
For better precision, especially on center beads, complete the crochet first. Then sew beads on afterward with doubled beading thread, passing through each anchoring point twice.
Metallic Outline
You can either carry metallic thread together with the cotton for a subtle glint, or work surface slip stitches with metallic thread around the completed inner oval.
Fit, Sizing, and Support Shape
Getting the fit right is crucial for comfort and wearability.
Measure from just above the top of the helix down around the back outer ear to 1 to 2 centimeters below the lobe. The typical adult measurement is 7.5 to 9.5 centimeters.
Shape your support into a relaxed C shape. The internal opening should measure about 4.5 to 5.5 centimeters tall and 2.8 to 3.6 centimeters wide.
Critical fit detail: Leave the front of the ear and ear canal completely unobstructed. The cuff should sit along the outer helix and behind the lobe. It should never clamp the concha or cover the ear opening.
The feather halo should project about 1.5 to 2.2 centimeters beyond the support, which is roughly one motif width.
The fit rule: Your cuff should rest securely without pinching. If it leaves a deep pressure mark after a few minutes of wear, open the C shape slightly.
Peacock Feather Eye Motif Pattern (Make 10)
Each motif is a rounded teardrop approximately 18 to 22 millimeters long. Work all ten to the same tension. You’ll vary bead colors at the tips for a natural peacock feather rhythm.
Center Disk
Round 1: With bright cyan, make a magic ring (MR). Work 6 single crochet (sc) into the ring. Join with slip stitch (sl st). (6 stitches)
Round 2: Chain 1, work 2 sc in each stitch around. Join with sl st. (12 stitches)
Round 3: Chain 1, sc in next stitch, 2 sc in next stitch. Repeat from to 6 times total. Join with sl st. (18 stitches)
Round 4: Chain 1, sc in next 2 stitches, 2 sc in next stitch. Repeat from to 6 times total. Join with sl st. (24 stitches)
Keep this round compact and flat.
Sew one cobalt blue glass bead exactly at the center, passing through the crochet base at least twice. Knot on the wrong side and bury the tail.
Metallic Inner Oval
Join metallic silver-gold thread at any point around Round 4.
Work surface slip stitches around the cyan disk. Gently elongate the upper side by placing 2 extra surface stitches across the top third. This turns the circle visually into an oval.
Fasten off and bury metallic ends securely.
Dark Teal Teardrop Border
Join dark teal to any stitch. Chain 1, single crochet evenly around the cyan disk.
At the top point, work (hdc, dc, tr, dc, hdc) into 1 stitch or 1 small chain space to form a rounded point.
Continue sc around. At the lower end, work 2 sc in each of the next 2 stitches to create a broader base.
Join with sl st.
Optional final stabilizing round: Slip stitch loosely around, inserting a chain 1 every 4 to 5 stitches for tiny bead attachment points.
Fasten off, leaving a 15 centimeter tail for assembly.
Outer Tip Bead Cluster
At the pointed end of each motif, attach a 3-bead cluster: 1 turquoise plus 1 translucent aqua plus 1 lime green bead. Alternate the order across the ten motifs for natural variation. Secure each cluster with doubled beading thread and at least two passes through the same crochet anchoring point.
Beaded Chain Bridges
The bridges keep the fan open and airy while stabilizing spacing between motifs.
Join dark teal to the side of Motif 1. Chain 4 to 7 depending on the gap to the next motif.
Slide one pre-strung bead into position, chain 1 behind it, then chain 2 to 4 more.
Slip stitch into the side edge of the neighboring motif.
For longer gaps, alternate bead colors: turquoise, aqua, lime, aqua. Keep no more than 1 bead every 3 to 4 millimeters so the bridge remains flexible.
After all motifs are linked, gently steam-block from a distance or finger-shape only. Do not flatten dimensional edges.
Inner C-Shaped Rim Construction
This is the structural core of the ear cuff. You can build it first if you prefer fitting before motif assembly.
A. Wrap the Support
Cut the support to the fitted length, allowing about 1.5 centimeters extra for shaping. Round and smooth both ends. If using wire, make tiny closed loops at both ends with round-nose pliers so no cut end is exposed.
Anchor dark teal thread at the lower end and work compact sc stitches over the entire support. Pack stitches tightly enough that the support is completely hidden.
At the upper forward end, shape a short 8 to 12 millimeter curved tip. Continue working over the support to the end. Fasten off securely.
B. Build the Colored Stitch Rows
With royal blue, surface slip stitch along the outer half of the wrapped C. Keep tension firm but not rigid.
With dark teal, work a second surface row directly beside the royal blue row.
With metallic thread, work a narrow surface slip stitch border along the inner edge of the C for a continuous shimmer line.
C. Turquoise Bead Row
Pre-string enough opaque turquoise seed beads to cover the visible rim at 3 to 4 millimeter spacing.
Join dark teal thread at the lower rim. Work surface slip stitches or tiny sc anchor stitches, sliding one bead into place at each interval.
Keep beads on the outer-facing edge so they frame the ear but do not touch the ear canal.
At the upper curved tip, attach the single 5 to 7 millimeter round turquoise focal bead. Reinforce it with beading thread through the wrapped support stitches.
Motif Placement Map
Number your motifs from the forward upper tip around the outside of the cuff to below the lobe. Place all motifs on the outer side of the C so the center opening stays clear.
| Motif | Position | Orientation |
|---|---|---|
| 1 | Upper forward | Tilt 15 to 25 degrees forward, close to focal bead |
| 2 | Upper crown | Upright |
| 3 | Upper back | Tilt 10 to 15 degrees backward |
| 4 | Back upper | Slightly outward |
| 5 | Back middle | Outward, widest halo point |
| 6 | Back lower | Tilt downward |
| 7 | Lower back | Tilt 20 to 30 degrees downward |
| 8 | Below lobe, rear | Hang slightly lower |
| 9 | Below lobe, center | Lowest visual point |
| 10 | Below lobe, forward | Angle upward toward rim end |
Full Assembly Step by Step
Lay the finished C-rim on a flat surface with the outer edge facing you. Confirm the opening matches the intended ear fit.
Pin or clip Motifs 1 through 10 around the outer rim following the placement map. Keep 2 to 5 millimeters between neighboring motifs before bridges are added.
Using each motif tail, sew its lower base edge to the wrapped rim through several full crochet stitches. Make 3 to 5 passes at each attachment point.
After all motifs are attached, test the cuff on the wearer. Adjust fan angles before knotting final tails.
Crochet or sew the beaded chain bridges between neighboring motifs. Use shorter bridges at the crown and slightly longer bridges along the back and lower fan.
Add small bead accents at selected outer joins. Avoid overcrowding. The crochet teardrop shapes should remain visually distinct.
Reinforce the lower three motifs because they experience the most movement. Add a nearly invisible support stitch from each motif base to the lower rim.
Secure every tail on the wrong side with a surgeon-style knot or repeated woven path through dense stitches. Trim only after confirming nothing loosens under gentle tension.
Inspect the inner edge carefully. Remove or reposition any bead, knot, or thread end that could rub the ear.
Curve the cuff gently to final shape. The accessory should follow the helix from above the ear to below the lobe without crossing the ear canal.
Finishing, Blocking, and Quality Check
Finger-shape the motifs into rounded teardrops. If needed, lightly mist with water and pin the outer tips away from the rim until dry.
Do not press with an iron. Heat can deform beads, metallic thread, and support materials.
Check all ten center beads, all outer bead clusters, the continuous rim beads, and the focal bead individually for movement.
Flex the cuff gently three times. No motif should twist more than a few degrees at its base.
Try on for 5 to 10 minutes. Confirm that the rim rests on the outer ear without pinching or scratching.
Troubleshooting Common Issues
Motifs curl inward: Your tension is too tight or the center disk is overstuffed. Add one extra sc increase round or block gently.
Fan collapses toward the ear: Shorten bridge chains and reinforce motif bases to the rim.
Cuff slides down: Slightly tighten the C shape, increase wrapped rim friction, or reduce weight at lower motifs.
Cuff pinches: Open the C shape 2 to 4 millimeters and soften the upper and lower contact points with extra wrapped stitches.
Beads rotate to the back: Anchor beads through two adjacent crochet stitches instead of one.
Metallic thread feels scratchy: Keep metallic work on the outer face only and cover any exposed end with teal cotton stitches.
Optional Customizations
Want to make this pattern your own? Here are some variations to consider:
For a lighter version, use 8 motifs instead of 10 and omit every second bridge bead.
For a more jewel-like effect, replace lime beads with tiny faceted peridot-colored crystals.
For a softer peacock palette, use seafoam, peacock blue, navy, and antique gold.
For a clip-on conversion, sew the lower rim to a padded ear-clip finding while keeping the C-rim decorative.
For a left or right ear mirror, reverse the motif placement map and curve the upper focal tip in the opposite direction.
Your Make Checklist
Use this to track your progress:
Final Thoughts on This Beaded Peacock Ear Cuff Crochet Pattern
This crochet ear cuff pattern is definitely a labor of love. It requires patience, precision, and a willingness to work with tiny stitches and delicate materials. But the finished piece is genuinely wearable art that will turn heads wherever you go.
Take your time with each step. Don’t rush the bead placement. And most importantly, fit test as you go to ensure comfort.
Thank you so much for choosing this pattern for your next project. I genuinely hope you enjoy the process as much as the finished piece.
If you make this beaded peacock ear cuff, I would absolutely love to see it! Tag me on Instagram or share a photo in the Facebook group. Seeing your creations is honestly the best part of sharing patterns.
Go ahead and save this pattern to your Pinterest boards so you can find it when you’re ready to start. And if you have any questions or want to share your finished cuff, drop a comment below. I can’t wait to see what you create!
Want a Quick & Easy Printable Version?
Get a clean, beautifully formatted PDF of this pattern — easy to follow step by step, ready to print or save on any device. No scrolling, no distractions, just the pattern.
Get the Printable PDF →